-

Win a Free Custom Engraved Brass Coin!!!
As a way to introduce our brass coins to the community, we will raffle off a free coin during the month of August. Follow link ABOVE for instructions for entering.
-

PRE-ORDER SHIPS IN SCALE TODAY!
The beloved Ships in Scale Magazine is back and charting a new course for 2026!
Discover new skills, new techniques, and new inspirations in every issue.
NOTE THAT OUR FIRST ISSUE WILL BE JAN/FEB 2026
You are using an out of date browser. It may not display this or other websites correctly.
You should upgrade or use an alternative browser.
You should upgrade or use an alternative browser.
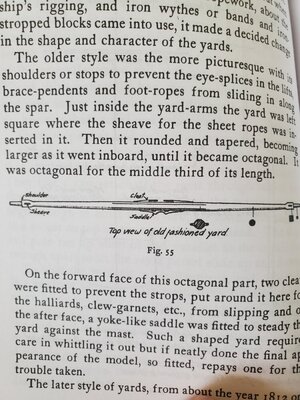
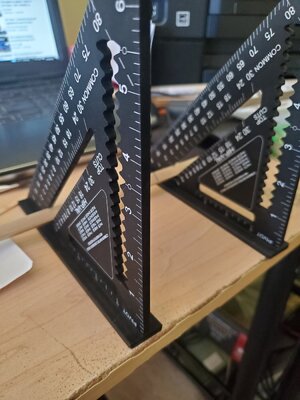
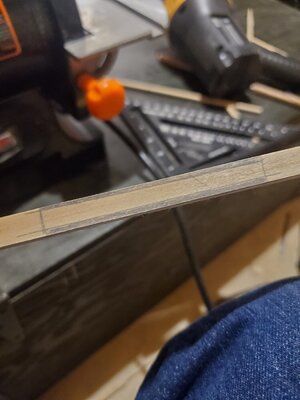
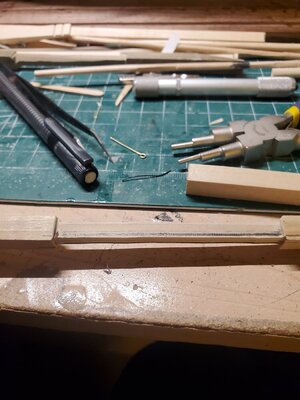
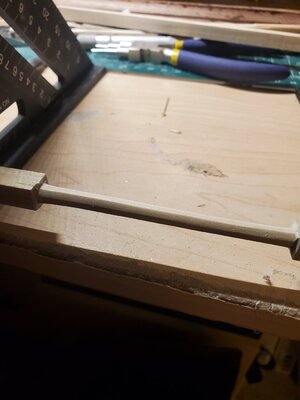
Looks like you need to change techniques. If you can place a square wooden dowel in the vice, supported by forms (dark brown) at 45 degrees. File the corner edge to create a new facet on the yardarm dowel until the file contacts the top of the vice jaws. Rotate the dowel 180 degrees and file another facet using the forms to hold the dowel. The depth which you place the dowel is important, because that determines how wide the facets are. After these two you can remove the forms and place the dowel back in the vice after rotating it 90 degrees, such that the facets you just cut are now contacting the jaws of the vice. Set the depth of the dowel carefully, not too shallow from the top of the vice, and clamp the dowel in place. File the third facet, flip the dowel over and file the final facet and now you have an octagonal dowel. Place the dowel in a lathe or drill and sand the outboard ends round.Still having problems getting the 8 sides even. I'm going to make some kind of a jig to do it.
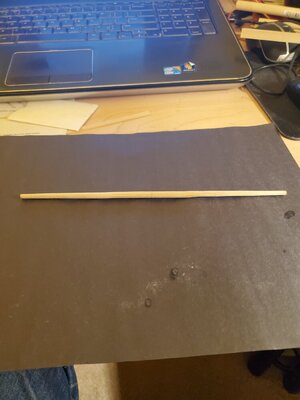
Also, I don't know what kind of wood this is. I picked it up at Home Depot, from Vietnam. It is actually pretty good to work with. The oak dowel, not so good.
View attachment 287188
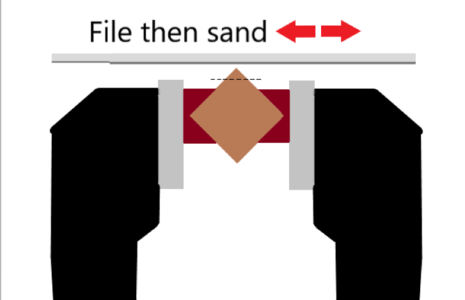
Alternatively, you can start with a round dowel. The faceting process is the same, but the amount of material you need to sand on the outboard ends of the yard is less than starting with a square dowel.

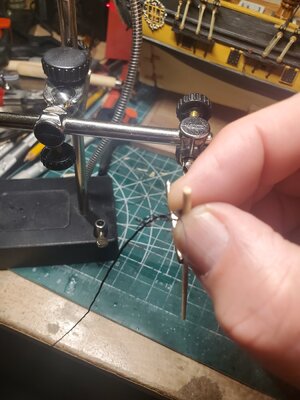
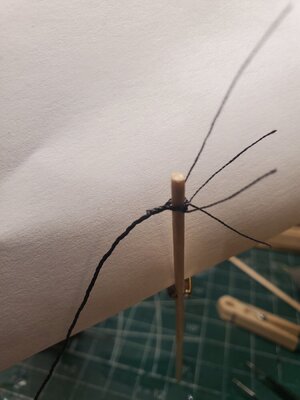
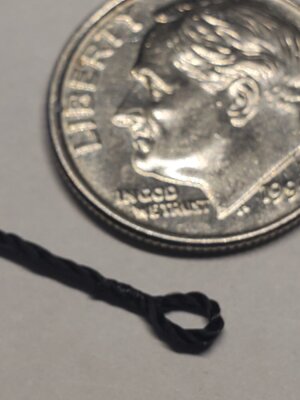
Well done on the eye splicing- came out wonderfully. I have not tried this yet however certainly looks like it is worth it.

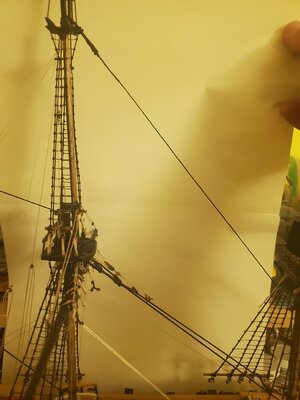
I finished the main top ratlines. Before I put the 2 final stays on the main mast, I figured I should put the halliards in. The diagram on the directions weren't detailed enough. Same issue with the practicum from LSS. I ended up ordering some books.... interesting books but the one that I was able to find the answer in The Ship Model Builders Assistant. With all of this knowledge from the books, I just might do sails.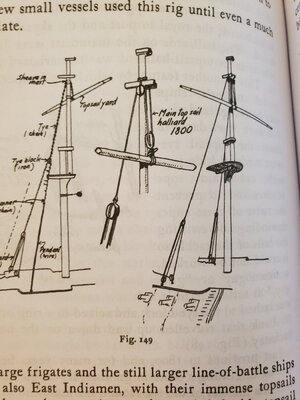
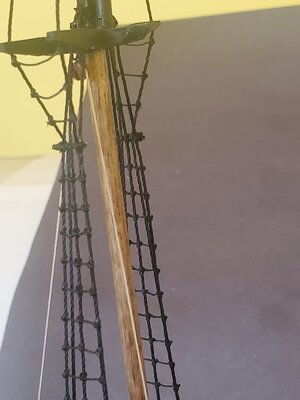

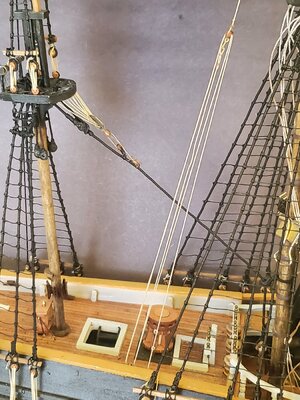
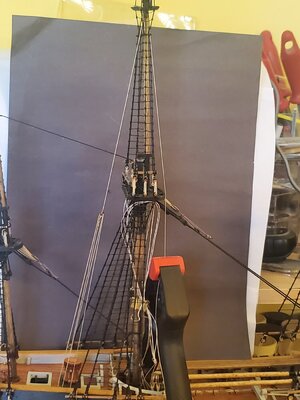
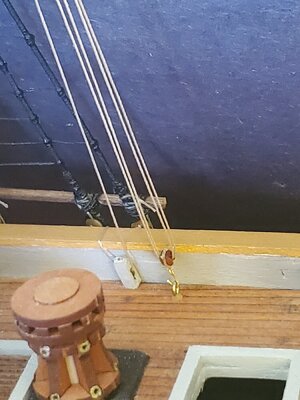


Now that I am looking at it.... I should have used a single block below and only one double above.
Paul, good job. Experience, it will come with time. Of course, you can correct this small inaccuracy, it's up to you.
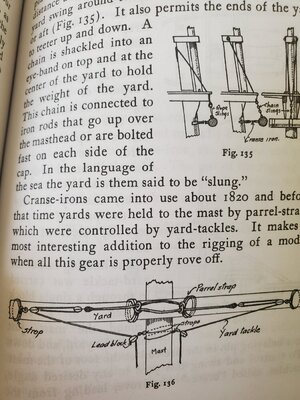
Good morning Paul. Awesome job on the yard. You got the detail spot on. I enjoy the saddle which fits into the mast, will help with the alignment when you fit these. Well done. Cheers GrantI've decided on how I'll do the fore and main arms. I'm going to go with what the author says is pre 1820s. Rope sling in the middle, parrel straps holding it to the mast, braces, and lifts.
View attachment 301456
View attachment 301457
View attachment 301458
View attachment 301459
View attachment 301460
View attachment 301461
View attachment 301462
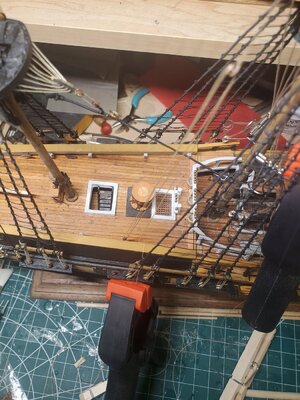
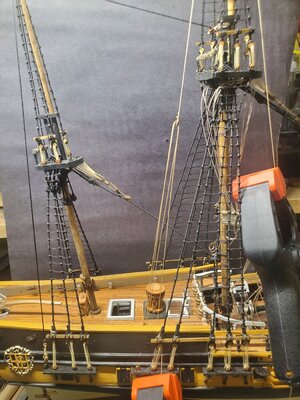
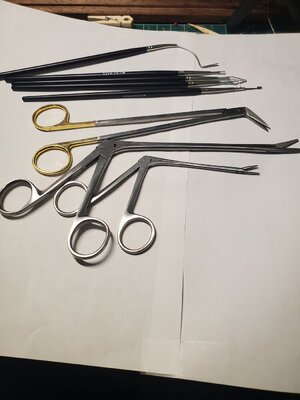
This took a little longer than I anticipated. I secured the arm using a rope sling, parrel straps & yard tackle. The lower yard lifts and jackstays were pretty straight forward. The reef tackle, clew garnet, leechlines, and inner/outer buntlines weren't as difficult as I thought once I figured out how to make them. I still have to make the rope coils for the belay pins and the braces. I'm going to move on to the foremast now before I go vertical. I ordered some more tools to help with the rigging.
A pretty big learning curve for me.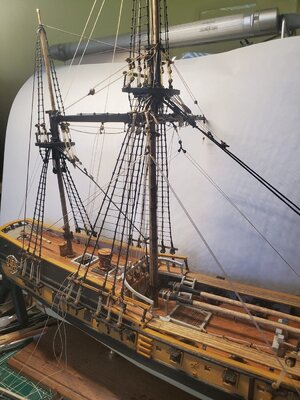
A pretty big learning curve for me.

Futzing with parrels and the nave lines that tighten them has always been my greatest challenge. The lateen sail on the mizzen is the worst access-wise. Congratulations on accomplishing a rigging milestone.
Good morning Paul. I think you are ahead of the learning curve for sure . Wonderful work . Looking lovely. Cheers GrantThis took a little longer than I anticipated. I secured the arm using a rope sling, parrel straps & yard tackle. The lower yard lifts and jackstays were pretty straight forward. The reef tackle, clew garnet, leechlines, and inner/outer buntlines weren't as difficult as I thought once I figured out how to make them. I still have to make the rope coils for the belay pins and the braces. I'm going to move on to the foremast now before I go vertical. I ordered some more tools to help with the rigging.
A pretty big learning curve for me.View attachment 309728
Hallo @PGNI started the build on 26 December, I'm really enjoying it.
I didn't do an inventory of the parts in the box, I figure if something is missing, I'll order it.
I did get the Model Shipways jig, which helped prep me for beginning the build. As simple as the jig is...you have to fill in the blanks with the directions. It also gave me an opportunity to remember how easily the wood break. So far, I'm happy with the jig, the only pain is that when locking the jig, you need a pair of needle nose plyers to hold the bolt as you're tightening the butterfly nut.
View attachment 206746View attachment 206747
we wish you all the BEST and a HAPPY BIRTHDAY



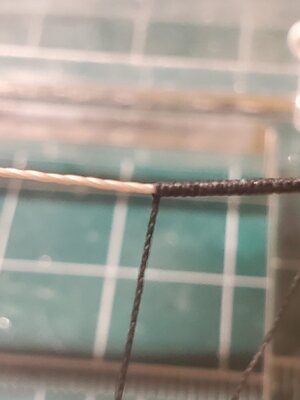

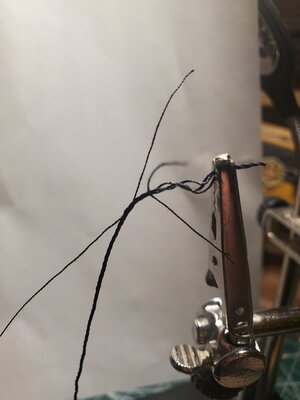

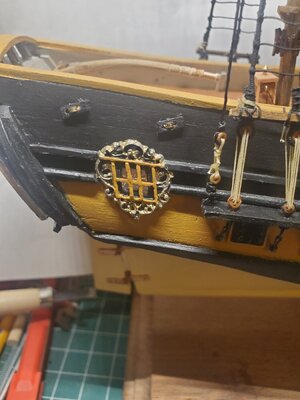
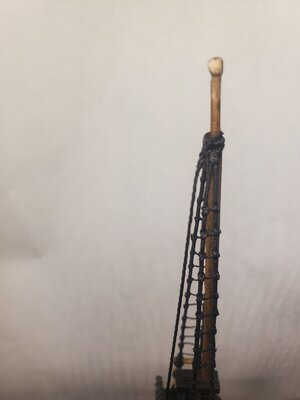
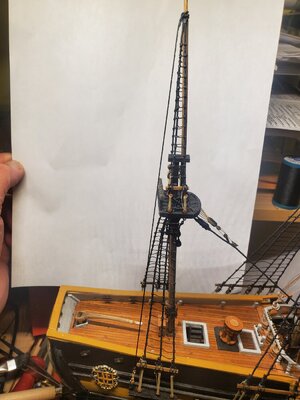
 , single block on the bottom, double up top. Much better.