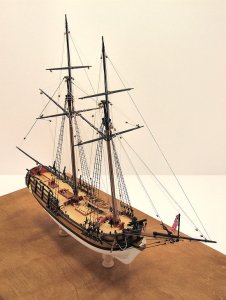
Model Shipways Sultana Schooner Build Log

November 8, 2006

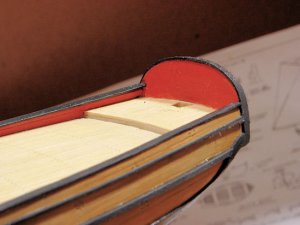
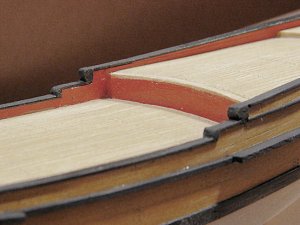
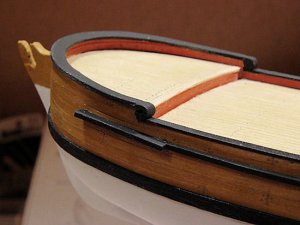
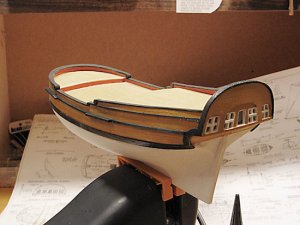
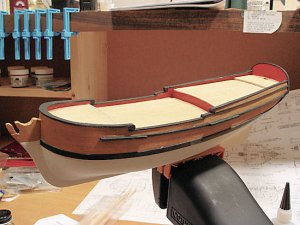
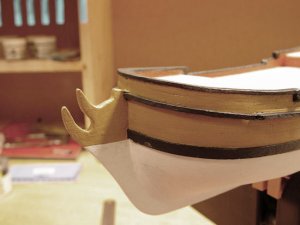
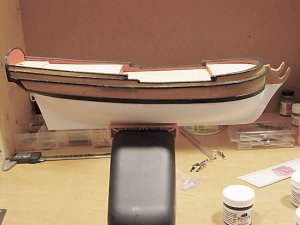
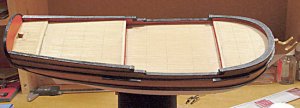
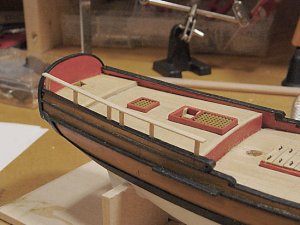
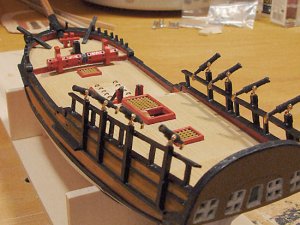
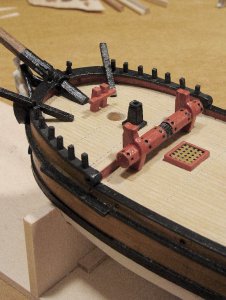
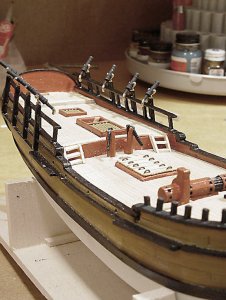
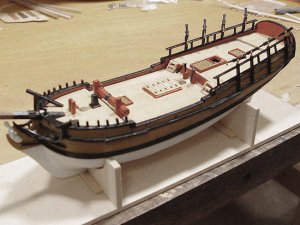
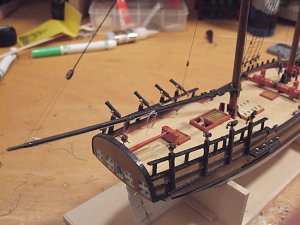
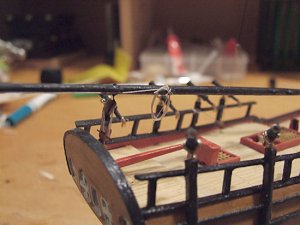
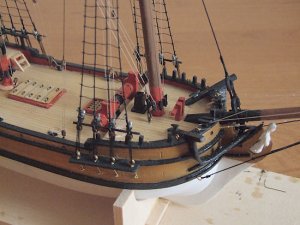
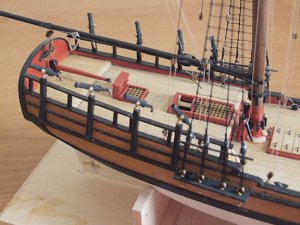
As usual, not taking my time to make quality pictures, but here is my progress so far. I keep reminding myself that this is a hobby right? Everybody enjoy—thanks for tuning in.
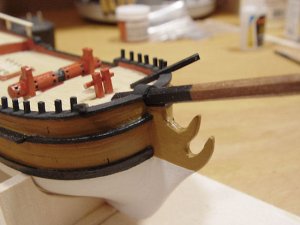
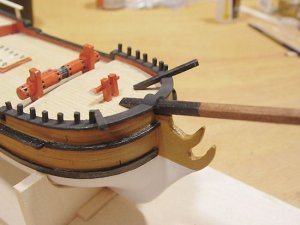
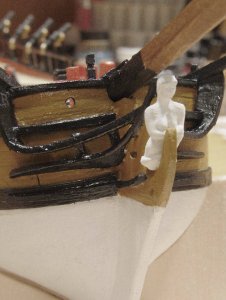
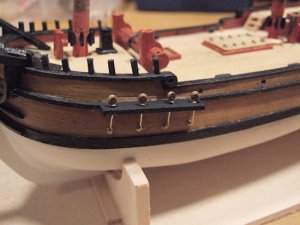
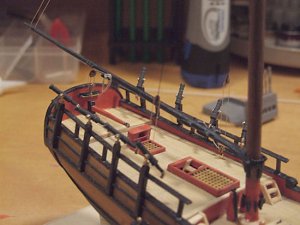
ps. I am going to completely redo that front piece—its "u g l y !!!" and its also for those to laugh at. Hey I know its funny looking. Just need to bring it back into the ship yard for some more work! On a serious note, I am realy not happy with the wood that was used to make that stempost and that cut out for the figure head. The wood kept on cracking and would not do what I want it to do. It seems that the wood supplied should have been much harder wood. But at anyrate, I am going to cut that off and maybe go by some harder wood that I can fashion better.
 

Attachments

  • hull20.jpg
    hull20.jpg
    41.7 KB · Views: 117
  • hull21.jpg
    hull21.jpg
    56.3 KB · Views: 117
  • hull23.jpg
    hull23.jpg
    46.9 KB · Views: 127
  • hull22.jpg
    hull22.jpg
    51.7 KB · Views: 121
  • hull24.jpg
    hull24.jpg
    54.1 KB · Views: 122
November 13, 2006

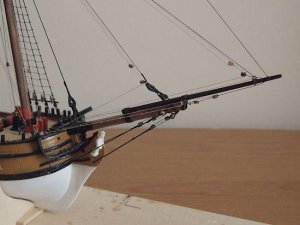
Well, I just could not let that poor stem alone as it looked horrid. I cut off the stem near the hull and completely rebuild it. I think it looks better and I like it better. I must say to myself that if I took more time at this, I think I could produce a better model. I was looking at some ships last night at some mighty fine craftsmanship and it encouraged me to put forth more effort. I guess I am spoiled by the plastic version in which everything is pre molded and just glue the part in place. To me it was all about making that plastic part "look better" with aging and weathering techniques that I enjoy. However, again with Wood, "you" are the captain of how it is going to turn out. You are in complete control of that "strip" of wood and how it is to be cut and fashioned. Yes, there is an "art" to this !
Enjoy the pics.
ps. Those pictures don´t lie about the touch up work that needs to be done. It is amazingly upsetting how the camera picks up on blemishes that you didn´t think are there!
 

Attachments

  • hull25.jpg
    hull25.jpg
    35.7 KB · Views: 101
  • hull26.jpg
    hull26.jpg
    45.1 KB · Views: 100
  • hull27.jpg
    hull27.jpg
    49.2 KB · Views: 100
November 17, 2006

Some more progress (building that is).
 

Attachments

  • hull28.jpg
    hull28.jpg
    64.7 KB · Views: 98
  • hull29.jpg
    hull29.jpg
    45.1 KB · Views: 98
November 23, 2006

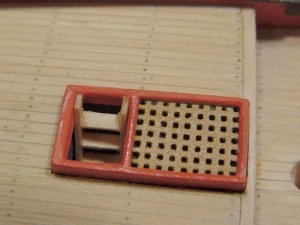
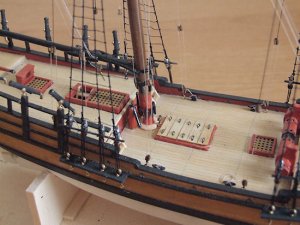
Bear with me on my "still" lack of good nautical knowledge. The fore and aft Hatches and the one with the ladder are from the kit (the metal ones). I just used the Model Shipways paint that I ordered with the kit to paint them with. I used the yellow and the red and black. This is what I did. The first thing I grabbed was the Black and I painted the whole hatch with black so that the black would fill in the tiny holes in the grating. I waited for about 1 minute and took a small hand towel and rubbed the black off of the hatch and what happened is that the black was still "filled" in the hatch holes. Basically I used a lot of black paint to completely fill in the holes so that when I wiped across the hatch all of the black paint would be removed except for the very top surface of the hatch. The rest of this I just painted very carefully the hatch gratings with the yellow and trimmed in Red. This technique was done for the fore and aft hatches.
Now the midship hatch, I did not like the one supplied for only one reason. I could not get the raised individual hatch ring hoops to be painted. I went ahead and made the midship hatch from scratch with the individual hatch plank covers. I then went to a local Hobby Lobby in the jewelery department and they had what is called "eye pins" and "jump rings". The eye pins were 2¨ long so I had to cut just about all of that length off. I then hammered the eye pin into the hatch plank until a small "arch" was visible. I just did it this way only because that is what I choose to do. No reference materials. I am not sure if I am going to add those hoop rings to the top of those arches or not. I would have to scratch make those as the purchased "jump rings" are little too big. I then have some "Glaze" paint that I can not remember what the brand is. I am not at my home computer right now as I am out of town visiting other family members. The Glaze was used on all of the hatches and as a matter of fact on the whole ship. This glaze is nice as it leaves a very mild finish and can be applied in multiple coats to achieve the results that you like. One thing that I like about this glaze is that the more you put, the darker and richer the wood or paint finish gets. Ok the Glaze name on the bottle actually just says "Glaze" and again I am not at my work bench so this is all I know. If I had to make a guess right now, it would be a Floquil or Model Masters type.
I dread building the rails for the stem, cheek knees and such, this is going to be tough. I think what makes it tough is the fact that it points back to the directions and plans that MS gives us. I really feel for those that got this model and I know that they must be having a hard time. Now this is just my humble opinion. I think that MS needs to seriously revisit this ship and offer MUCH more laser cuts parts. I say that this would be very good for the beginner. This model expect too much scratch building for a beginner. I am sorry—just my opinion. I would not mind paying a little more like $125 if they would have included more lazer cut parts to help along with the assembly. I think about myself and the ones that are coming from the plastic world. I think that people that are coming from Plastic into wood, still have a since of putting parts together. The first wood modeler does not need to get deeply involved in trying to build out cheek knees and extensive railings on their first Model. What I mean by first Model is Model Expo claiming that this is a good first ship to build. I might right them a encouraging letter to the effect. I like Model Expo and order from them frequently and I plan to buy the Phantom when all of this is over. I also have a Bluenose II that I bought like many many years ago that I need to finish. But you know that the entire windlass and other parts are all lazer cut. Anyway, sorry for the side bar of ranting. I am not upset nor mad, I just hate to see a first inspired modeler to get discouraged if they seem to have problems. After all, this is one of the main reasons I wanted to to this website, because I knew that I might have problems and if I have problems with it, then I know that someone else "out there" would have similar problems. We can all build this ship together and be proud of "your" finished product. So, if those of you that are getting discouraged, please don´t but get that ship out and go at it again and lets do it!
Thanks for listening to my long talk this morning!!
 
December 10, 2006

The latest
 

Attachments

  • hull30.jpg
    hull30.jpg
    41.8 KB · Views: 95
  • hull31.jpg
    hull31.jpg
    52.2 KB · Views: 91
December 18, 2006

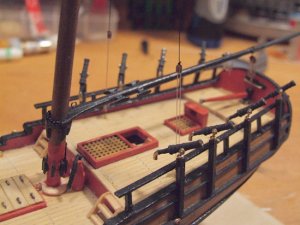
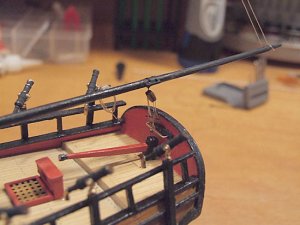
I have been very frustratingly busy at making the rails at front of ship. I took my ideas off of the actual Sultana at the Sultana site. I am not necessarily 100% happy with it, but no one will know unless someone critiques it here. Overall, I guess I am somewhat happy with my results.
I will post pictures maybe tomorrow. This ship has been a challenge. I am almost finished with the deck and will move on to the masting—rigging this coming week.
 

Attachments

  • hull32.jpg
    hull32.jpg
    82.3 KB · Views: 99
  • hull33.jpg
    hull33.jpg
    67.9 KB · Views: 97
  • hull34.jpg
    hull34.jpg
    87.1 KB · Views: 95
  • hull35.jpg
    hull35.jpg
    60.3 KB · Views: 95
  • hull36.jpg
    hull36.jpg
    90.7 KB · Views: 97
  • hull37.jpg
    hull37.jpg
    51.3 KB · Views: 100
December 21, 2006

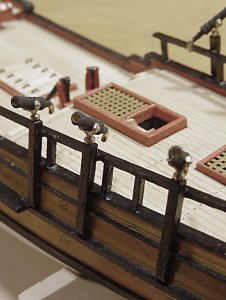
I just used the plain ole Model Shipways paint for everything (even though it is totally aggravating!). I just dab it on until it is covered on the Guns. I used testors (Gold) for the Gun handles and mounting brackets. Why did I do this? Don´t know, just lile the "flare" of things I guess. I wanted to the guns to have more of an ornamental look to them. I know that from a reality stand point, they are not even close to being accurate, but I think it adds. Just my thoughts. And hey, didn´t someone say that we are allowed to decorate it the way we wish???
The glossy—ness of the ship does not look that glossy. The camera and the lightning just makes it look too glossy. I really like Chucks ship and I am not sure how he got that smooth natural look. I thought I would never get the front railings done and the figurehead and all to look like I want. I am really not too pleased with it, but hey, its ok with me I guess. I took that idea as close as I could from the Sultana Project website. The Figure head again, just using the white Model shipways paint. I did not gloss the figure head. About that Model shipways paint, well, it´s ok. I don´t know what the deal is with that paint, but it seems too thick. I must be missing something about how to use it. But, I am always adding a little water to it so that it will paint smooth. It has to be babied alot to get it to do right. I have to use alot of coats over and over and this also takes away from the natural beauty of the ship. I bet I have about 6 coats of white paint on the bottom hull, and I can still see the gray primer that I put on. Again, I must be missing something or Model Shipways needs to come up with a better paint. I ordered some stain from them and I love the stain. I used the stain on the bowsprit mast that is in construction.
Thanks for your compliments—it makes me more interested in the project and keeps me from getting burned out. I started this back in June of 2006 and I am just now almost getting the Hull completed. The timbers need to be cut down I know this. I am getting a new dremel tool with cutting attachments that can do this for me. Other than this, the only tools that I have used on this ship is a couple of files, and xacto knife, and a set of dividers for measuring.
The metal alligator clips have really come in handy.
 
December 27, 2006

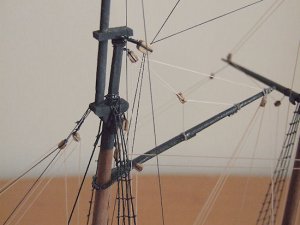
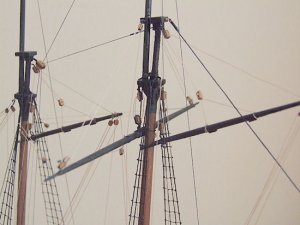
I have started on constructing my Mast. I cheated (again). I needed to "taper" my mast—so I used a small drill press that I have. I mounted my dowel in the press and turn on the drill press. With a piece of sandpaper, all I did was run the sand paper up and down the dowel until I achieved my taper. It took about 5 minutes or so to do this to the level of satisfaction of my liking. Oh well to each there own (I can here it now). But hey—got my mast done! I also used a very small disk sander to make the upper head end of the mast. The only thing I did by hand was that at the lower end of the mast that inserts into the ships deck, I used a file to file off that Octagon shaped area. When I get one mast done I shall submit the photo on that one too.
 
January 14, 2007

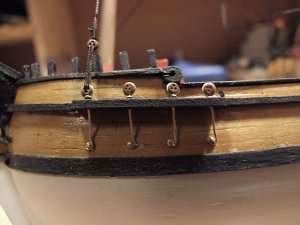
Got started on my Chain Plates. Got to get those timber head cut down—they are too high.
 

Attachments

  • chainplates1.jpg
    chainplates1.jpg
    45.6 KB · Views: 87
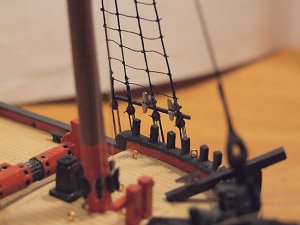
January 16, 2007

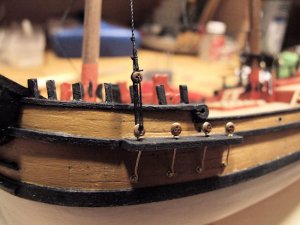
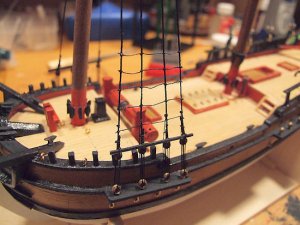
I have some new photos for everyone - starting on the ratlines.
 

Attachments

  • ratlines1.jpg
    ratlines1.jpg
    50.5 KB · Views: 136
  • ratlines2.jpg
    ratlines2.jpg
    49.2 KB · Views: 134
January 21, 2007

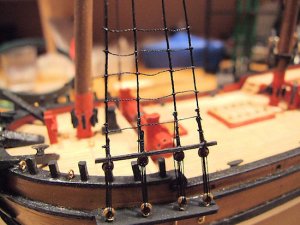
More images of Ratlines.
 

Attachments

  • ratlines3.jpg
    ratlines3.jpg
    52.2 KB · Views: 113
  • ratlines4.jpg
    ratlines4.jpg
    56.2 KB · Views: 113
January 24, 2007

It isn't that hard, just takes a lot of focus. It takes about 5 to 7 minutes for me to tie each step. I would say that it takes me about 5 to 6 hours to make one complete shroud. I am going to do the two at the front of the ship and then focus my attention on the Main Boom. I found some ultra tiny beads at the local Hobby Lobby that I am going to use for the parrals.
 
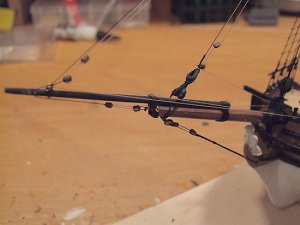
February 12, 2007

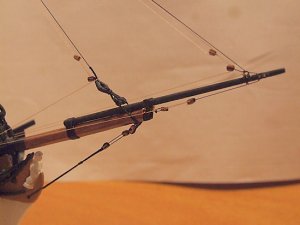
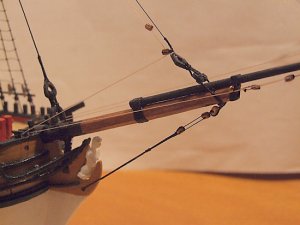
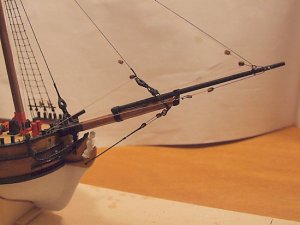
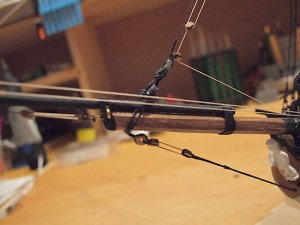
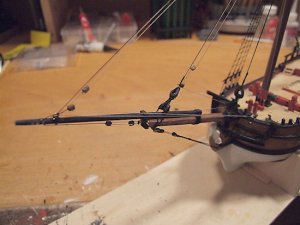
Here are some shots of my rigging on the Bowsprit section—mighty tedious !!!
 

Attachments

  • bowsprit01.jpg
    bowsprit01.jpg
    47.2 KB · Views: 117
  • bowsprit02.jpg
    bowsprit02.jpg
    46.3 KB · Views: 120
  • bowsprit03.jpg
    bowsprit03.jpg
    49.7 KB · Views: 118
  • bowsprit05.jpg
    bowsprit05.jpg
    52.2 KB · Views: 117
  • bowsprit04.jpg
    bowsprit04.jpg
    49.8 KB · Views: 117
  • bowsprit06.jpg
    bowsprit06.jpg
    45.8 KB · Views: 116
  • ratlines5.jpg
    ratlines5.jpg
    49.3 KB · Views: 116
March 10, 2007

Here are some pics of my Main Boom.
 

Attachments

  • mainboom1.jpg
    mainboom1.jpg
    66.5 KB · Views: 117
  • mainboom2.jpg
    mainboom2.jpg
    61.6 KB · Views: 116
  • mainboom3.jpg
    mainboom3.jpg
    69.2 KB · Views: 117
  • mainboom4.jpg
    mainboom4.jpg
    58.7 KB · Views: 115
  • mainboom5.jpg
    mainboom5.jpg
    62.4 KB · Views: 116
April 13, 2007

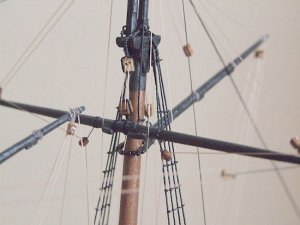
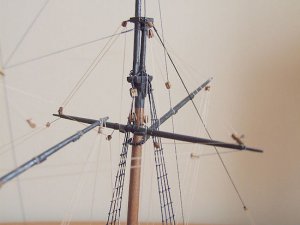
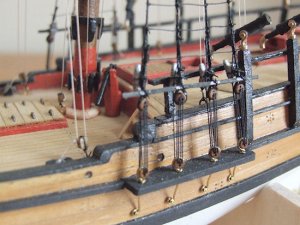
I always try to think of a "jig" that will help do the work better and faster. In the case of the shrouds, I had to come up with a jig to help. I don´t know if I can explain this or not, but lets say that you have all the lower deadeyes installed (from the chain plates threw the channels, and then your deadeye). What I did was that I took a piece of the brass wire and made a twisty looking kind of jig. The jig is about 1 inch in length. It is two pieces of brass wire 1 inch in length that is twisted together. On each end of the wire the wire spreads out and "bends" so that each wire will go thru the bottom deadeye. The other end of the brass wire is the same. It is bent and the two wires are spread apart so that the wires can go threw the holes of a deadeye that you want to put on there. Now you can take the rigging line and bring it down to the deadeye that is "steadied" by that brass wire, because the brass wire is a HOLDING JIG that holds everything in place so that you can run your rigging line thru the deadeye and seize it. This guarantees same method of each mounting of the deadeye.Look on page 17 and figure 26 of the manual and you will see what this jig looks like. I do not have a problem with my glue stopping up. I guess I am lucky. I use this brand of glue: KROXX 301 Net 20g and I got this from Model Expo online (www.modelexpo-online.com) I bought some of those short applicator tips that has the super tiny hole. You have to make sure that NO air is getting in and around the additional tip on the bottle. I used tape or electrical tape or scotch tape to secure the tip onto the bottle to make sure NO air gets in at any other place. the Tiny opening stays open all the time for days and never "stops up". I hate to see you have problems otherwise.
 

Attachments

  • rigging01.jpg
    rigging01.jpg
    71.9 KB · Views: 123
  • rigging02.jpg
    rigging02.jpg
    48.5 KB · Views: 120
  • rigging04.jpg
    rigging04.jpg
    75.3 KB · Views: 119
  • rigging03.jpg
    rigging03.jpg
    68 KB · Views: 122
  • rigging05.jpg
    rigging05.jpg
    49.9 KB · Views: 120
  • rigging06.jpg
    rigging06.jpg
    45.8 KB · Views: 119
  • rigging07.jpg
    rigging07.jpg
    52.9 KB · Views: 122
  • rigging08.jpg
    rigging08.jpg
    48.4 KB · Views: 121
  • rigging09.jpg
    rigging09.jpg
    43.9 KB · Views: 122
  • rigging11.jpg
    rigging11.jpg
    77.2 KB · Views: 123
May 8, 2007

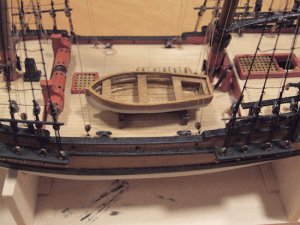
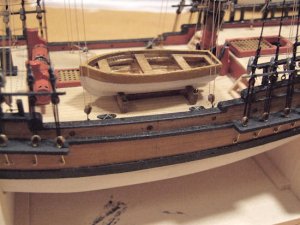
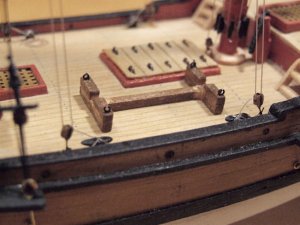
Got my Ships Boat done. That carriage is made from scratch and I am not taking credit for any historical accuracy, I am just shooting for what works.
 

Attachments

  • shipsboat01.jpg
    shipsboat01.jpg
    69.8 KB · Views: 114
  • shipsboat02.jpg
    shipsboat02.jpg
    68.1 KB · Views: 114
  • shipsboat03.jpg
    shipsboat03.jpg
    59.8 KB · Views: 112
May 10, 2007

Finally Done !!!

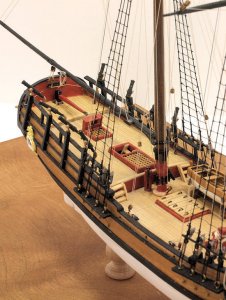
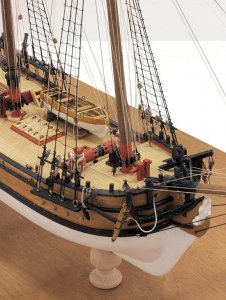
This has been a journey. But, she is done—11 months and about 3 weeks. Here are the completed photos. Please contact me in case you need some help or questions. I can be reached at donnie@shipsofscale.com

Thanks for viewing
 

Attachments

  • sultana01.jpg
    sultana01.jpg
    94.9 KB · Views: 130
  • sultana02.jpg
    sultana02.jpg
    99.2 KB · Views: 126
  • sultana03.jpg
    sultana03.jpg
    91 KB · Views: 128
I hope that some will find this log helping as I found it from way back in the beginning of my ship building years.

Donnie
 
One of the advantages wood ship modeling has over plastic is that the builder can rip out that which displeases him/her and rebuild it. My first wood ship was the old Aeropiccola SuperMEC HMS Victory in 1979. I made many mistakes building her, and those mistakes have bugged me ever since. I am now rebuilding those areas that bug me the most.

Your Sultana is a beautiful model that is looks deceptively simple. You are doing a great job on her!

Bill
 
Back
Top