Great job Alexander, I had some catching up to do.
You are using an out of date browser. It may not display this or other websites correctly.
You should upgrade or use an alternative browser.
You should upgrade or use an alternative browser.
Model VICTORY by Deagostini, scale 1/84
- Thread starter Alexander74
- Start date
- Watchers 85
-
- Tags
- deagostini victory
Friends, hello everyone!
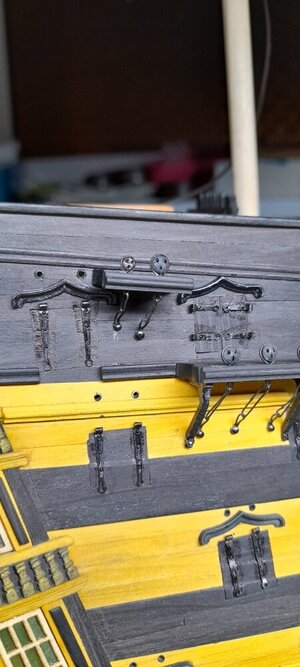
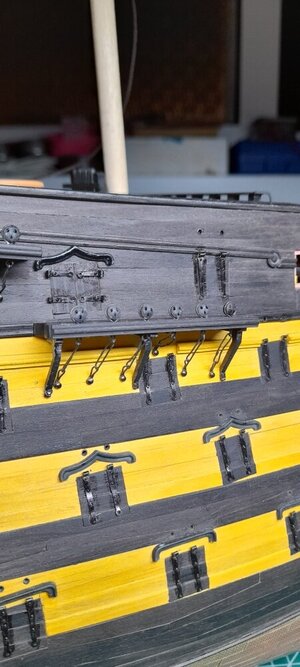
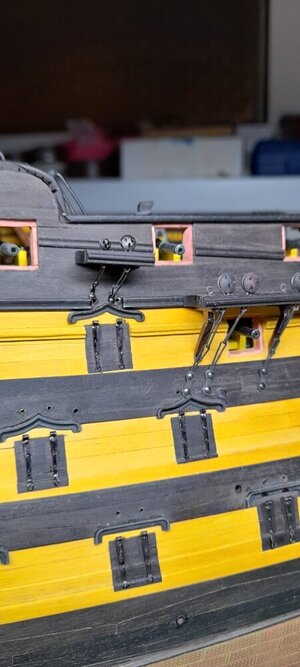
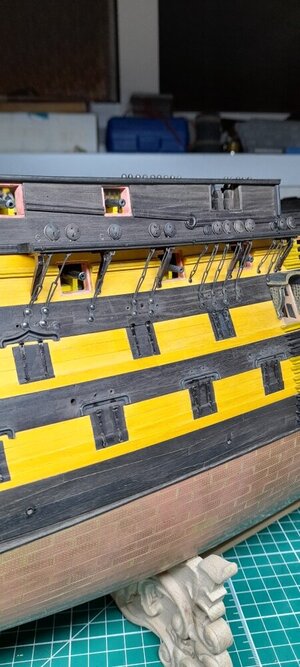
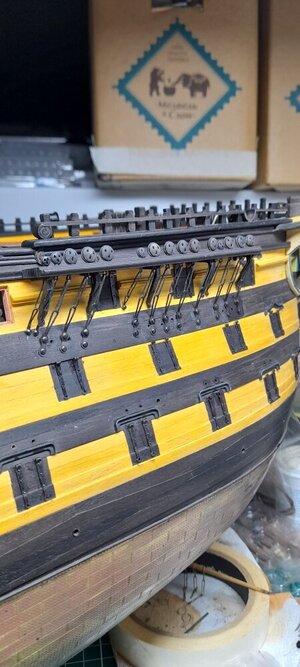
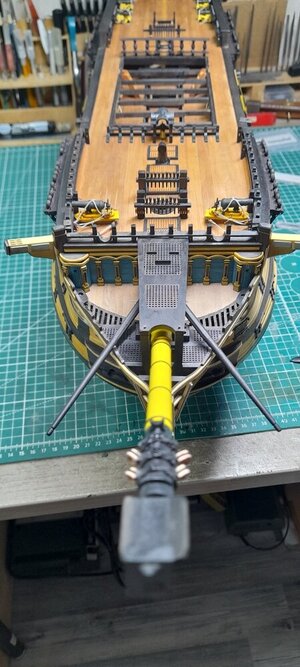
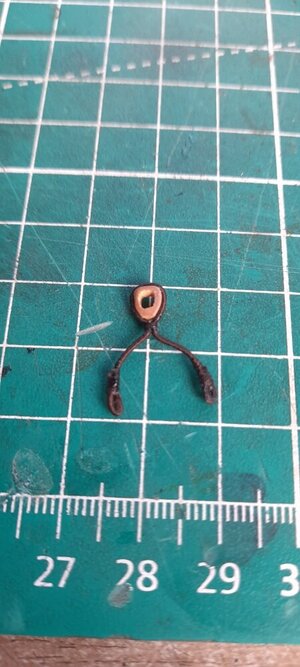
I had a short vacation, and construction of the model was suspended. Now I'm back and here's some progress in my work. I assemble the deadeyes and shrouds, install them on the channel and attach them to the hull. The line of the stay cables must continue the line of the stay cable, so I apply a rope to determine the inclination of the stay stays
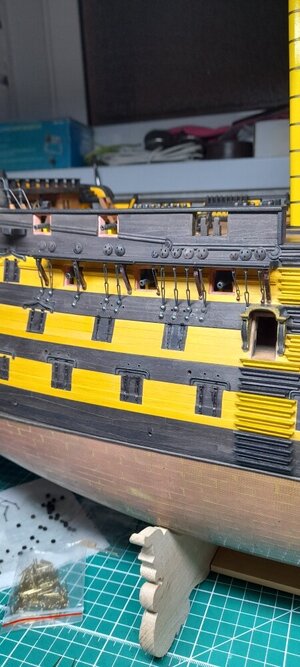
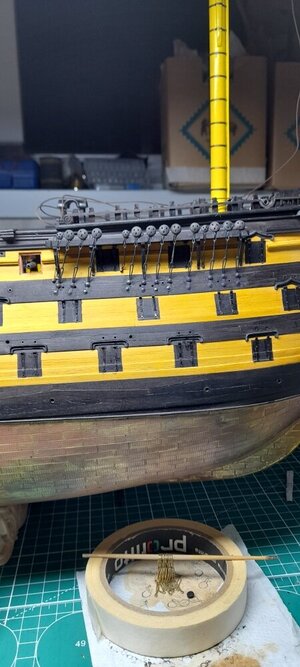
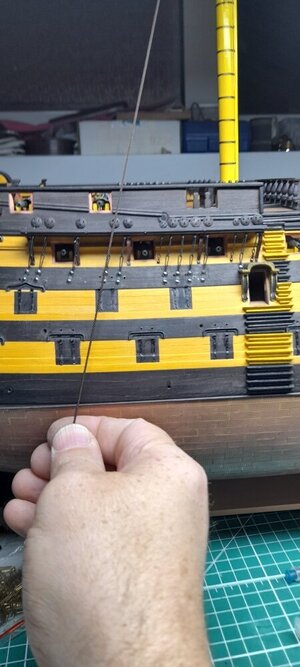
I had a short vacation, and construction of the model was suspended. Now I'm back and here's some progress in my work. I assemble the deadeyes and shrouds, install them on the channel and attach them to the hull. The line of the stay cables must continue the line of the stay cable, so I apply a rope to determine the inclination of the stay stays


It's always nice to see your progress reports! Wonderful, precise work.
It's always nice to see your progress reports! Wonderful, precise work.
Thanks PaulIt's always nice to see your progress reports! Wonderful, precise work.
Heinrich, so much has already been invested. And it’s not just thoughts here. Search for information, thought process, embodiment in wood, mistakes, rework, embodiment again. And a constant search for information on each individual element. I love this whole processThis is such a beautifully, clean build. There is clearly a lot of thought that has gone into the preparation of this Victory!
- Joined
- Jan 9, 2020
- Messages
- 10,509
- Points
- 938

I know this process only too well, Sasha. If this is done properly, few people can fathom the amount the amount of time that goes into it.Heinrich, so much has already been invested. And it’s not just thoughts here. Search for information, thought process, embodiment in wood, mistakes, rework, embodiment again. And a constant search for information on each individual element. I love this whole process
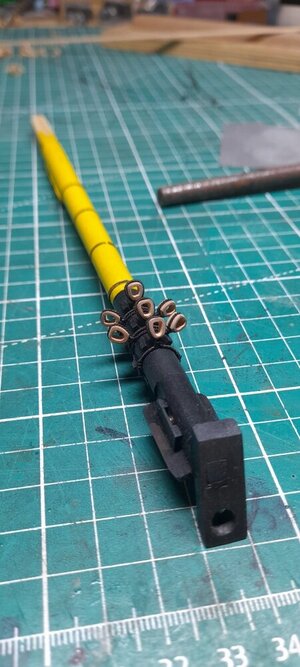
Friends, hello everyone. Thank you for your kind comments and likes. Continuation of construction. Over the weekend, inspiration came to me and I made a chimney. I cut a blank from a copper sheet, 0.3 mm thick, to size. Bent it according to the template and solder it. Same with the second element. Unfortunately, I didn’t take a photo of this moment. The remaining stages are in the photo.
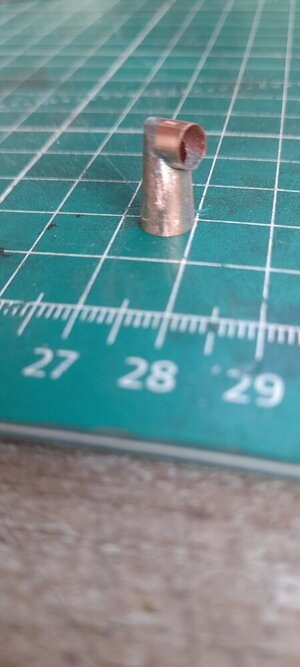
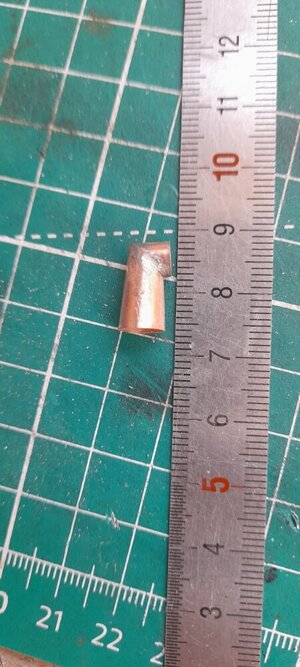
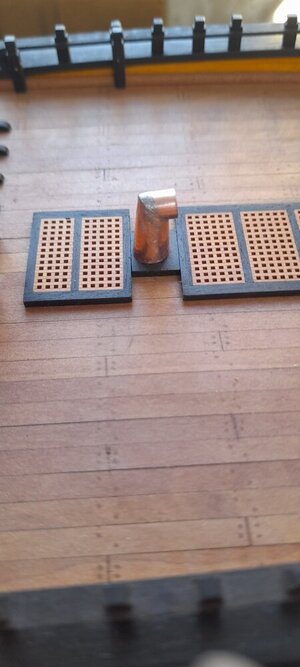
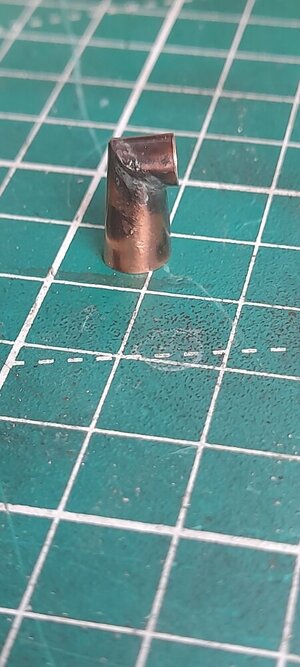
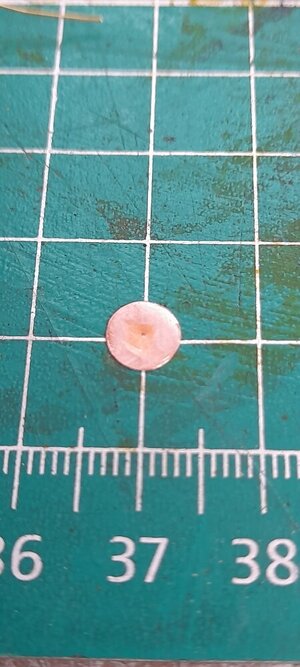
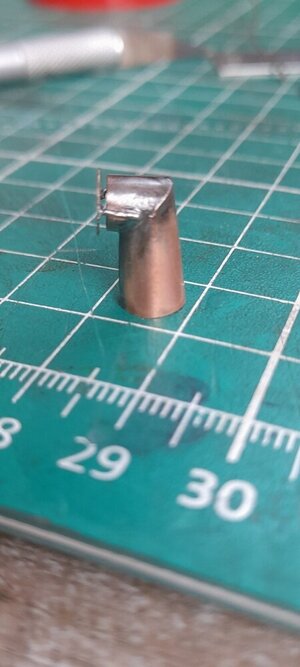
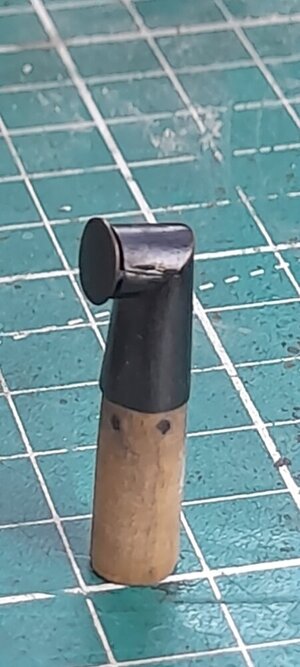
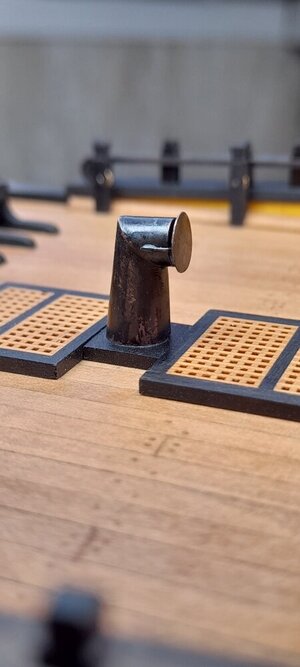
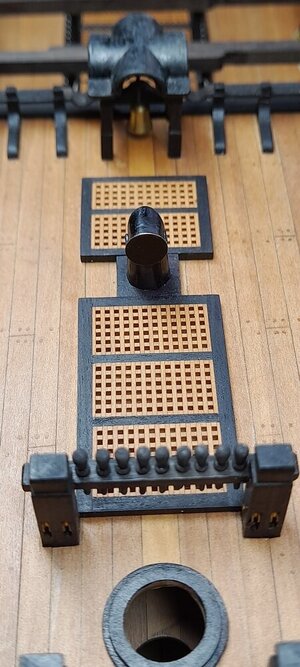
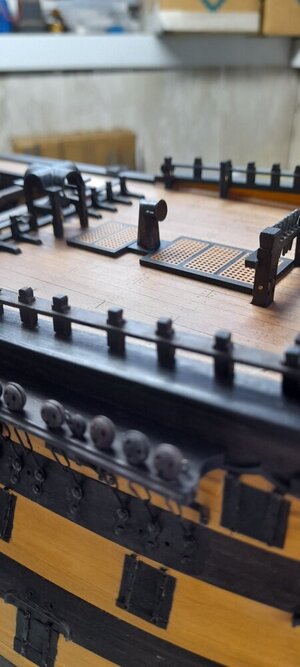
The pipe turned out to have elements of wear. It turned out to be natural wear and tear


The pipe turned out to have elements of wear. It turned out to be natural wear and tear
Very good result on the chimney - looking good 
Impressive workmanship on this little part Sasha!
Good morning Sasha. Way to go. Looks like the real thing. Brilliant as always. Cheers GrantFriends, hello everyone. Thank you for your kind comments and likes. Continuation of construction. Over the weekend, inspiration came to me and I made a chimney. I cut a blank from a copper sheet, 0.3 mm thick, to size. Bent it according to the template and solder it. Same with the second element. Unfortunately, I didn’t take a photo of this moment. The remaining stages are in the photo.
View attachment 395173View attachment 395174View attachment 395175View attachment 395176View attachment 395177View attachment 395178View attachment 395179View attachment 395180View attachment 395181View attachment 395182
The pipe turned out to have elements of wear. It turned out to be natural wear and tear
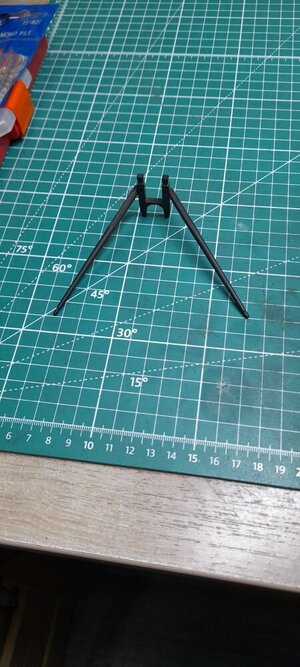
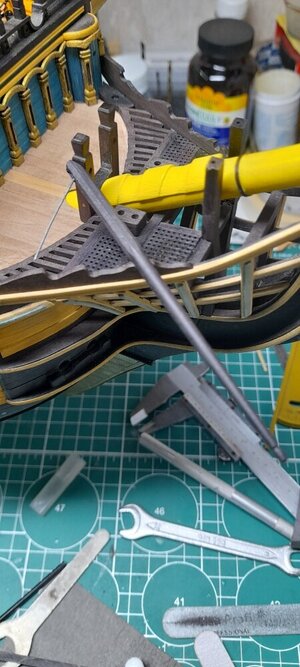
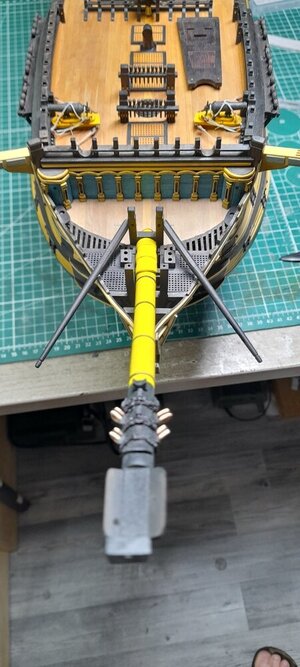
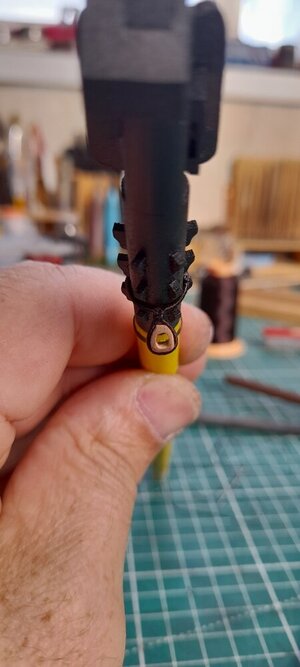
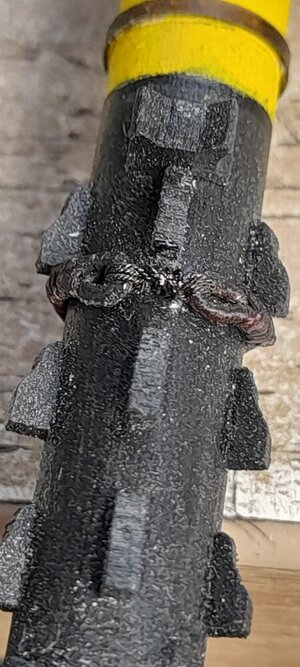
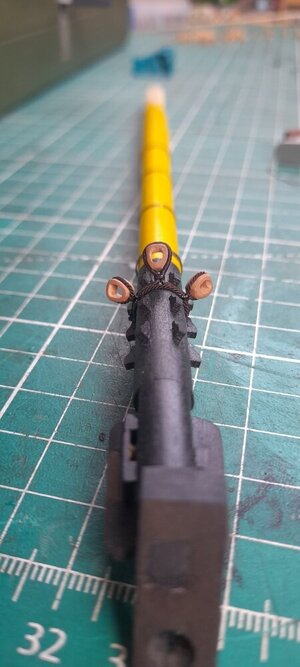
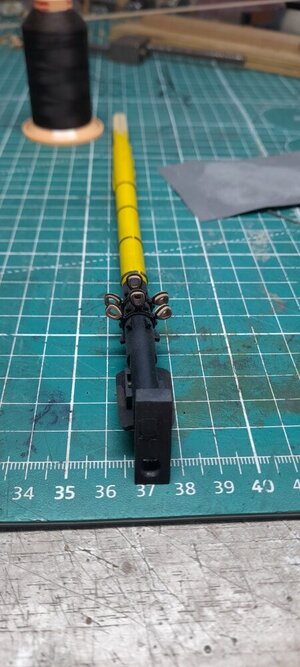
Preparation for installation of the wall-shroud deadeyes. To do this, it was necessary to make cuts in the mars. I made a template for the shrouds and made a slightly larger cut according to its dimensions. The cut turned out to be 0.5 mm wide and 1.5 mm long. I did the left/right side synchronously so that it would match. Well, I tried on the guys puttens.
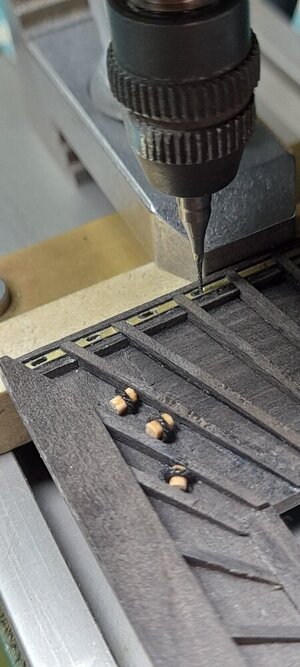
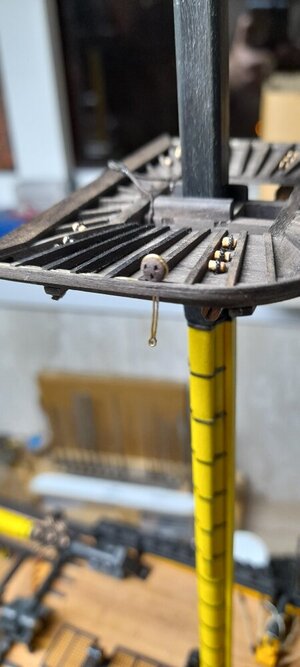


Good morning Sasha. Brilliant and accurate. You are not missing a thing. Just out of interest which rigging plans/references are you using as it looks spot on. E.g the spacing of your deadeyes on the channel,the blocks in bowsprit and toggles for the multitude of blocks beneath the tops….Love it and stunning work Sasha. Cheers GrantPreparation for installation of the wall-shroud deadeyes. To do this, it was necessary to make cuts in the mars. I made a template for the shrouds and made a slightly larger cut according to its dimensions. The cut turned out to be 0.5 mm wide and 1.5 mm long. I did the left/right side synchronously so that it would match. Well, I tried on the guys puttens.
View attachment 396932View attachment 396933
Grant, hi.Good morning Sasha. Brilliant and accurate. You are not missing a thing. Just out of interest which rigging plans/references are you using as it looks spot on. E.g the spacing of your deadeyes on the channel,the blocks in bowsprit and toggles for the multitude of blocks beneath the tops….Love it and stunning work Sasha. Cheers Grant
I use the anatomy of McKay and Longridge. In Longridge, each tackle is described in detail, the diameter, where it comes from and where, and through which blocks it goes. All that remains is to combine some points on the model. Sometimes not everything is clear. Just yesterday I was looking for how the martin boom rigging goes through the bowsprit and is attached to the lugs. Spent 2 hours searching


