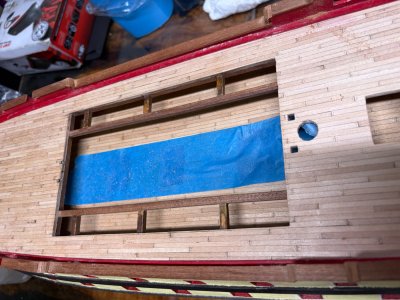
Montañés by Sevish - OcCre kit

May I direct you to my recent post (HERE) on coppering using CA glue. The fumes did some damage to me which I hope you will avoid. It's nasty stuff if you use enough to become sensitised to it.

Thank you for your warning.
And i sorry to hear about your condition, I have read your post.
I usually don't use the CA glue for long periods, and taking also breaks in between.
 
Good morning gents.
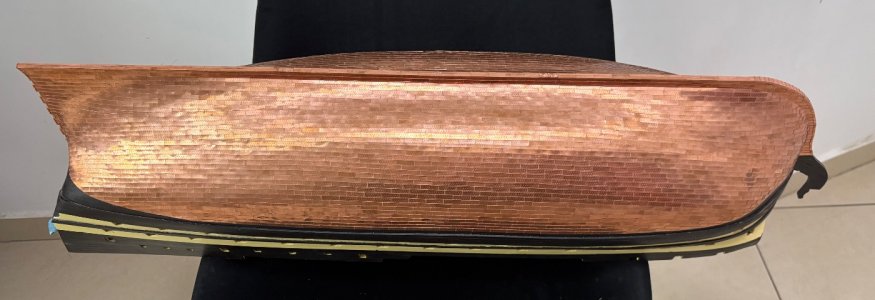
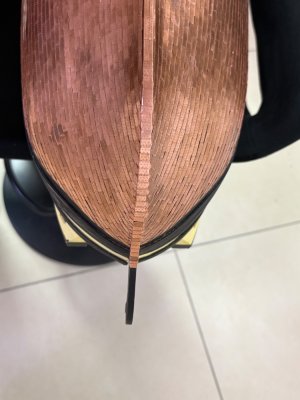
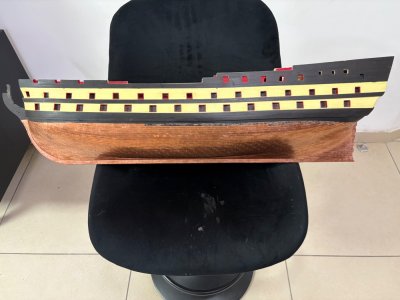
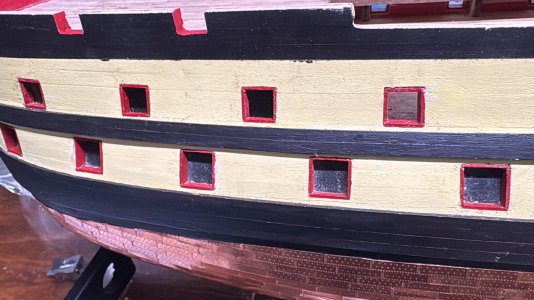
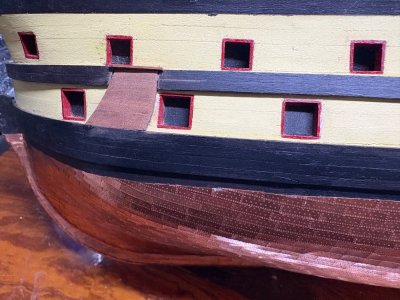
Finely i have finished to copper the ship hull.
It took me about month and a half to copper it all.
Iused about 8 sheets of amati’s 1/72 copper plates,with some parts of the coppering that i have redone,and some plates that gone to the garbage becuse of bad cutting when I separated the tiles.

**Useful tip- if you are going to use amati’s tiles use slightly used x-acto knife 11 to sparte the tiles, it will sit best on the notches between the tiles and won’t jump out passing without any pressure and it will cut it after 2 passes. And don’t use roller to cut them out.

Anyway I don’t know what have happened but i cut all the tiles the same time but for somewhat reason only one side of the ship started to oxidize.don’t know what do right now but i wil address it before the masts part,i will see how it will look when the time will come.
IMG_0050.jpegIMG_0049.jpegIMG_0047.jpeg

And now the fun part of the build begins !

Cheers
Guy
 
Dear Sevish!
Since you said that you want to make many models with copper plating, I want to warn you.

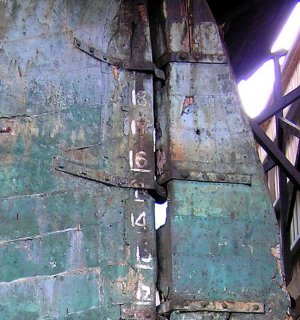
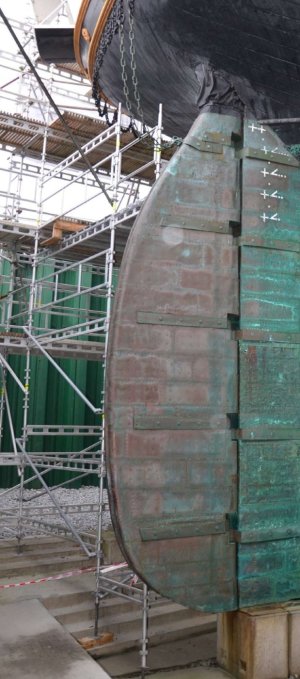
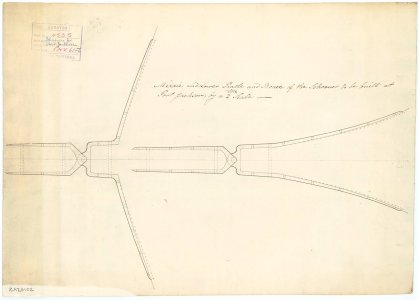
Steering loops and hooks were never placed on copper plating. On the contrary: first the steering wheel was placed on the body, and then copper sheets were nailed, carefully cutting them to the shape of the hinges.

The main reason is that the ship was first built, then launched, completed, tested, and only then it was sheathed in copper.
The second reason is that usually the steering loops and hooks were cut into the body, and it was impossible to push copper under them. And unnecessary.

You will now make the traditional rookie mistake of gluing the steering loops on top of the copper sheathing.

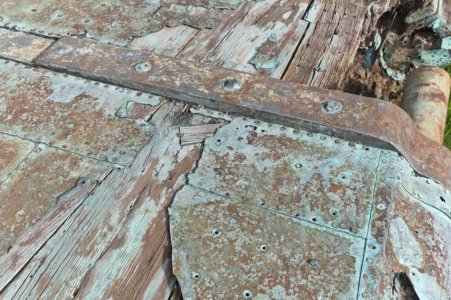
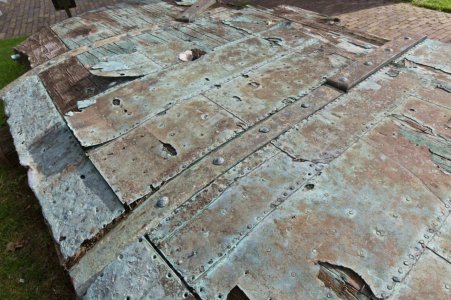
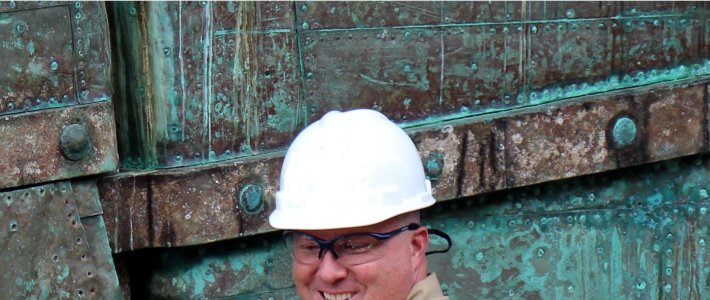
The photos below show how the copper sheets carefully bend around the steering parts. Just take a closer look.

2ф — копия.jpg26-3185589-jylland-4- — копия.jpgAmsterdam_2301006_Oudeschild_Museum_6143.thumb.jpg.66d3123d194b8fc3f4a49af4cdb6fa8d.jpgAmsterdam_2301006_Oudeschild_Museum_6150.thumb.jpg.101e855cf6a62b91e544c70a08246c38.jpgмедная обшивка.jpg
22-4322907-large3.jpg
 
Dear Sevish!
Since you said that you want to make many models with copper plating, I want to warn you.

Steering loops and hooks were never placed on copper plating. On the contrary: first the steering wheel was placed on the body, and then copper sheets were nailed, carefully cutting them to the shape of the hinges.

The main reason is that the ship was first built, then launched, completed, tested, and only then it was sheathed in copper.
The second reason is that usually the steering loops and hooks were cut into the body, and it was impossible to push copper under them. And unnecessary.

You will now make the traditional rookie mistake of gluing the steering loops on top of the copper sheathing.

The photos below show how the copper sheets carefully bend around the steering parts. Just take a closer look.

View attachment 482325View attachment 482326View attachment 482327View attachment 482329View attachment 482331
View attachment 482336
Hi Iutar,
Thank you for your tip and warning.
Great photos.
I will take note for this matter.
The coper tiles are vey thin so it will be very easy to cut them and adjust spacing for the hoops and hook.
 
Hello everyone,
I have decided to go also online with my Montañés build.
With my update of my log i'll also add video of some of my work process in my new channel.

And for my first video i made a short clip of my progress up to the hull coppering.


Cheers
Guy
 
Hello everyone,
Finally i finished to open clean and fixing the holes size .


In this clip the actual opening and cleaning of the gunports are missing and the clip starts feom the point of only fixing the sizes of them, sorry about that.
Enjoy.

IMG_0418.jpegIMG_0417.jpegF28ED5F0-402B-4375-916D-14A4F386E12E.jpeg

IMG_0419.jpeg

Cheers
Guy
 
Happy Birthday!! I am building the officer's quarters now and it is being difficult for me. Had to do some adjustments to make each side exactly the same...I think it will come out ok...but definitely a time consuming part of the build, especially all the little metal parts for the railings to get them to line up...
 
Happy Birthday!! I am building the officer's quarters now and it is being difficult for me. Had to do some adjustments to make each side exactly the same...I think it will come out ok...but definitely a time consuming part of the build, especially all the little metal parts for the railings to get them to line up...
Thank you very much Beer
I ran in to it in the Santisima trinidad build,the gallery was poorly designed for the PE parts.
Lots of adjustments was needed but eventually the result was very nice.
 
Last edited:
Good morning Guy. I’m a little late however I hope you had a great birthday. How is your Montanes going? Cheers Grant
Hi Grant, Thank you very much Beer
The Montanes going very slow lately ,feels like that every part i'm working on taking me forever to complete.
I'm hoping that it will pass or i'll be late in my schedule :rolleyes:
Cheers
Guy
 
Hello mates,
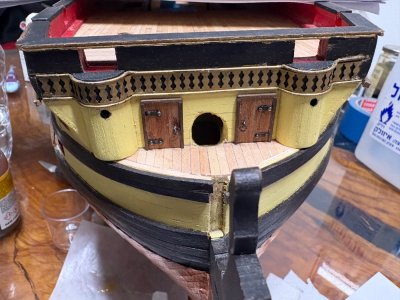
After some long absence i finished some stuff on the ship, the bilboard , rails decorations , support columns and part of the bow.
Enjoy.

IMG_0582.jpeg
IMG_0585.jpeg
IMG_0583.jpegIMG_0656.jpeg
IMG_0717.jpeg


And also my video of the billboard making.
Montanes - Trafalgar 1805 Part 2 - Billboard

Cheers
Guy.
 
Back
Top