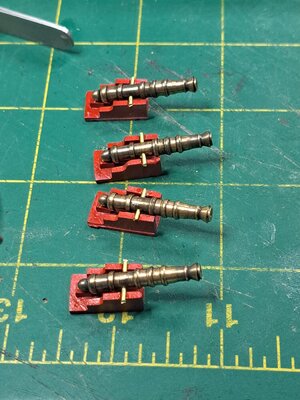
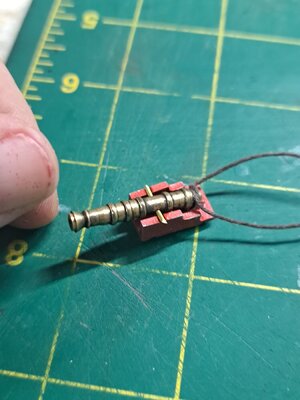
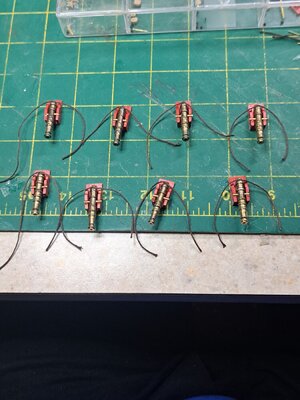
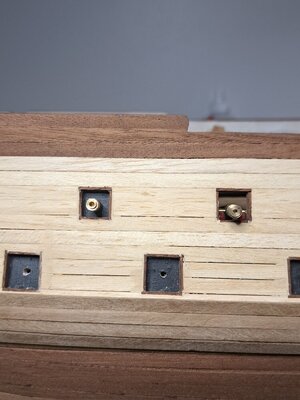
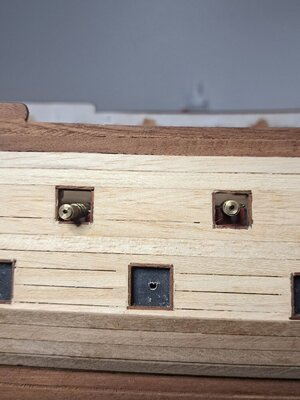
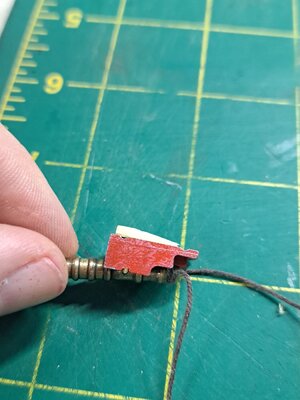
So starboard side has all the ports shaped and holes drilled and cannons test fit. Now to copy over to the port side and go from there.
Good morning Rob. Starting to take shape very nicely. Power sander- Eish you are a brave man
 |
As a way to introduce our brass coins to the community, we will raffle off a free coin during the month of August. Follow link ABOVE for instructions for entering. |
 |
 |
The beloved Ships in Scale Magazine is back and charting a new course for 2026! Discover new skills, new techniques, and new inspirations in every issue. NOTE THAT OUR FIRST ISSUE WILL BE JAN/FEB 2026 |
 |
So starboard side has all the ports shaped and holes drilled and cannons test fit. Now to copy over to the port side and go from there.
Good morning Rob. Starting to take shape very nicely. Power sander- Eish you are a brave man
Yea my Dad had me around a lot of power tools growing up so they don't scare me... well most don't atleast lolGood morning Rob. Starting to take shape very nicely. Power sander- Eish you are a brave man. I would be nervous with 120grit on power sander, I used 180 by hand and then 800, however probably due to my lack of skill with power tools. Cheers Grant
Good morning Rob. The cannons all came out spot on. Are you going to paint the ship and the cannons? Cheers GrantAlright so I have dry fit and prepared all the cannons slots and gun port frames. View attachment 327464View attachment 327465View attachment 327466
Now they all come out and I close up this hull and make this hull the shape it's suppose to be!!!
So I will be painting the cannons with brass blackening solution before I put them back on and the ship will have to have some paint like on the whales and the parts that need the red color like the walls on the deck. They provided African walnut for the whales instead of something like ebony which I would have been fine not painting.Good morning Rob. The cannons all came out spot on. Are you going to paint the ship and the cannons? Cheers Grant

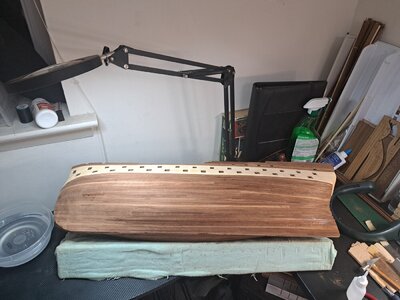
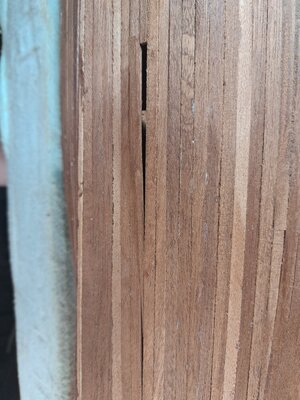
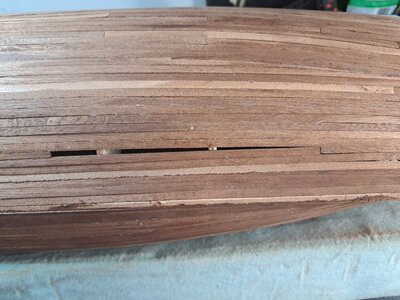

Good evening Rob. Well done on finishing your hull planking. Looking good and she now starts to feel like a shipAlright so big update here.
View attachment 330058View attachment 330059
I have successfully finished the planking and this is the last plank going in!!!
View attachment 330055View attachment 330056
It actually feels surreal and so refreshing!!! Now it's shaping and making sure my keel fits properly. I cheated part way through this last update and here is my bow section set and in place.
View attachment 330057
Thank you so much for coming along and now to sanding.

Good afternoon Rob and welcome back- congratulations on your new employment. Smaller for me. Cheers GrantHello everyone and this is my post of return!!! I have had an interesting couple of months where I now have a brand new full time job that is not contract and full benefits. Best of all is the pay is to where I don't have to do two jobs which is why the boat yard, aka my computer desk that I multipurpose as such lol, has been closed.
So in my return there are things that need attention. My hull for the most part is complete but I need to move to a different part for a little as it's been so long I have been working on it and it's not where I want. There may need to be several redo tokens I might have to borrow from @GrantTyle and @dockattner but that will be done soon.
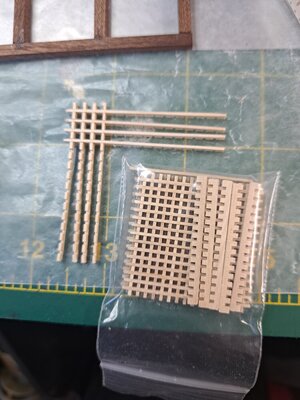
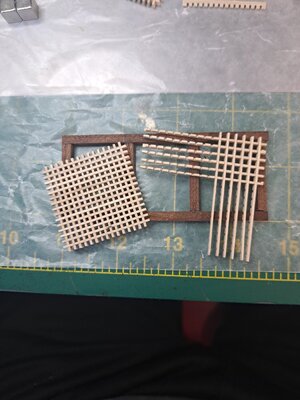
I need peoples opinion as I'm uncertain but leaning to one way and want to make sure my eye is right. I have two sizes of grating. And I want to put a close to scale grating on that would make sense. These are the two: View attachment 341478
View attachment 341479
I am leaning towards the setup on the left because it looks as if someone at this scale would not fall through. Opinions are welcome and thank you for coming by!!
