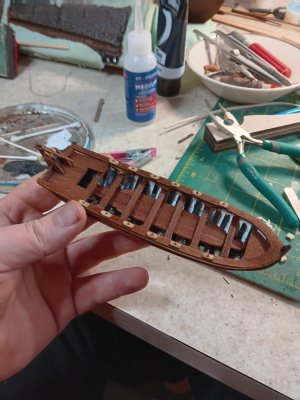
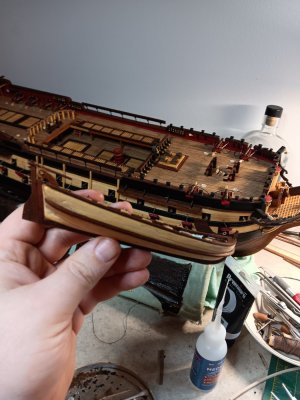
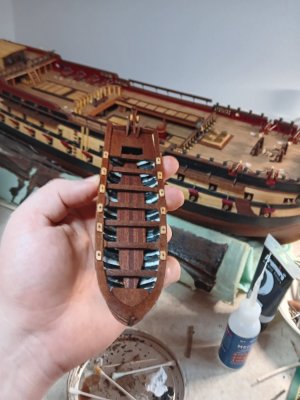
You’re making good progress.
-

Win a Free Custom Engraved Brass Coin!!!
As a way to introduce our brass coins to the community, we will raffle off a free coin during the month of August. Follow link ABOVE for instructions for entering.
-

PRE-ORDER SHIPS IN SCALE TODAY!
The beloved Ships in Scale Magazine is back and charting a new course for 2026!
Discover new skills, new techniques, and new inspirations in every issue.
NOTE THAT OUR FIRST ISSUE WILL BE JAN/FEB 2026
You are using an out of date browser. It may not display this or other websites correctly.
You should upgrade or use an alternative browser.
You should upgrade or use an alternative browser.
Welcome back -you may know that I built this model mid 1980Th when it came into the market and have been helping two others to build it.Hello everyone and sorry for the long long absence. Life has finally given me the chance to come back and join you all and also to continue on my process to build this wonderful boat!!!
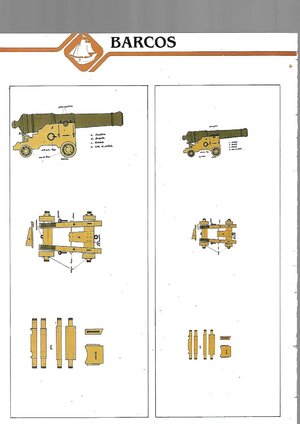
I have waited a few days to post this so I could make some progress and re evaluate my approach to working on her. So my main goal is to get the first items I wanted to get done on the first deck completed so I can close her up and work on the second and third decks. My first order of business is to get the 8 cannons together and ready to be mounted.
I bought an airbrush to make painting a little easier and to make sure I have even coats. I gave this a shot and got a good even coat on the carriages of the cannons (I don't have a picture of this unfortunately).
Feeling pretty good about that step I moved next to coloring the cannons and wheels. I used brass black to get them to look more like brass cannons then super shiny gold.View attachment 412432
Once I got all this done its next onto assembly of all the parts. The bottom 8 cannons will not have wheels as they were not provided. So I got this situated and put together and I am pretty pleased with them at that point.
View attachment 412431
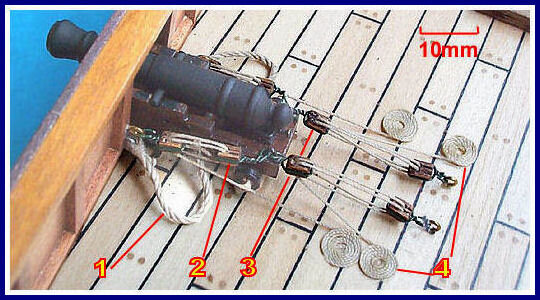
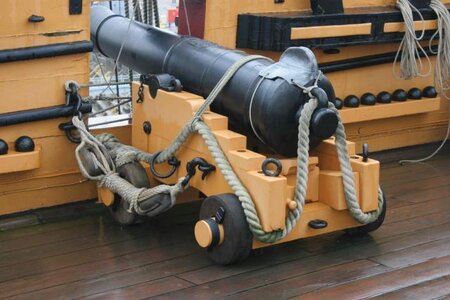
Now for the reason I wanted the deck off for this. I want to rig these babies and do this the right way for all the cannons. First step is to get the bracing ropes on. I found that drilling in these is a pain so I am going to need to figure out that but for now, we have the ropes set.
View attachment 412435View attachment 412430
Next I dry fit the cannon in the ports and found it to be quite low cause of the lack of wheels, I fixed this by putting a piece of 2x3 spare wood on the bottom and sanded it so it centered up quite nice.
View attachment 412429View attachment 412428
Second shot here is the base with no fix and the right is the cannon centered and placed where it will be.
Thank you everyone for checking in and I hope to be posting and conversing with you all and catching up on your wonderful posts!!
View attachment 412433
Now you did well adding wood under the lower deck carriage -it cannot be seen anyway. I did it with all gun carriage, as I made it with all gunports open - for me no dummy guns. On all the other guns -fully made - I added below the carriage a 5x5 mm piece of wood, as with the wheels alone, there is very little glue space -easy to have an accident here. Even with Dummy Guns more than one has gun pipes inside the hull and no way to get them out except making a hull in the bottom of the hull
you are always welcome to ask for help- el capi
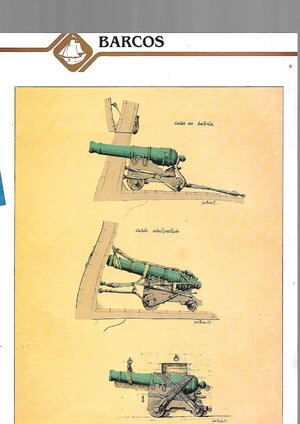
Sorry, I beg to differ, it's double plank - well mine is, & the kit is described as such. Maybe yours is an earlier kit? I stand to be corrected?It's a single layer unfortunately which is why I'm trying to take my time and do the best job I can to need as little fixes as possible. Next set has two steelers in it to help with the bow to make it cleaner and lower section should not be too hard.
Cheers
So in my attempt to try and make sure I get everything documented I have lost all the pictures I took the past few days of work. But what can I do, it was a lot of squaring up half finished parts of the build that were waiting on the chassis of the cannons to be done and set on the second deck.
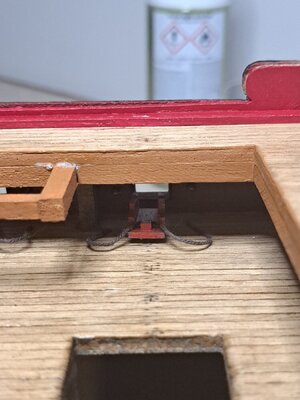
I ended up gluing down the ends of the rope so that way everything stayed in place.
I have finished the rubbing strakes and just need to putty and sand and paint them. Once that was done I painted the red for the strings and the inside of the deck.
This is where we pick up with photos.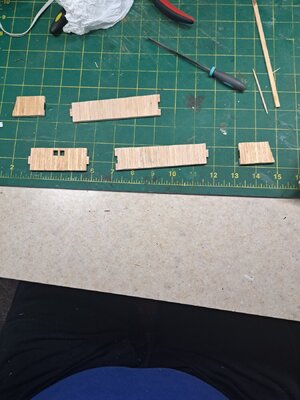
I got them planked then inorder to do the shaping with the thin 1x3 I glued it onto paper and cut it down accordingly.
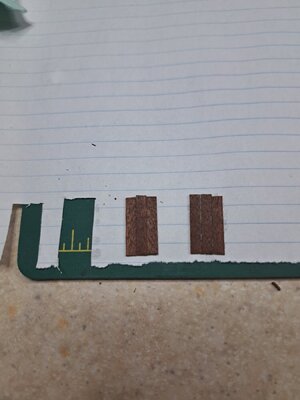
Next was getting everything done the way it was needed, making sure to do dry fits each time
I oiled it with linseed oil and got it glued up and mounted the last deck on the ship.
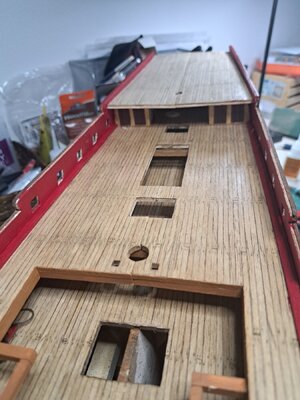
And this is where we stand currently. Started doing some of the black paint and worked on the top of the railings as well. So far feeling a lot better now and starting to see some real bones comes to life .
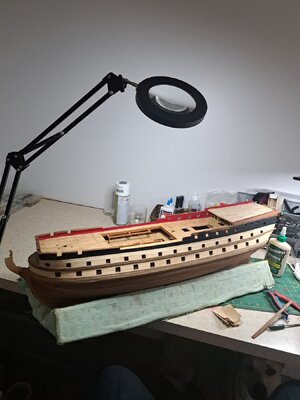
Thank you all for checking in and hope the new year was good!!!!

I ended up gluing down the ends of the rope so that way everything stayed in place.
I have finished the rubbing strakes and just need to putty and sand and paint them. Once that was done I painted the red for the strings and the inside of the deck.
This is where we pick up with photos.

I got them planked then inorder to do the shaping with the thin 1x3 I glued it onto paper and cut it down accordingly.

Next was getting everything done the way it was needed, making sure to do dry fits each time


I oiled it with linseed oil and got it glued up and mounted the last deck on the ship.

And this is where we stand currently. Started doing some of the black paint and worked on the top of the railings as well. So far feeling a lot better now and starting to see some real bones comes to life .

Thank you all for checking in and hope the new year was good!!!!
That’s progressing well.
Good afternoon Rob. Looking great. Cheers GrantSo in my attempt to try and make sure I get everything documented I have lost all the pictures I took the past few days of work. But what can I do, it was a lot of squaring up half finished parts of the build that were waiting on the chassis of the cannons to be done and set on the second deck.
View attachment 418221
I ended up gluing down the ends of the rope so that way everything stayed in place.
I have finished the rubbing strakes and just need to putty and sand and paint them. Once that was done I painted the red for the strings and the inside of the deck.
This is where we pick up with photos. View attachment 418226
I got them planked then inorder to do the shaping with the thin 1x3 I glued it onto paper and cut it down accordingly.
View attachment 418225
Next was getting everything done the way it was needed, making sure to do dry fits each time
View attachment 418227View attachment 418224
I oiled it with linseed oil and got it glued up and mounted the last deck on the ship.
View attachment 418222
And this is where we stand currently. Started doing some of the black paint and worked on the top of the railings as well. So far feeling a lot better now and starting to see some real bones comes to life .
View attachment 418223
Thank you all for checking in and hope the new year was good!!!!
Hallo @Robp1025So here is my first question with this ship. What is the normal width and length of a plank for ships.... So the other ships I have seen the have done 0.5x5 mm planks for the deck. Fine cool I can live with this. But this kit. Which is at 1:70 decided it wants 1x3mm planks for the deck. So which is technically the right width to use in regards to this model?
View attachment 303815
we wish you all the BEST and a HAPPY BIRTHDAY

Have a good birthday Rob
Happy Birthday Rob!
Happy Birthday, Rob! 

You’re getting there dude.
Sorry i have not been around very much but life and all that jazz lol. Pretty much my posts are going to be more progress updates and less detailed towards process as I really don't have a good amount of free time to really build with full time college and work. But ill do my best to give some updates every few weeks. 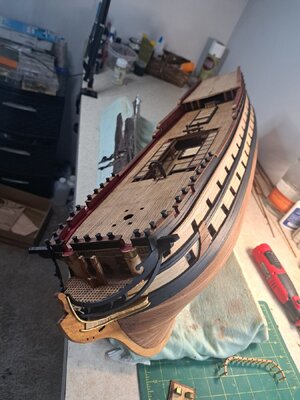
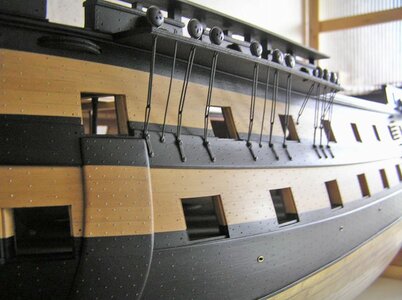
There has been some decent work done on her in the past few months. I have been able to fully install the grating and have finished most of the molding on the sides. I have done a nice dark black on the rubbing strakes as I did not have actually black wood to use for them. The kit came with wonderful African Walnut which i could not really pass up using!!
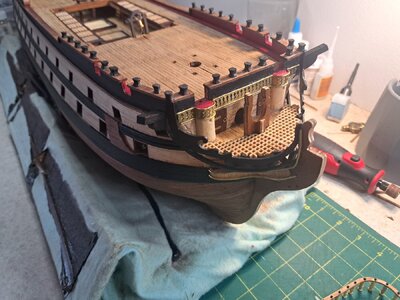
I have been able to do the decorations on the bow and it came out pretty well i think with the oil that i have been using to finish off the parts that i have completed. The black holders for the rigging is a little rough so I may pull them off a redo them which is why i have not oiled that area .
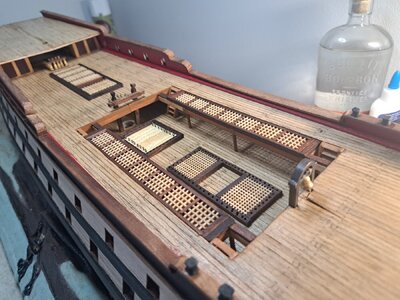
The grating was very troublesome as the lengths on paper is what i used instead of measuring the ship itself. After redoing that i was able to get that completed and then have oiled that up. At this point I am working on the deck decor and the detailing on the sides of the ship.
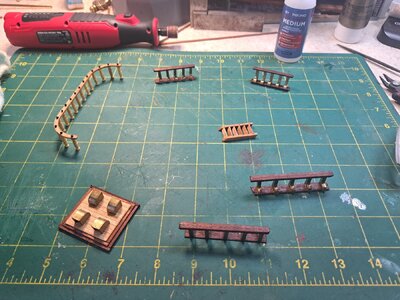
At this point i wont be putting any pieces on the deck that are too fragile as I want to get the doors for the cannons and the rudder in place and to my liking as this will require me to flip the ship and tilt it pretty steep which could cause them to break from the place i put them.
I hope everyone has been well and i thank you for stopping by and being patient with me as I have been offline for some time.

There has been some decent work done on her in the past few months. I have been able to fully install the grating and have finished most of the molding on the sides. I have done a nice dark black on the rubbing strakes as I did not have actually black wood to use for them. The kit came with wonderful African Walnut which i could not really pass up using!!

I have been able to do the decorations on the bow and it came out pretty well i think with the oil that i have been using to finish off the parts that i have completed. The black holders for the rigging is a little rough so I may pull them off a redo them which is why i have not oiled that area .

The grating was very troublesome as the lengths on paper is what i used instead of measuring the ship itself. After redoing that i was able to get that completed and then have oiled that up. At this point I am working on the deck decor and the detailing on the sides of the ship.

At this point i wont be putting any pieces on the deck that are too fragile as I want to get the doors for the cannons and the rudder in place and to my liking as this will require me to flip the ship and tilt it pretty steep which could cause them to break from the place i put them.
I hope everyone has been well and i thank you for stopping by and being patient with me as I have been offline for some time.
Looks good Rob! Nice to hear from you again!
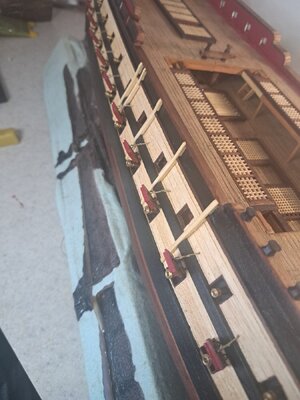
So did some work the past couple weeks since I got be on a break for a week from school and work has been light. I first got the rudder situated and on 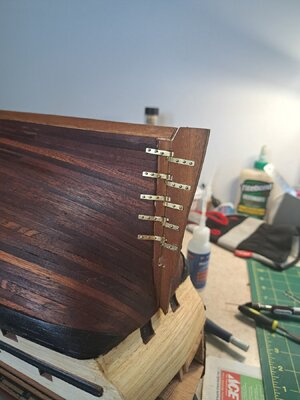
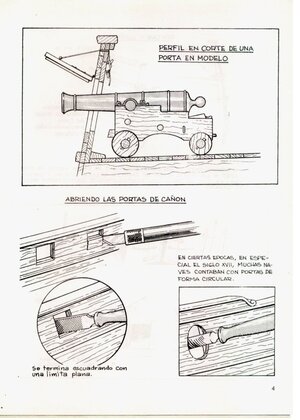
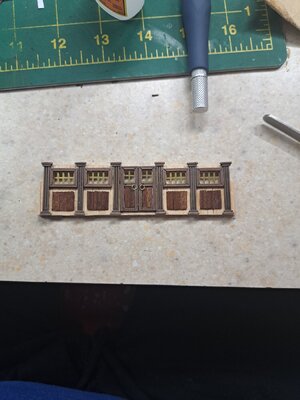
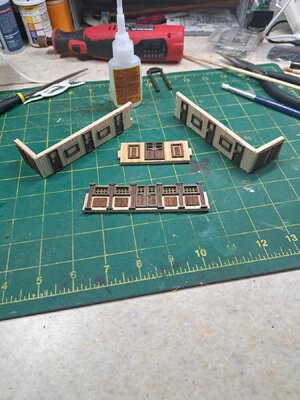
Next I started working on the gunports and getting them together
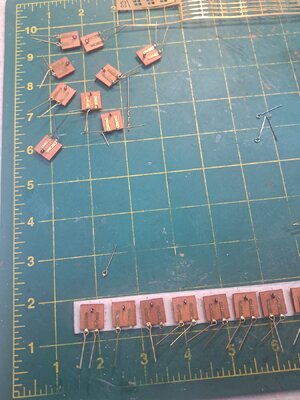
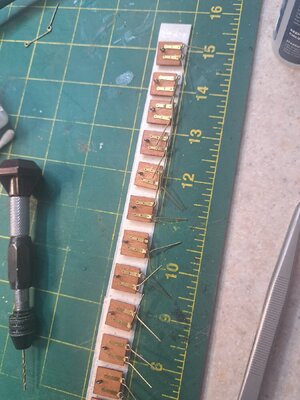
I got them on her and it's starting to really come together I feel.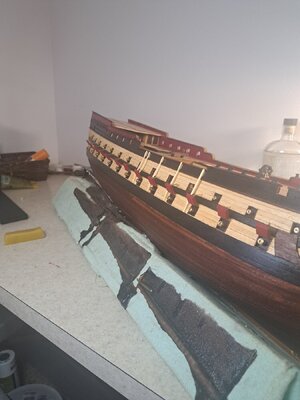
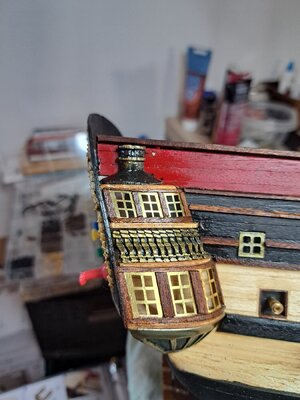
Finally my other goal was to get the next side done but ADHD kicked in and I felt adventurous, I was nervous as all get out of the gallery as I wanted to elevate the pieces that were given to me. I really learned a lot from my work on the beagle and was able to really get the results I wanted. There is much room for improvement but here we are.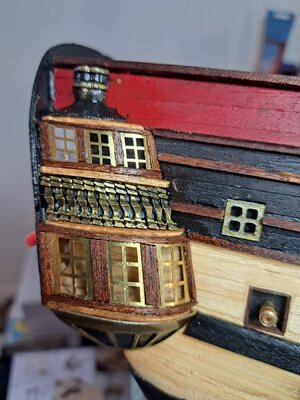
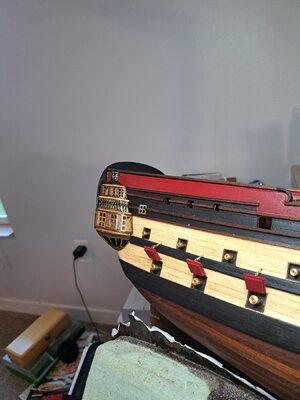

Next I started working on the gunports and getting them together


I got them on her and it's starting to really come together I feel.


Finally my other goal was to get the next side done but ADHD kicked in and I felt adventurous, I was nervous as all get out of the gallery as I wanted to elevate the pieces that were given to me. I really learned a lot from my work on the beagle and was able to really get the results I wanted. There is much room for improvement but here we are.


You’re doing great on this. Getting there
- Joined
- Oct 9, 2020
- Messages
- 2,228
- Points
- 488

I hope mine turns out as nice, when I get around to it.
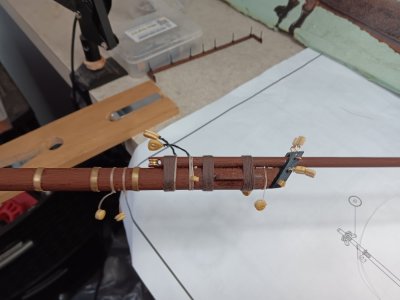
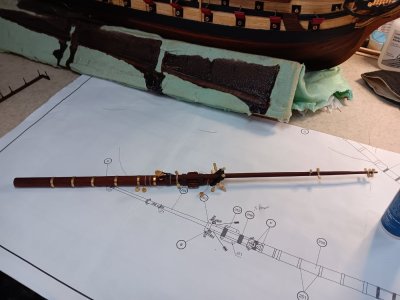
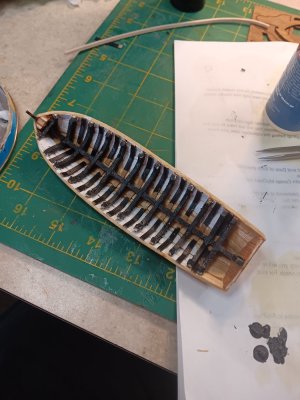
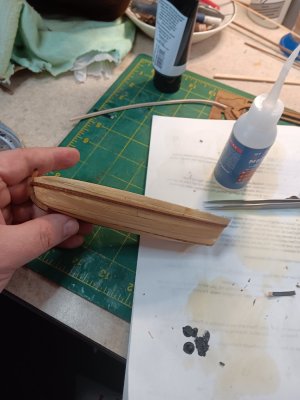
Hey everyone, I have had a lot of business and things going on that has taken a lot of time from me. I usually only have Sundays to work on my boat as its my rest day from school and work. Im attaching some update pictures to show the step that I am at. If you have any questions feel free to reach out and hopefully I can be a bit more proactive in collecting photos and keep you lot up to date on day to day.
Current Step I am at is starting the Bow Sprit, I still need to do the life boat and its stand but i needed something a little different to do since i have been doing deck pieces for quite a few months now lol
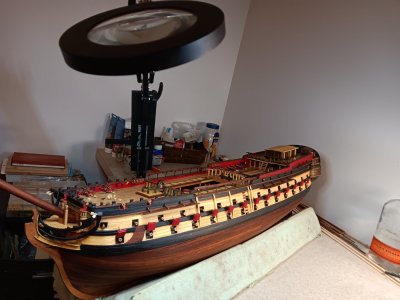
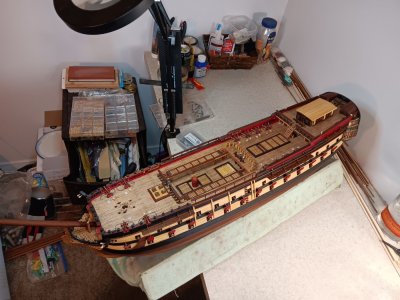
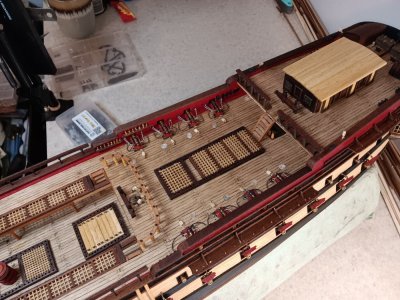
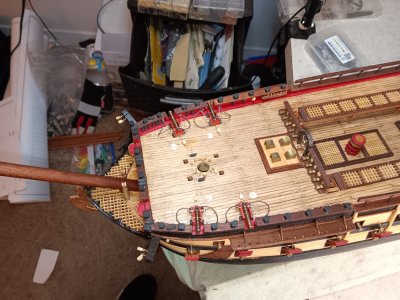
Current Step I am at is starting the Bow Sprit, I still need to do the life boat and its stand but i needed something a little different to do since i have been doing deck pieces for quite a few months now lol


