Hello everyone. Time to get this project back underway.
It has been 5 weeks post surgery and all seems well. I got the boat out and did a couple of trial cuts. With a little help with my left hand I seem to be able to use the knife just fine. The PT folks are telling me I am doing well and surprisingly the range of motion is amazing. I am looking forward to having a 20 year old arm here later this summer or early fall. All on the up and up.
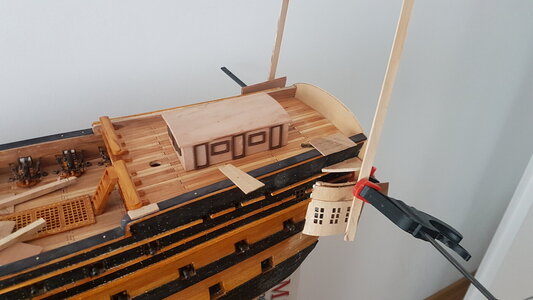
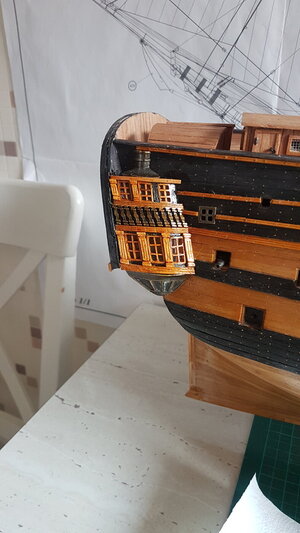
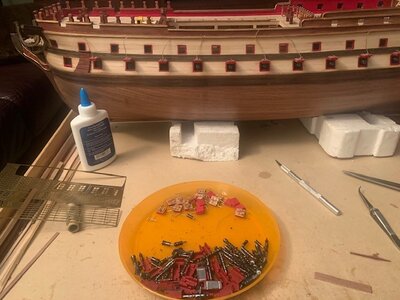
I also did a critical look at the model and realized that I was hurrying to get as much done as I could before the surgery. Not a good idea as I have some issues to correct. oh well. Going forward I plan on slowing down and taking my time. I am also going to be much more careful with the CA glue. Now that summer time is almost upon us I will greatly enhance the ventilation.
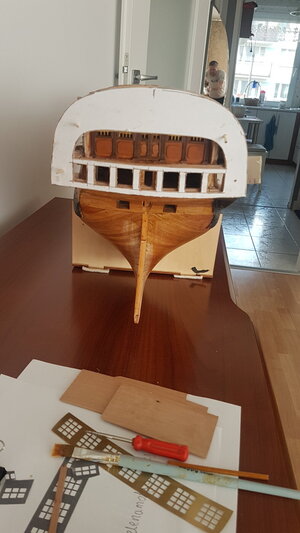
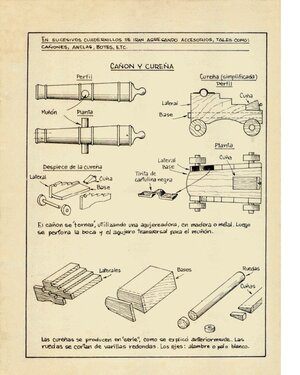
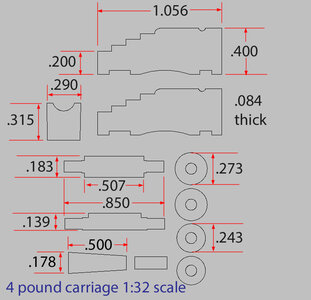
Immediate tasks are to complete the the cannon port covers and to get the rudder on. Once this is done the boat is officially "fragile". So it's time to enhance the cradle it sits in.
Well - mostly folks, I am back and will start posting again.
Scott

It has been 5 weeks post surgery and all seems well. I got the boat out and did a couple of trial cuts. With a little help with my left hand I seem to be able to use the knife just fine. The PT folks are telling me I am doing well and surprisingly the range of motion is amazing. I am looking forward to having a 20 year old arm here later this summer or early fall. All on the up and up.
I also did a critical look at the model and realized that I was hurrying to get as much done as I could before the surgery. Not a good idea as I have some issues to correct. oh well. Going forward I plan on slowing down and taking my time. I am also going to be much more careful with the CA glue. Now that summer time is almost upon us I will greatly enhance the ventilation.
Immediate tasks are to complete the the cannon port covers and to get the rudder on. Once this is done the boat is officially "fragile". So it's time to enhance the cradle it sits in.
Well - mostly folks, I am back and will start posting again.
Scott

 .
.


 Belly
Belly


")