• Win a Free Custom Engraved Brass Coin!!!
    As a way to introduce our brass coins to the community, we will raffle off a free coin during the month of August. Follow link ABOVE for instructions for entering.

My 1/72 scale aircraft

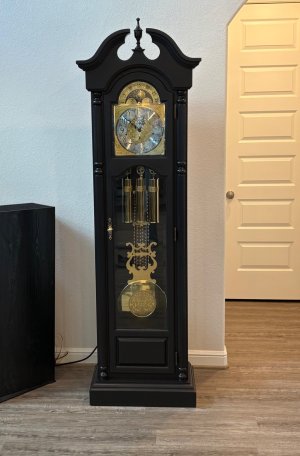
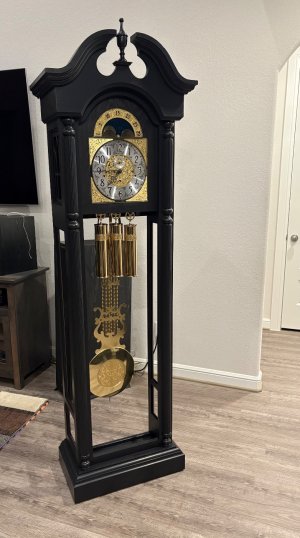
I finally got the grandfather clock painted…so initial assembly has begun…
IMG_0037.jpeg
I installed the movement, and the clock face and side panels. Then I installed the back panel with the chimes. Then I hung the weights and pendulum so I could set up the clock.
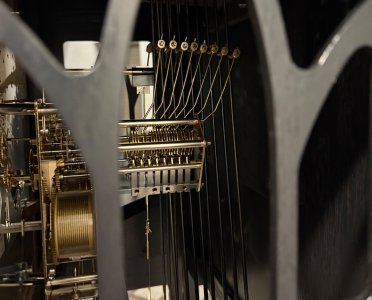
IMG_0036.jpegThen I adjusted the hammers to be centered on the chimes and started the clock to test everything.
Next I have to hang the door and install all the glass and panels.
 
I can’t wait to get the door on and the lower panels, and back panel. Then I will finish by putting all the glass in.

And then you will stop hearing, "Another airplane?!? Are you ever going to get that clock finished?" ROTF
 
And then you will stop hearing, "Another airplane?!? Are you ever going to get that clock finished?" ROTF
Actually it was more like this…”If you don’t finish that grandfather clock and get it out of the garage, I’m throwing it out!”
Me…”Noooo…don’t put it on the curb for trash pickup, I am going to finish it as soon as the weather is good enough to paint!” ROTF
 
I spent a couple of hours tonight wrapping up the BT-13 Valiant build. Excited to be flying in one this weekend!
Anyway, the kit had me fighting it the entire build, but it can be a nice model if you’re willing to put in the extra effort.
IMG_0039.jpeg
IMG_0040.jpegIMG_0041.jpegIMG_0043.jpegIMG_0044.jpeg

Next to the T-6 Texan trainer…
IMG_0042.jpeg

Then I put it on the second shelf of my WW2 collection…
IMG_0046.jpeg
Now all five shelves are full…going to need more room for WW2 aircraft soon!

Now I have to finish the clock prior to starting anything else! Admirals orders! ROTF

See ya next time…
 
Grandfather clock update…
I hung the door and installed the lock. Of course I had to remove the weights and pendulum. They will remain out until I finish.
IMG_0052.jpeg
Next will be adding the lower 3 wooden block panels. Then all the glass in the sides and door. Then the lower back panel last.
So it won’t be too long before she’s done hopefully!
 
I installed the first piece of glass…it’s beveled. I was a little worried about the fit, but they did a good job. So it fit just fine. Hoping all the rest will go as well. ;)
View attachment 545384
Look for the bevel… ;)

See ya next time…

Dean, was this a re-finish, a kit or built from plans? Years ago, Klockit used to have some absolutely beautiful standing clock kits, some, many thousands of $s. It seems they have gotten out of that market now and just sell internals and movements.

BTW, I see the bevel - sweeeet!
 
Dean, was this a re-finish, a kit or built from plans? Years ago, Klockit used to have some absolutely beautiful standing clock kits, some, many thousands of $s. It seems they have gotten out of that market now and just sell internals and movements.

BTW, I see the bevel - sweeeet!
Thanks Russ!
This was built from plans. Then I had to order a movement, clock face, weights, pendulum, glass, hardware, etc. I probably spent over $1,000 just in components alone! But one this nice would cost 3 to 4 times that much.
I always wanted to build one, it was on my bucket list…ROTF
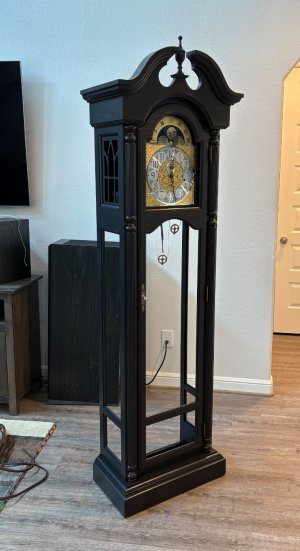
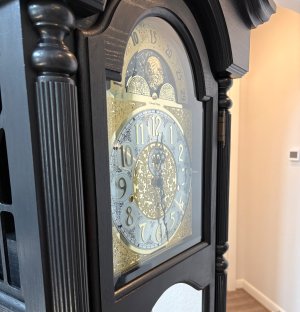
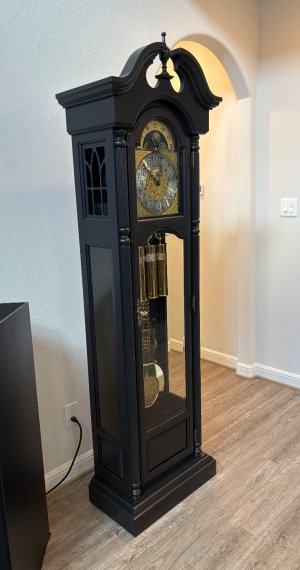
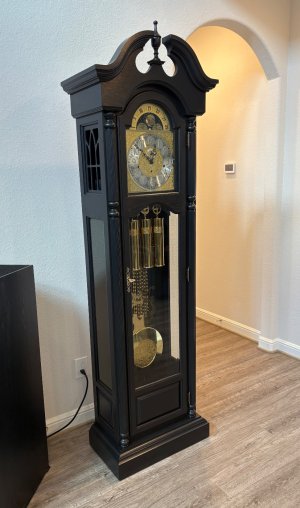
So about 5 years ago I did all the wood working and built the main enclosure, door, block panels and back panels. Then I stained it. My wife didn’t like the color stain I used…sigh! So it took the wind out of my sails thinking about sanding it and redoing the stain. Many years later after threats, I decided to paint it. And black and gold look classy together IMO, so I bought paint and started putting coats on all the wood pieces.
So…it looks like I will finally put this project behind me soon. ;)

Now I am totally blown away! Your joinery and craftsmanship are immaculate. Routing ogees on the curved head pieces is no easy task. Your miters are perfect!
And then there's the split-turned columns - with fluting no less. Not to mention the finial. Wow. We're not worthy! It's really a shame about the stain. I love to see the beauty of the wood figure. The black, however, was an excellent choice.

I work in a furniture factory. If you ever want to get out of Houston (like I did) and move to the Finger Lakes where there are actually seasons and you can't drive 20 minutes without running into a lake, let me know - you'll have a job waiting for you here!
Thanks Russ, I work in Engineering in the
R&D group developing new products for the
oilfield industry. Wood working is just a hobby of mine, why I wanted to build ships.
I have a router table and I made jigs to ensure proper heights of my raised panel cutters so they are repeatable. However I typically try to do all the cuts with one blade on all pieces prior to switching. With a table saw, miter saw and router I did most of it. There are a few exceptions…where sanders, drills, etc. came into play. My uncle has a lathe and he turned the columns for me. I have no experience in that area. ;) So I credit him for those gems! I just cut them in half…which was scary! ;)
 
Magnificent Dean! One more thing to check off the bucket list! Well done!


Or cars. ROTF

Actually, I think you need to add a 1/72 Spruce Goose to your collection, although with a 53" wingspan, you might need a bigger cabinet. ROTF
Thanks, yeah the car model is also on the list, and my poor neglected ship I need to get back to soon....er or later! ;)
Absolutely gorgeous. The contrast of clock and walls is very pleasing to the eye.
Thanks Daniel!
Great! Well done with this ‘over the years’ project, Dean. Now let's get used to the new sounds and melodies in the house.
Regards, Peter
It plays three different tunes and also has a silent mode for the evening. I made sure to get a nice movement (HERMLE), as it is the most important piece! ;)
 
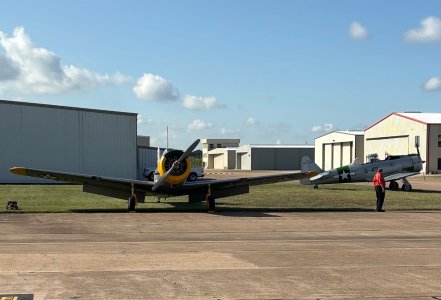
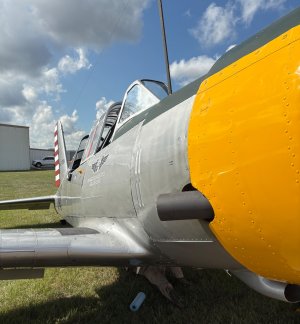
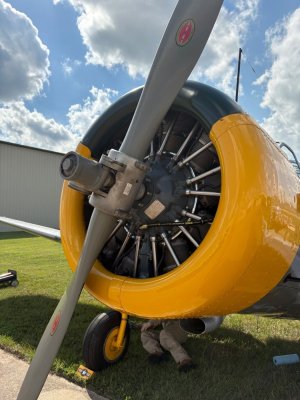
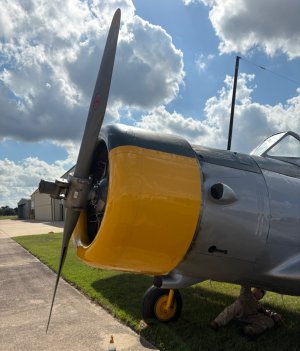
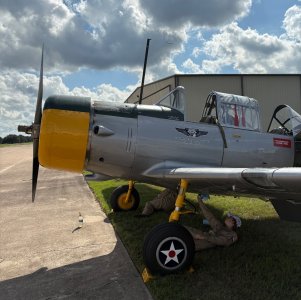
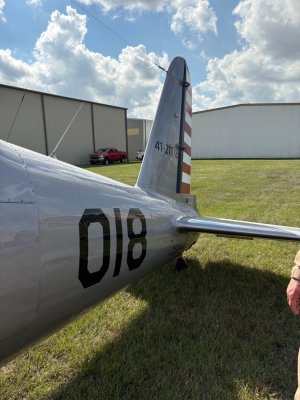
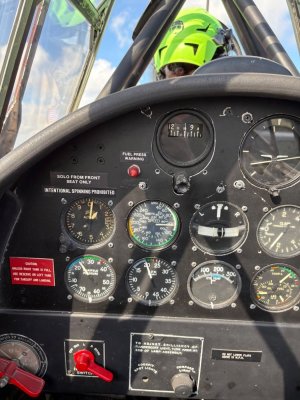
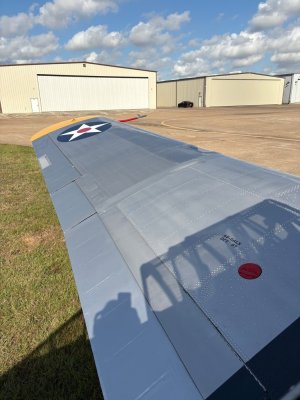
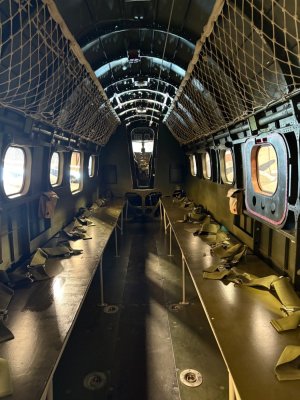
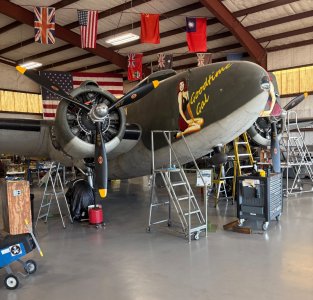
Today I flew in a BT-13 Valiant, a WW2 trainer aircraft that I just built a model of.
It was perfect weather, and we flew about 4,000 ft high at an average of 110mph. To say I was excited is an understatement! Truly a great experience!

The BT-13…
IMG_0130.jpeg

IMG_0151.jpeg
IMG_0150.jpegIMG_0149.jpegIMG_0148.jpegIMG_0147.jpegIMG_0139.jpegIMG_0135.jpeg
I should mention the wings are skinned with metal, but all the flaps are canvas covered.
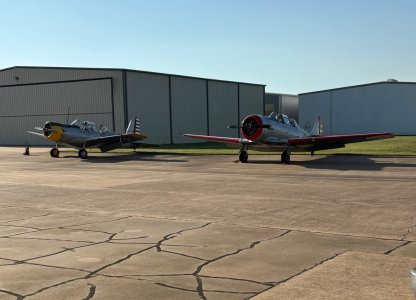
With the T-6 Texan…

IMG_0110.jpeg
The restoration project near completion…
IMG_0114.jpegIMG_0115.jpegIMG_0111.jpeg
More to come…
 
Last edited:
Back
Top