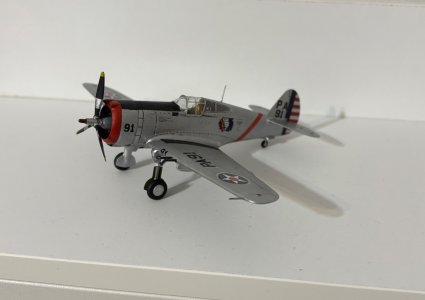
- Joined
- Sep 3, 2021
- Messages
- 5,190
- Points
- 738

It crossed my mind, but decided against making you any the wiser. Unfortunately you came upon the issue yourself.I have created a problem I hadn’t foreseen…dusting!
 |
As a way to introduce our brass coins to the community, we will raffle off a free coin during the month of August. Follow link ABOVE for instructions for entering. |
 |
 |
The beloved Ships in Scale Magazine is back and charting a new course for 2026! Discover new skills, new techniques, and new inspirations in every issue. NOTE THAT OUR FIRST ISSUE WILL BE JAN/FEB 2026 |
 |

It crossed my mind, but decided against making you any the wiser. Unfortunately you came upon the issue yourself.I have created a problem I hadn’t foreseen…dusting!
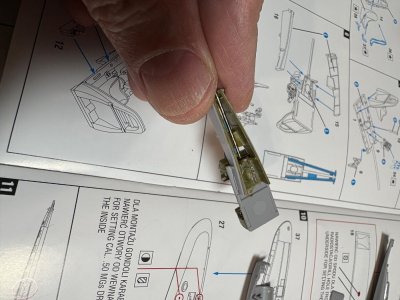
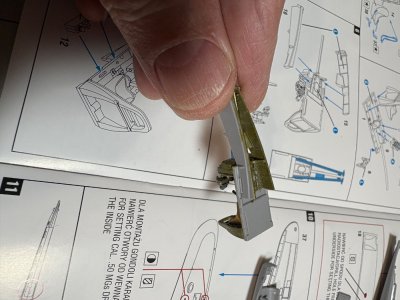
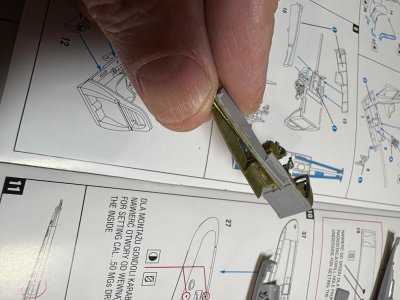
Well I’ve had models sitting out for most of my life. But not quite this many! It comes with the territory.It crossed my mind, but decided against making you any the wiser. Unfortunately you came upon the issue yourself.
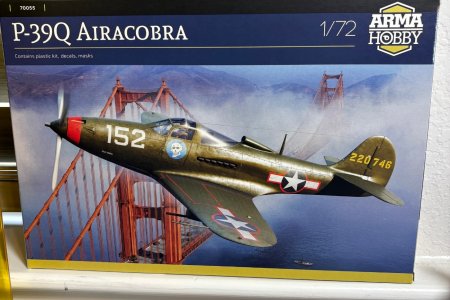
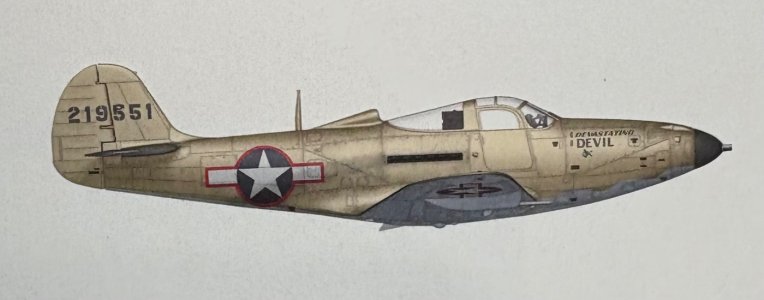
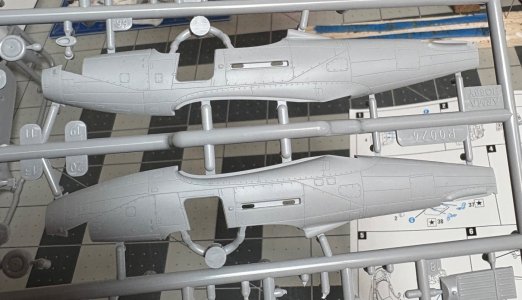
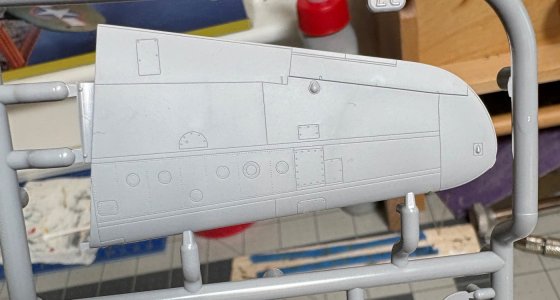
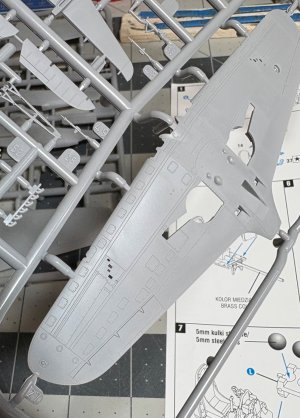
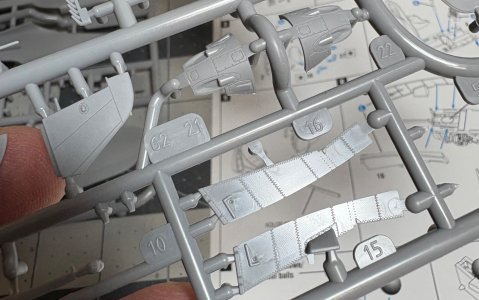
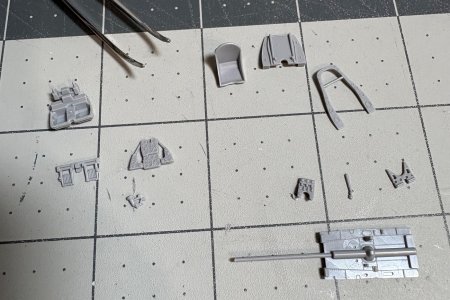
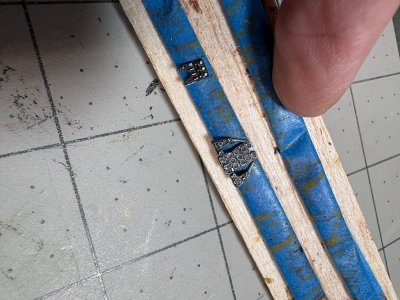
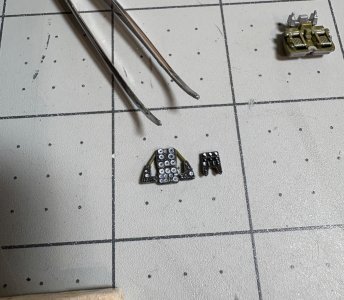
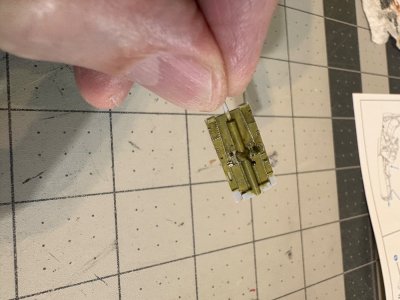
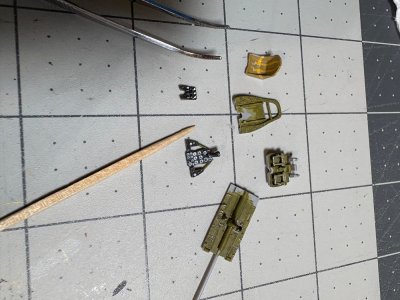
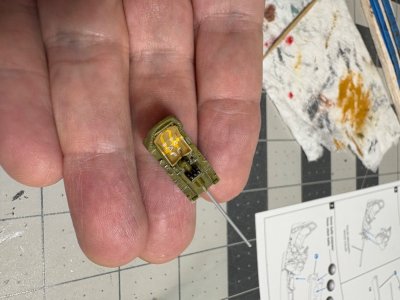
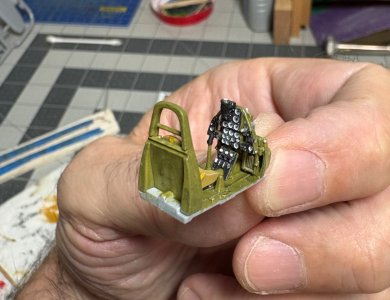
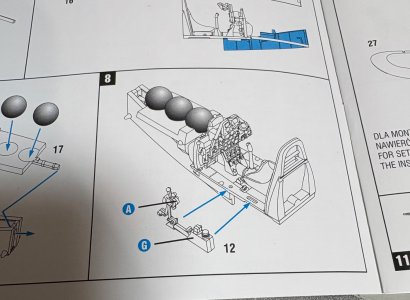
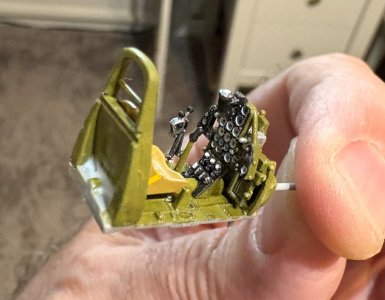
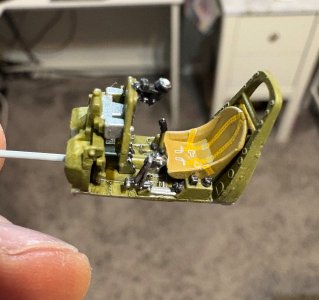
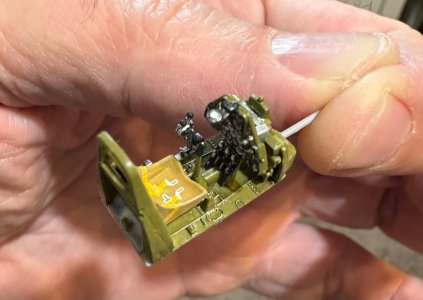
Thanks Paul!Really amazing, Dean! Bravo!

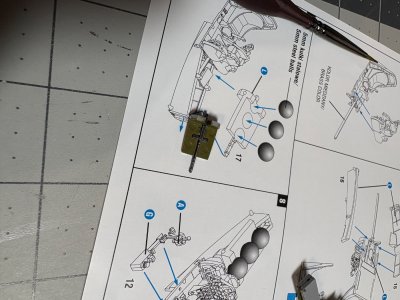
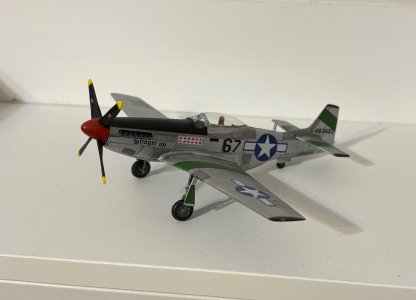
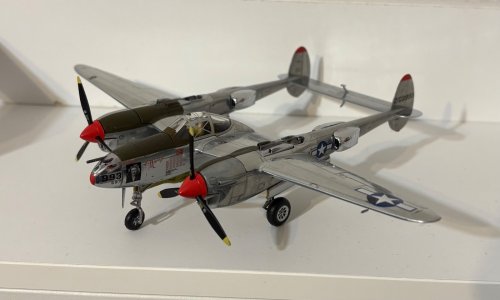
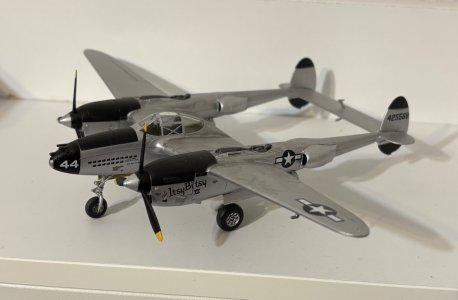
Thank you!That is a heck of a lot of detail at 1/72nd, Dean.
Beautiful work.
Cheers,
Stephen.
 …
…
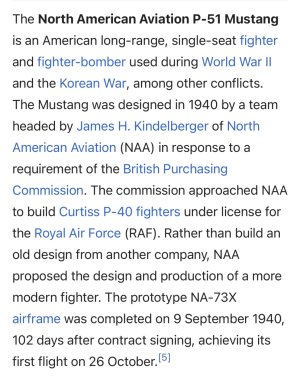
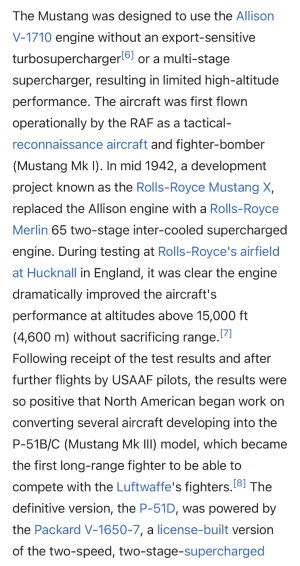
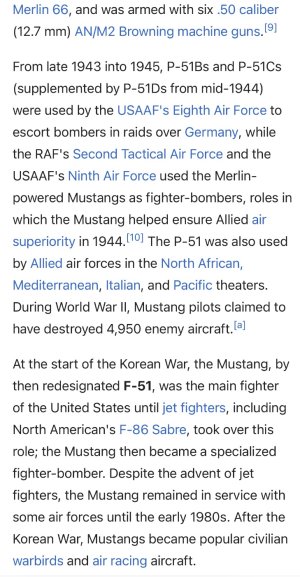
I would be interested in having a brief history of the airplanes in your collection.I had a thought…yes they still happen……
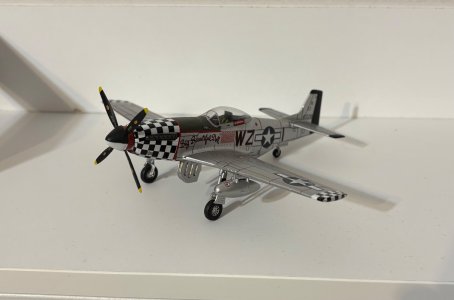
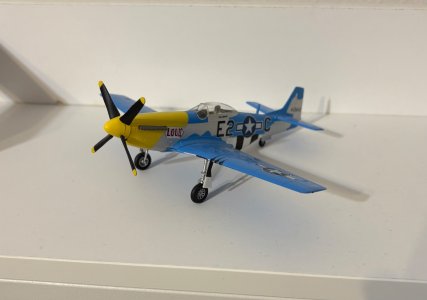
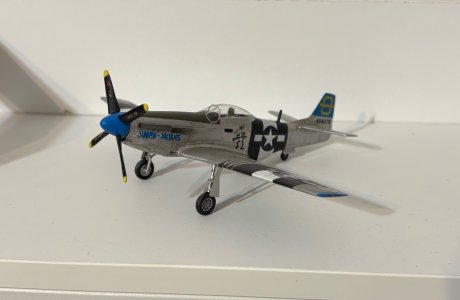
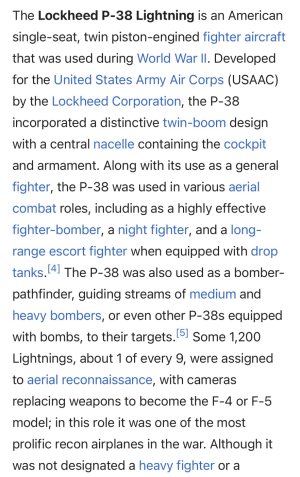
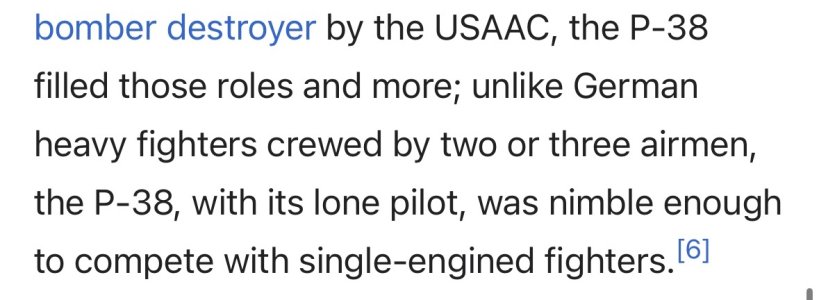
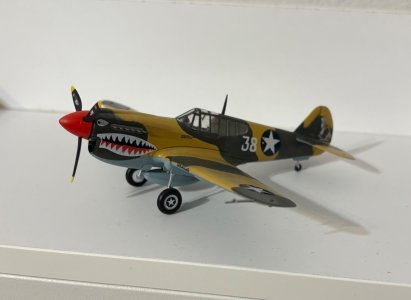
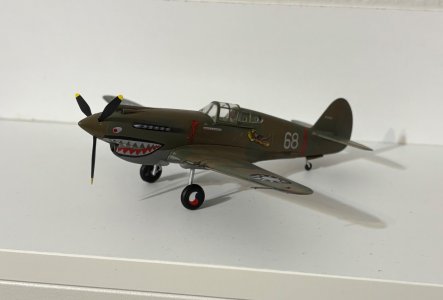
Would anyone be interested in me going through my collection and taking a picture of each type aircraft and giving a brief history? This would be some work, but I think it would also be educational for those who are interested. And I can continue that format on future builds.
Thoughts?

That would be very cool!I had a thought…yes they still happen……
Would anyone be interested in me going through my collection and taking a picture of each type aircraft and giving a brief history? This would be some work, but I think it would also be educational for those who are interested. And I can continue that format on future builds.
Thoughts?


The Bell P-39 Airacobra did not have a hollow crankshaft. Instead, its unique design featured a long, solid drive shaft that ran from the mid-fuselage Allison engine, underneath the pilot, to a reduction gearbox in the nose. The gearbox's central output was hollowed out to allow the aircraft's primary weapon, a 37mm cannon, to fire directly through the propeller hub. Notice the exhaust manifolds behind the pilot rather than in front.The Airacobra had a 20mm cannon firing through the crankshaft as shown on your model. Since crankshafts did not provide a continuous path for a barrel how did this work?
Roger

Thanks Jan, looks like enough people will appreciate the extra effort to justify it. So I will start on that soon.A history would be incredible. Looking forward to it.
Jan
