MY BLUENOSE- YUANQING SCALE 1:72 SCALE [COMPLETED BUILD]

Thanks Lawrence. Can you relay what size drill bit you used for the holes and wht size nails you used? This is my first attempt at building a ship but am excited about detailing the vessel as you experts have showcased and done!
Hello Joe, I just mike the nail first then pick a drill a though or so smaller, give a test run on some scrap wood and then try a nail, should be a snug fit, may need a few light taps, that's it.
Regards Lawrence
 
Ah, I will be interested in seeing how that works :)
Hello Joe, I like to place my little Led Lights around the ship and do try to high light the details that I am trying to show. I install the little remote sensor in the lower shrouds and then run the power feed wire up trough the mounting pedestal, install the fitting on the side of the mounting base and that is it.
Regards Lawrence
 
Hello Johan, Yes you caught me by surprise on that one, that's for sure. No I am not as all as brave as Peter in that respect.
Regards Lawrence
Hello Lawrence,

I was just so tempted to try and challenge you into following Peter's example, but that would spring a trap wide open. You see, I showed my Admiral some pictures of Peter's cut-in-half Bluenose with it's interior.
Since then she's on me; whenever something related to modeling, saws and the Bluenose comes up, I'll receive at minimums a significant look or an all saying smile or a remark, hinting at my precious Bluenose receiving the saw-cut treatment. So, no, no challenge from my side.
Another one though, you mentioned maybe removing some structure to show your interior. Do you have any ideas or examples on how such a feat could be realized?

Johan
Hello Johan, I do thank you very much for your vote of confidence, However I do not think that I process that very high level that our friend Peter has. He is doing a wonderful job on his YQ-Bluenose and I do envy him in this respect.
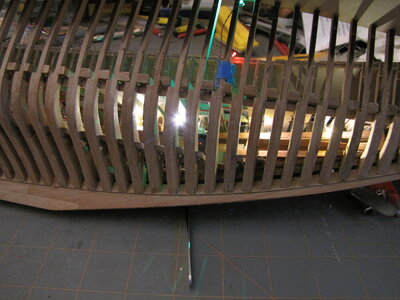
What I had in mind is a few simple frame cut outs that would start just below the deck beam clamps on the floor deck beams. In this line I was thinking of cutting two frames leavening the next frame in tact and repeating this all over again. Especially in the bow area and the stern cabin area, just some wild thoughts that I am toughing around. This would be enhanced with the Led Lamps.
Regards Lawrence
 
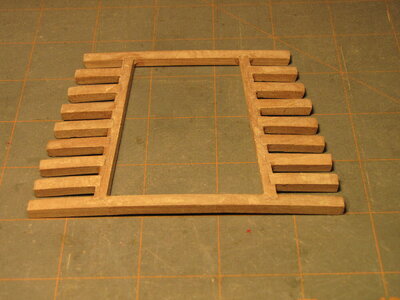
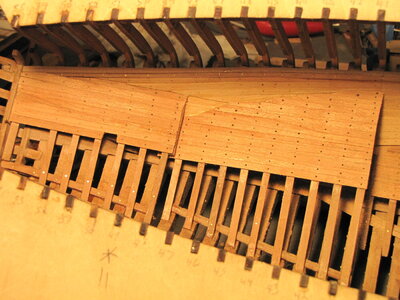
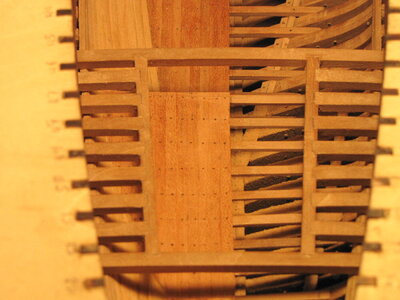
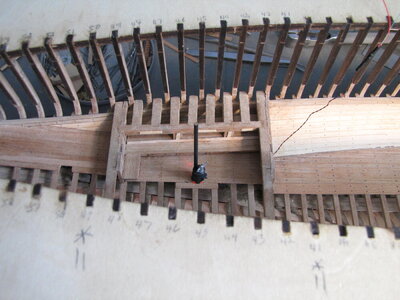
Hello Ship Mates, Well it has been a bit of a hectic week, lots of things going on, out lawn is growing like crazy, had to cut it twice last week, we got new glasses and that required two trips to Newmarket. Taking a lot of time away from the Old Ship Yard on top of my house hold duties, cooking and. a bit of cleaning. On top of all of that we misted calculated the depth of the after cabin and had to tear out the floor and beams and rebuild. We did build the upper deck beam assembly from #41 to # 49 and dry fitted it. Now we can begin working on the port side of the aft cabin.
Regards Lawrence

IMG_6173.JPGIMG_6174.JPGIMG_6175.JPG
 
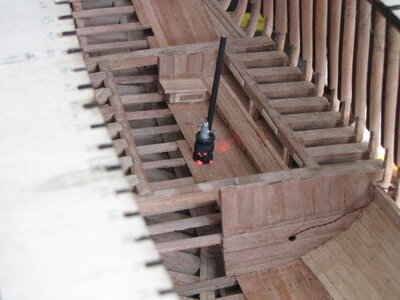
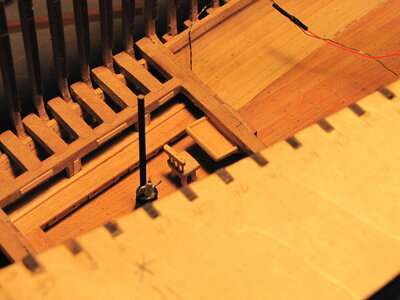
Hello Ship Mares, Work continues on the Aft Cabin. The little fellows and I have built a couple of bunk bed stalls in the port side of the cabin. We have planked both end with pear wood planking. We have also built a Quebec Heater to keep the cabin nice and cozy along with another huge coffee pot siting on the top. We have installed a tiny red Led Lamp in the deck that will fit up inside of our little stove a bit later. Last but not the least we have built a tiny pressed back chair and a little desk to be mounted on the forward end of the cabin
Regards Lawrence


IMG_6176.JPG
 
Last edited:
Hello Ship Mates, Just a we update today as the little fellows and I have reworked the aft cabin as it did appear to be a little on the rough side despite this small scale, we have replanked the for and aft sides of the aft cabin. Re worked the two bunks on the port side. Built a smaller coffee pot to sit on the Little Quebec heater as the first was a bit of an over kill. We tided up the desk and chair. We also installed the red Led Lamp in the little Quebec heater and tested the Red Led Lamp for brightness.
Regards LawrenceIMG_6181.JPGIMG_6182.JPGIMG_6183.JPG
 
Hello Ship Mates, Just a we update today as the little fellows and I have reworked the aft cabin as it did appear to be a little on the rough side despite this small scale, we have replanked the for and aft sides of the aft cabin. Re worked the two bunks on the port side. Built a smaller coffee pot to sit on the Little Quebec heater as the first was a bit of an over kill. We tided up the desk and chair. We also installed the red Led Lamp in the little Quebec heater and tested the Red Led Lamp for brightness.
Regards LawrenceView attachment 312226View attachment 312227View attachment 312228
So tempting...
The Admiral 's eyes lit up when I showed her these pics...
 
Lawrence, you need to watch out for potential fires on board ...

In any case, well done!!!
Hello Piero, Thanks for your very kind and causes words, I do realize that we do have a bit over flash around our little Quebec Heater but we felt that this would give a warm glow to the Aft Cabin.
Regards Lawrence
 
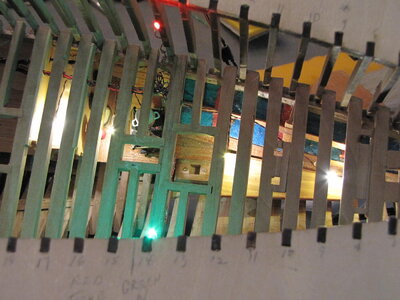
Hello Ship Mates, Work continues at a very slow pace these days. The little fellows and I have been working on our Led Lighting in the Focal, the Galley and also the Salt Room, we also added another Red Led in the galley stove. We have also wired in the Running Lights, port and starboard. All of this leads to a lot of wires in such a small space. We have most of them tucked away in the over head beams. From the Salt Room aft to the Main Mast we may have to install a baffle to keep the wiring out of sight.
Regards Lawrence


IMG_6186.JPGIMG_6188.JPGIMG_6188.JPG
 
Hello Ship Mates, Work continues at a very slow pace these days. The little fellows and I have been working on our Led Lighting in the Focal, the Galley and also the Salt Room, we also added another Red Led in the galley stove. We have also wired in the Running Lights, port and starboard. All of this leads to a lot of wires in such a small space. We have most of them tucked away in the over head beams. From the Salt Room aft to the Main Mast we may have to install a baffle to keep the wiring out of sight.
Regards Lawrence


View attachment 312939View attachment 312940View attachment 312940
Morning Lawrence,
Your idea to drill feedthrough holes in your deckbeams appears to pay dividends.
My main issue was the size, relatively speaking, of the resistors. In the end they created some rather lumpy, hard to hide wires. Reason why I didn't add more lights in the focsle area.
I wonder how you deal with those resistors.
Top job by the way, it's looking great!
 
Hello Ship Mates, Work continues at a very slow pace these days. The little fellows and I have been working on our Led Lighting in the Focal, the Galley and also the Salt Room, we also added another Red Led in the galley stove. We have also wired in the Running Lights, port and starboard. All of this leads to a lot of wires in such a small space. We have most of them tucked away in the over head beams. From the Salt Room aft to the Main Mast we may have to install a baffle to keep the wiring out of sight.
Regards Lawrence


View attachment 312940View attachment 312940
Your time inventory on those tiny lights and wires is now paying off, Lawrence.
The result is delighted!
Regards, Peter
 
Morning Lawrence,
Your idea to drill feedthrough holes in your deckbeams appears to pay dividends.
My main issue was the size, relatively speaking, of the resistors. In the end they created some rather lumpy, hard to hide wires. Reason why I didn't add more lights in the focsle area.
I wonder how you deal with those resistors.
Top job by the way, it's looking great!
Hello Johan, Thanks for your visit and also for your very kind words. I am using WWW.EvansDesigns.com they are one of our SOS Sponsors. I chose to use there 3V Nano size lights with a DC Regulated power supply for there small size and the white Led Lights do not require a Resistor. I also chose a couple of prewired sets of Led Lamps that gave only 1 feed line making them very handy. I could if shortened up a few lines on them but chose not to because the shrink wrap splice is much larger than those tiny wires. However the Red and Green Leds do come with a resistor, on a couple of these I spliced in a hard wire enabling me to move it back and hopefully out of sight..
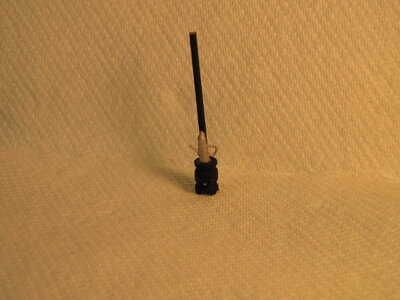
I have also notched out the Aft mounting pedestal and drilled it for my mounting bolt with another hole on the forward side for the power feed for my led lighting that will connect around the Main Mast. Still have a few hurtless to work out but it is slowly coming together.
I hope this info. helps in solving a couple of your problems. Your approach may be just a little different than mine but I am sure that you will work it out.
Regards Lawrence
Hey Lawrence, thanks for your reply, it sure has a lot of useful information.
I now finished the fwd lights and wires and am now shifting my attention to the aft cabin.
I also checked Evandesigns.com, for parts, but the shipping cost to the Netherlands is staggering...
As for the power supply, I drilled a hole in the center of the keel and intend to drill a hole in the pedestal as well. This implies the attachment screws for the pedestal will have to be drilled off center.
 
Back
Top