Norske Løve, Billing Boats, Scale 1:75

Joined
Oct 14, 2023
Messages
71
Points
103

Location
South of Sweden
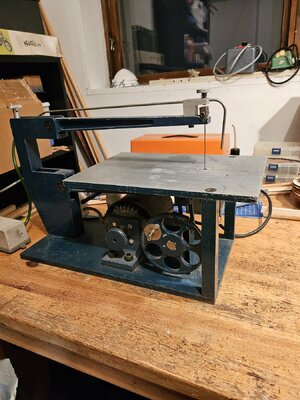
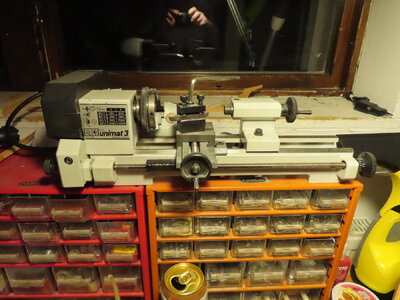
Hi Folks, time has come to start my build log for the Norske Løve from Billing Boats. I started building this ship many years ago, might have been the mid 80's or something like that. I finished the hull and some carvings, but family life catched up with me and suddenly I was sorrounded by kids and a cat. This ship has followd me trough all the moves I've made and now it's more or less destroyed. I've been looking at it many times troughout the years though, and every time the thought pops up that I ought to finish it. Last year I took a decision to buy a new kit and start all over again, as the old model is beyond repair. I ordered a new kit and started browsing the internet for info and tips how to sucessfully build a model of this ship and it was at that time I fond SOS. I had some tools left from the old time but soon realized that the toolbox needed an major update. Back in those days I finished Cutty Sark and as I mentioned before started with Norske Løve, but at that time everything had to be cut out of sheets of Abashi or Mahogany by hand and quite time consuming. I built my own scroll saw and I bouhgt a small lathe (EMCO Unimat III) and made some smaller handtools of my own. It's a bit easier now with laser cut pieces, even though they need som adjustments, but still it seems to be a challenge with all the small details.

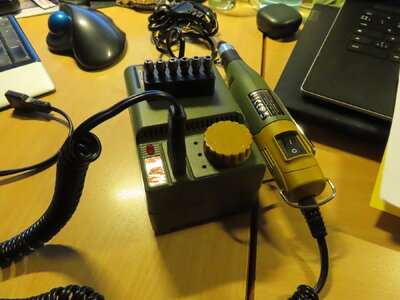
Here I'll just start with attach some pictures of my tools today
IMG_0430.JPG

20231020_192337.jpg

IMG_0429.JPG

IMG_0506.JPG
 
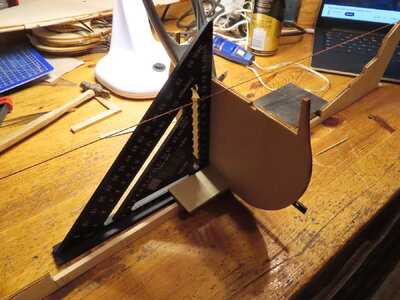
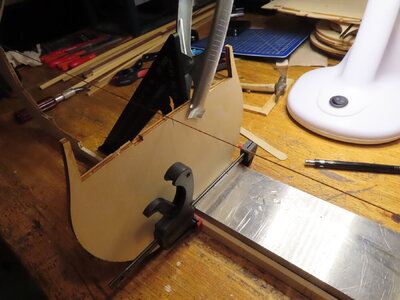
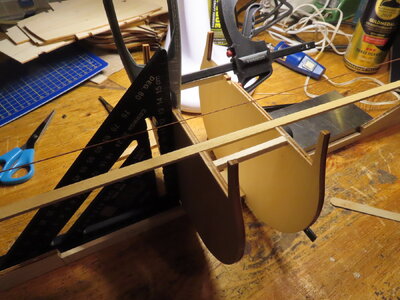
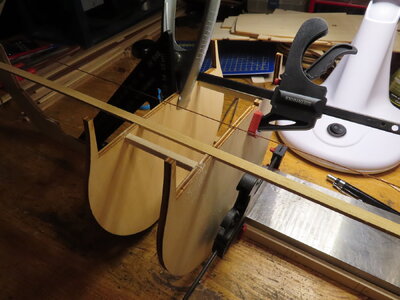
So, here I'll start with building of Norske Løve. At first I tried to make a "free hand" start, glue the keel and the bow- and stern parts together and then starting to add the bulkheads (frames). Quite soon I realized this was kind of a geopardy, and I ordered a build slip from Billing Boats. Much easier if you ask me :)

IMG_0362.JPG

IMG_0363.JPG

IMG_0364.JPG

IMG_0365.JPG

IMG_0370.JPG
 
Last edited:
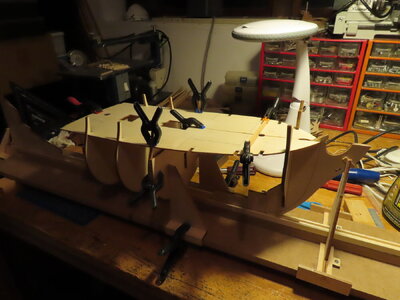
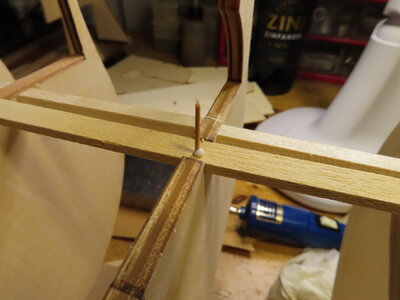
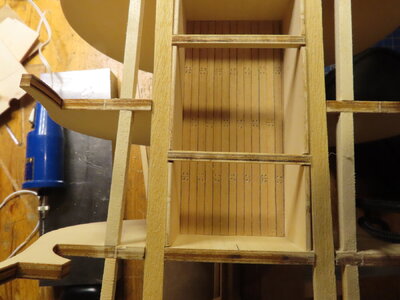
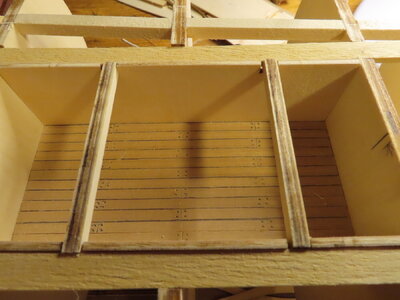
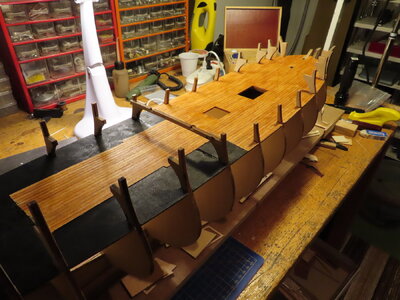
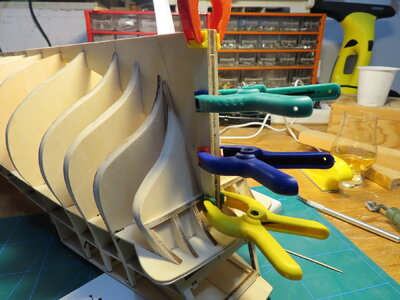
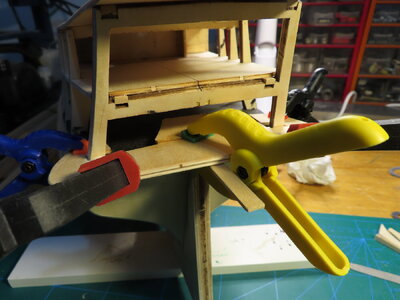
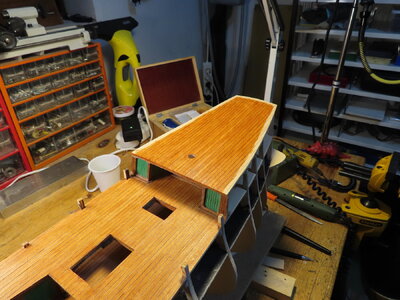
I managed to get all the bulkheads (frames) glued in without any mistakes and then started to attach the decks. Started at the bow and followed with the stern. Underneath are the supports for the decks, all secured with Ø1mm bamboo dowels. The mini drill you can see in this picture died at that time and is now replaced with a Proxxon 12V drill

IMG_0374.JPG
 
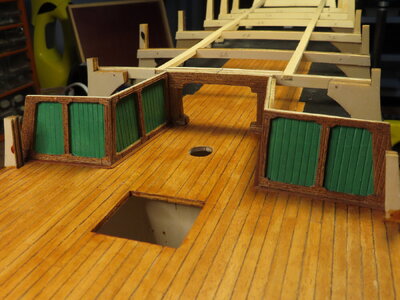
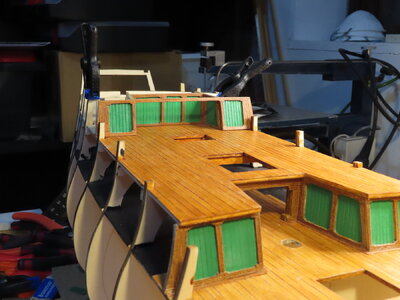
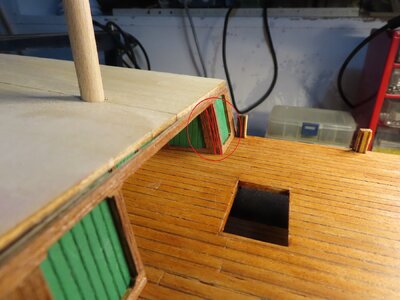
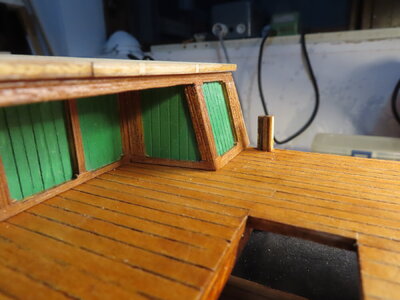
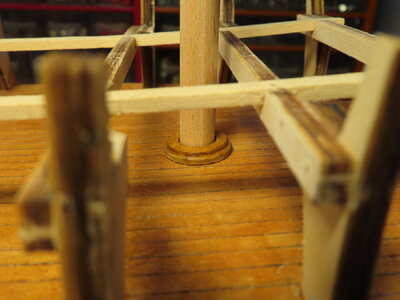
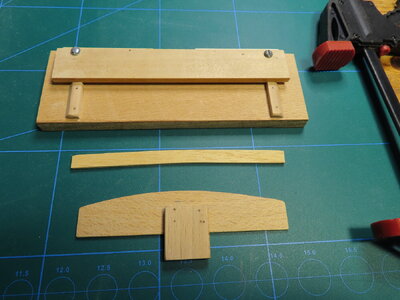
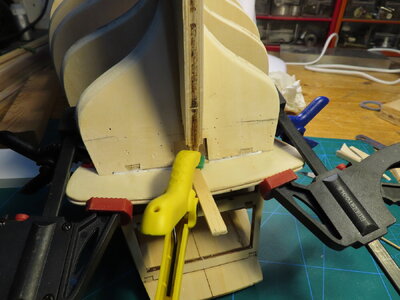
Started to put together bulkheads and walls between upper stern deck and poop deck, but soon realized I made a mistake here. Poop deck has a hole for a mast and it actually determine the location of the deck. My mistake was that I glued the bulkheads together in the wrong way, and had to cut it apart again to correct this by cutting away some material. I managed to do this and glued it back together again with a surpicingly good result. Back on track again :)
IMG_0445.JPG

IMG_0448 - Copy.JPG

IMG_0453.JPG
 
Last edited:
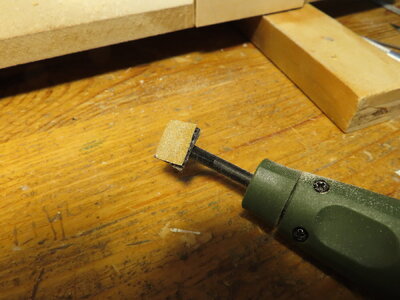
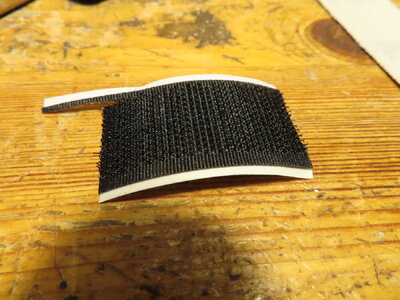
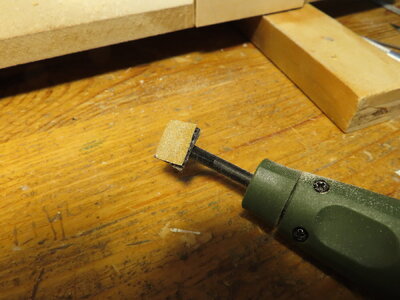
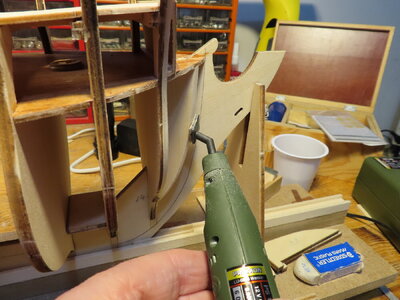
Started to fair the bulkheads (frames) and suddenly came up with an idea. I recently bought a Proxxon pen sander, but was very disappointed with the life shelf of the following sand paper, it wouldn't last for even 5 minutes. My new idea was to use self adhesive velcro or burdock band to hold the sand paper. I found it in a close by shop and as I already had sand paper for attaching to velcro it was an "easy piecy" way to go. This is working incredibly well, it gives you a soft touch of the paper to the hull, instead of the hard touch when you glue the sand paper directly to the shank of the pen sander.

In contrast to this I also found self-adhesive sand paper in roughness grade 80- 120- 320 but haven't tried it yet

IMG_0505.JPG

IMG_0506.JPG

IMG_0507.JPG
 
Last edited:
Thank you, Paul
I have always wanted to build Norske Love but have never pulled the trigger. There was always something else that became available. You are doing an outstanding job with her. I am most impressed with your work!

Bill
 
Back
Top