NORSKE LOVE - Billing Boats 1:75 scale

Good to see you are working again on the hull. Step by step. And just like you, I also want to go planking the hull. But to give that planking its nice and beautiful flow, first do .... then do ...... and do ......
But what I read between the lines, you have a plan in your head. But thinking goes much faster then the building.
Regards, Peter
Yes, always thinking and planning ahead. Forget instructions…lol. You really have to consider the logical order of steps, to keep from painting yourself into a corner, so to speak! ;)
I am adding filler material at the bow and stern. So far it’s looking like with a good fairing of the frames, that the thickness and width of the planks, will allow for a nice hull without the need for additional filler material. If it looks like this won’t be the case, I will have to resort to plan B. And I have a plan B! ;)
 
I am adding filler material at the bow and stern. So far it’s looking like with a good fairing of the frames, that the thickness and width of the planks, will allow for a nice hull without the need for additional filler material. If it looks like this won’t be the case, I will have to resort to plan B. And I have a plan B! ;)
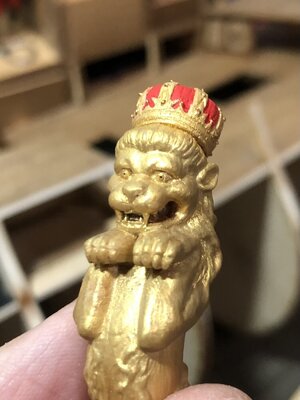
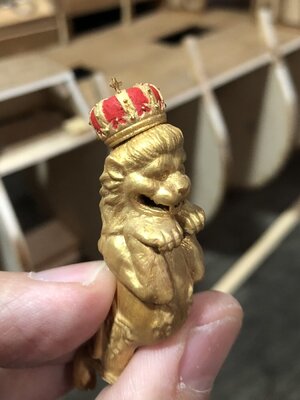
This does tell me His Majesty didn't approve my suggestion... Oh well...:cool:
 
you probably gonna hate me, :eek: but being this hull has a single planking design, you may consider filling pieces from balsa wood or sign board material. ;) Yes, this is additional work and of cause extra expenses but...it will justify those when you will see the result of it. It could be partially filled, or the entire hull but in my opinion, it is worth the change. But hey, you are the captain (actually Lion, not you), what will he say?
Hey Jim,

Wouldn't the balsa only be necessary at the extremely compound curvature of the bow?
The rest of the hull seems to show a rather benign curvature and, although compound, doesn't look like it needs the balsa filling.

Johan

PS Please, let the Lion sleep... Sleep
 
Hey Jim,

Wouldn't the balsa only be necessary at the extremely compound curvature of the bow?
The rest of the hull seems to show a rather benign curvature and, although compound, doesn't look like it needs the balsa filling.
Hello Johan,

It is a good question, and the answer depends on many factors. First, it depends on the distance between neighboring bulkheads. The far both adjacent bulkheads located from each other, it will be definitely a candidate for filling pieces. Second, when you will glue the plank, it will be glued to the bulkhead edge and the edge of the plank. How thick is the plank: 1.00mm or 1.50mm? But, say you have filling pieces installed, your planks will be glued to the wide part of the plank: 3.00mm or 4.00mm, this will include the bulkhead edges. Also because there will be no gaps, the plank will run more evenly smooth. Then you don't have to sand much to make a nice hull.
Hello Jim,

I think I'm following your reasoning. Adding balsa fillers gives you more area to adhere to, thus better control over the intended curvature and avoiding flattening or bulging of the planks. So in tightly curved areas I definitely see the benefits.
If bulkheads are further apart in benign curved areas, I wouldn't think it's an issue; the stiffness of the planks will allow the planks to follow the intended curve, provided the bulkheads are properly shaped. However, when the bulkheads are pitched too far apart, you could run into the "skinny horse" effect; after planking, every bulkhead may show. In that case you would either have to add bulkheads, or use balsa fillers.
Whatever method you prefer though, you really need to make sure the curvature of the balsa fillers and/or bulkheads is spot on. I think Dean would be up for this challenge though, given the quality of his work sofar.

Johan
Precisely yes, Johan. You are correct with your interpretation. Maybe Mio Amigo Dean wants to add fillers, but the Lion roars! Better to keep both happy.
 
The planks are 2mm thick x 7mm wide. That should give me a little room for averaging the hull after planking. My biggest concern is bending them laterally to follow the deck curvature and wales, due to the 7mm width. It should be interesting. ;)
That's a thick 2mm plank, though. You will need to soak in hot water or steam them. You know what to do... ;)
 
Three things ahead of the hull planking…

1) plank the upper deck - problem, out of wood. Solution, ordered wood. Problem, only 3mm and 5mm available and I need 4mm. Solution, order 5mm and cut width to 4mm on all boards after cutting to length…sigh! Deck planking to begin soon!

2) Build the wall at the bow, and add doors and trim. The planks curve around the wall and join at the keel. Adding the wall afterwards would be impossible!

3) Build the lower stern section that is planked horizontal prior to planking, as the planks are cut to the edge of this area and should cover the ends of the horizontal boards. There is also the lower section of the galley that the stern section ends at the bottom of. This is curved and has to be added at this point.

After these 3 areas are completed, hull planking can begin. It will be more obvious why as I complete them. ;)

Now for the deck planks…Given the current sales of 20 percent off, I ordered a mini saw, and a combo belt and disk sander. Excited about the new tools, but they are just being shipped.
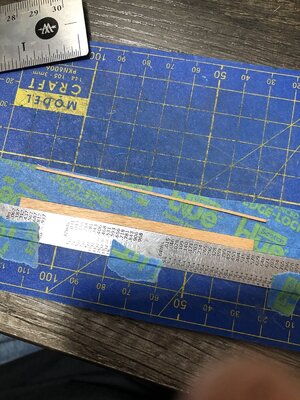
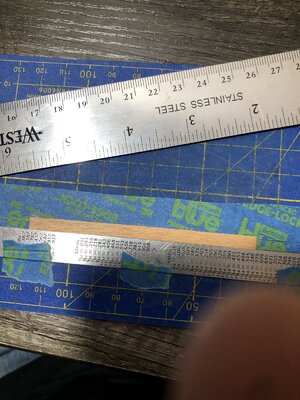
So…I cut the board widths manually from 5mm to 4mm. I made a jig of sorts, sanded one edge of the board flat (veneer edges are always rough), then put in my jig and cut to width.
DB00AECE-2767-463A-8C54-E1B613F5619F.jpegEF495461-62D0-45FC-AD91-D6F91A35FF8A.jpeg

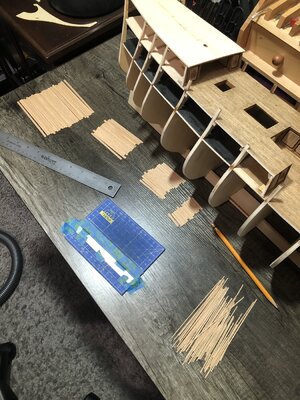
All boards completed…
4F4052DA-2BFA-4923-91E1-95B6904050EE.jpeg

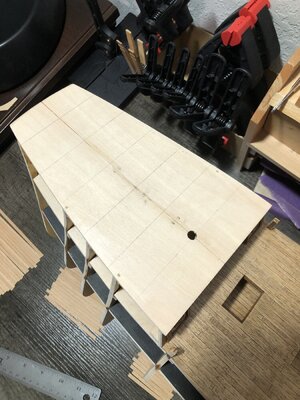
Then I marked the stagger joints on the deck sheets…
CA9775C8-0218-4F3E-8349-6923F6D716DD.jpeg

Now I’m ready to charcoal the edges of all the boards, so I can start gluing planks down.
I measured the area of the deck, then determined how many boards of each length were required to cover that area with a little extra. Board lengths were 120mm, 90mm, 60mm and 30mm. Stagger joints are 30mm each, consistent with all decks and the 60mm frame spacing. I basically doubled the frames to get a more natural looking stagger on the decks. ;)
 
Back
Top