He has been patient so far...but he is looking over my shoulder!….ahh I was wondering why the Lion was so quite. Will be good to see him again.

 |
As a way to introduce our brass coins to the community, we will raffle off a free coin during the month of August. Follow link ABOVE for instructions for entering. |
 |
 |
The beloved Ships in Scale Magazine is back and charting a new course for 2026! Discover new skills, new techniques, and new inspirations in every issue. NOTE THAT OUR FIRST ISSUE WILL BE JAN/FEB 2026 |
 |
He has been patient so far...but he is looking over my shoulder!….ahh I was wondering why the Lion was so quite. Will be good to see him again.

Thank you very much Heinrich for your kind words and support. It was a long time coming...and now I can't seem to stop workign on it! LOLIt may have taken you a long time to pick up the baton, but now that you have, you are flying along. the quality of the work is - needless to say - superb and bears your stamp of perfection. This is going to be a beautiful model when completed and she will surely take pride of place in your collection.
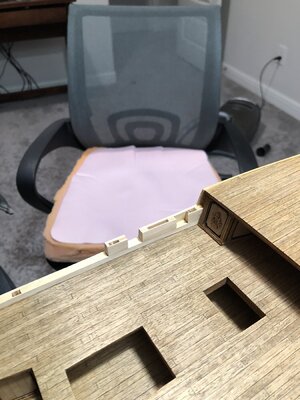
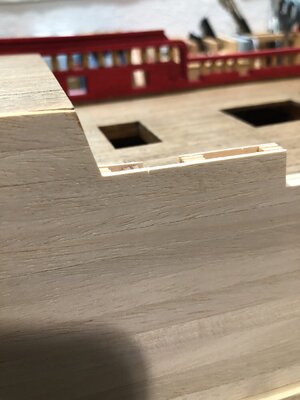
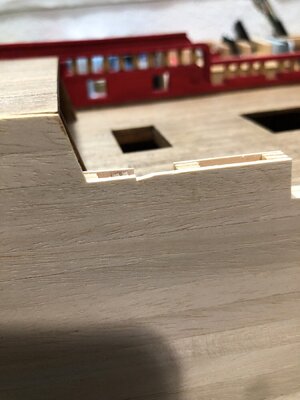
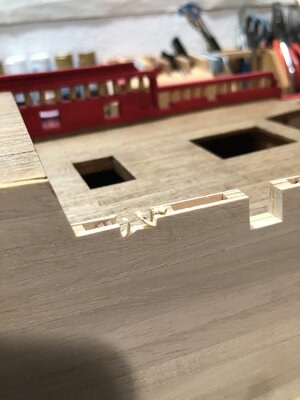
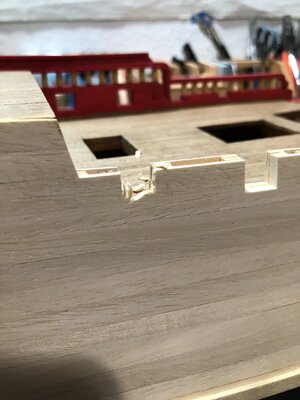
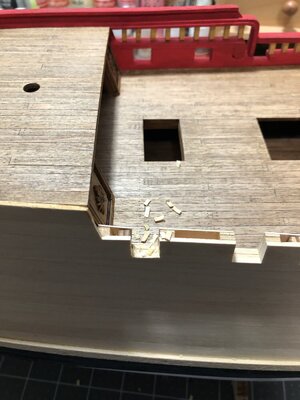
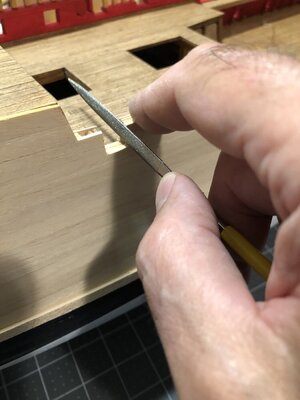
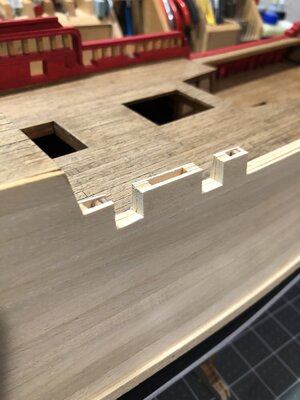
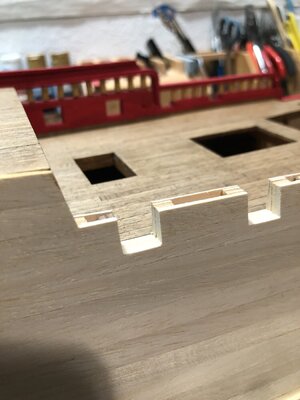
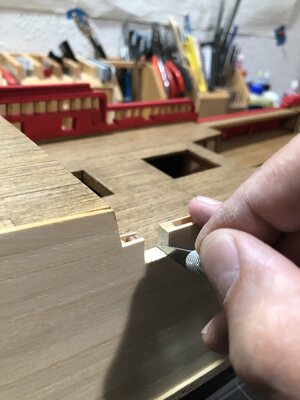
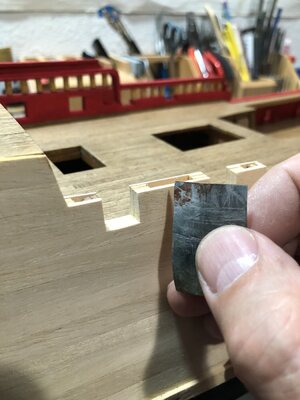
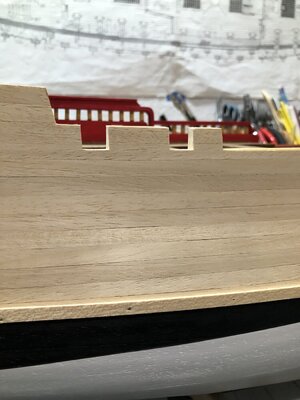
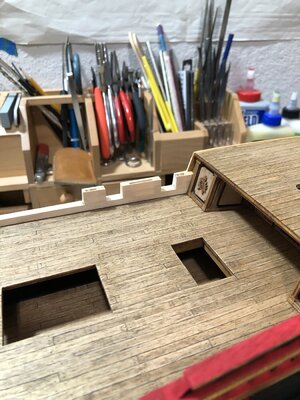

Extensive and clear description of your process. Usable for everyone, even with a basic toolset.Someone asked me how I cut my openings so clean and precise…so I will share my personal approach.
After framing out the opening and planking around it…
View attachment 363406
Then I start carving away material…first with a vertical cut to prevent splitting…
View attachment 363407
Then I cut at angle to intersect the vertical cut…
View attachment 363408
Then I continue with this working my way down…
View attachment 363409View attachment 363410
Then I stop shy of the bottom because I want to leave material to be filed and avoid getting into the corners yet…
View attachment 363411
Next I file the remaining material flush with the sides and bottom staying away from the corners…
View attachment 363412View attachment 363413View attachment 363414
Now the corners are left untouched so far…that way I can cut them last with the knife to ensure a sharp corner with no undercuts…
View attachment 363416
Then I clean up any burrs with fine sandpaper…
View attachment 363417
The end result is a square opening with sharp corners and smooth edges…
View attachment 363418View attachment 363419
That’s my method, there may be faster ways of getting there, but the main factors are:
Cutting close while staying away from the corners
Then file flush staying away from the corners
And finally cutting the sharp corners with a knife last.
Then it’s just fine sanding the edges.
Happy modeling!

That’s all I use…x-acto knife, file and sandpaper.Extensive and clear description of your process. Usable for everyone, even with a basic toolset.

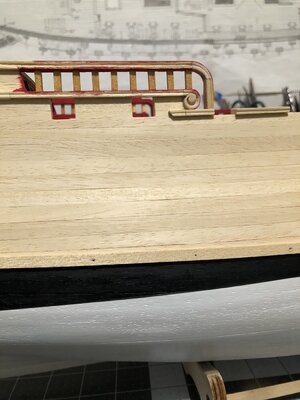
Progress is progress, however small the steps are…Next was the start of lower rail and the scroll…
View attachment 363480View attachment 363481View attachment 363482View attachment 363484
Making progress…a little at a time!
... well, it is about cutting cornersLove the mini tutorial on the gunports, no cutting corners there.... great work Dean!
Thank you Peter!Love the mini tutorial on the gunports, no cutting corners there.... great work Dean!
True!Progress is progress, however small the steps are…
Thank you Roger!Beautiful work Dean, you are doing a wonderful job.
Last!!!... well, it is about cutting corners
Thank you! I try, but sometimes fall short.Master of precision!
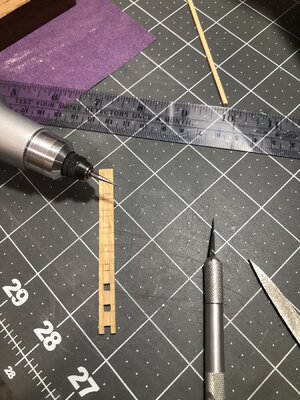
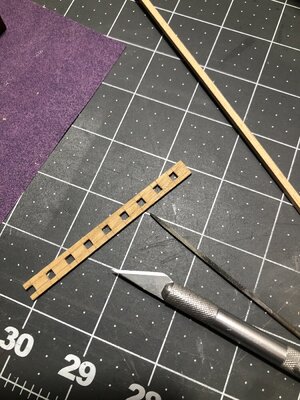
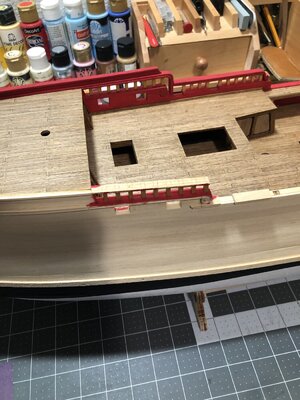
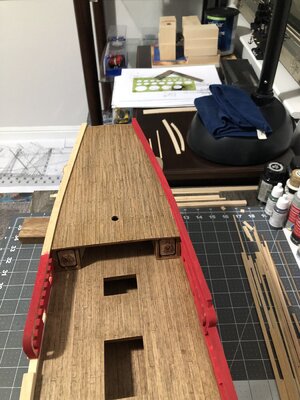
Thanks, I agree it’s worth it to do the extra work and to make a jig!...the redo is well worth doing, mon ami!! I am glad you went this route at earlier stages of your build. I also like the jig to make them align and plumb. My teacher told me once: If you have to do the tasks in repetition - it is a good candidate to make a jig.
True storyMaster of precision!

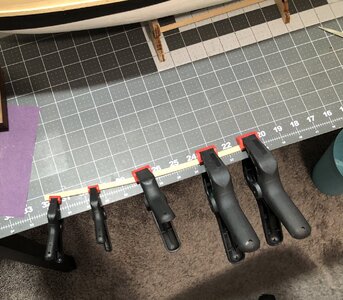
Then the upper rail was soaked and bent, and clamped until dried. I hate lateral bends with wide boards!


