And here I am bending and gluing sticks of wood together, hoping they'll stay put and look okay.
Impressive work, guys!
Impressive work, guys!
 |
As a way to introduce our brass coins to the community, we will raffle off a free coin during the month of August. Follow link ABOVE for instructions for entering. |
 |
What a wonderful project. This I will follow with great interest. Since I made my two cylinder Marcher engine using Reeves castings ( https://shipsofscale.com/sosforums/...launch-built-in-1877-in-warkaus-finland.3126/ ) I have wanted to build a triple compound one. Perhaps now I have courage enough to start the build.

Hi Nigel, until today I thought that the Stuart would be the one and only available. But now I learned about the Bolton as well. I wonder if the drawings & set of castings are sold by Reeves?Hi Moxis
It was a toss up between this and the Stuart triple. This one won for me as it is a model of a larger engine and however much I like the looks of the Stuart, this one just has that bit more IMHO
Hi Nigel, until today I thought that the Stuart would be the one and only available. But now I learned about the Bolton as well. I wonder if the drawings & set of castings are sold by Reeves?
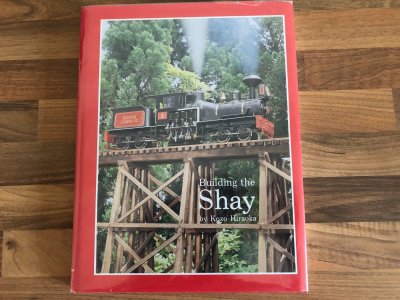
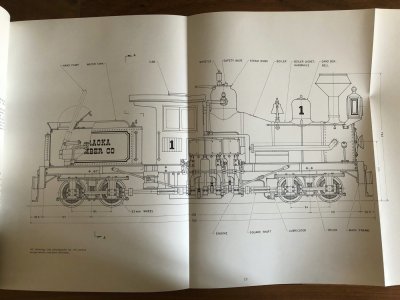
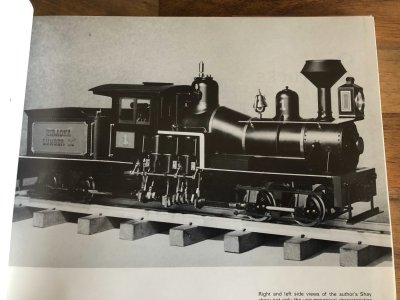
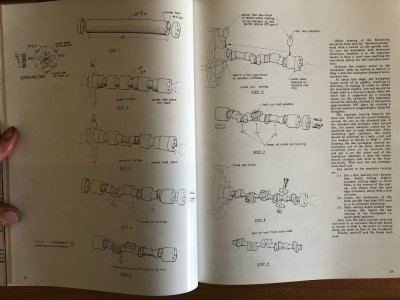
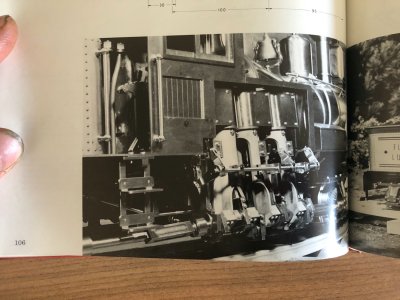

A Shay! If you have not already gone so, you need to add a trip to West Virginia, or as they say, West by Golly Virginia, to your bucket list. The Cass Scenic Railroad there operates Shay Locomotives to haul passengers up a mountain. The trip includes an 11 percent grade. The railroad was built by a lumber company.
Roger

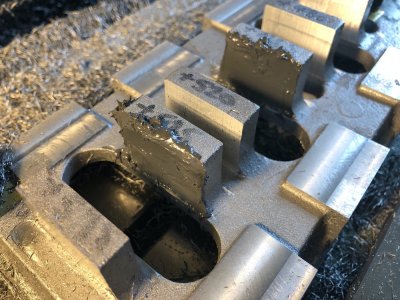
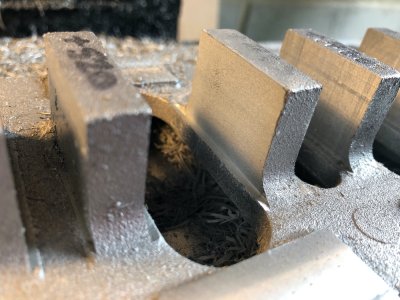
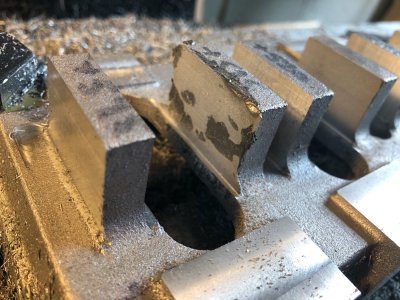
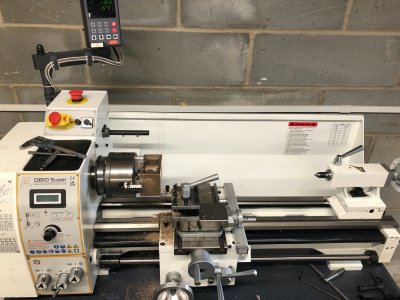
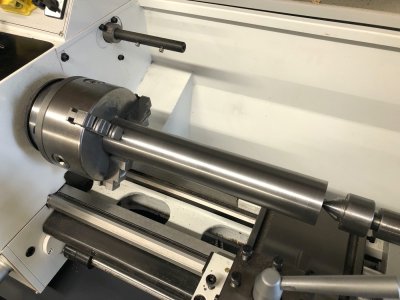
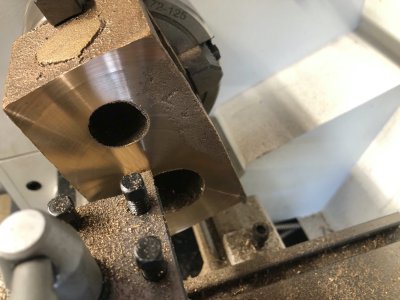
A master at his craft...Bolton part five
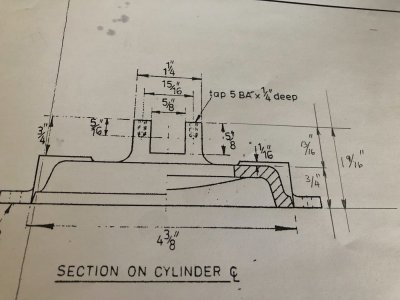
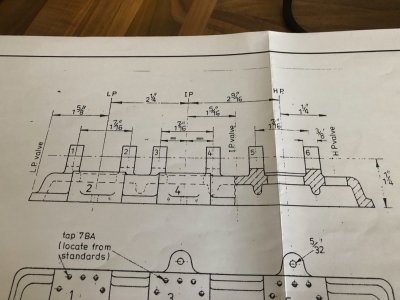
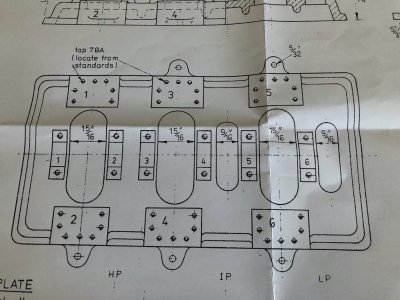
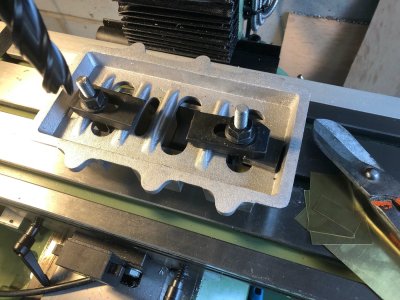
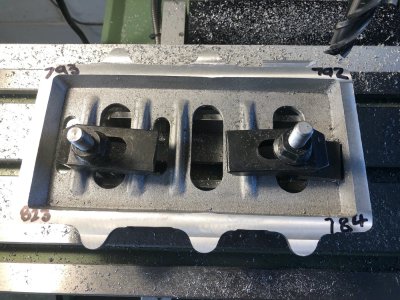
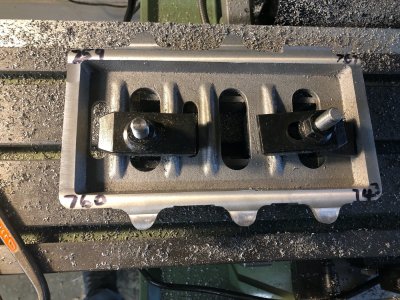
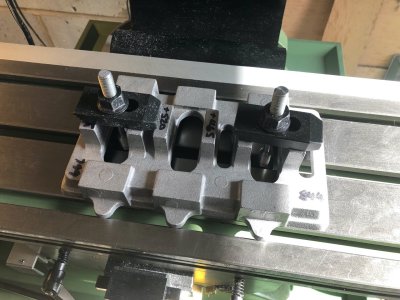
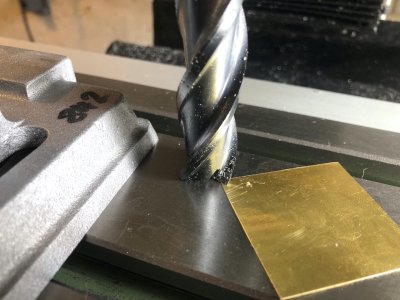
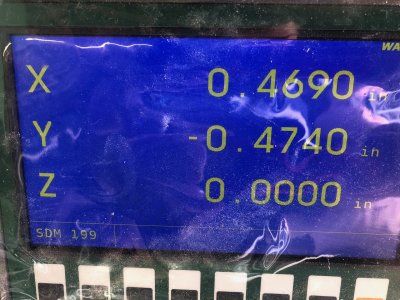
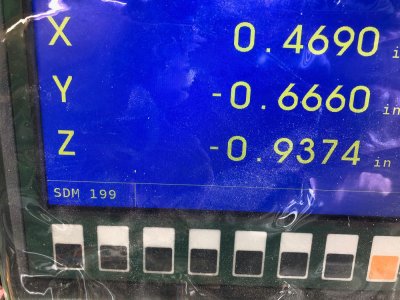
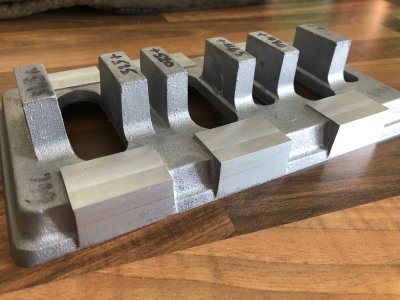
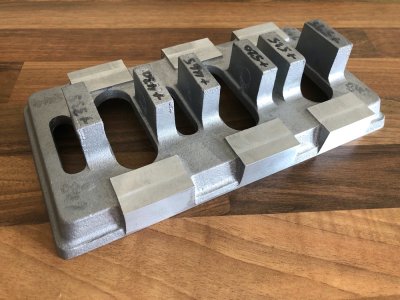
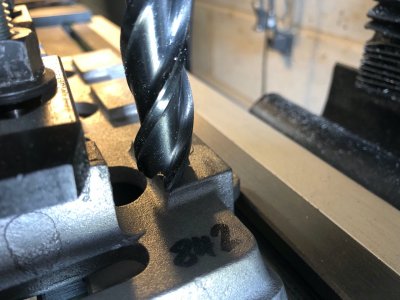
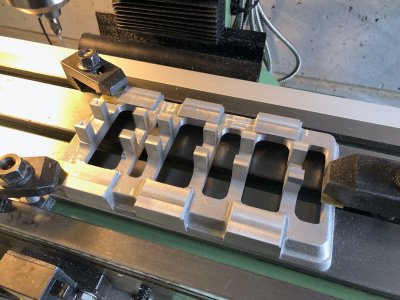
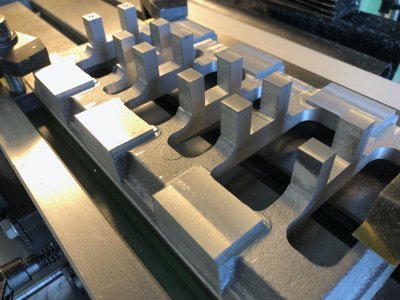
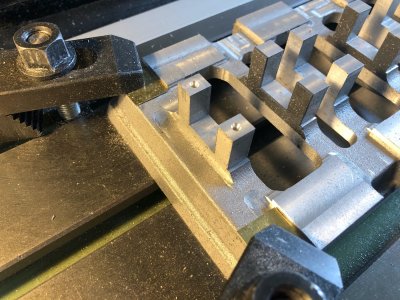
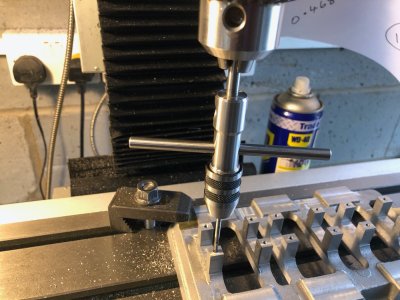
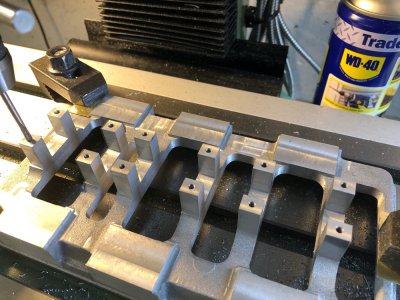
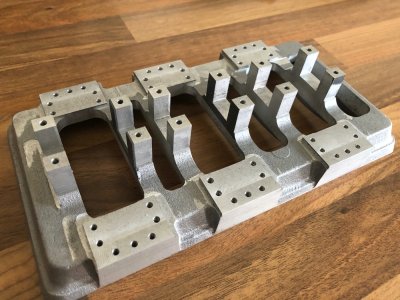
After much brain ache working out my coordinates for the plethora of holes I have drilled and tapped all the holes. I used the centreline of the crank and centre of the bearing housing at the flywheel end.
Working like this means I have no accumulative errors in the hole positioning which is essential to ensure the columns are true in relation to the crank journals.
When tapping the holes I used a centring tap wrench, this has a sliding rod running inside which in turn is fitted in the chuck of the drill. You still tap manually but this tool ensures all threads are cut square to the base.
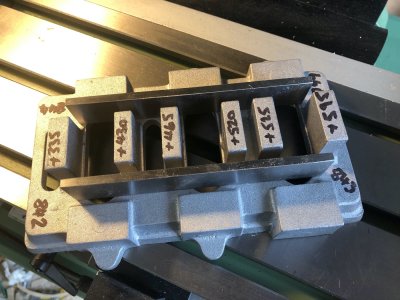
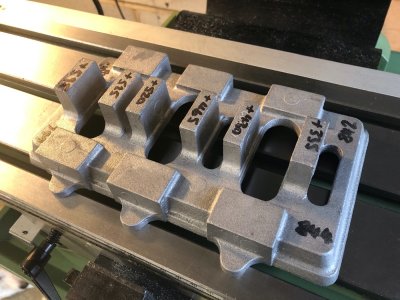
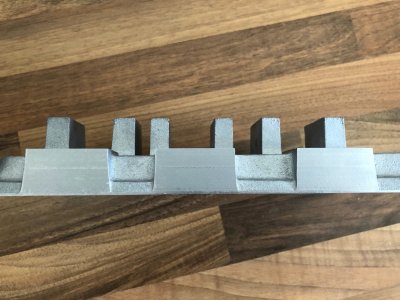
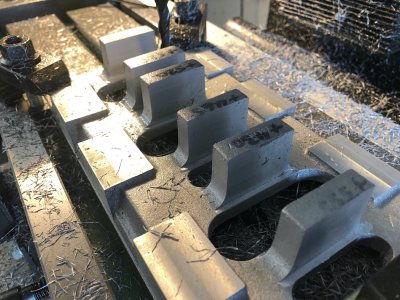
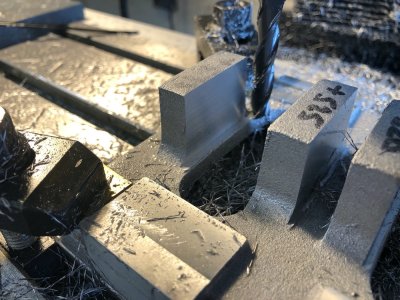
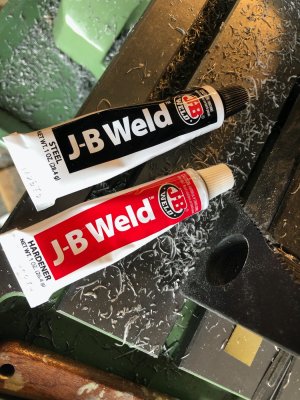
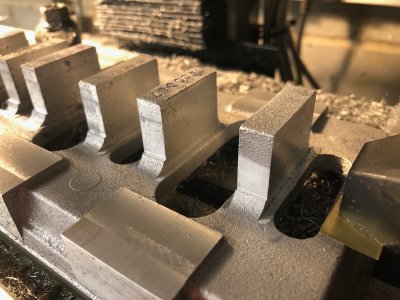
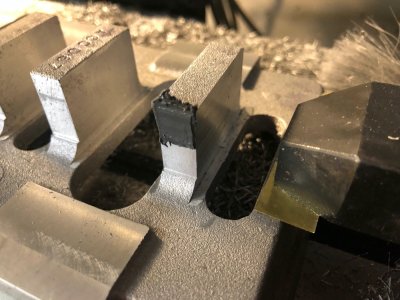
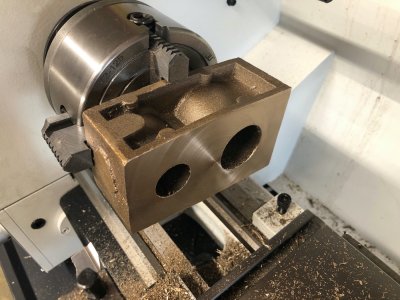
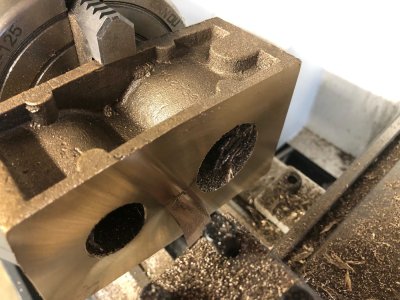
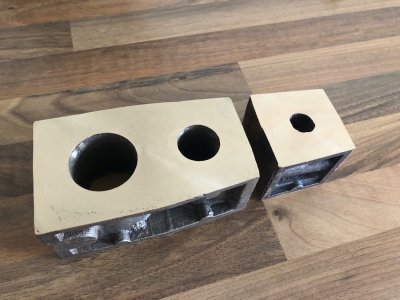
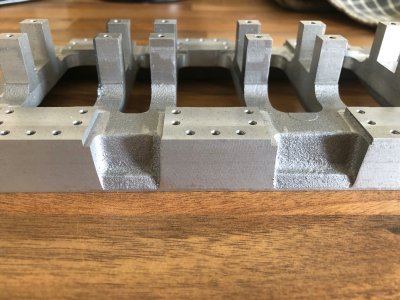
There is quite a bit of Dremel work to do. I milled the exact profile of the column feet on the base. This will all need blending in along with the radiuses at the base of the bearing housings. I may yet add Aluminum webs to these housings bonded with JB weld.
The side profile of the feet need continuing on the side of the base. I am currently thinking how to remove some of the material on the mill with the base canted over before finishing with a carbide burr.
View attachment 535850View attachment 535851View attachment 535852View attachment 535853
Thanks Paul but as this is my first go at anything like this, I can’t help but feeling like an enthusiastic amateurA master at his craft...

