-

Win a Free Custom Engraved Brass Coin!!!
As a way to introduce our brass coins to the community, we will raffle off a free coin during the month of August. Follow link ABOVE for instructions for entering.
-

PRE-ORDER SHIPS IN SCALE TODAY!
The beloved Ships in Scale Magazine is back and charting a new course for 2026!
Discover new skills, new techniques, and new inspirations in every issue.
NOTE THAT OUR FIRST ISSUE WILL BE JAN/FEB 2026
You are using an out of date browser. It may not display this or other websites correctly.
You should upgrade or use an alternative browser.
You should upgrade or use an alternative browser.
- Joined
- Dec 5, 2022
- Messages
- 1,119
- Points
- 443

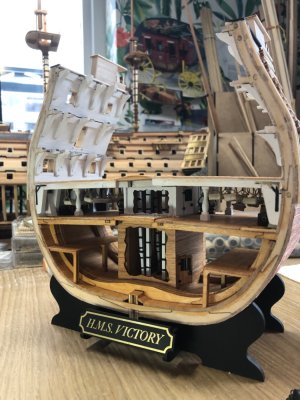
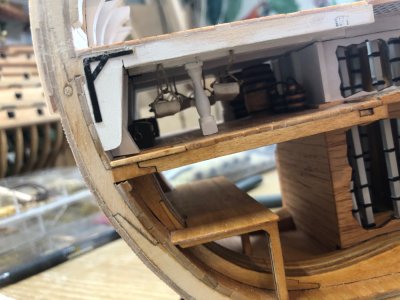
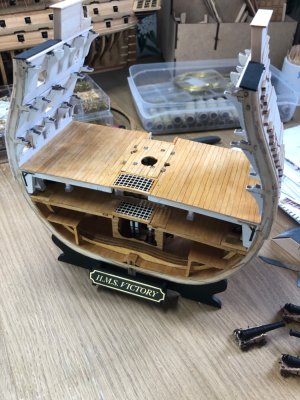
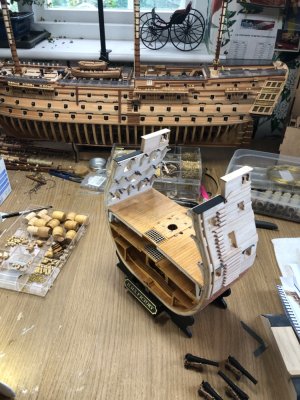
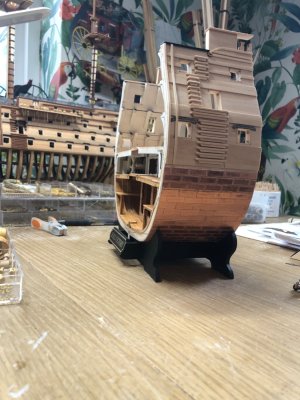
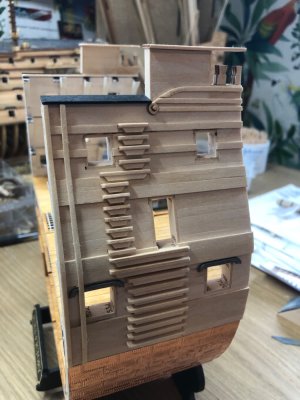
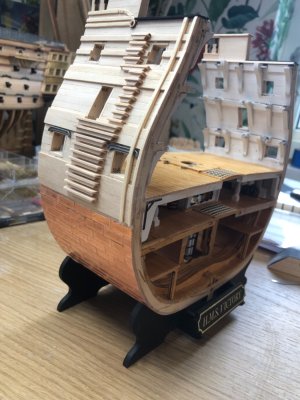
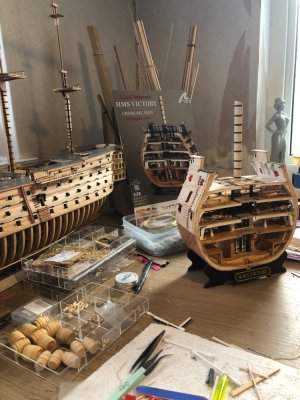
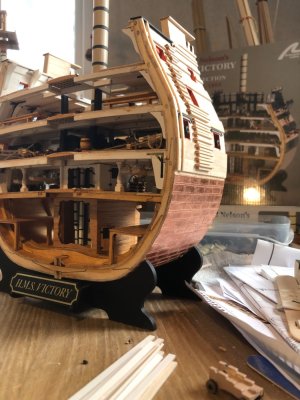
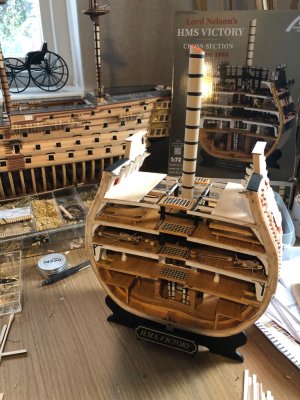
5 x 2 Buche. Einbrettig, zu dick zum Biegen, aber ich glaube, ich schaffe das.
Mit ein bisschen Schleifen sollte es, denke ich, ganz okay aussehen. Bin bisher mit allem sehr zufrieden.
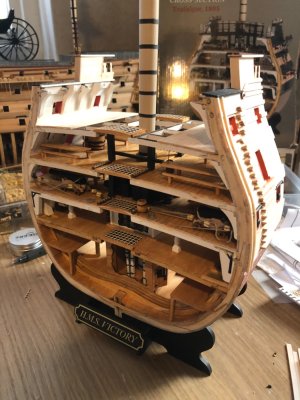
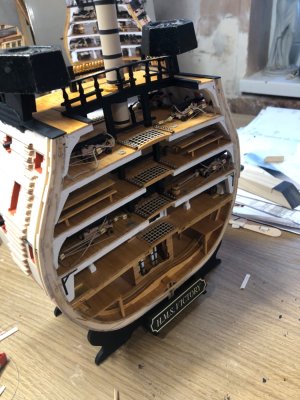
View attachment 429085
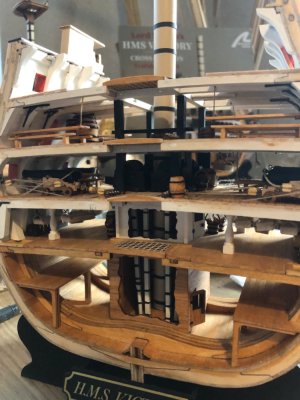
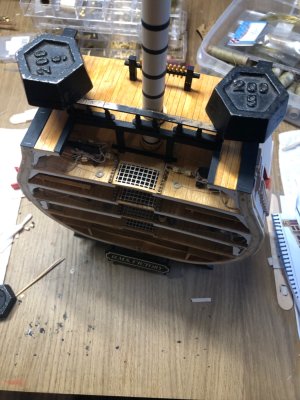
View attachment 429086
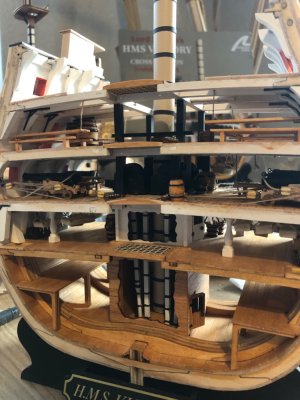
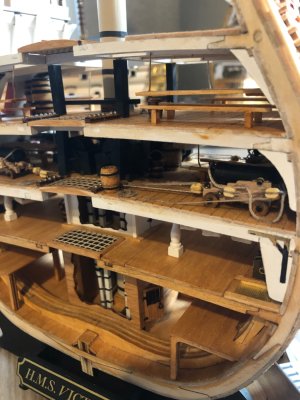
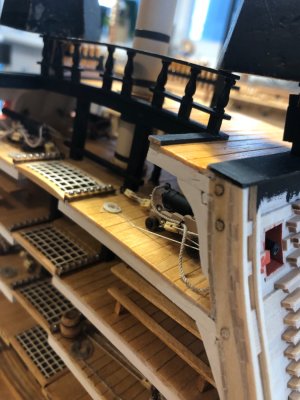
View attachment 429087
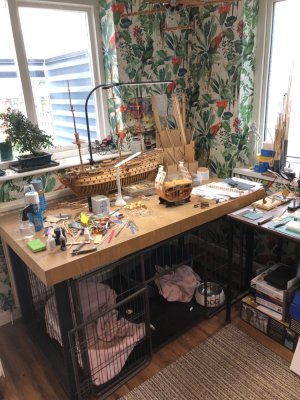
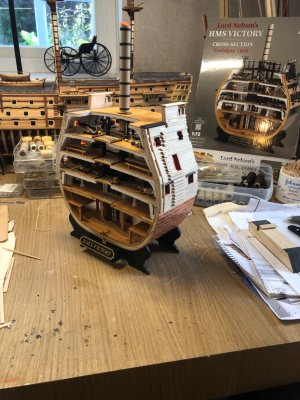
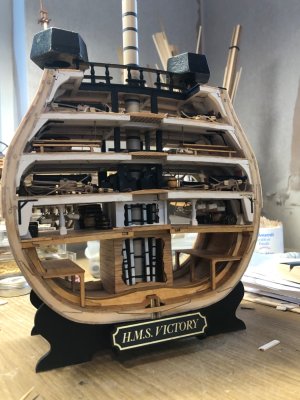
View attachment 429088
Rattle can, satin varnish. Looks ok , nice and even coats.Very nice work and the Victory looks fantastic.
Did you use Occre Satin Varnish? It looks that way on the decks.
Hallo Günter alias @GIG23Hello Neil,
your ship looks great. Please excuse me for replying in German first. My google chrome had a translation error.
Regards
Günter
we wish you all the BEST and a HAPPY BIRTHDAY

Many thanks. Very kind of you to bother. Happy Birthday also.
- Joined
- Feb 28, 2019
- Messages
- 1
- Points
- 0
Good afternoon
Will there be a second layer of sheathing? If not, then the processing of the ports is fundamentally incorrect.View attachment 434194
I've always had a quick response, usually from a señor Xavier. I hasten to add that there maybe UK customs' problems with parts being sent, especially wood! Don't ask how I knowMany thanks Sevish. No instructions on their website. Might not be logged yet, too new?
As for spare parts, the page is not very clear on how to select certain items.
Do you know if they respond very well by email.
I know that the Amati kits dept. never responds.
 All I can say; is it helps if you have friends or family in another EU country, in my case France.
I have several of Neil's replacement parts, all excellent, his stern enhancement kit is due shortly to land on my mat.Just came across this new website for add ons.
PE and 3D printed bits.
Thought some people may be interested.
Can print most scales to suit.

Woodys Model Works | Home page | 1:84 HMS Victory Model kit
This website showcases enhancement add-on sets for model kits. Starting with the Modelspace 1:84 HMS Victory kit.www.woodysmodelworks.co.uk
Great minds etc! I've done my 'Vic's' mizzen in such a way, but I did the fore & main with tenons.Another really helpful tip for any new builds of this model is as follows…
Early in the build when the basic keel and ribs are installed, drill a small pilot hole in the centre of the mast supports. Stage 49. 112,138, before fitting them.
Then drill and put a pin in the centre of each future mast .
You will always have a true accurate guide position as the build develops because lining up the mast holes through each floor level will ensure everything is lined up.
Few pics …
View attachment 440711
View attachment 440712
View attachment 440713
I would say; "Yes", as they give the impression of 'floating' in the air. Look at some on line photos. Then again I guess you've done all that by now, I'm behind the times picking your thread up!Question?
Should I fill the upper and lower spaces on the stanchions with wood strips to make it look more solid and load bearing?
Anyone in my locale want to come,pick up and finish my kit.
Lost interest now.
Got all the rest of the kit here for you.
And Pavels San Bart. Same thing.
Lost interest now.
Got all the rest of the kit here for you.
And Pavels San Bart. Same thing.
Why the change of heart, me hearty? I must say my Caldercraft Vic build has slowed down, the gun ports are getting me frustrated, as after each stage I seem to have to go through them cleaning them out again & again. My goodies came today from 'Woody's Model Workshop', so now I have to rebuild the stern & galleries. But first gorra get them thar gun ports done. Might just do some middle deck lids closed, as I've done on the lower gun deck.Anyone in my locale want to come,pick up and finish my kit.
Lost interest now.
Got all the rest of the kit here for you.
And Pavels San Bart. Same thing.
Rigging just don’t interest me, love doing the woodwork best. All done to quite a high standard for someone.Why the change of heart, me hearty? I must say my Caldercraft Vic build has slowed down, the gun ports are getting me frustrated, as after each stage I seem to have to go through them cleaning them out again & again. My goodies came today from 'Woody's Model Workshop', so now I have to rebuild the stern & galleries. But first gorra get them thar gun ports done. Might just do some middle deck lids closed, as I've done on the lower gun deck.
Moving on to different things
Great work!! -
To paint or not top paint: that is the builder's option. I personally do not care for unpainted hulls. I prefer them to be realistic. But, que serra!
Bill
Bill


