Occre Pacific 231 wood and brass train [COMPLETED BUILD]

Ken

Joined
Dec 16, 2016
Messages
1,094
Points
493

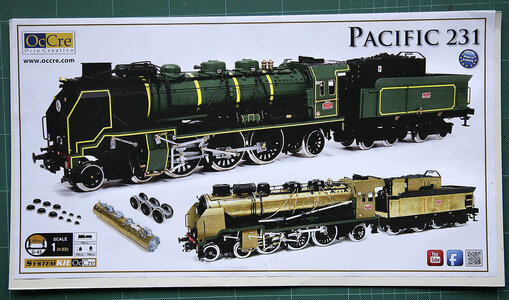
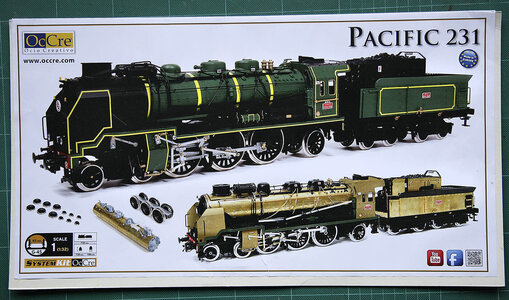
Hello everyone. I am going to attempt to build a train, it is a Pacific 231, a wood and brass kit by Occre, a large model some 730mm long so hopefully quite impressive. I know nothing about trains, I have never researched or built one before and I have never built with brass except the small amount on my Amerigo Vespucci so this will be an interesting challenge. Who doesn’t love trains? I’ll be building it out of the box as per the instructions with little enhancement, as there is almost nothing online about it I’ll just be winging it.

I have done a few, mostly wooden ship build logs on S.O.S. over time but my last one HMS Ajax was a disappointment to me and rather put me off that type of build for the moment, the first kit that I never finished! I still continued to build models as that’s what I enjoy doing but I went off at a tangent, trying out different types and learning different techniques, it’s been an enjoyable modelling year. I stopped following S.O.S forums during this period or doing logs, so to any of those members that followed me I apologise if I haven’t replied to any questions or contacts. So this build will continue along the theme of something new for me, I know this is a model boat forum but if there is enough interest I’ll continue with this intended log.

My wife bought me this kit for Xmas so she has now gone from Admiral to Station Master, I’m not sure if that’s a demotion or not?

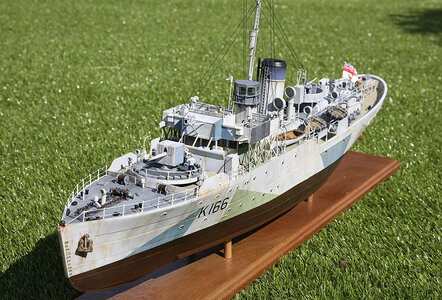
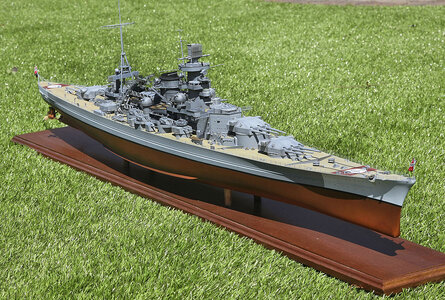
The other models that I have built over this last year are

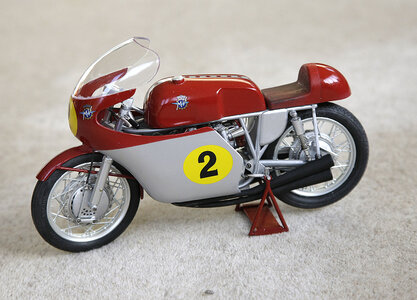
Pocher Ducati

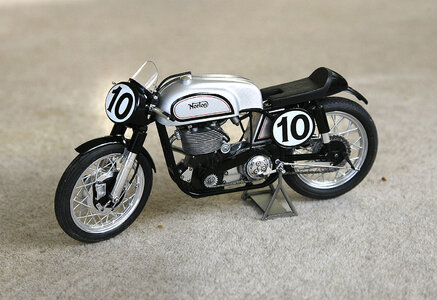
A couple of old Protar Bikes

Sharnhurst Trumpeter

Revell Snowberry, a very old freebee given to me

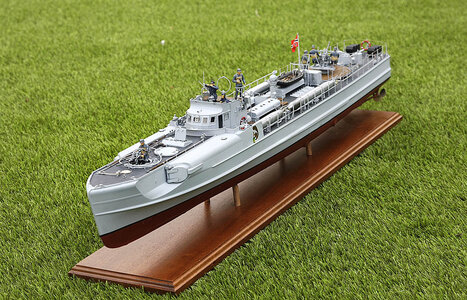
Shnellboot by Italeri

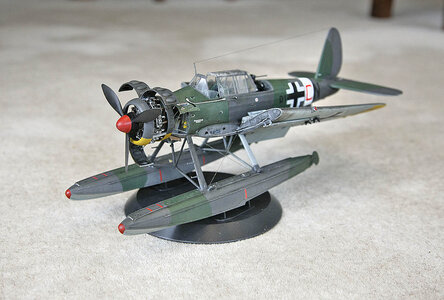
Arado by Revell


Here’s some pictures Ken
001.jpg

042.jpg
03.jpg

02.jpg

_M0W3730.JPG

_b6.jpg

001.jpg

_M0W3841.JPG
 
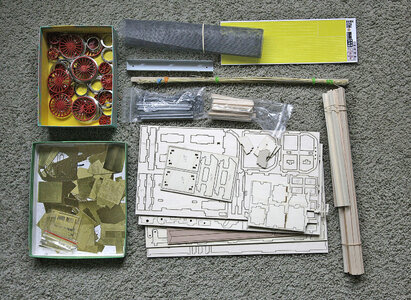
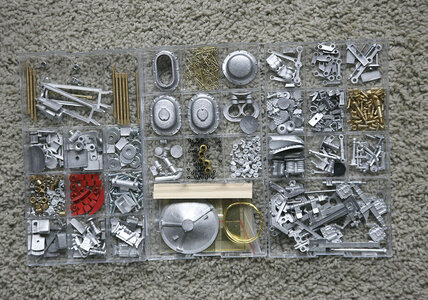
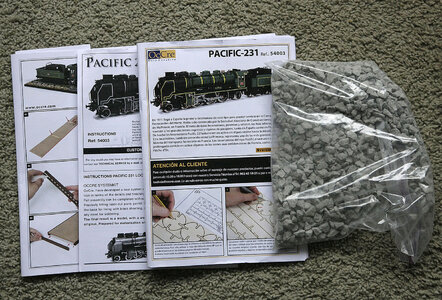
Hello everyone. Here’s where my log begins. I’m starting by showing most of the kits contents; a few bits are not shown as I had already sorted the contents out from the kit box. It all looks quite good. There are nice brass sheets, several sheets of laser cut ply, rather a lot of white metal castings which look well done with very little flash, polished steel wheels, wooden rods and dowels, a roll of mesh, plenty of well shaped round headed nails, a lot of wire and a couple of books containing the instructions as well as a bag ballast for the track base.

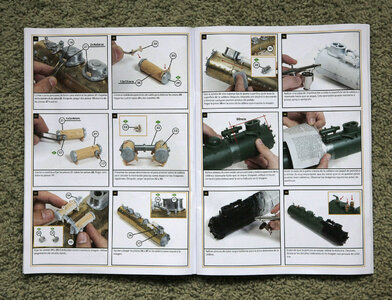
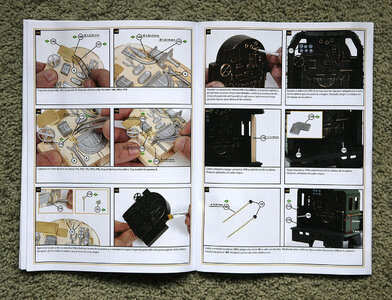
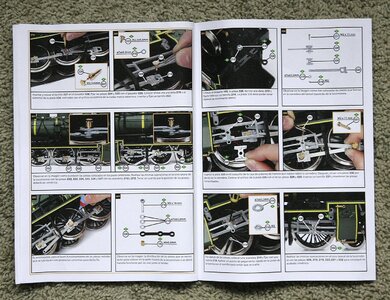
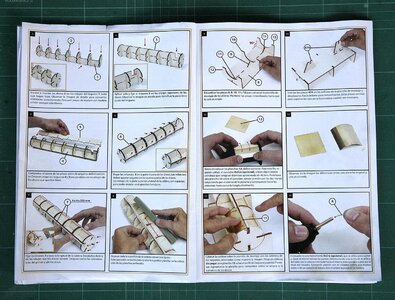
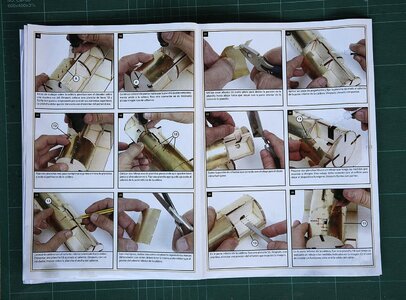
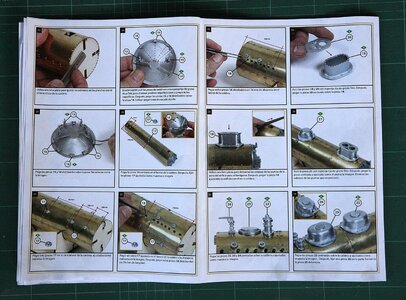
Although they initially look good I’m not a fan of photo step by step instructions, I find that for small intricate areas they are confusing and difficult to both identify and fit parts correctly. For instance it indicates fitting a part 7, which is a small part but there is no parts list showing what it is, as many of the small cast parts look very similar it’s difficult to identify them from a small photo, I much prefer line drawn diagrams, but that’s only my preference. The instructions book is only in Spanish but there is an included booklet with translations.

Going through how it’s to be built, at this early stage it appears to be a well designed and thought through kit and I can’t see any particular problems, HE SAYS!

Ken

001.jpg

002.jpg

003.jpg005.jpg

006.jpg

007.jpg

007a.jpg
 
Hi, Well I finally got around to starting the kit. My first impressions are that it is excellent quality, a well thought out build and the fit is like I have rarely experienced in other wooden models, it looks promising.

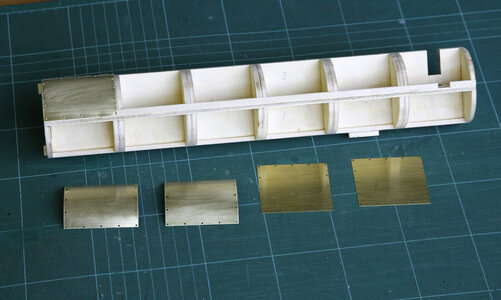
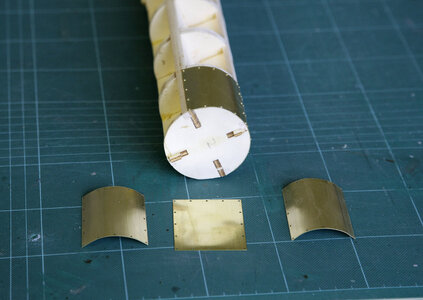
You start with the boiler; this is made up from four long pieces slotted like the keel of a ship model which fit together along with the ribs. It is different in so much as the bottom of each has lugs and slots, it’s difficult to describe but when fully home each piece interlocks with all the other pieces and in doing so the boiler is perfectly true, not even .5mm out, as long as they are tapped fully home, even if the pieces had been warped at the start they would end up perfectly straight and no checking of alignment is needed. You then fit four stringers along the length and rib doublers; these are for the nails on the brass sheet to go into. The laser cutting was so accurate that other that removing the attaching points no sanding for a perfect snug fit was needed. A quick check with the brass sheets resting in place confirmed that I had a true structure, if it had been even the slightest amount out the sheets when butted would have shown slight gaps or have overlapped, very impressed.

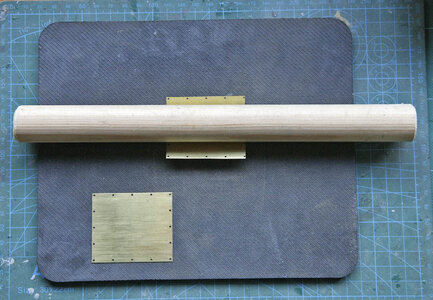
The brass plating is good quality and has the nail/rivet holes pre drilled, the instruction show the plates being curved around a former but I find it is much better to use a dowel on something soft with some give in it, I used a piece of broom handle and a mouse mat and just roll it farward and backwards until the desired curve is formed. Before I started fixing them into place I ran a sanding block along the structure to make sure that I had no high spots. Placing the plates on I drilled a few pilot holes before tapping in the nails carefully checking the alignment of the first few before continuing as this first plate will determine the position of all the other plates.

I’m very pleased with the way that it’s going together
008.jpg

008a.JPG

010.jpg

009.jpg

011.jpg
 
First of all, it is good to have you back Ken! That looks like a very promising start to your model and I will most certainly tag along to see how you progress.
 
Hello Everyone. The journey continues. Thank you all for following my build and for the many kind comments that I received, they are very much appreciated.

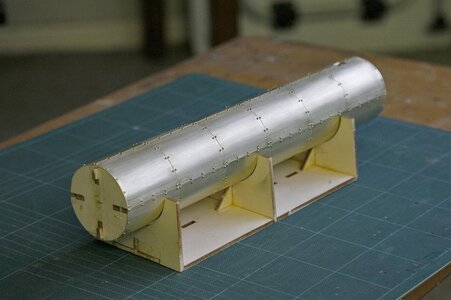
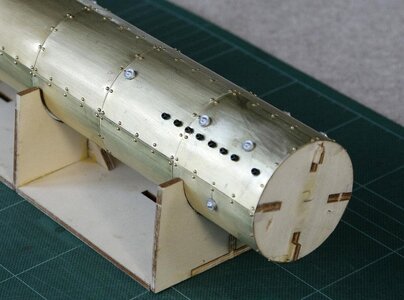
I have now finished plating the boiler with the brass sheets. This went very well and confirmed my original belief that the structure was true as all the sheets butted perfectly edge to edge and top to bottom with no gaps or overlap. I first rubbed them down with 800 grit to key the surface for painting. I felt that it would be easier to do before they were curved and before riveting, it would have been almost impossible to successfully do the spaces between all those rivets after they were in place. The instructions suggested using a pin pusher but whilst they are quite good they often leave the nail not perfectly central and sometimes not quite straight, also if pushed too hard would leave a slight indent in the brass around the pin head. I used the more time consuming method of drilling a pilot hole and lightly tapping the nail in, you have much more control.

I’ve started fit some of detail, a few cast parts and what I think are vents, these were made of simple plastic beads which I flattened the bottom of. So far I think it’s coming along nicely.

Ken

012a.jpg012.jpg013.jpg
 
Those nails look super neat Ken. I trust that the tea that is served, is Earl Grey with some butter scones, strawberry jam and cream! :)
Hi Heinrich, I’m sorry on my train you only get what is served, good old English builders tea, the type that you can stand a spoon up in and taste over the coal dust, and as for scones you’ll be lucky to get a biscuit.
 
I forgot to mention that the frame that the boiler is resting on is part of a jig that will later with a few more bits added be used to position the undercarriage, I made it up now as it is useful as a support.
 
Last edited:
Back
Top