Occre Pacific 231 wood and brass train [COMPLETED BUILD]

Hello Everyone. The journey continues. Thank you all for following my build and for the many kind comments that I received, they are very much appreciated.

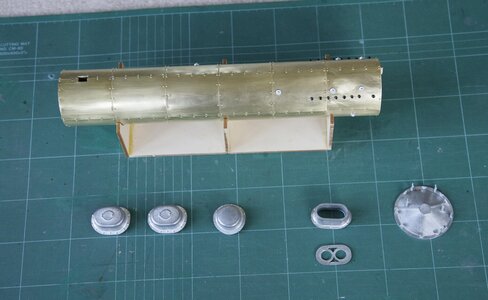
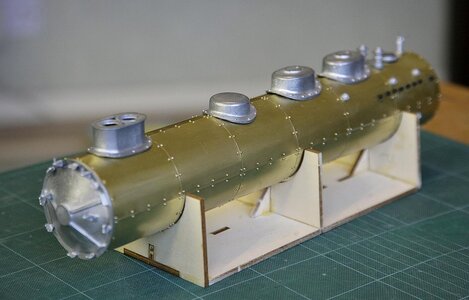
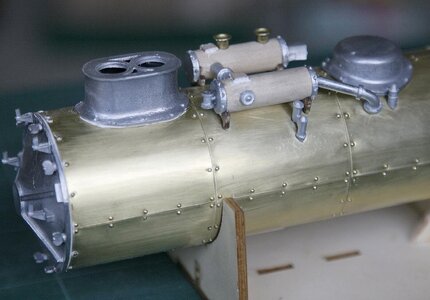
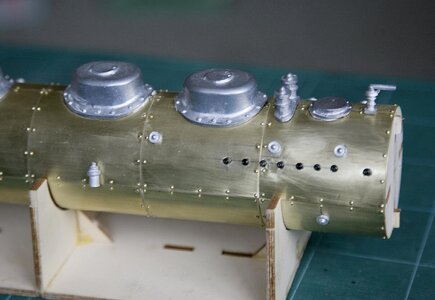
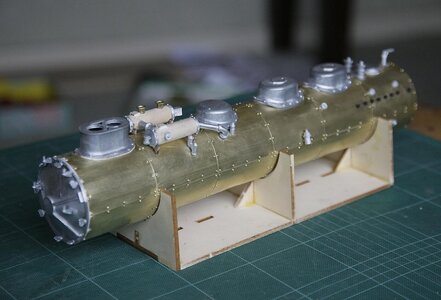
I have now finished plating the boiler with the brass sheets. This went very well and confirmed my original belief that the structure was true as all the sheets butted perfectly edge to edge and top to bottom with no gaps or overlap. I first rubbed them down with 800 grit to key the surface for painting. I felt that it would be easier to do before they were curved and before riveting, it would have been almost impossible to successfully do the spaces between all those rivets after they were in place. The instructions suggested using a pin pusher but whilst they are quite good they often leave the nail not perfectly central and sometimes not quite straight, also if pushed too hard would leave a slight indent in the brass around the pin head. I used the more time consuming method of drilling a pilot hole and lightly tapping the nail in, you have much more control.

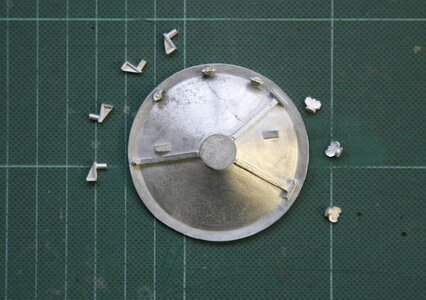
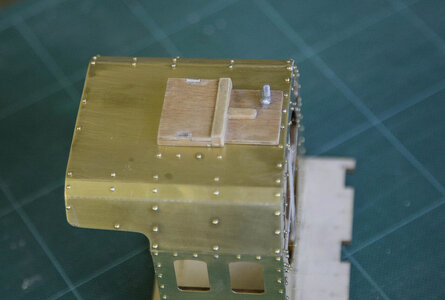
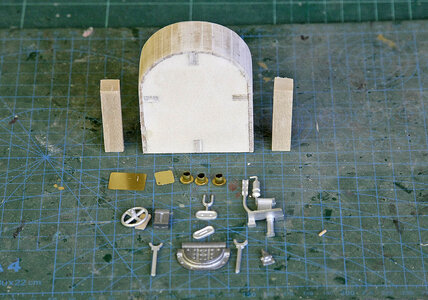
I’ve started fit some of detail, a few cast parts and what I think are vents, these were made of simple plastic beads which I flattened the bottom of. So far I think it’s coming along nicely.

Ken

View attachment 280519View attachment 280520View attachment 280521
Dear Ken
Glad to hear from you and see that you are enjoy from the new model , no matter if it is a ship or a train.
As you have proven before you have a high level capabilities and so does the start in building the locomotive's boiler. Continue to enjoy the construction and I will continue to follow your work with great anticipation :)Thumbsup
Happy New Year to you and your whole family
 
Hello Everyone, First thank you for following my build and for your kind comments. I’m now building up a fine head of steam and we’ll soon be able to leave the station, if only I can get the stoker to
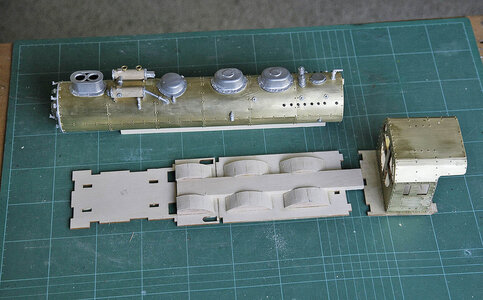
work a bit faster. As you will see I have now added quite a few of the castings to the boiler as well as having made up and fitted some sort of piston arrangement. As I mentioned earlier I don’t know what many of the parts are or their purpose I’m just blindly following the instructions, I do know the smoke stack and the whistle so that will have to do for the technical stuff. The castings were quite well made and only needed a little work, the third picture shows this as the parts are how they came and are just resting on the boiler, so not much fettling needed. There you have it for today, I think that the pictures speak for themselves.

Ken

014.jpg

015.jpg

015a.jpg

016.jpg

017.jpg

018.jpg

019.jpg
 
Hello All. First again my thanks to everyone who’s on this journey with me and have encouraged me with kind remarks.

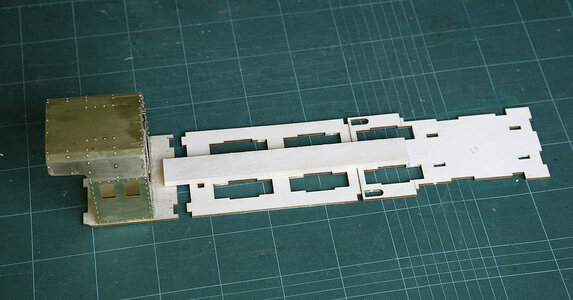
I was right in thinking that the picture instructions might not be the best way to build this model, only showing close-ups of small areas at a time is leading to some confusion. It is sometimes not obvious which way around the picture is taken as both front and rear look the same from that small area so very close attention and dry fitting is essential. The main issue that I’m facing is without an overall view I can’t figure out the best plan for painting. There are too many detailed parts, rivets etc that will collect paint and cause runs if I brush paint so it will need to be sprayed. It does not lend itself to being masked so my initial thought is to spray the boiler before I add any more detail, ( it has about twenty pipes around it ) as well as the smoke deflectors! That’s the easy part, the main chassis has even more detail and the cabin is mounted on the back and is a different colour. I need a visual plan in my head as to the best sequence to do things but just having small areas of the build at a time doesn’t make it easy, having said that the build is going well, again with excellent fitting and good quality.

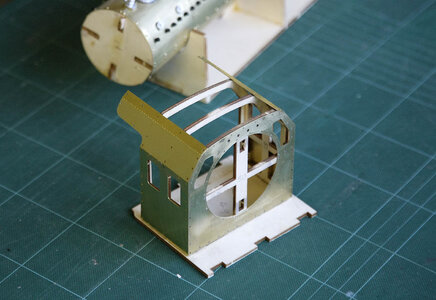
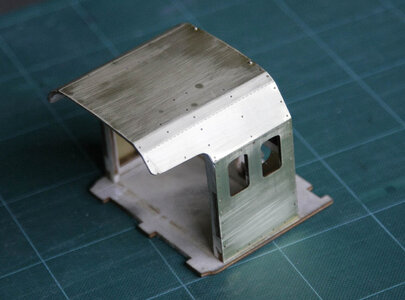
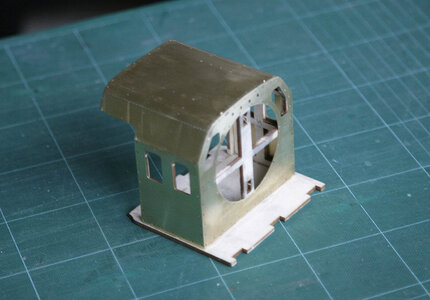
The main bed of the chassis is built from three parts which interlock; the cabin is mounted on the rearmost section. I have decided not to permanently fit this section with the built up cabin on yet and hopefully paint this part separately, then I’ll glue it into place later. At least it’s a plan.

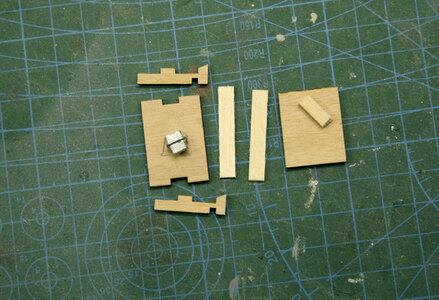
The pictures show the progress of the build and I don’t think that they need an explanation .

020.jpg

021.jpg


022.jpg

023.jpg

024.jpg

025.jpg

026.jpg
 
Last edited:
Hi Ken.
I like your thought process in identifying the painting challenge. I have a suggestion, spray out the main body parts (I'm guessing some shade of black), then come back on the rivets with a dry brush technique with a contrasting color to the main color which I think has the potential to not just highlight the rivets but give it an aged or antique look?? Just guessing.
Hi Daniel, You’re right about the rivets, they are such a feature that they need it. My issue is how to mask off the different sections of the main colours, not a problem yet, maybe as the build comes on, a way will most likely become apparent. When I get to that stage all the passengers can get off and discuss the best way forward, but the driver will get the last word
 
Hi Daniel, You’re right about the rivets, they are such a feature that they need it. My issue is how to mask off the different sections of the main colours, not a problem yet, maybe as the build comes on, a way will most likely become apparent. When I get to that stage all the passengers can get off and discuss the best way forward, but the driver will get the last word
I look forward to your solution Ken.
 
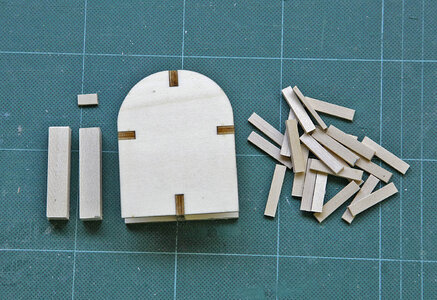
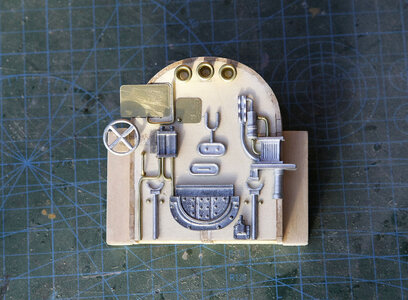
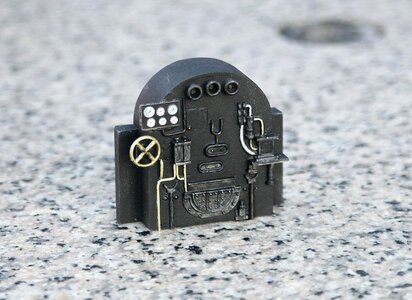
Hello again. This episode is the making of the fire box with the facia. This is out of sequence with the instructions but it looked so nice that I just had to make it up. I think that the pictures show the build quite well. There are a number of instruments and more detailing to add, I’m quite pleased with the outcome so far.

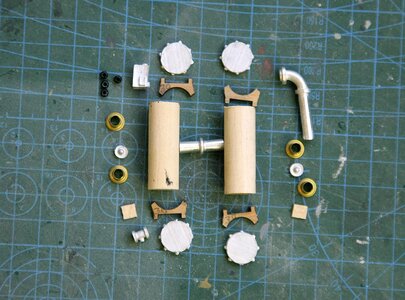
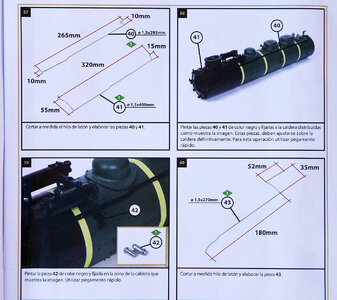
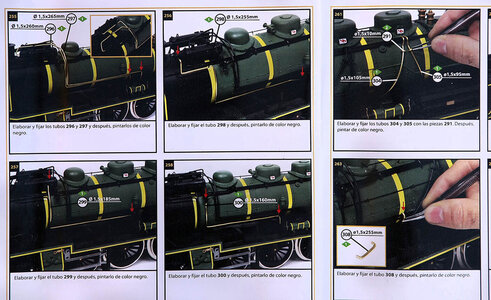
There are probably about 25 pipes around the boiler and pistons, many are fairly complex shapes so I’ve decided to make them up now before I paint as I think that making them up after painting will be likely to cause scratches, I’ll label them and put them to one side until needed. I mentioned the difficult to follow photos in the manual, I’ve added a picture below to show this, the pictures are only 7 CM, nowhere near large enough and where the parts are shown black against black it is impossible to tell how they are fitted and to which part even with X ray eyes and enlarged, most of the pictures are like this, given the complexity of these pipes I feel that much better instructions are needed. That’s my rant for the day!

047.jpg

048.jpg

049.jpg

051.jpg

050.jpg
 
Last edited:
Back
Top