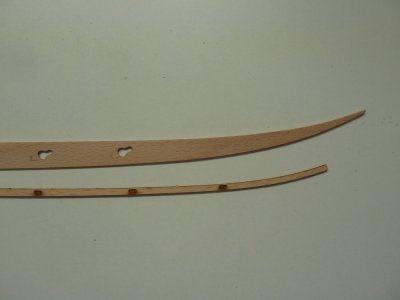
Tapering the Stems of the Keel.
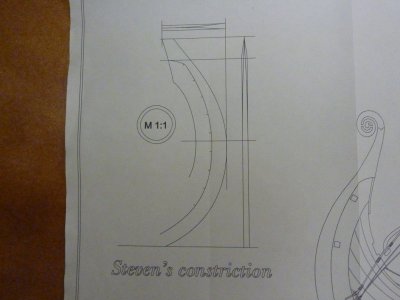
The written instructions for tapering the keel ends are given on page 9 of the instruction manual. I had watched the videos supplied by Pavel and from them, I knew that there were some incorrect dimensions given. If memory serves correct, the taper is at 15mm from the tip of the keel top.
Instruction Manual
The idea from the manual, is that the tapering is undertaken after the joining of the keel halves to form a single unit. I was not happy to undertake this at this stage because I felt the keel was very delicate. Also, the videos show the operation carried out much later and to a different dimension. I decided, later than sooner.
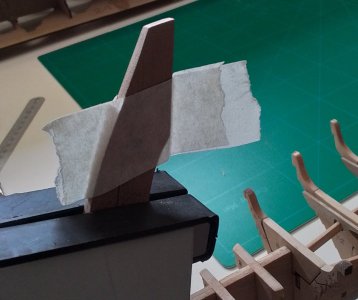
Incorrect Dimension
The Videos
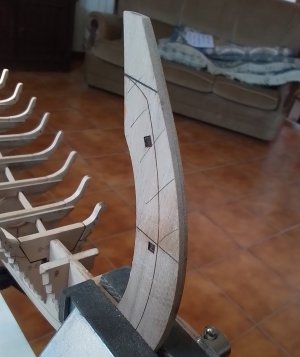
Correct Dimension to just Above 2nd Dowl
Pavel attaches the keel to the side of the ship frame and works on it from there. I was not happy with this idea and undertook the chamfering whilst the keel was supported in two vices. This permitted me to work on a much more rigid structure. Not in the instructions, but in the video, the chamfering is across a distance of 60mm. Here the video does not in my mind alight with the said dimension of 60mm takes the chamfer to the second joining dowel. I did use the 60mm.
Undertaking the Chamfering
The chamfering did take a fair length of time and I noticed that if I was not careful, along the 60mm length of the chamfer, I could easily create either a concave or convex shape and slightly round the keel tip. To help aid in shaping, I used a small steal rule to check flatness. Eventually, the tip needs to be chamfered down to .5mm. This must be between the two sides individually. I shall not provide full details here. They are clear in Pavel’s video.
The chamfering process is a delicate operation if to be undertaken with precision and I found that by clamping the keel between two vices. At the end I was working on, I used an old set square to give additional vertical support. Also, once one side had been completed, and the other worked on, an additional wedge piece between the set square and keel tip provided greater rigidity, therefore aiding in precision.
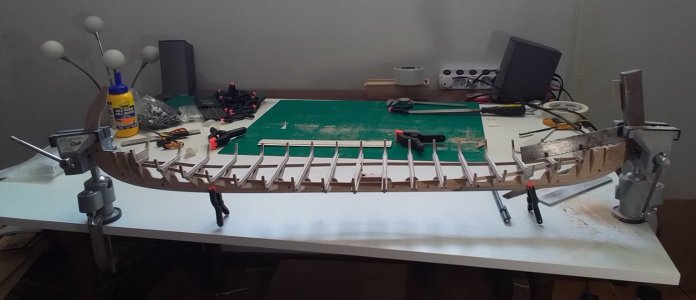
Supported in Two Vices
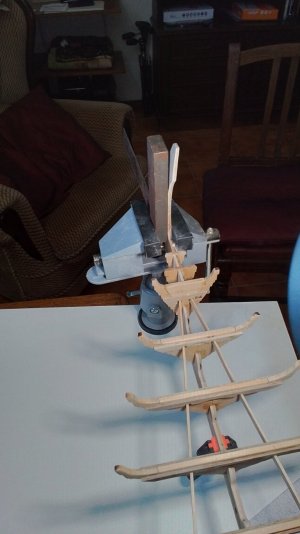
Well Supported for Chamfering
Chamfering Completed
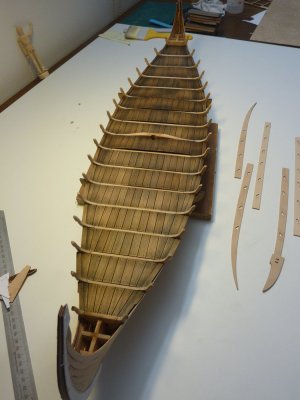
Earlier while constructing the second slipway building jig, I was not satisfied with the way the Oseberg skeleton was being supported and I made some slight alterations where things improved.
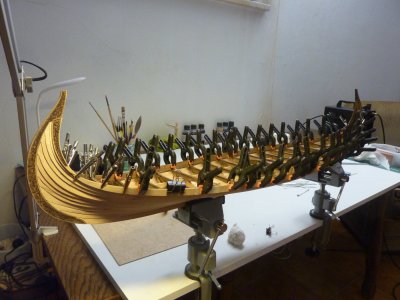
Not shown in the instruction manual, but in the video are supports for the keel tips when placed in the holding jig. Pavel shows these additions incorporated before the tip is created. I incorporated the additional supports once the tapering operation had been carried out and the temporary cheeks had been attached, this allowed for great accuracy in the holding ability of these parts. In the case of the cheek pieces, the instruction manual says 1/10 glue. This means, just a little. This detail vital.
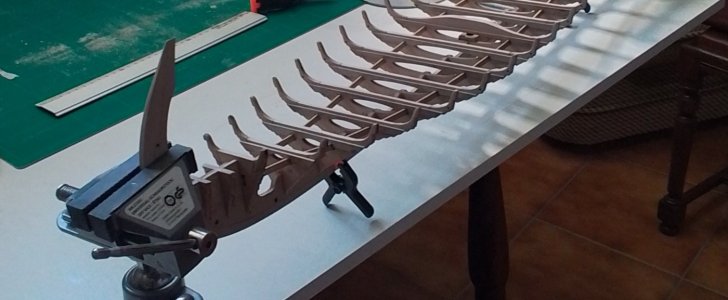
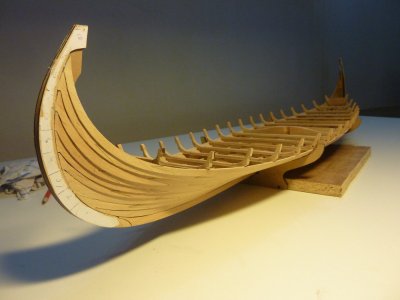
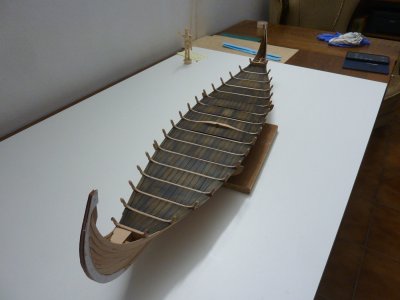
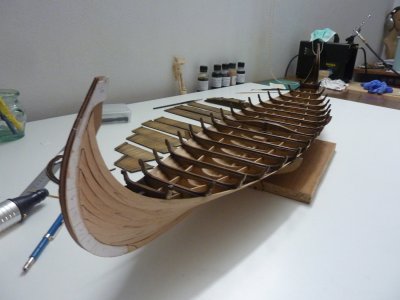
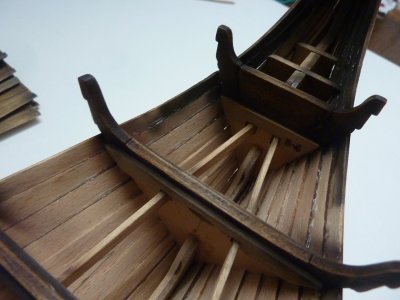
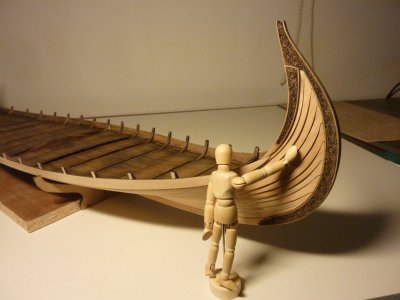
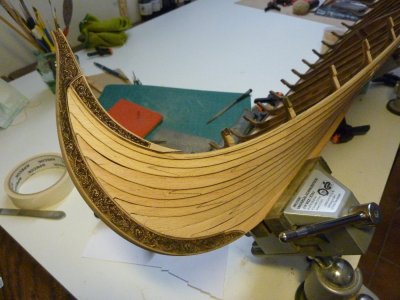
Completed Bow & Stern
Keel Veneers
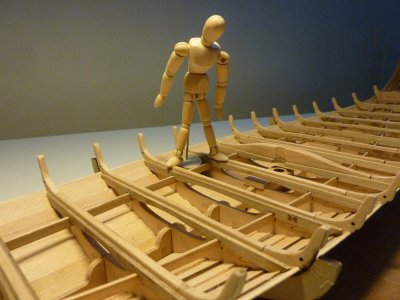
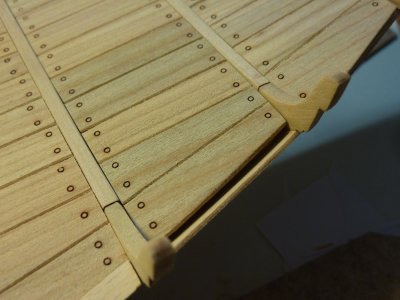
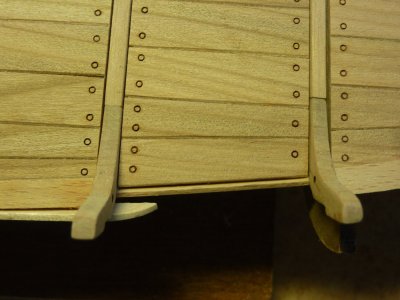
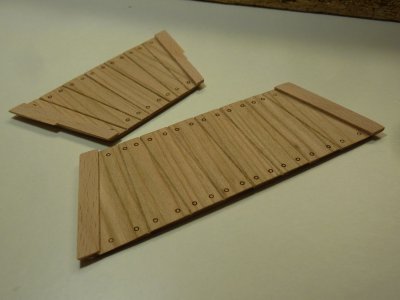
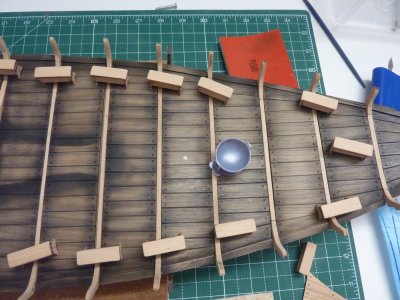
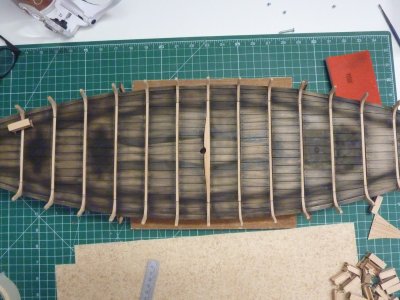
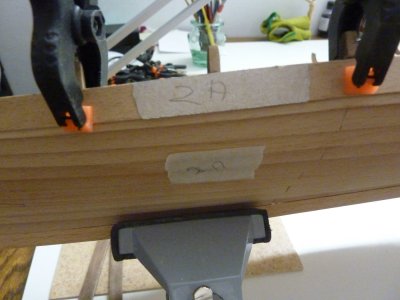
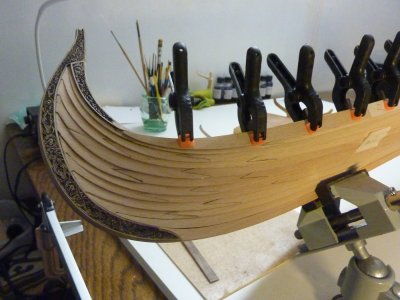
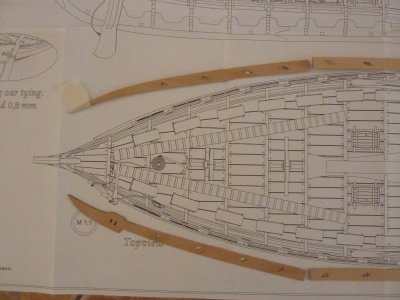
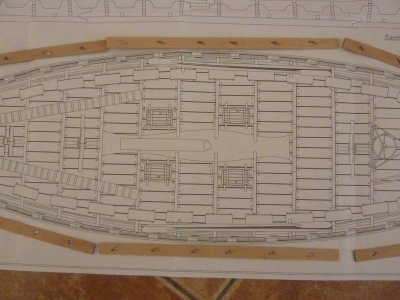
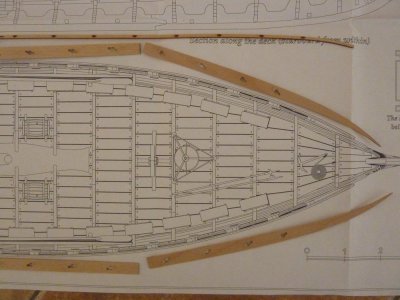
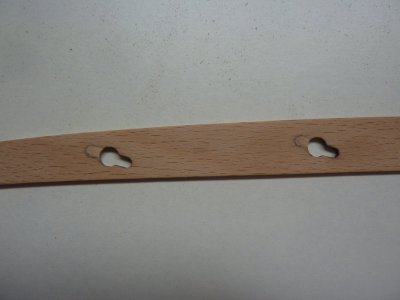
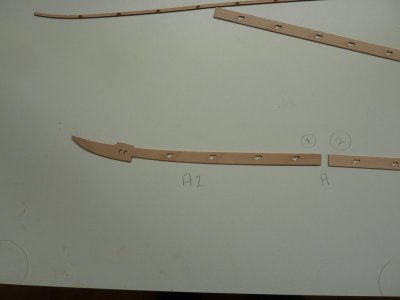
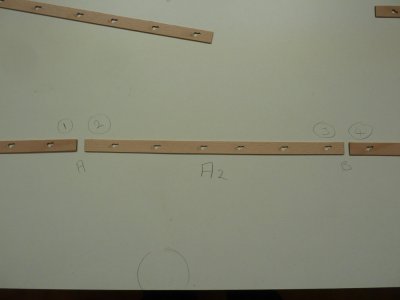
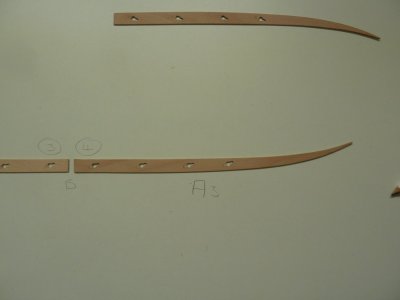
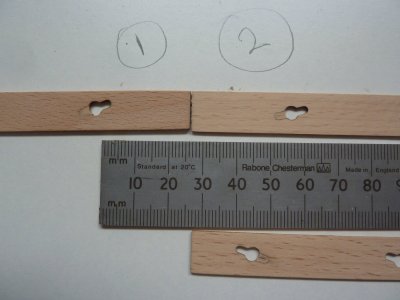
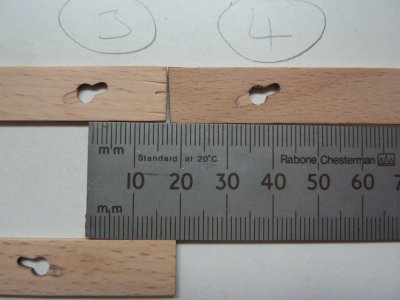
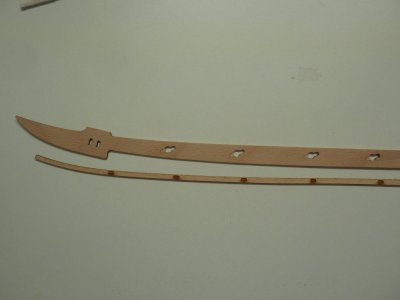
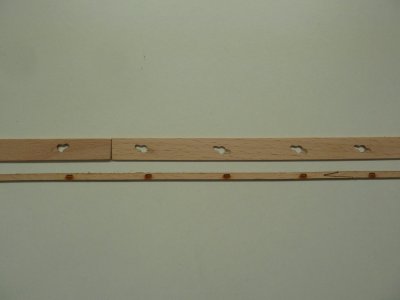
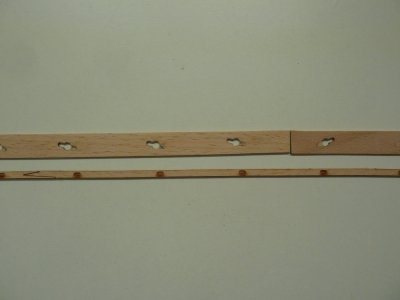
I’m not sure what any of the pieces would be called in reality. I’m building a model not a complete ship. The keel veneers as I call them, are attached in six pieces along the Oseberg length and four parts I called cheeks. Each of the parts I dry fitted first, and found them to fit just about perfectly when I kept all outer edges level with the keel. At this point, I also ensured that the planking would fit reasonably accurately and snug between the keel veneers and the ship frames. They did.
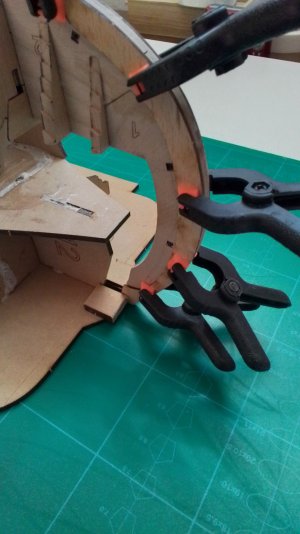
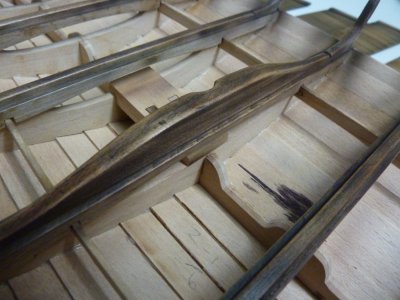
Upper Keel Supports
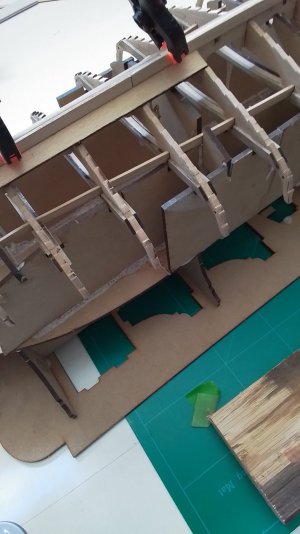
Checking Planking Fits
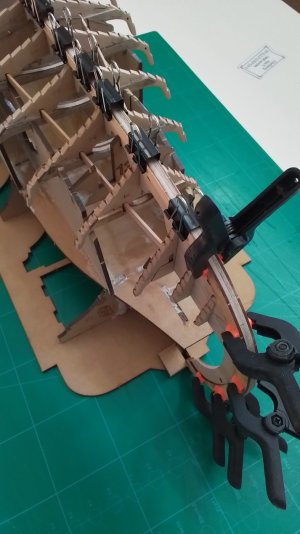
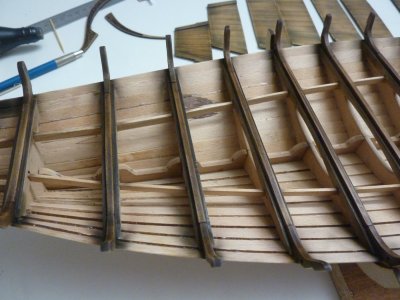
Side Veneers Applied
Conclusion
To this point, all has gone smoothly and I am happy with the results. Often ship models are listed with a difficulty rating. I think that difficulty rating will greatly depend on the individuals abilities, degree of build accuracy and more. In the case of this model, I feel it is well within the scope of the confident beginner should they thoroughly study the plans and videos. I would also suggest that any potential builder takes the time to follow the build logs of others. They can be very beneficial. I have fallen short on this a little at times and where I may have been confused, is when I’ve not followed my own advice.
The written instructions for tapering the keel ends are given on page 9 of the instruction manual. I had watched the videos supplied by Pavel and from them, I knew that there were some incorrect dimensions given. If memory serves correct, the taper is at 15mm from the tip of the keel top.
Instruction Manual
The idea from the manual, is that the tapering is undertaken after the joining of the keel halves to form a single unit. I was not happy to undertake this at this stage because I felt the keel was very delicate. Also, the videos show the operation carried out much later and to a different dimension. I decided, later than sooner.
Incorrect Dimension
The Videos
Correct Dimension to just Above 2nd Dowl
Pavel attaches the keel to the side of the ship frame and works on it from there. I was not happy with this idea and undertook the chamfering whilst the keel was supported in two vices. This permitted me to work on a much more rigid structure. Not in the instructions, but in the video, the chamfering is across a distance of 60mm. Here the video does not in my mind alight with the said dimension of 60mm takes the chamfer to the second joining dowel. I did use the 60mm.
Undertaking the Chamfering
The chamfering did take a fair length of time and I noticed that if I was not careful, along the 60mm length of the chamfer, I could easily create either a concave or convex shape and slightly round the keel tip. To help aid in shaping, I used a small steal rule to check flatness. Eventually, the tip needs to be chamfered down to .5mm. This must be between the two sides individually. I shall not provide full details here. They are clear in Pavel’s video.
The chamfering process is a delicate operation if to be undertaken with precision and I found that by clamping the keel between two vices. At the end I was working on, I used an old set square to give additional vertical support. Also, once one side had been completed, and the other worked on, an additional wedge piece between the set square and keel tip provided greater rigidity, therefore aiding in precision.
Supported in Two Vices
Well Supported for Chamfering
Chamfering Completed
Earlier while constructing the second
Not shown in the instruction manual, but in the video are supports for the keel tips when placed in the holding jig. Pavel shows these additions incorporated before the tip is created. I incorporated the additional supports once the tapering operation had been carried out and the temporary cheeks had been attached, this allowed for great accuracy in the holding ability of these parts. In the case of the cheek pieces, the instruction manual says 1/10 glue. This means, just a little. This detail vital.
Completed Bow & Stern
Keel Veneers
I’m not sure what any of the pieces would be called in reality. I’m building a model not a complete ship. The keel veneers as I call them, are attached in six pieces along the Oseberg length and four parts I called cheeks. Each of the parts I dry fitted first, and found them to fit just about perfectly when I kept all outer edges level with the keel. At this point, I also ensured that the planking would fit reasonably accurately and snug between the keel veneers and the ship frames. They did.
Upper Keel Supports
Checking Planking Fits
Side Veneers Applied
Conclusion
To this point, all has gone smoothly and I am happy with the results. Often ship models are listed with a difficulty rating. I think that difficulty rating will greatly depend on the individuals abilities, degree of build accuracy and more. In the case of this model, I feel it is well within the scope of the confident beginner should they thoroughly study the plans and videos. I would also suggest that any potential builder takes the time to follow the build logs of others. They can be very beneficial. I have fallen short on this a little at times and where I may have been confused, is when I’ve not followed my own advice.
Last edited: