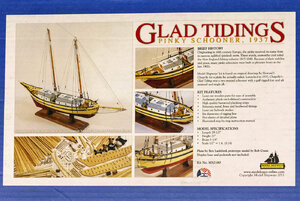
Pinky schooner GLAD TIDINGS (1937) - Model Shipways - scale 1:24

Joined
Apr 21, 2020
Messages
997
Points
453

Location
New London (Connecticut)
Process of building the model of the pinky schooner GLAD TIDINGS (1937) by the American kit manufacturer Model Shipways.
001-кіт.jpg
The big blue box I received as a gift for my first Christmas in the USA. My husband gave me another kit of a schooner (as he dreams of his own large schooner) and now *his* Christmas gift will be the completed model! By and large I am really impressed by the quality of the kit. The box is chock-full of materials, blanks. Unlike some other manufacturers, this one does give excellent value for the dollar and does not economize on materials...
 
006-карлінгси-2.jpg

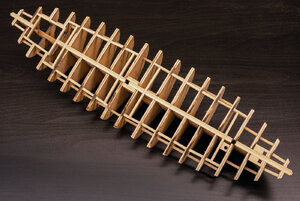
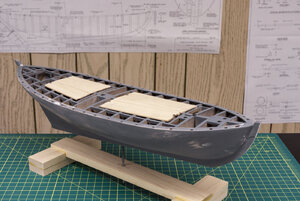
The keel was laid on the stocks in early 2020. The framing of the vessel is assembled from laser-cut plywood bulkheads Most of the blanks are of basswood - a wood that is easy to work, though harder than linden. The principles of assembly of this kit is that the modeller would be following the sequence followed by shipwrights on a real shipyard. The box is full of differently-dimensioned timber from which the modeler would build the parts. With the detailed instructions and large-scale drawings, tis is easy to do. Whoever designed the kit, did colossal preparatory work for the modelers. All that is left for the modeler is to enjoy the contruction process.
 
Hello Olya.
Many thanks for the how-to process, It does, show a simple, yet great model to build. It is proven, that in order to be a nice model, it doesn't have to be 100 gunships! We all know you have such a great experience and this model is just 'in-between' project. What level of experience would you recommend this model for? Can the beginner task it? :cool:
Thank you!
The model is listed as a beginner kit. However, there is too much scratch-building involved: too many of the details have to be scratch-built from blanks for it to qualify as a beginner’s kit. I would say this is for more advanced builders. This is especially so for kits with painted hulls as the paint shows all imperfections of the construction.
 
Did you use spray can paints, brush on or airbrush?

Do you recommend any brand of paint for hull work?

I have several Model Shipways kits in my closet and working a Oyster Dredge Skipjack kit from MS now, and I am about ready to paint the hull as I have gotten final primer done this week.

Thanks for hints.

Kurt


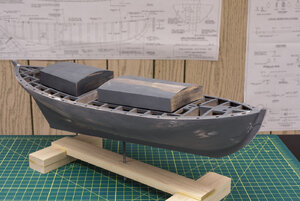
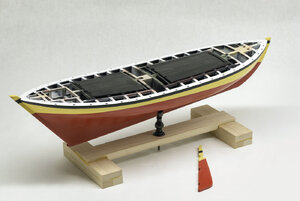
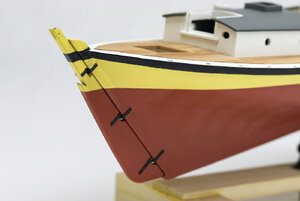
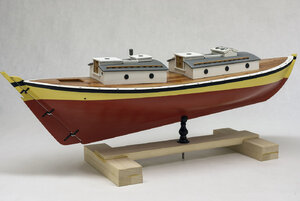
I decided to paint the hull with spray paints and matte finish:
- Rust-Oleum 282813 (citron)
- Krylon K09175000 (pimetnto)
- Krylon K09197000 (white)

- Krylon K05546007 (black)
- Krylon K09151007 (deep gray)

This is my first experience with painting models (hopefully, also my last - that's why I was in no hurry to buy an air-brush)
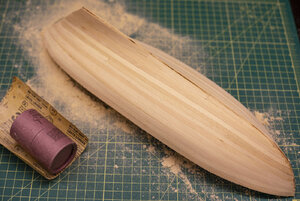
I sanded and painted, and sanded and painted, and sanded and painted to achieve perfect surface. I can't even count how many times I redid the yellow colour...

Regards
Olya
 
Last edited:
I decided to paint the hull with spray paints and matte finish:
- Rust-Oleum 282813 (citron)
- Krylon K09175000 (pimetnto)
- Krylon K09197000 (white)

- Krylon K05546007 (black)
- Krylon K09151007 (deep gray)

This is my first experience with painting models (hopefully, also my last - that's why I was in no hurry to buy an air-brush)
I sanded and painted, and sanded and painted, and sanded and painted to achieve perfect surface. I can't even count how many times I redid the yellow colour...

Regards
Olya
Yellow paint is the worst for painting.
 
048-корпус-рубки.jpg
046-корпус-рубки.jpg
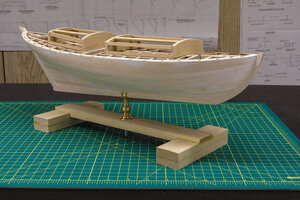
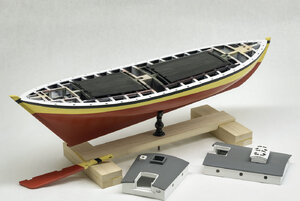
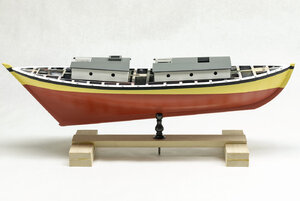
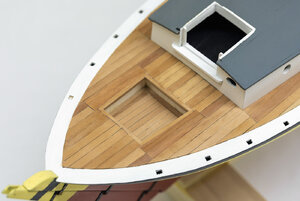
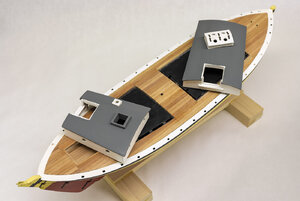
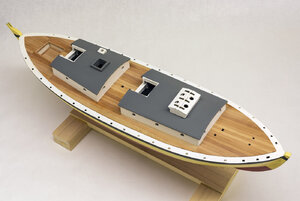
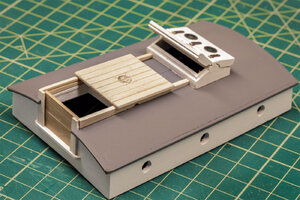
The deckhouses would be installed after the completion of the deck planking. This way, it would be easier to sand the deck and imitate the nailing pattern. Speaking of which, I decided to replace the basswood planking with pear. This deck details that will not be painted, I will make from pear also and protect them with oil. Just because I like how it looks better than the pale color of the basswood. After this is completed, I can begin work on the bulwarks.
 
069-рубка.jpg
085-шпігат.jpg
088-палуба.jpg
092-палуба.jpg
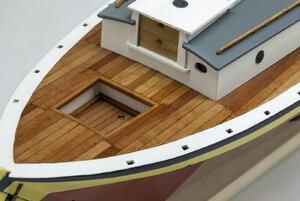
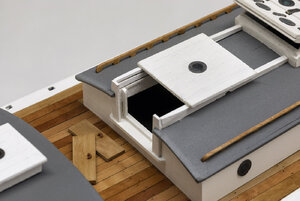
After dry-fitting the deck houses, I began gluing the deck planking with black-tinted glue to simulate the caulking. I made sure that the deck houses did not get glued to them at this stage. After completing this step, I removed the deck houses and sanded the deck with 150-grit sanding paper. I simulated nails with the help of CA glue. I marked the nails, drilled them with .35 mm drill, poured CA over this and sanded the deck for the second time (first with 150-gritt, then with fine, 400-gritt sandpaper). The CA also added definition to the planking seams. Although the kit did not contain one, I added a scupper at the bottom of the cockpit. I finished the deck with two coats of tung oil.
 
Back
Top