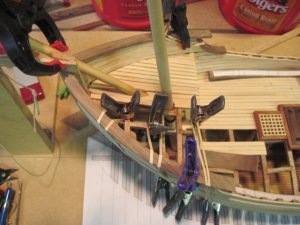
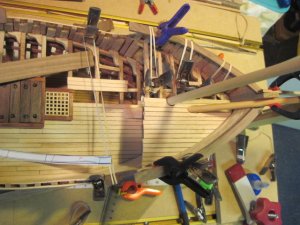
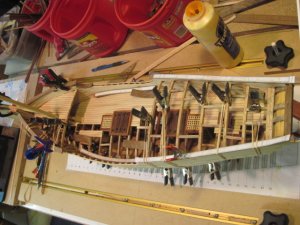
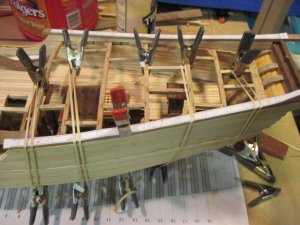
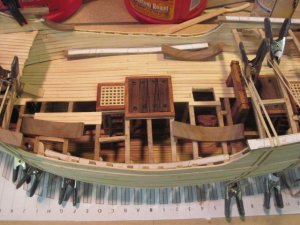
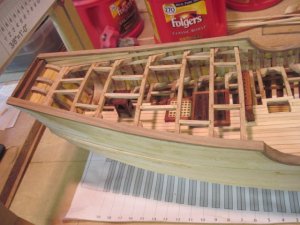
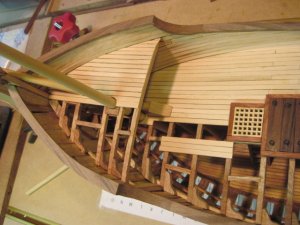
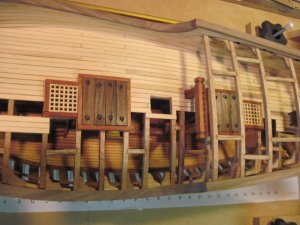
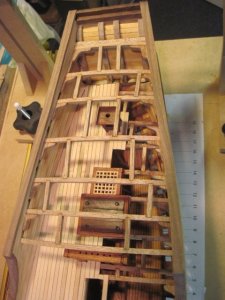
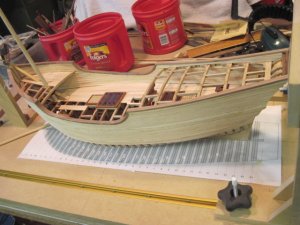
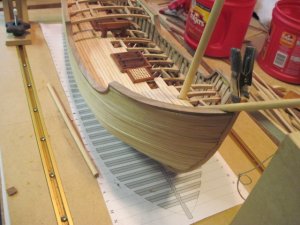
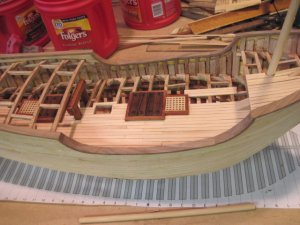
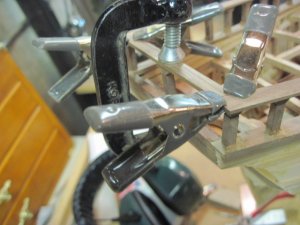
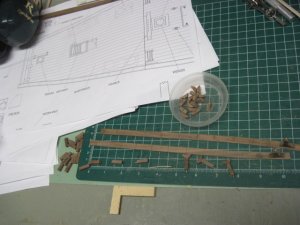
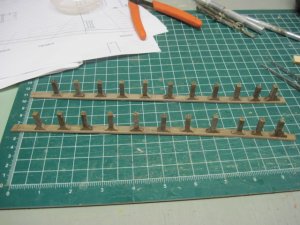
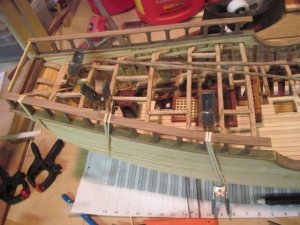
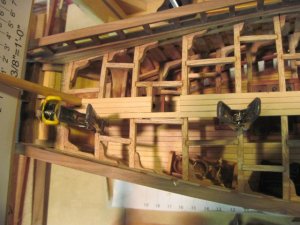
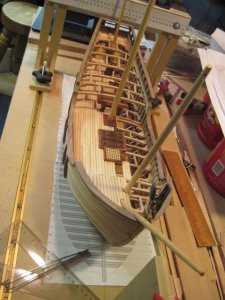
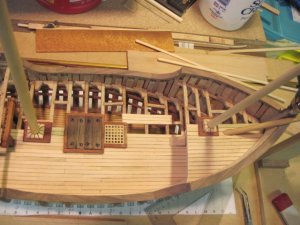
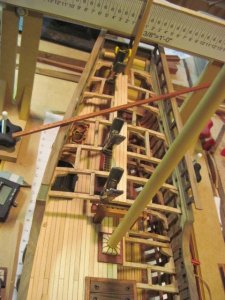
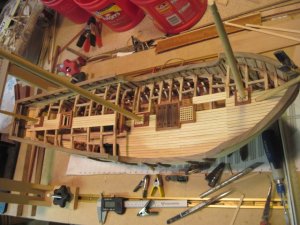
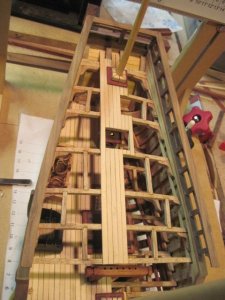
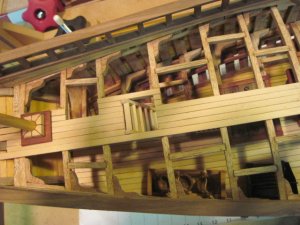
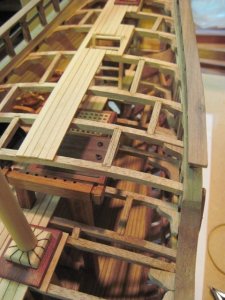
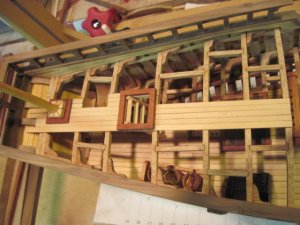
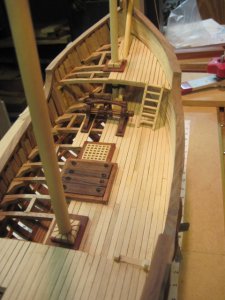
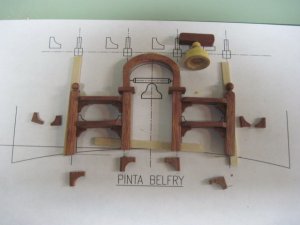
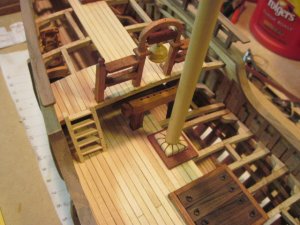
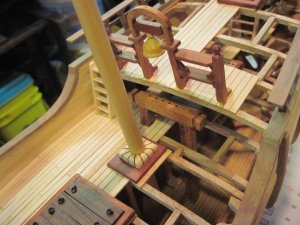
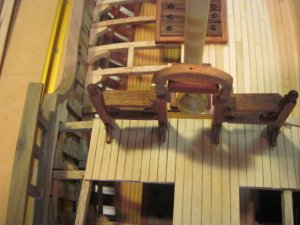
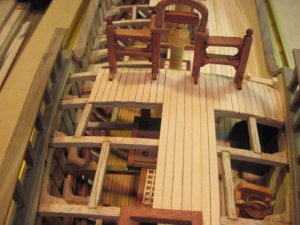
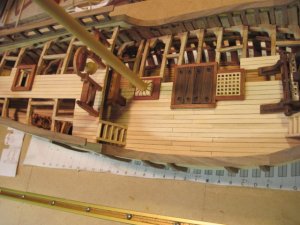
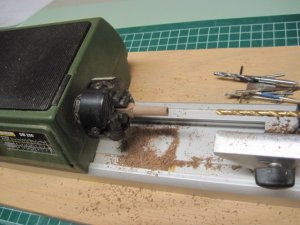
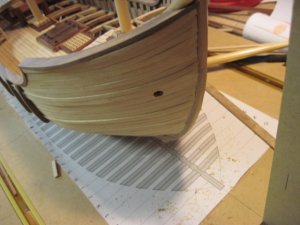
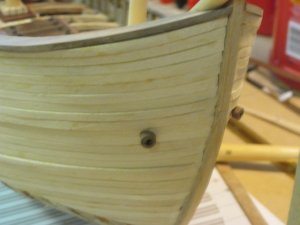
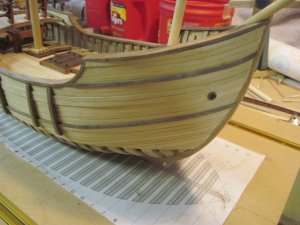
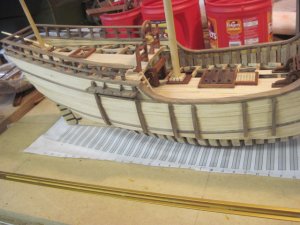
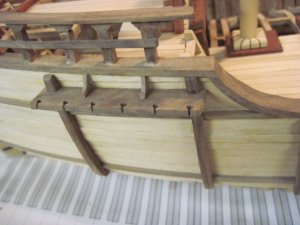
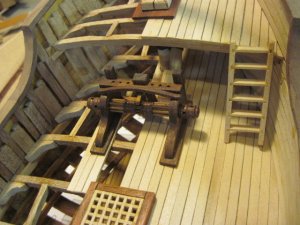
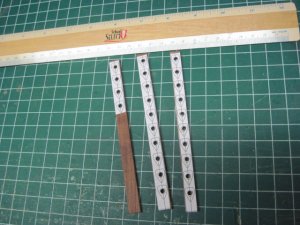
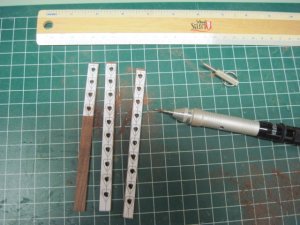
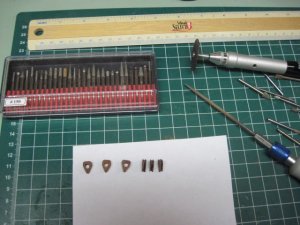
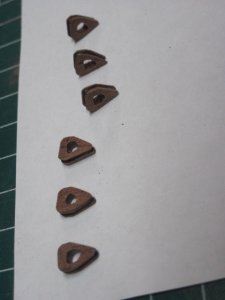
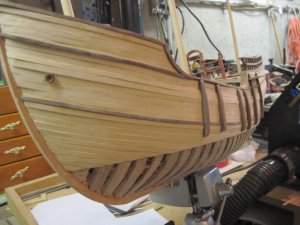
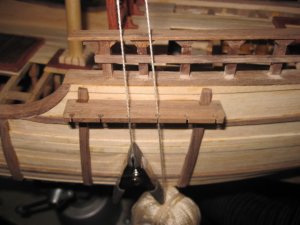
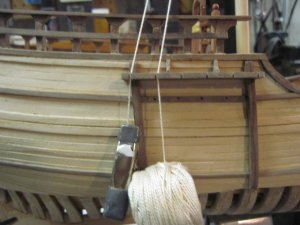
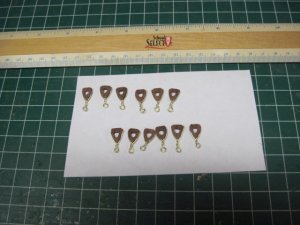
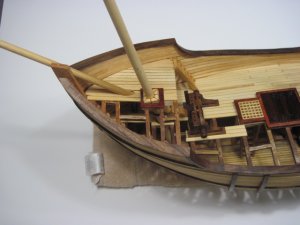
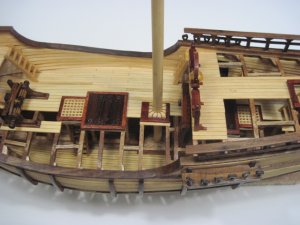
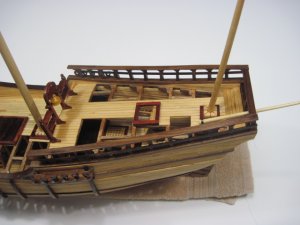
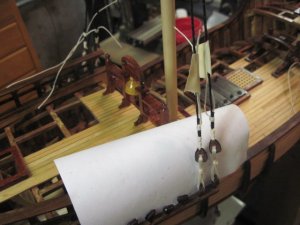
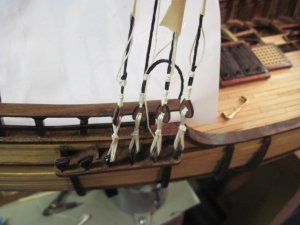
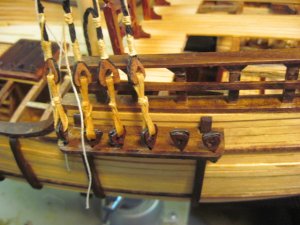
I got knobs and all that just was curious if those metal parts the scales were on were ordered from somewhere or made at home
-

Win a Free Custom Engraved Brass Coin!!!
As a way to introduce our brass coins to the community, we will raffle off a free coin during the month of August. Follow link ABOVE for instructions for entering.
-

PRE-ORDER SHIPS IN SCALE TODAY!
The beloved Ships in Scale Magazine is back and charting a new course for 2026!
Discover new skills, new techniques, and new inspirations in every issue.
NOTE THAT OUR FIRST ISSUE WILL BE JAN/FEB 2026
You are using an out of date browser. It may not display this or other websites correctly.
You should upgrade or use an alternative browser.
You should upgrade or use an alternative browser.
- Joined
- Aug 10, 2017
- Messages
- 1,706
- Points
- 538

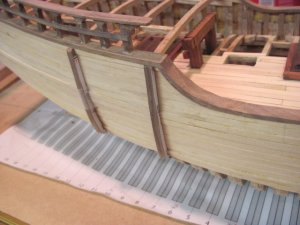
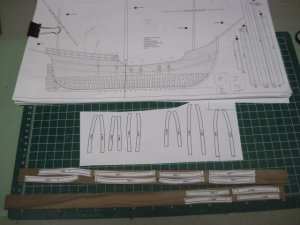
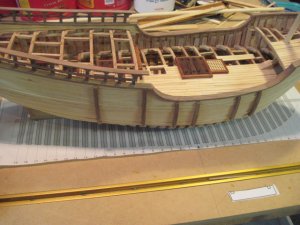
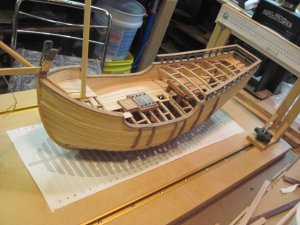
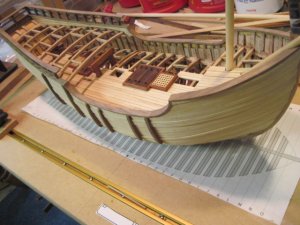
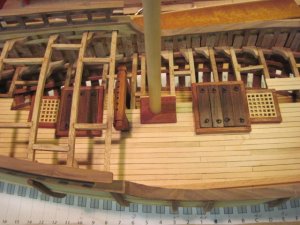
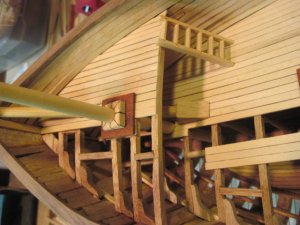
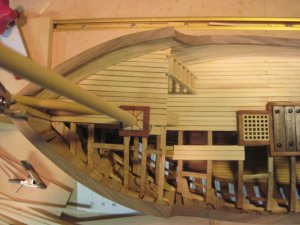
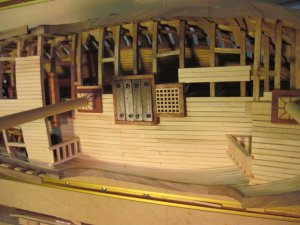
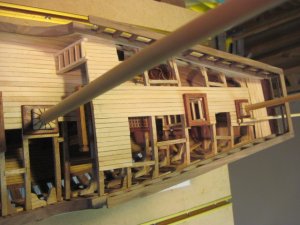
Oh my, thats wonderful. Love the timber you re using too. Great stuff.
- Joined
- Aug 10, 2017
- Messages
- 1,706
- Points
- 538

Hi Brian,
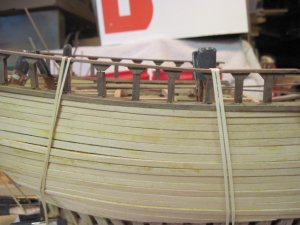
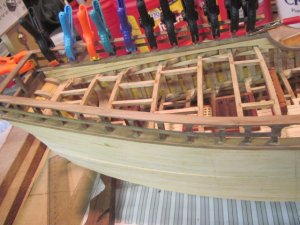
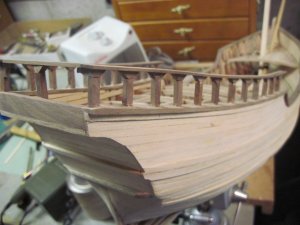
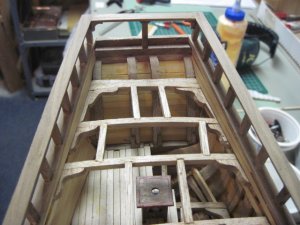
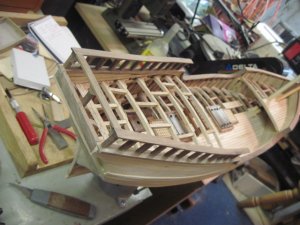
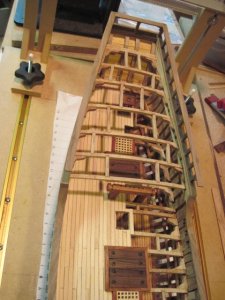
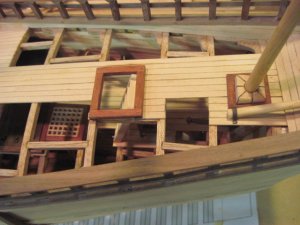
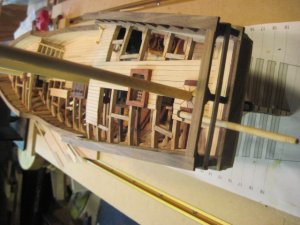
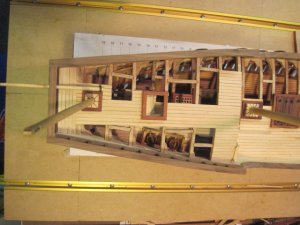
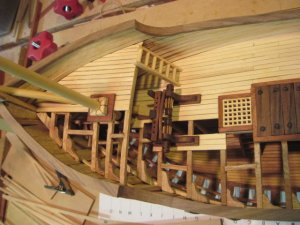
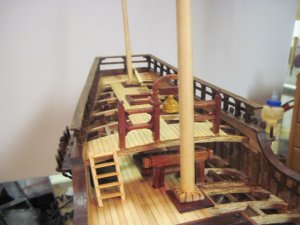
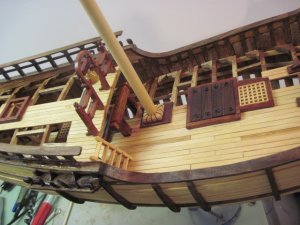
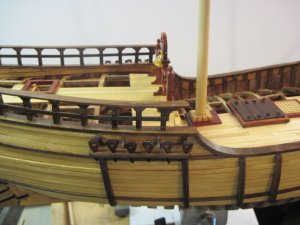
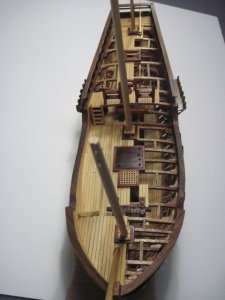
Thanks, I like to use different colored woods because I have a problem with paint I get it all over even when I mask everything off so I avoid using it. I think natural wood colors look nicer than paint on a model anyway.
Mike
Thanks, I like to use different colored woods because I have a problem with paint I get it all over even when I mask everything off so I avoid using it. I think natural wood colors look nicer than paint on a model anyway.
Mike
Ni Mike,
I agree that natural wood looks much better. I use paint to mask my poor workmanship so that I have something to show for my time. I am embarrassed to show my work after looking at the work some of you other guys do. But old ships and sailing are my hobby and I love it. I will stumble on. :text-lol:
I agree that natural wood looks much better. I use paint to mask my poor workmanship so that I have something to show for my time. I am embarrassed to show my work after looking at the work some of you other guys do. But old ships and sailing are my hobby and I love it. I will stumble on. :text-lol:
- Joined
- Aug 10, 2017
- Messages
- 1,706
- Points
- 538

Hi Mike,
I think you are overly critical of your work, everyone looks back on their work and sees things that could have been improved but if you try to make a perfect model it will be the only one you build and you may not live long enough to finish her. With time and practice you will get better.
Mike
I think you are overly critical of your work, everyone looks back on their work and sees things that could have been improved but if you try to make a perfect model it will be the only one you build and you may not live long enough to finish her. With time and practice you will get better.
Mike
Hi Mike,
Thank you for the kind words. The trouble with being old is time is of the essence.
Thank you for the kind words. The trouble with being old is time is of the essence.


