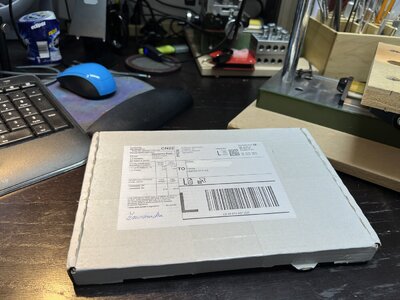
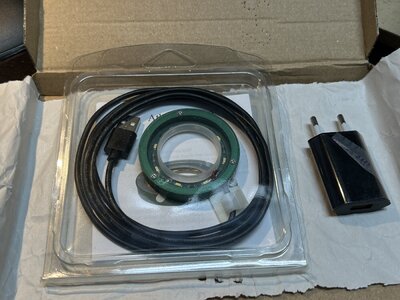
Purchased shortly ago / sthg new in your workshop -> present it here

Since my StreamBox split and haven't constructed a new one I made the following to allow me to continue forming planks.
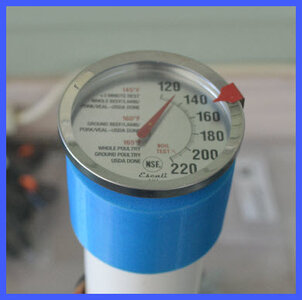
This is a piece of PVC which I wrapped with a heat tape. The pedestal base and the cap are 3D printed. The base is epoxied on the tube and the cap is loose fitting which also holds a thermometer. The nice thing about being vertical is that the wood strips float to the top making it easy to remove them.
I have been setting the temperature at about 160 degrees (F) and soaking the pieces for about an hour at temperature.
so far with Walnut and Basswood with good results.
I may construct another one using thin wall aluminum tubing as the heat transfer with the PVC takes
a while for the water to come up to temperature.
(Kinda crude but it works)


Water tube.jpg
Wtaer tube cap.jpg
 
Since my StreamBox split and haven't constructed a new one I made the following to allow me to continue forming planks.
This is a piece of PVC which I wrapped with a heat tape. The pedestal base and the cap are 3D printed. The base is epoxied on the tube and the cap is loose fitting which also holds a thermometer. The nice thing about being vertical is that the wood strips float to the top making it easy to remove them.
I have been setting the temperature at about 160 degrees (F) and soaking the pieces for about an hour at temperature.
so far with Walnut and Basswood with good results.
I may construct another one using thin wall aluminum tubing as the heat transfer with the PVC takes
a while for the water to come up to temperature.
(Kinda crude but it works)


View attachment 316093
View attachment 316094
Hi
Your new device looks wellmade and very proffessional .More efficient heat transfer with metal compared to plastics is also correct.But I have no idea at which phase and how it is used by forming the planking in spiral forms. Can you please give more info about the process so that I also benefit from your long year knowledge and experience.Thanks in advance.
Kind Regards
It really doesn't have anything to do with forming spirals. It's just a tube to soak/heat the wood prior to bending. The spiral that I believe you are referring to is the heating source (tape) that is wrapped around the PVC tube.
 
It really doesn't have anything to do with forming spirals. It's just a tube to soak/heat the wood prior to bending. The spiral that I believe you are referring to is the heating source (tape) that is wrapped around the PVC tube.
Thanks for your quick respond and everything is clearly understood now.I thought the wrapped heating tape is a wetted planking wood element and the tube is heated from inside.
I make my bending process with soldering iron - steaming it on our tea pot or using the steaming facility of an iron or I let them dry in a bending form.
Thanks Again and Stay Healthy:) Pirate Flag
 
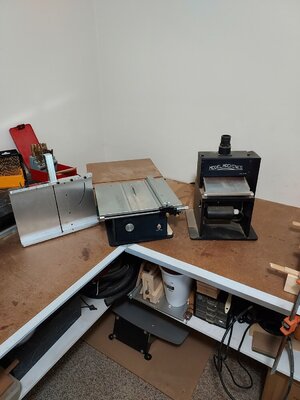
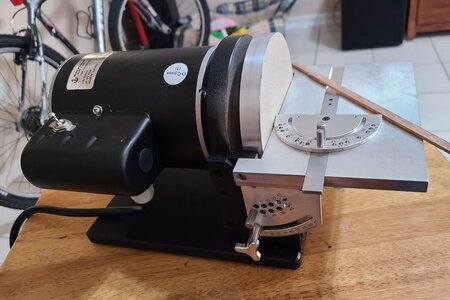
After using the proxxon thicknesser for some years I have finally treated myself with a......
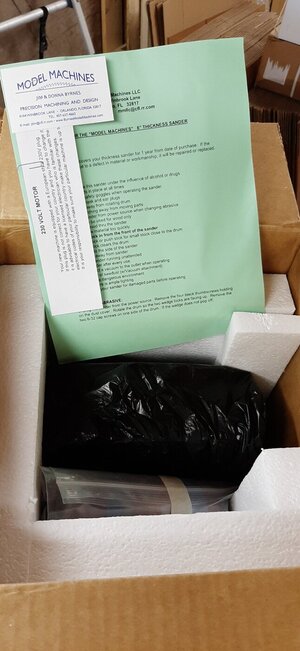
20220712_175535.jpg

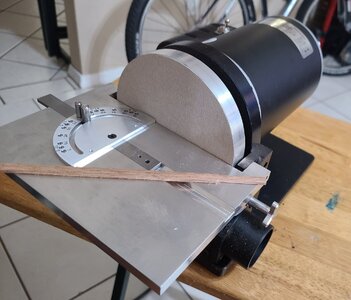
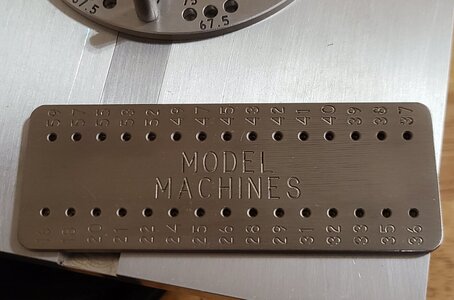
Tada yes my first byrnes machine a thickness sander.
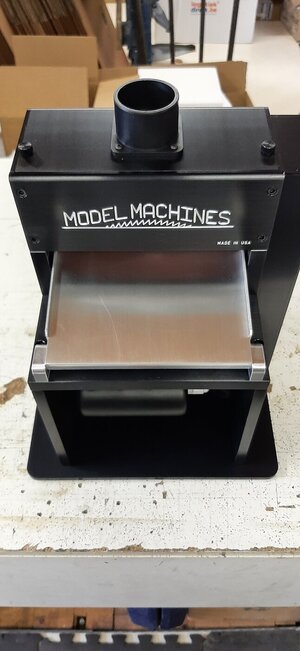
20220712_175805.jpg

It has a nice large sanding surface and you can install two different courses of sanding paper at the same time, one left on the drum and one on the right side.
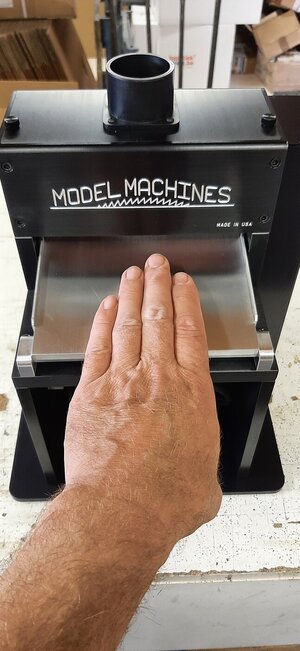
20220712_175826.jpg

The use of the two is different in the way that the proxxon is a planer and the byrnes is a sander.
For thicker pieces upt too 1-2 mm the proxxon is perfect and fast, but for 1 mm and below the byrnes is much better. Planing thinner planks like deck planking the proxxon tends to chip instead of planing, then the byrnes which is sanding works better without the danger of losing planks due too chipping.

Both machines are solid and robust made out of aluminium.
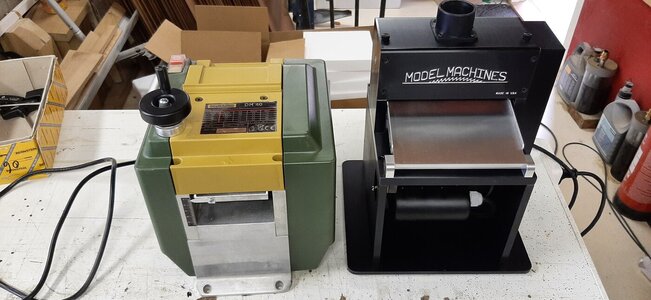
20220712_180732.jpg

For Europeans the proxxon is cheaper as the shipping cost and added tax makes the byrnes much more expensive.

I think the two machines are perfect in working together and are not directly with each other in competition.
If you don t do your own lumber most probably tge byrnes machine is the best choice in combination with a good saw table.
 
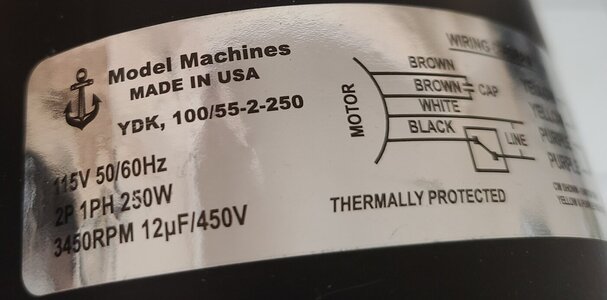
Just received this Thursday. It's heavy for its size. Haven't used it yet other than a test piece. Comes with 180# installed. Really removes material FAST!!! Gonna take some time to get used to it, but definitely a great addition to the shipyard.

20220716_150050.jpg
20220716_135828.jpg
20220716_135805.jpg

I also picked this up since they were in stock:
20220716_151136.jpg

Glenn
 
Back
Top