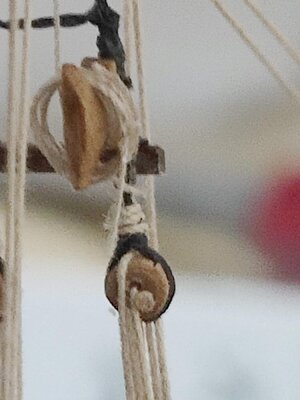
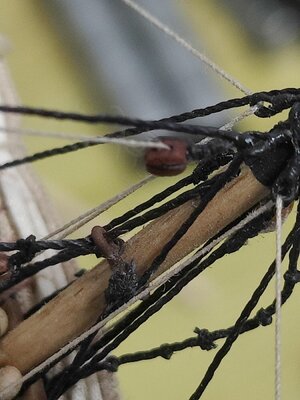
Thats a really nice looking model, and you have done a great job on it. 
-

Win a Free Custom Engraved Brass Coin!!!
As a way to introduce our brass coins to the community, we will raffle off a free coin during the month of August. Follow link ABOVE for instructions for entering.
-

PRE-ORDER SHIPS IN SCALE TODAY!
The beloved Ships in Scale Magazine is back and charting a new course for 2026!
Discover new skills, new techniques, and new inspirations in every issue.
NOTE THAT OUR FIRST ISSUE WILL BE JAN/FEB 2026
You are using an out of date browser. It may not display this or other websites correctly.
You should upgrade or use an alternative browser.
You should upgrade or use an alternative browser.
- Joined
- Mar 27, 2019
- Messages
- 823
- Points
- 403

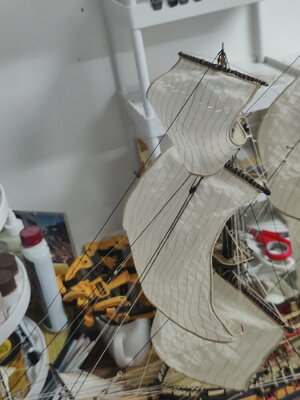
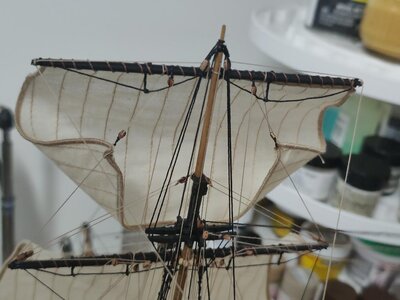
Finally got off my lazy quarantine butt and got some more work done. Fore mast top sail. As before, I glued a length of wire into the seams along the sides and bottom of the sail. I painted the wire the same color as the sail and it's effectively invisible.
Sail now secured to the yard. Next is to fashion and secure the lanyard to the yard along with one end of the parrel leash, then I can mount the yard to the mast.
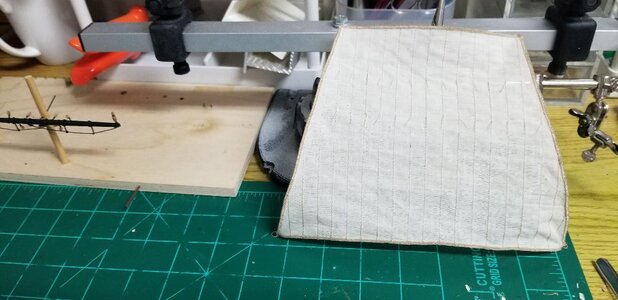
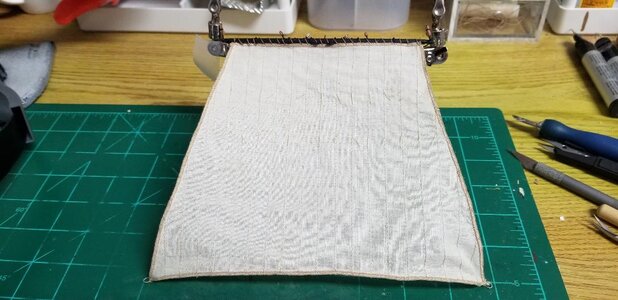
Sail now secured to the yard. Next is to fashion and secure the lanyard to the yard along with one end of the parrel leash, then I can mount the yard to the mast.


- Joined
- Mar 27, 2019
- Messages
- 823
- Points
- 403

I have no ideas as I am working in a different port.Rich
I've asked ME to send replacement parts on multiple occasions, I even told the truth and said I'm bashing the kit somewhat and wanted additional parts to do so-and-so....I've never had any objections nor requests that I pay for the additional parts. They are really good that way.
Just scanned through the latter pages of your log and am impressed by the very neat rigging that you produced. The model looks like it will be one that is proudly presented. Well done. Rich (PT-2)I've asked ME to send replacement parts on multiple occasions, I even told the truth and said I'm bashing the kit somewhat and wanted additional parts to do so-and-so....I've never had any objections nor requests that I pay for the additional parts. They are really good that way.
- Joined
- Mar 27, 2019
- Messages
- 823
- Points
- 403

Just scanned through the latter pages of your log and am impressed by the very neat rigging that you produced. The model looks like it will be one that is proudly presented. Well done. Rich (PT-2)
Thank you for the kind word Rich. I burned out for awhile but now I'm back to it.
- Joined
- Mar 27, 2019
- Messages
- 823
- Points
- 403

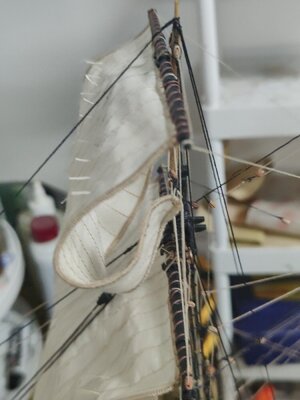
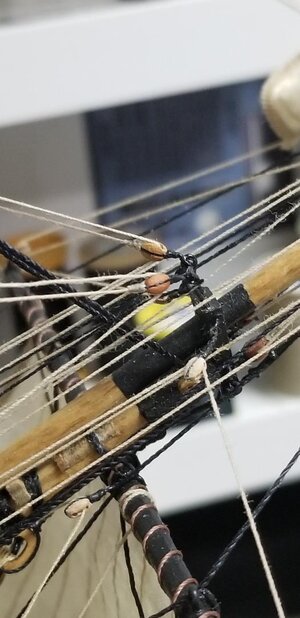
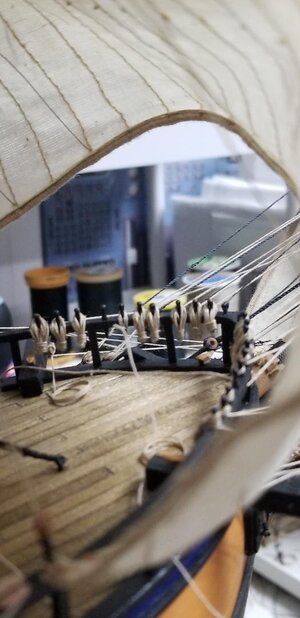
Top sail yard for the fore mast mounted. As before, I drilled a hole for 25 gauge wire in the back side of the yard and a corresponding hole in the mast. A dab of gel-type CA glue to hold the yard in place while rigging the parrels for the truss.
In the second pic you can see the brace pendants hanging down, rigging of those to come. In the first pic you can see the yardarm lanyard poking through the mast, to be rigged.
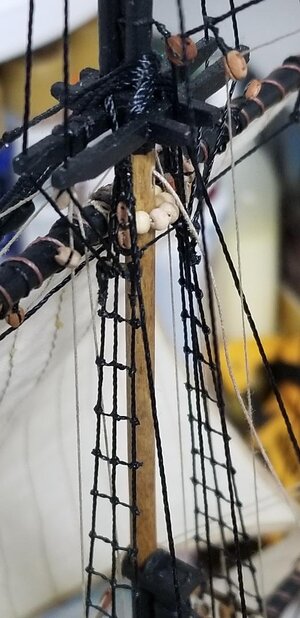
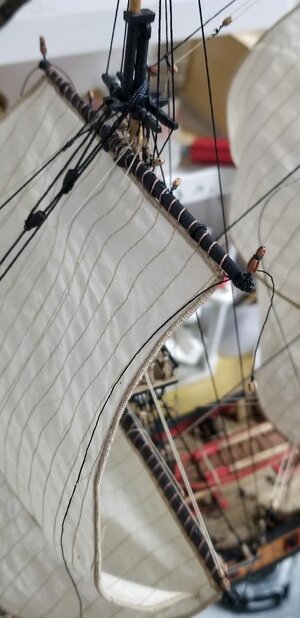
In the second pic you can see the brace pendants hanging down, rigging of those to come. In the first pic you can see the yardarm lanyard poking through the mast, to be rigged.


- Joined
- Mar 27, 2019
- Messages
- 823
- Points
- 403

Ironic that the last little bits, not "bitts", bits, of work is proceeding so so slowly. I didn't hit a wall, rather my company is back up and running and the V-shaped recovery is very real indeed. Tons of work, not a lot of time for model building.
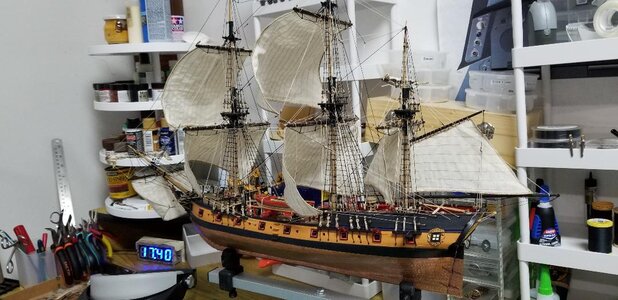
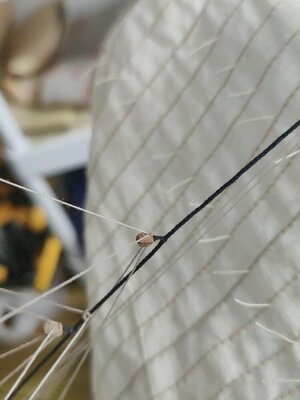
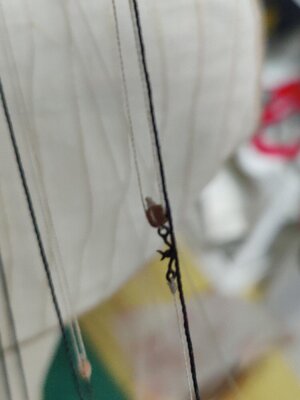
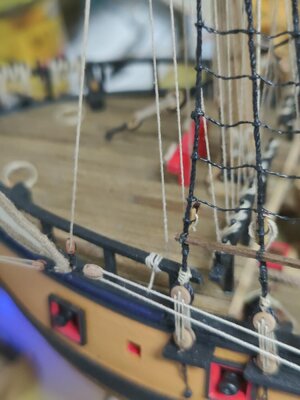
After the mounted top sail sat for a month or so I was able to rig up the lines for sheets/clew/reef. The sheet lines are belayed through the lower sister block located on the lower course yard then through the block near the mast on the lower yard, then through the sheave on the bitts and secured to the cleat at the front of the bitts.
The clew line runs as you'd expect and belayed down to the pin rail at the aft end of the forecastle.
The reef line starts at a block located on the bowsprit and runs through the reef tackle block, back through the block on the bowsprit, then belayed to the forward pin rail.
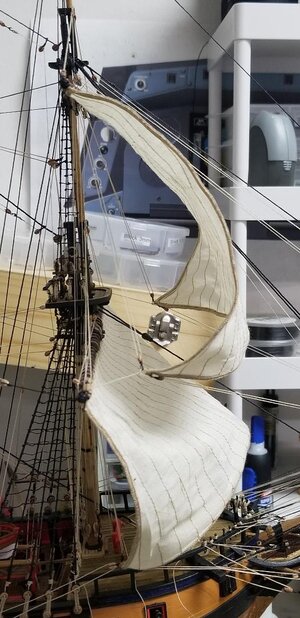
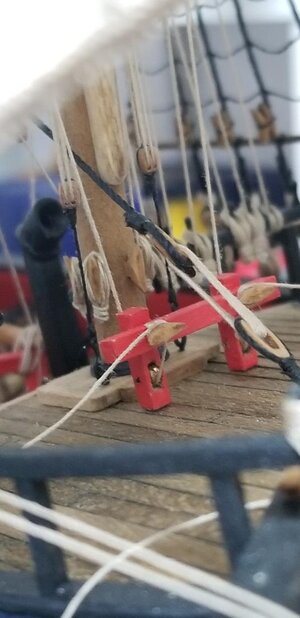


Nicely done.
That is a lot of rigging to set in those gale force winds filling the sails!!!Nicely done.
- Joined
- Apr 20, 2020
- Messages
- 6,239
- Points
- 738

looks beautiful and accurateIronic that the last little bits, not "bitts", bits, of work is proceeding so so slowly. I didn't hit a wall, rather my company is back up and running and the V-shaped recovery is very real indeed. Tons of work, not a lot of time for model building.
After the mounted top sail sat for a month or so I was able to rig up the lines for sheets/clew/reef. The sheet lines are belayed through the lower sister block located on the lower course yard then through the block near the mast on the lower yard, then through the sheave on the bitts and secured to the cleat at the front of the bitts.
The clew line runs as you'd expect and belayed down to the pin rail at the aft end of the forecastle.
The reef line starts at a block located on the bowsprit and runs through the reef tackle block, back through the block on the bowsprit, then belayed to the forward pin rail.
View attachment 250010View attachment 250011View attachment 250012View attachment 250013View attachment 250014
- Joined
- Jun 27, 2019
- Messages
- 47
- Points
- 48

Looks incredible! Love it!
Kurt Konrath
Kurt Konrath
Its a shame with the work that pays for our hobby, gets in the way of the hobby we enjoy working in!
The blocks look good and in scale. Kit or aftermarket?
- Joined
- Mar 27, 2019
- Messages
- 823
- Points
- 403

The blocks look good and in scale. Kit or aftermarket?
Definitely after market. I bought them on ebay but the seller has since closed up shop. I believe Dry-dock models has the same product. Pearwood blocks in various sizes.
- Joined
- Mar 27, 2019
- Messages
- 823
- Points
- 403

That is a lot of rigging to set in those gale force winds filling the sails!!!Well done. Rich (PT-2)
Yes indeed! The Captain has his blood up. He's most definitely pushing it, bending just about every spar on his ship. But he sees the prize and come hell or high water he is going to catch up and take that prize! Just another knot or two and he'll catch that British merchantman before sundown and add the contents of her hold to HIS hold. Topgallants are furled, so far, but I foresee the foremast topgallant in the process of being unfurled as the final touch to the rigging on Rattlesnake. Stay tuned....
looking for rigging blocks and have not visited Dry-Dock Models... Seriously? You have not heard about the best blocks you can possibly own? No worry, the help is on the way....below is the link, my friend.The blocks look good and in scale. Kit or aftermarket?

Dry-Dock Models & Parts
Dry - Dock Models & Parts is providing high quality ship model fittings and parts
 drydockmodelsandparts.com
Stunningly sleek vessel!
- Joined
- Mar 27, 2019
- Messages
- 823
- Points
- 403

I like your cleats. Did they come with the kit?Foremast top gallant sail rigged up, upper staysail rigging installed. That completes the rigging on Rattlesnake with the exception of the signal halyards. Working on the trucks for atop the masts, then I can install the flags. All that's left after that are the anchors.
View attachment 255174View attachment 255175View attachment 255176View attachment 255177View attachment 255178View attachment 255179View attachment 255180View attachment 255181


