Re: Royal William 1/48 scale

Thanks guy's for all the likes and the comments, well it was my turn this week, I started with a chest infection last Tuesday and it gradually got worse till I had to be taken into Hospital at 6am Tuesday morning, they kept me in for the day, ran all the tests and ended up letting me go with some anti biotics, but the best bit is that on Thursday it was our 55th Anniversary, so I certainly stuffed that up, so we will go out for lunch when Im feeling better, I'm not too bad during the day it is at night time when I take bad, should be better by the end of this week, well thats my rant for the day, hope yours have been a lot better,

best regards john.
Hi John,
Sorry to hear you are un-well but it is good to hear you are starting to feel a bit better, take care.
Wow 55 years of marriage that is an achievement, happy anniversary.
Lovely work on the railings.

Cheers,
Stephen.
 
Hi John,
Sorry to hear you are un-well but it is good to hear you are starting to feel a bit better, take care.
Wow 55 years of marriage that is an achievement, happy anniversary.
Lovely work on the railings.

Cheers,
Stephen.
Thank you Steve, yes the road hasn't always been straight, lots of bends and lots of hills and valleys to negotiate and we're still going, lol,
Best regards John,
 
1221.jpg
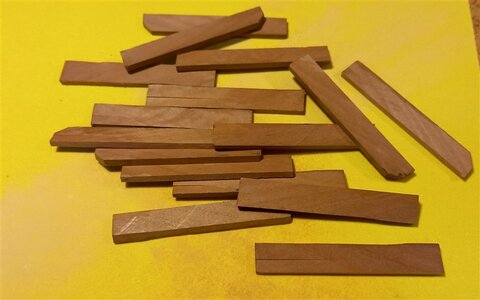
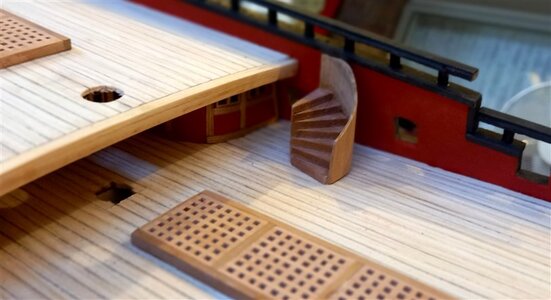
I decide to have a go at the curved stairs that go up from the quarter deck, I cut the timber blanks and sanded them,

1222.jpg
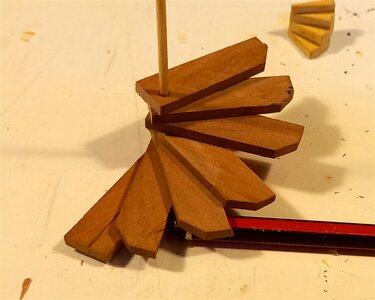
then in one corner I drilled a hole through all the starb side blanks and inserted a dowell, not glued,

1224.jpg
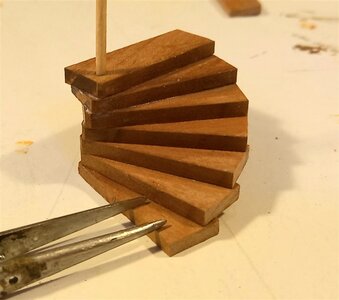
I then cut them down length wise to the correct legth, adjusted each for position and glued them together,

1225.jpg
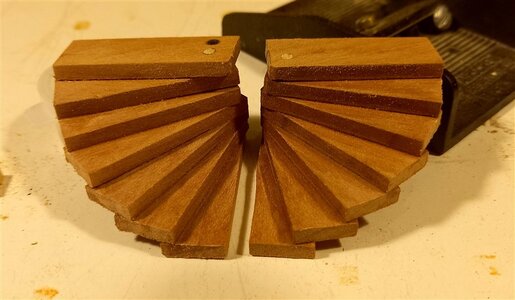
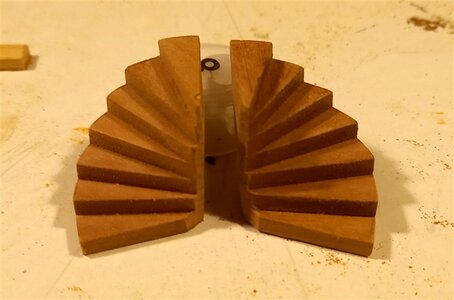
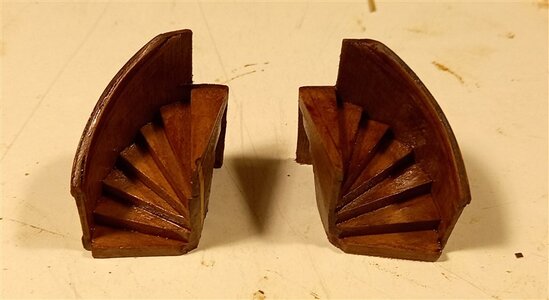
both sets together,


1226.jpg
when the glue had dried I then sanded them to their final shape,


1227.jpg
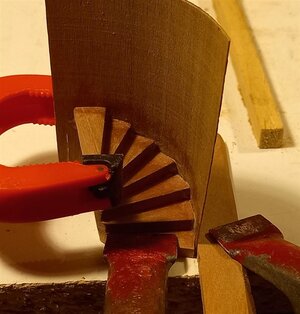
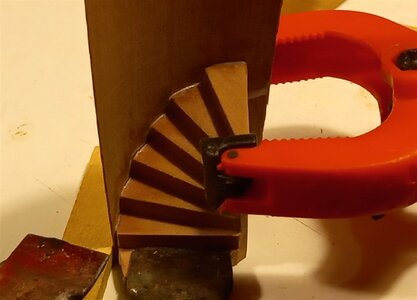
they show balustrades on the plans, but I had some nice walnut veneer so i decided to build them up like the ones on the Sovereign of the Sea's, i will glue on one sheet at a time and them trim them to final shape,

1228.jpg
and the starb side,

best regards John.


.
 
1229.jpg
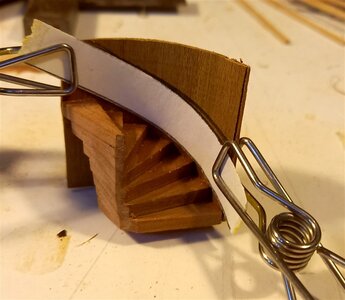
Marking out for cutting the side panels,


1230.jpg
checking for fit after cutting,

1231.jpg
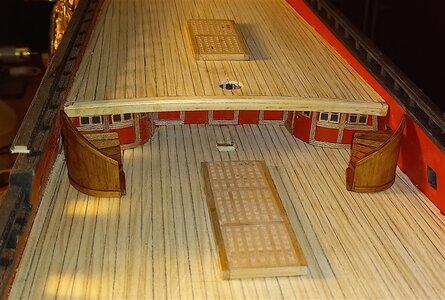
both sides after fitting the handrails and having a coat of priming varnish,

1232.jpg
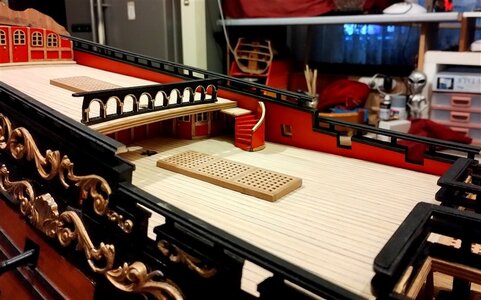
and approx where they will sit, they still have to be trimmed to fit the bulwarks,


best regards John,
 
1235.jpg
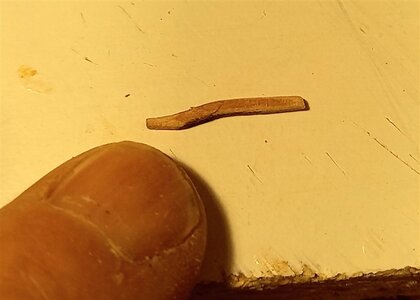
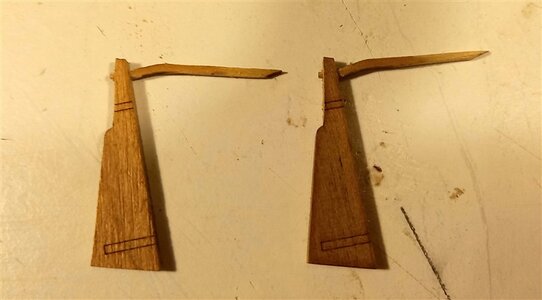
I'm still nit sure which boats I will use on the RW, so I decided to attach the rudders to the two launches, this is one of the handles, just has to be sanded and glued to the rudder,


1236.jpg
both handles glued in place, just have to be trimmed to size,

1237.jpg
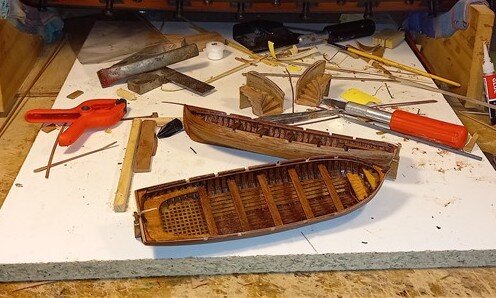
and the two launches after having the rudders fitted and a final coat of varnish,

thanks for looking in,

best regards john,

.
 
1240.jpg
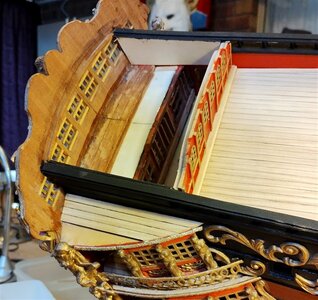
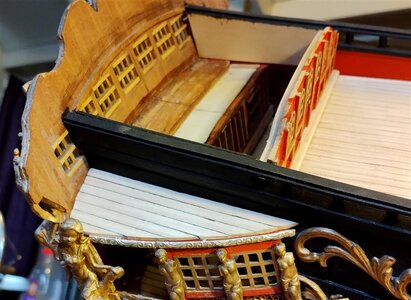
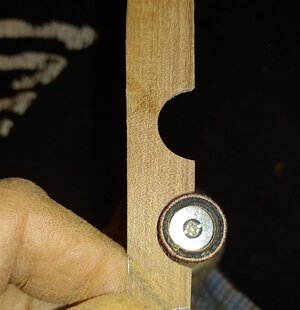
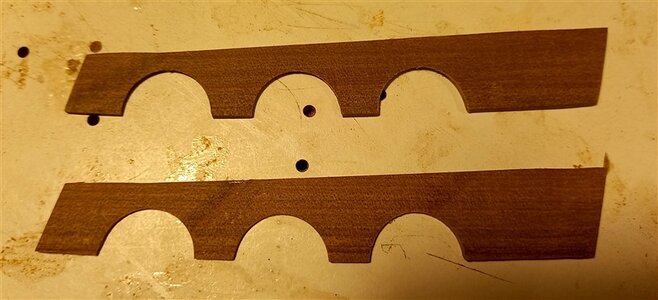
after planking the roof of the galleries I decided to add the rail, this is a cardboard template of the rail,

1241.jpg
and after transferring it to the wood and cutting out,

1242.jpg
I just used the Dremel drum sander to make the curves,

1243.jpg
and both sides shaped,

1244.jpg
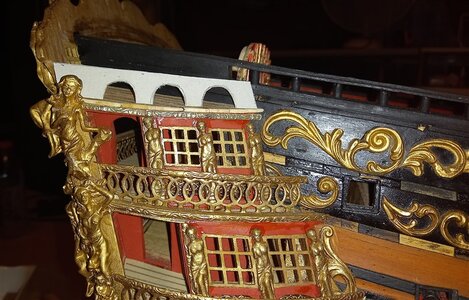
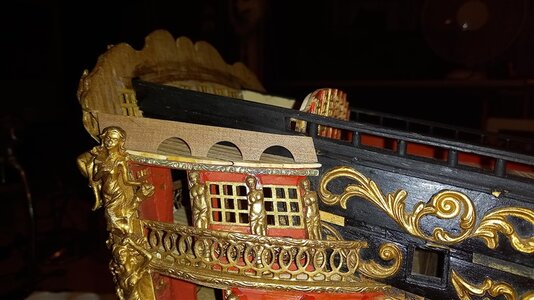
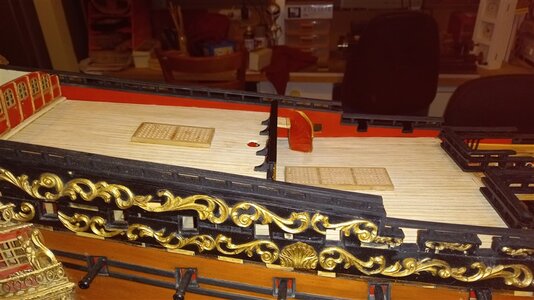
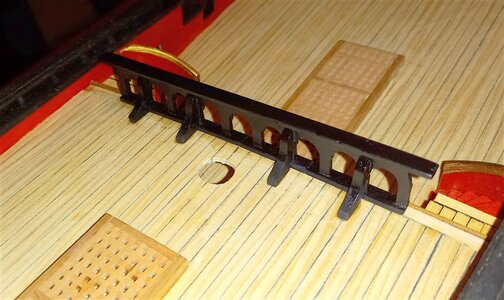
Whilst measuring and cutting the templates I was watching what my fingers were doing and forgot about my elbows which broke off the quarter deck rail,

1245.jpg
so i had to reglue it in place and added a few knee's for strength,

thanks again for looking in,

best regards john,

.
 
Hi John,
lots of small and great updates, the technique you used to build the stairs is brilliant, I must remember that.
Get well soon and take care of yourself, it's not to be trifled with.
 
Good morning John. I had some catching up to do and quite a journey. Firstly I hope you and your Admirals health is back and you guys are all good. Congratulations on 55 years! Your modelling is fabulous and a beautiful Royal William so far. Cheers Grant
Thank you grant for your concerns and good wishes also all the likes,

best regards john,

.
 
Back
Top