DittoExcellent in all regards !!!
-

Win a Free Custom Engraved Brass Coin!!!
As a way to introduce our brass coins to the community, we will raffle off a free coin during the month of August. Follow link ABOVE for instructions for entering.
-

PRE-ORDER SHIPS IN SCALE TODAY!
The beloved Ships in Scale Magazine is back and charting a new course for 2026!
Discover new skills, new techniques, and new inspirations in every issue.
NOTE THAT OUR FIRST ISSUE WILL BE JAN/FEB 2026
You are using an out of date browser. It may not display this or other websites correctly.
You should upgrade or use an alternative browser.
You should upgrade or use an alternative browser.
Re: Royal William 1/48 scale
- Thread starter neptune
- Start date
- Watchers 56
-
- Tags
- royal william
Thank you Donnie and GrantExcellent in all regards !!!
,I much appreciate your comments, and a big thank you for all the likes all you guys gave me,
Best regards John,
My new windows arrived just before Christmas,
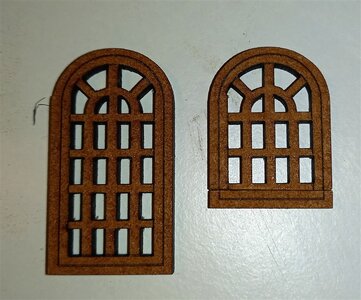
The one on the left is how they arrived and on the right after cutting down to size,
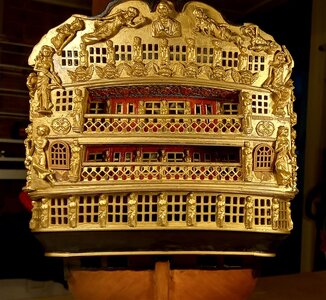
The two lower windows replaced,
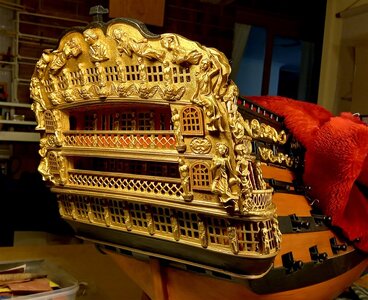
and the two above replaced, these four windows are slightly larger than the ones that will go across the top,
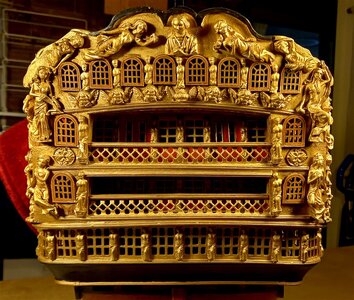
and all the top windows replaced, there was a lot of cutting and trimm8ing to get them to fit but I like them better than they were before,
thanks for dropping in,
best regards john.

The one on the left is how they arrived and on the right after cutting down to size,

The two lower windows replaced,

and the two above replaced, these four windows are slightly larger than the ones that will go across the top,

and all the top windows replaced, there was a lot of cutting and trimm8ing to get them to fit but I like them better than they were before,
thanks for dropping in,
best regards john.
Last edited:
These are a nice upgrade John!My new windows arrived just before Christmas,
View attachment 420497
The one on the left is how they arrived and on the right after cutting down to size,
View attachment 420498
The two lower windows replaced,
View attachment 420499
and the two above replaced, these four windows are slightly larger than the ones that will go across the top,
View attachment 420500
and all the top windows replaced, there was a lot of cutting and trimm8ing to get them to fit but I like them better than they were before,
thanks for dropping in,
best regards john.
Very impressive John, those windows look great.
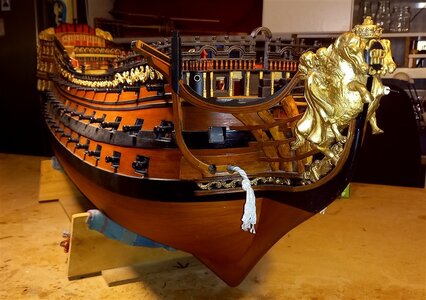
I'm back to catch up on the Royal William, had a little bit of an accident awhile ago and broke off one of the horses hooves, to start the repair I drilled a 1mm hole through leg and glued in the piece of 1mm brass wire,
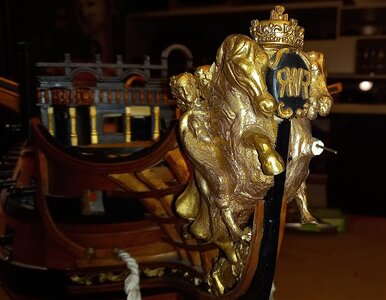
Close up pic,
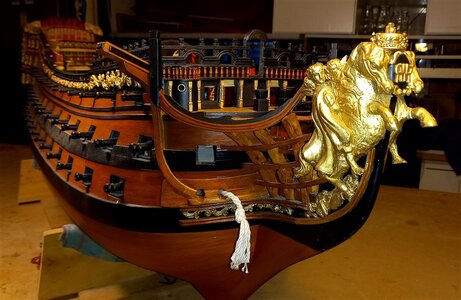
then I drilled through the hoof and super glued it in position,
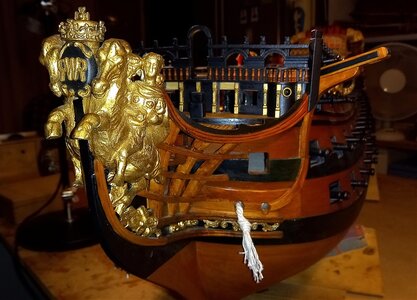
Just have to touch up with some gold paint,
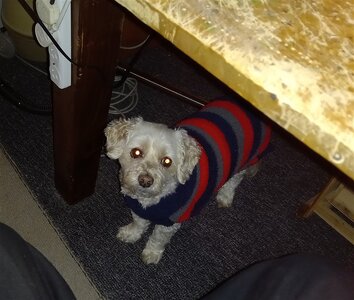
and a new addition to the family, Schnooky keeping an eye on things,
thanks for looking in,
best regards John,
.
Last edited:
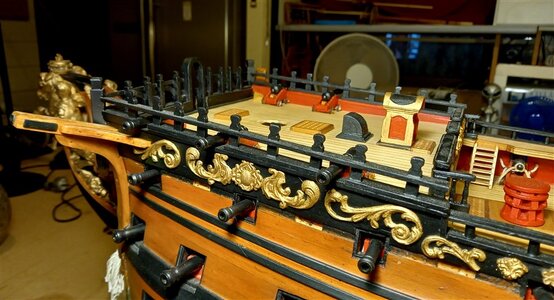
The last of the cannon on the upper deck being set for height etc,, they are not fixed in position yet, still have to attach the eye bolts etc,
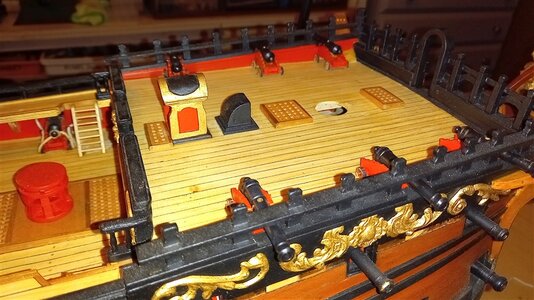
and from the starb side,
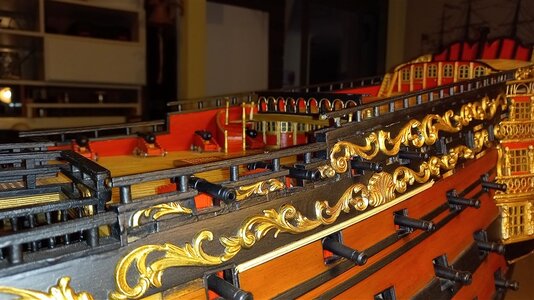
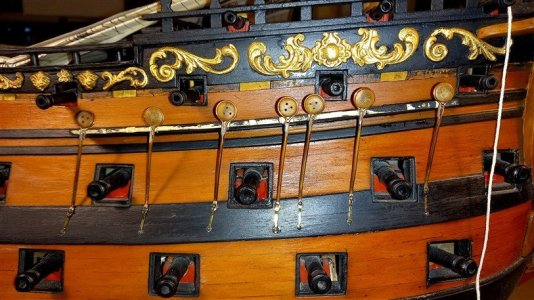
and on the after deck, you can see a strip of wood that I'm trying out for the decorative wales between the carvings,
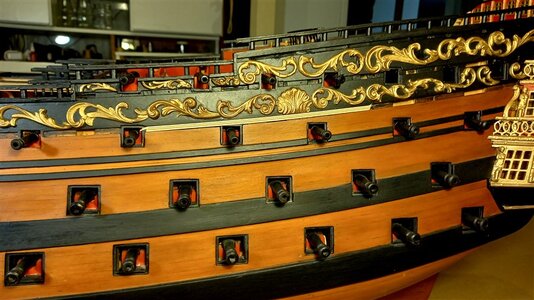
and another view,
best regards John,
.
Last edited:
Just a little bit of a catch up,
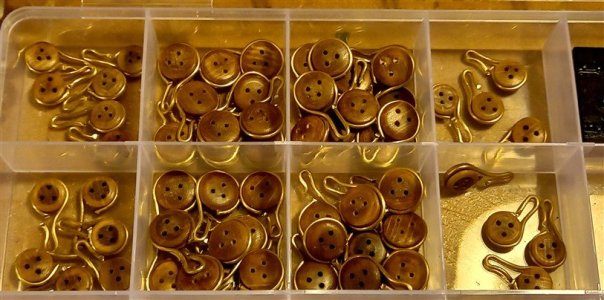
all the dead eyes, just a little bit of adjusting to do,
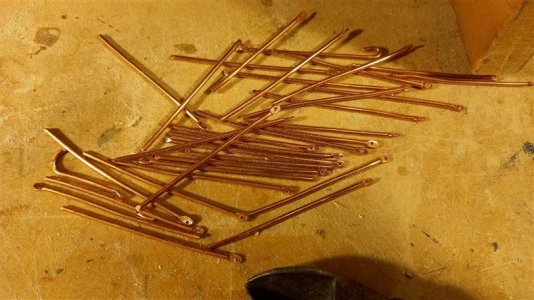
preparing the chains,
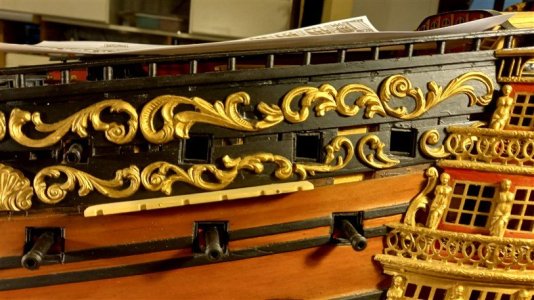
the mizzen channel fixed in place,
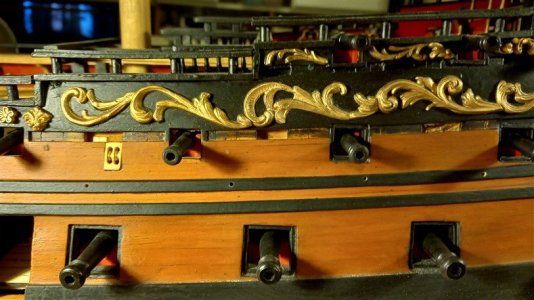
The holes drilled out for the main channels,
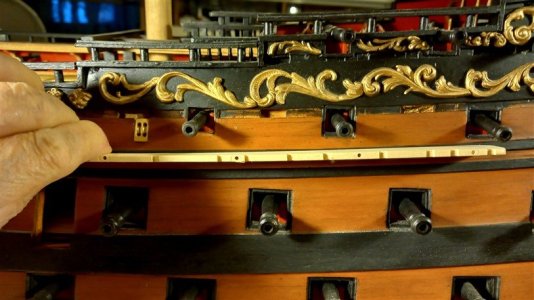
and fixing the main channels in place,
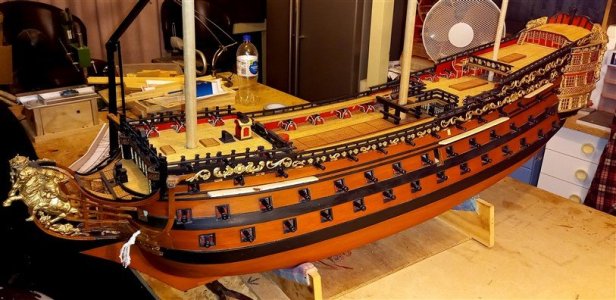
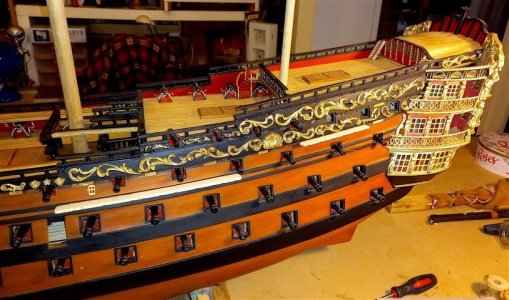
overall view,
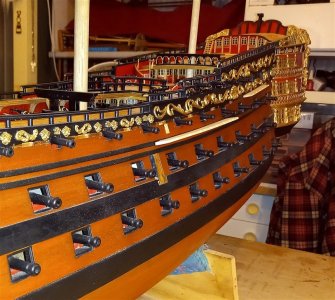
and a couple of views of the main and mizzen channels,
thanks for looking in,
best regards john,

all the dead eyes, just a little bit of adjusting to do,

preparing the chains,

the mizzen channel fixed in place,

The holes drilled out for the main channels,

and fixing the main channels in place,

overall view,

and a couple of views of the main and mizzen channels,

thanks for looking in,
best regards john,
Fantastic John!
- Joined
- Apr 20, 2020
- Messages
- 6,241
- Points
- 738

John my friendJust a little bit of a catch up,
View attachment 466650
all the dead eyes, just a little bit of adjusting to do,
View attachment 466651
preparing the chains,
View attachment 466652
the mizzen channel fixed in place,
View attachment 466653
The holes drilled out for the main channels,
View attachment 466654
and fixing the main channels in place,
View attachment 466655
overall view,
View attachment 466657
and a couple of views of the main and mizzen channels,
View attachment 466658
thanks for looking in,
best regards john,
it's looks marvelous
Fantastic John!
Thank you for the nice comments and also thanks for all the likes,John my friend
it's looks marvelous
Best regards John,
Its a beautiful looking model John. 
Hi John,View attachment 468299
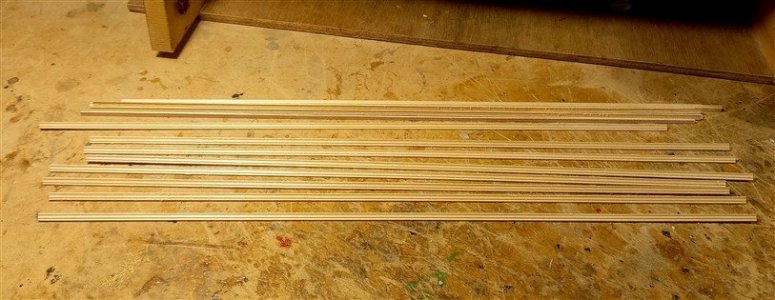
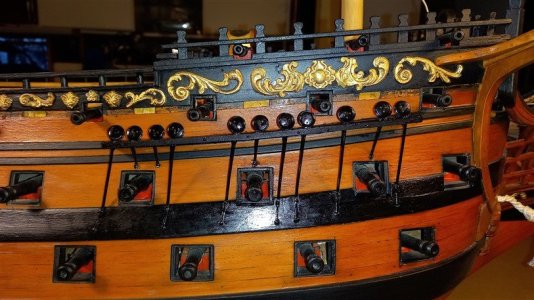
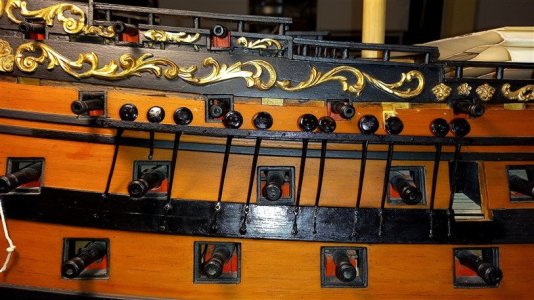
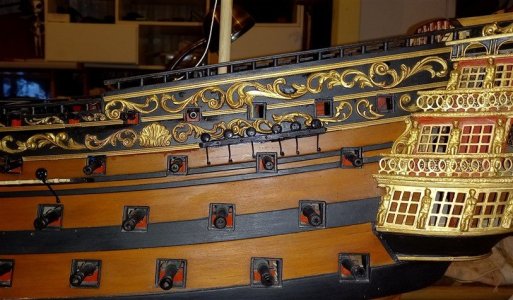
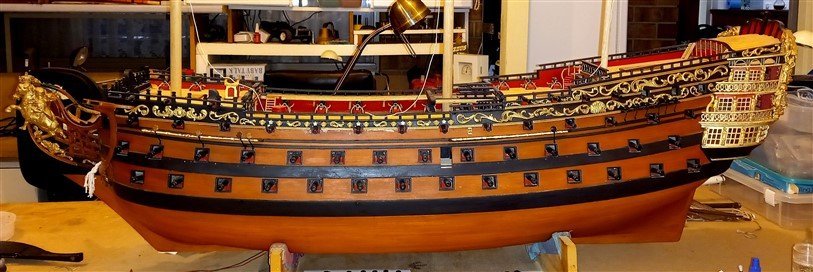
The decorative wales for the ship, I was going to make my own but came across these on a doll's house site, just had to trim them down a little bit ,
View attachment 468301
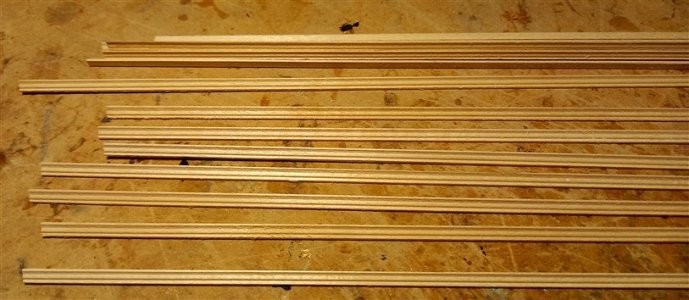
I had to take a little bit off the sides to get them to fit,
View attachment 468300
a close up,
View attachment 468302
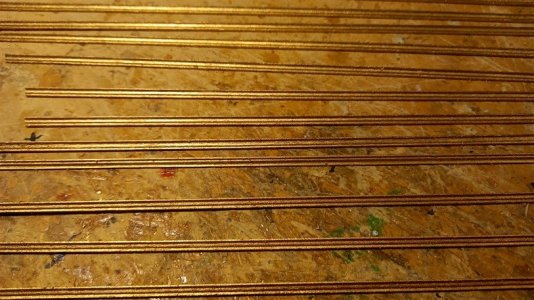
and after gilding them,
.
Love the lateral thinking and re-purposing, great work.
Cheers,
Stephen.
Good morning John. Stunning work. A dolls house site......who would have thoughtView attachment 468299
The decorative wales for the ship, I was going to make my own but came across these on a doll's house site, just had to trim them down a little bit ,
View attachment 468301
I had to take a little bit off the sides to get them to fit,
View attachment 468300
a close up,
View attachment 468302
and after gilding them,
.
 . Cheers Grant
Hi John,
Love the lateral thinking and re-purposing, great work.
Cheers,
Stephen.
Thanks guys, it's amazing what you can find on the net,Good morning John. Stunning work. A dolls house site......who would have thought. Cheers Grant
Best regards John,
Last edited:
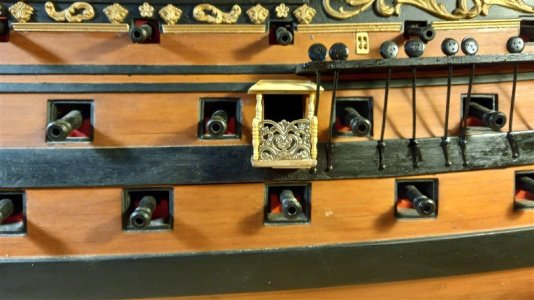
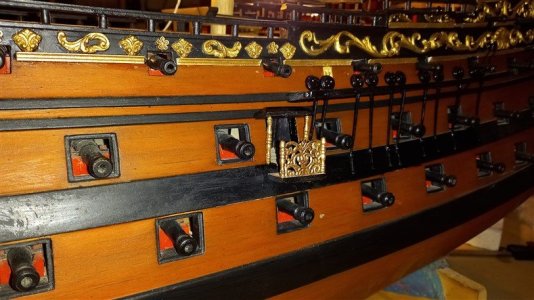
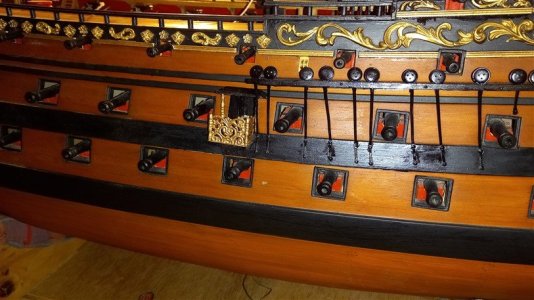
Well thats all the side trims and dead eye strops attached, time for the entry ports,
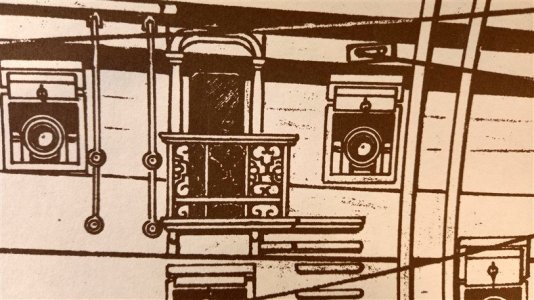
The entry ports have some very fine wrought iron type decorations, I did try and make them out of both fine copper and brass wire but to no avail, everything kept melting, so i turned to my normal source of things and I found a nice flower holder in one of the charity shops, maybe I should call her The Salvation,
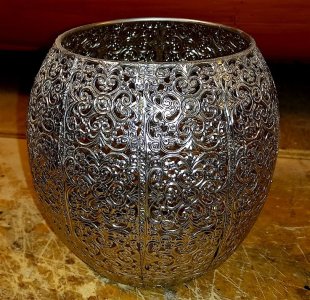
this is the holder, cost was three dollars, it a type of pressed metal, I tried to solder it but it wouldn't take so i Super glued it together,
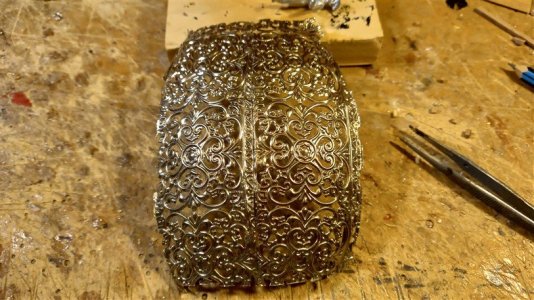
I cut a section from the holder, and then smaller pieces from that,
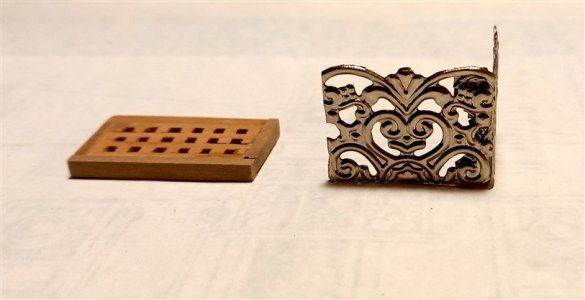
this is what I ended up with and next to it is the platform grating that it will sit on,
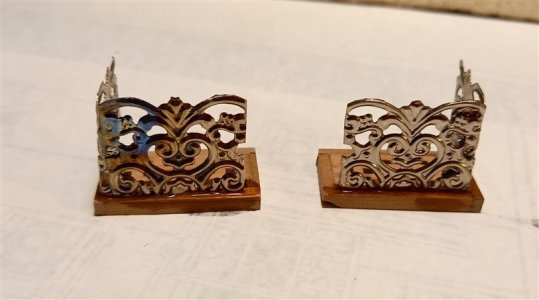
both starb and port sides,
thank you for looking in,
best regards John.
.

The entry ports have some very fine wrought iron type decorations, I did try and make them out of both fine copper and brass wire but to no avail, everything kept melting, so i turned to my normal source of things and I found a nice flower holder in one of the charity shops, maybe I should call her The Salvation,

this is the holder, cost was three dollars, it a type of pressed metal, I tried to solder it but it wouldn't take so i Super glued it together,

I cut a section from the holder, and then smaller pieces from that,

this is what I ended up with and next to it is the platform grating that it will sit on,

both starb and port sides,
thank you for looking in,
best regards John.
.


