Excellent John.
-

Win a Free Custom Engraved Brass Coin!!!
As a way to introduce our brass coins to the community, we will raffle off a free coin during the month of August. Follow link ABOVE for instructions for entering.
-

PRE-ORDER SHIPS IN SCALE TODAY!
The beloved Ships in Scale Magazine is back and charting a new course for 2026!
Discover new skills, new techniques, and new inspirations in every issue.
NOTE THAT OUR FIRST ISSUE WILL BE JAN/FEB 2026
You are using an out of date browser. It may not display this or other websites correctly.
You should upgrade or use an alternative browser.
You should upgrade or use an alternative browser.
Re: Royal William 1/48 scale
- Thread starter neptune
- Start date
- Watchers 56
-
- Tags
- royal william
Excellent John.
great work Jhon, well done

Thank you for the comments and the likes,The clinker build hull of your boats is looking very good - Bravo!
best regards John,
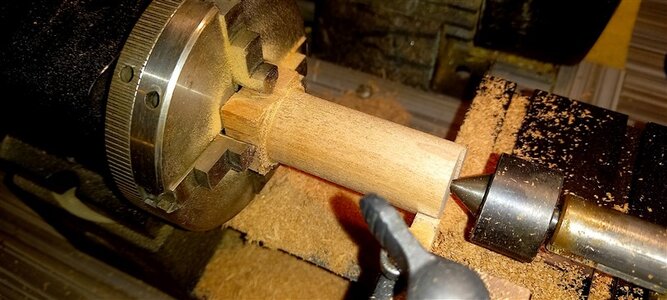
For a bit of a change I decided to attempt the construction of the Belfry, I turned some wood down to the required Dia,
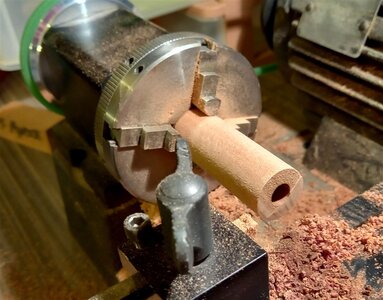
then I drilled a 10mm hole through it,
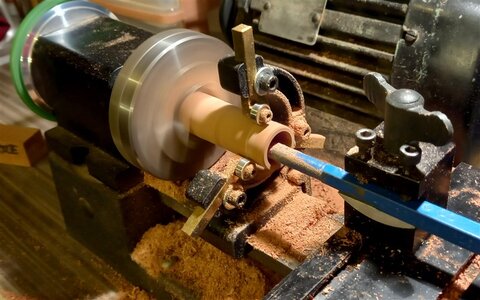
I set up the steady rest and bored the inside to the correct dia,
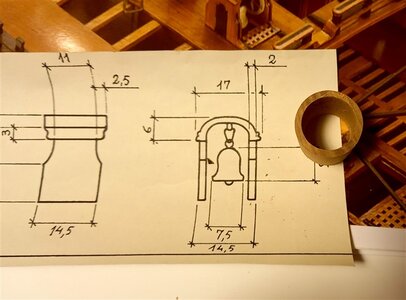
after parting off the tube, I will have to slice into parts to complete the construction,
thank you for visiting,
best regards John,
.
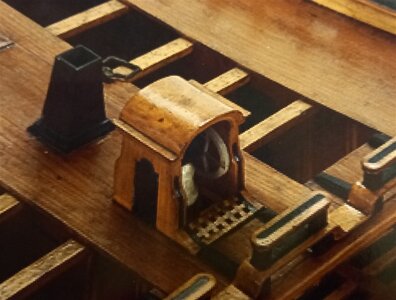
The belfry on the varnished model has a sort of flattened top, where as the belfry on the painted model has a rounded top,
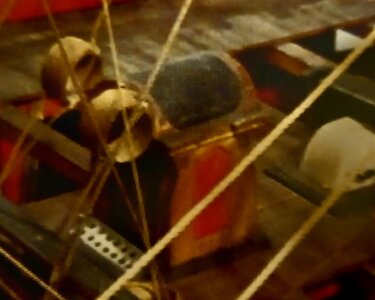
the rounded top,
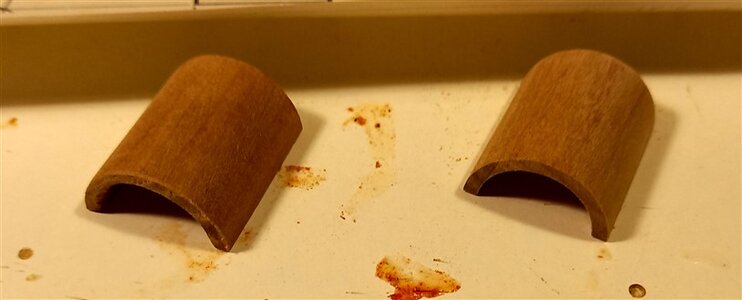
so I cut the tube into two parts, a spare just in case,
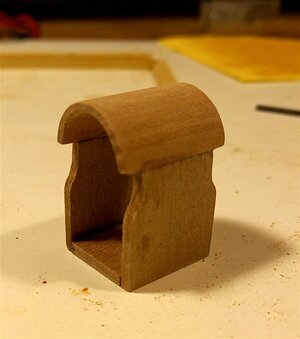
added the sides and the base,
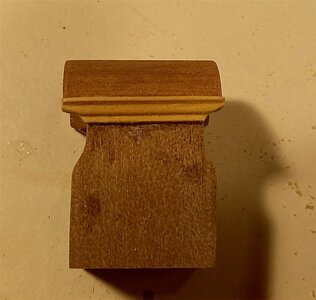
and a little bit of moulding, still a lot of decoration to go on yet,
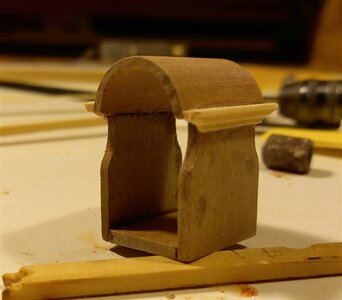
front view,
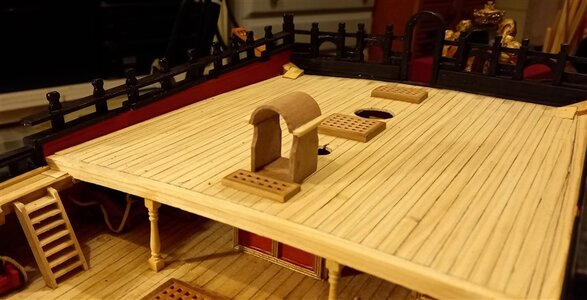
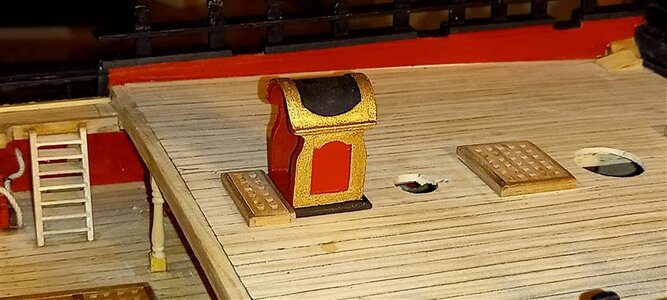
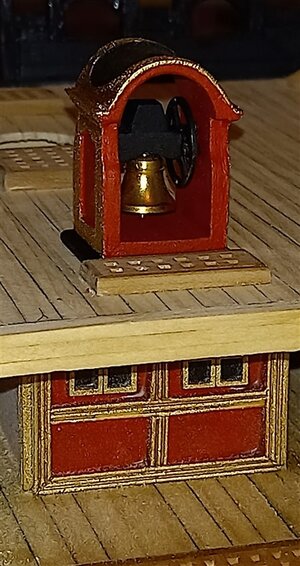
and approx where the belfry will sit when finished,
Best regards john,
.
On the painted Belfry they was also overlays on the actual top and also the sides
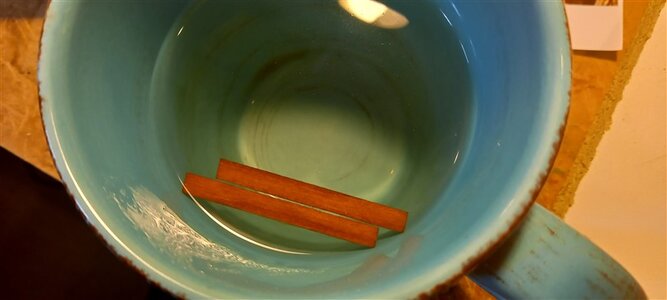
I soaked two pieces of pear wood in some boiling water for 5 minutes,
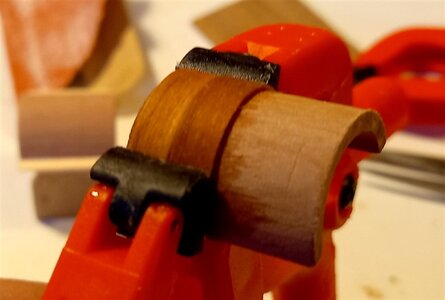
then I used the spare top to clamp them in place whilst they dried,
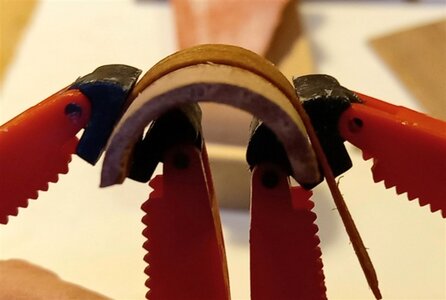
another view,
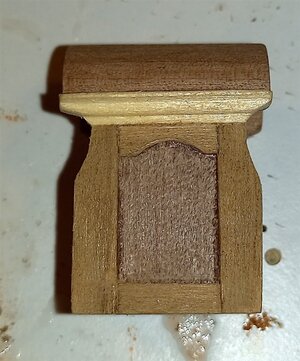
While waiting for the top strips to dry I added the overlay strips to the sides of the belfry,
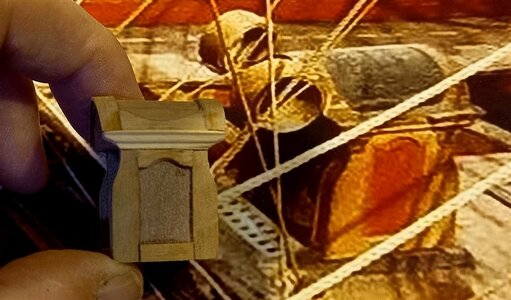
after adding the top strips, and compared to a photo of the original model,
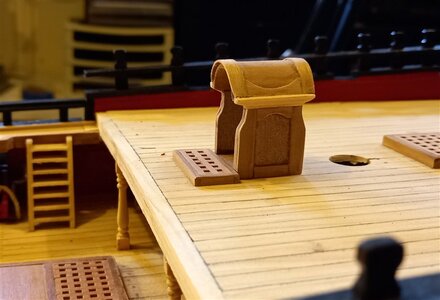
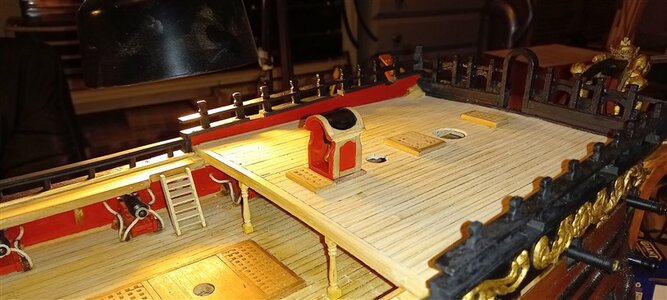
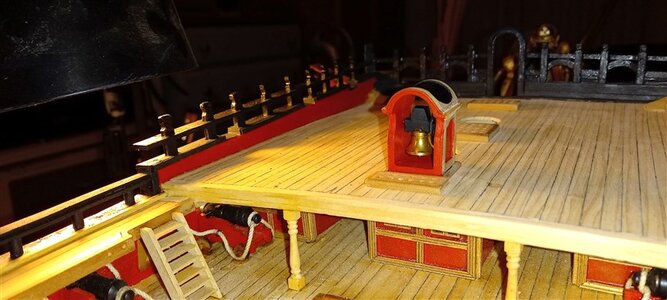
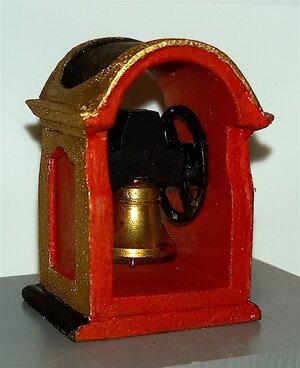
sitting where it will go, just have to add a base and the internal parts, the bell and the circular ringer handle,
best regards John,
.

I soaked two pieces of pear wood in some boiling water for 5 minutes,

then I used the spare top to clamp them in place whilst they dried,

another view,

While waiting for the top strips to dry I added the overlay strips to the sides of the belfry,

after adding the top strips, and compared to a photo of the original model,

sitting where it will go, just have to add a base and the internal parts, the bell and the circular ringer handle,
best regards John,
.
Hi John,
In your experience does the boiling water (as opposed to merely hot, or even room temperature) assist with the bending? I am presently trying to bend much larger stock (2mm x 7mm) with mixed results...
Thank you.
In your experience does the boiling water (as opposed to merely hot, or even room temperature) assist with the bending? I am presently trying to bend much larger stock (2mm x 7mm) with mixed results...
Thank you.
- Joined
- Aug 8, 2019
- Messages
- 5,569
- Points
- 738

I used boilling water for difficult bending. I soak the wood always for a few hour, but when bending in a sharp curve I use boilling water as an extra.Hi John,
In your experience does the boiling water (as opposed to merely hot, or even room temperature) assist with the bending? I am presently trying to bend much larger stock (2mm x 7mm) with mixed results...
Thank you.
Hi John,
In your experience does the boiling water (as opposed to merely hot, or even room temperature) assist with the bending? I am presently trying to bend much larger stock (2mm x 7mm) with mixed results...
Thank you.
G'day guys, these are only small pieces in a cup with boiled water only need a few minutes, but even with thicker pieces the boiling water helps a lot and of course extra time,I used boilling water for difficult bending. I soak the wood always for a few hour, but when bending in a sharp curve I use boilling water as an extra.
best regards john,
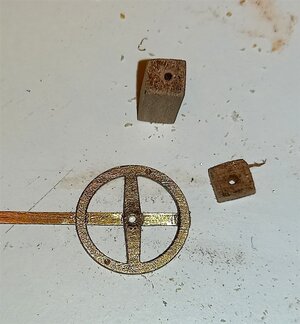
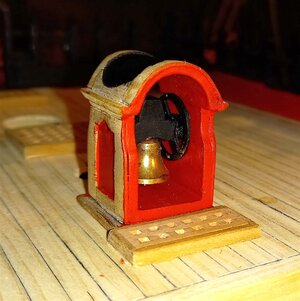
I needed a small ring for the hand part of the ringer and I used a small balance wheel out of an old clock and I CA glued a brass bar across it, also shows the axle part for holding the bell,
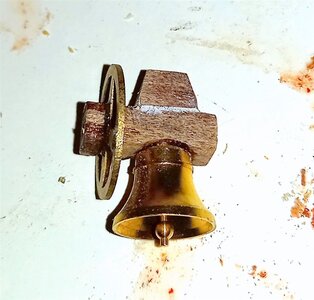
I already had a nice bell so this is all these parts glued together,
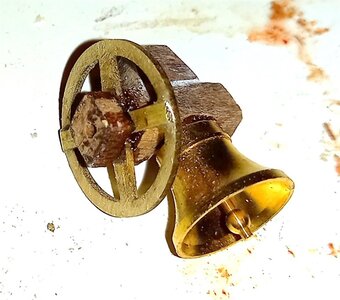
another view,
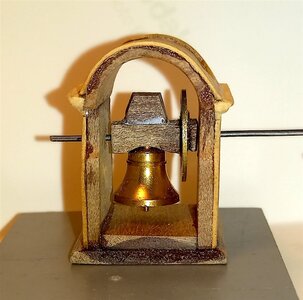
and a view from the front, in hind sight I could have used a larger ring,
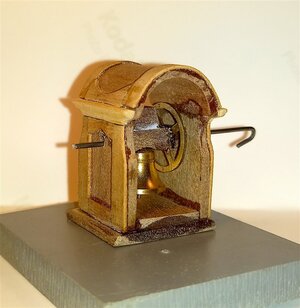
couple of different views,
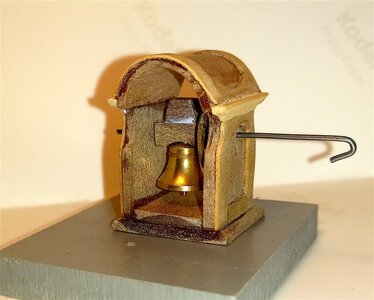
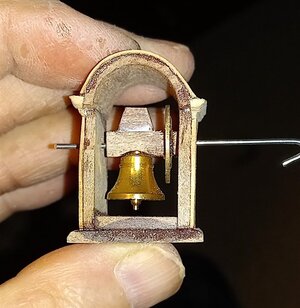
and a close up one with my fingers and thumbs just to show the size,
once again thanks for dropping in,
best regards John.
.
I interesting little project in the project - very well done
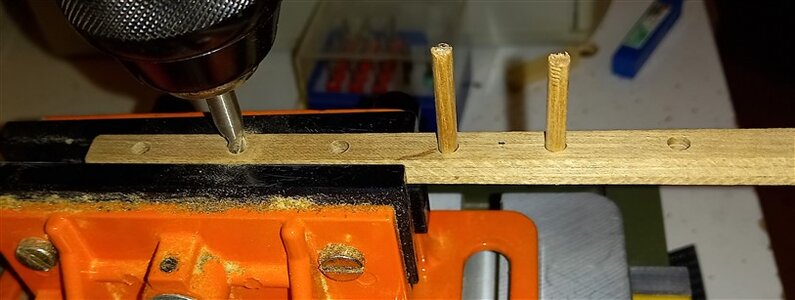
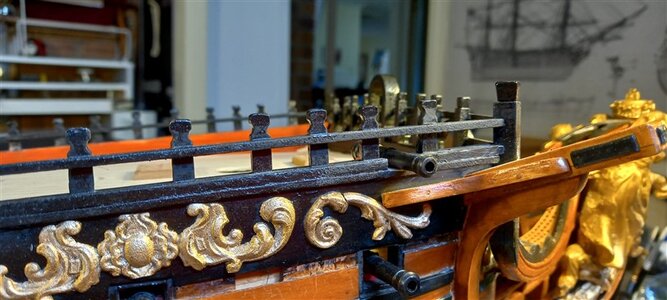
The fo'c'sle rails were next on the list, I clamped the three pieces of wood together then drilled 4mm holes at the required spacing after I had drilled the first hole I inserted a 4mm dowell to keep the correct spacing,

then I filed out the holes to take the wood uprights these uprights were just over 4mm square, I left a couple of 4mm dowells in place while I squared the first holes then added some pieces of square uprights while I finished the rest of the square holes,
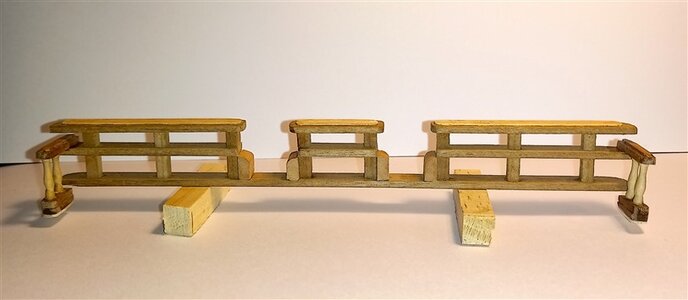
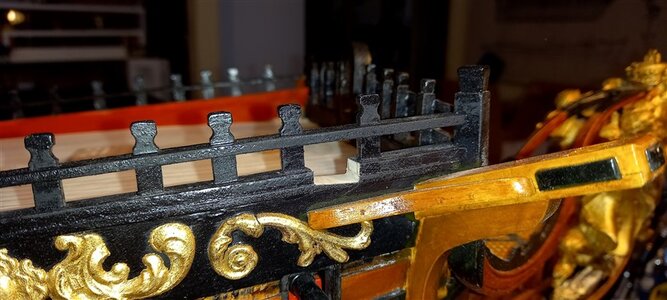
The rails after assembly,
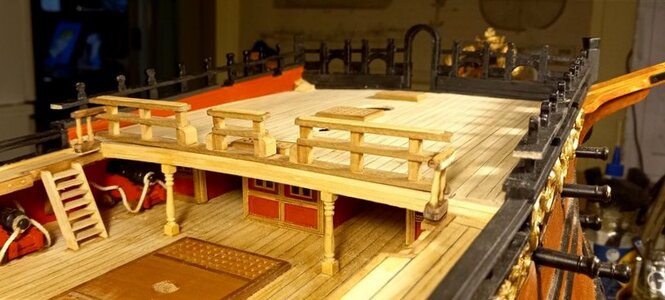
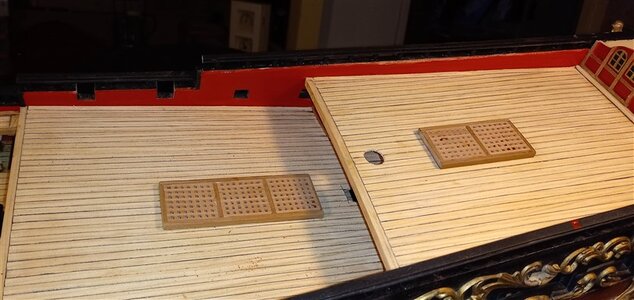
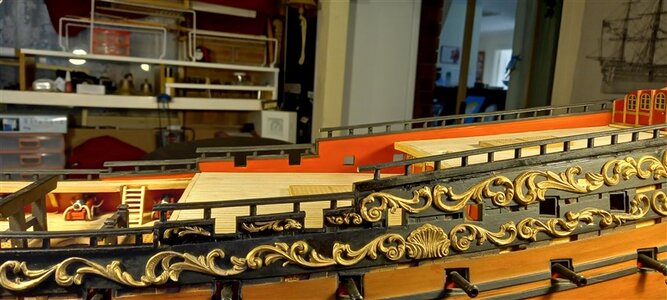
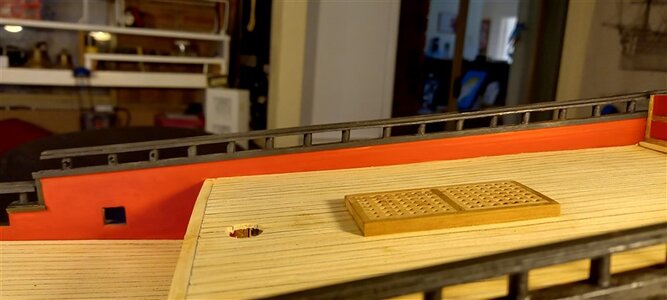
and a couple of pics where they will sit on the model,
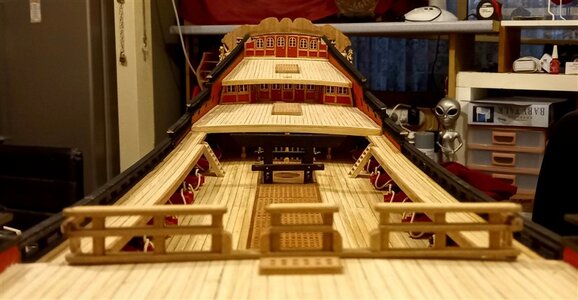
another view,

after painting,
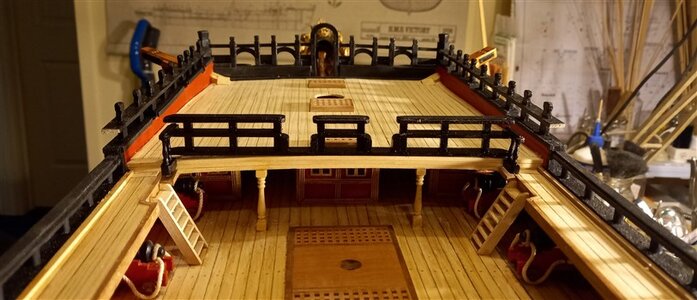
and where they will sit after gluing, they look a bit flat across but after they are glued down there will be a slight curvature to them,
You've all been so good with following my build, I feel guilty for not posting on your logs lately, actually for some time now, my Admiral has been having a tough time of it and has been in and out of hospital approx eight times in the last year, but I think there is some light at the end of the tunnel, and I will get around to posting on your logs, i thank and appreciate all of your surport, all the comments and the likes,
best regards John.
.
Hi John,
Love your belfry, especially the balance wheel from a clock fits perfectly very original solution.
Love your belfry, especially the balance wheel from a clock fits perfectly very original solution.
Hi John,View attachment 396472
The fo'c'sle rails were next on the list, I clamped the three pieces of wood together then drilled 4mm holes at the required spacing after I had drilled the first hole I inserted a 4mm dowell to keep the correct spacing,
View attachment 396473
then I filed out the holes to take the wood uprights these uprights were just over 4mm square, I left a couple of 4mm dowells in place while I squared the first holes then added some pieces of square uprights while I finished the rest of the square holes,
View attachment 396474
The rails after assembly,
View attachment 396475
and a couple of pics where they will sit on the model,
View attachment 396476
another view,
View attachment 396477
after painting,
View attachment 396478
and where they will sit after gluing, they look a bit flat across but after they are glued down there will be a slight curvature to them,
You've all been so good with following my build, I feel guilty for not posting on your logs lately, actually for some time now, my Admiral has been having a tough time of it and has been in and out of hospital approx eight times in the last year, but I think there is some light at the end of the tunnel, and I will get around to posting on your logs, i thank and appreciate all of your surport, all the comments and the likes,
best regards John.
.
As usual great work.
I hope I am not alone in saying this but please don't feel guilty, I and I am sure others have had similar experiences with their Admirals being ill, these sort of things re-focus our attention and of coarse family comes first.
It is great that you have a hobby like the one you have to help take your attention away from other things even if it is only for an hour or two.
Cheers,
Stephen.


