Re: Royal William 1/48 scale

A few pics of the rest of the saw build,

1061.jpg
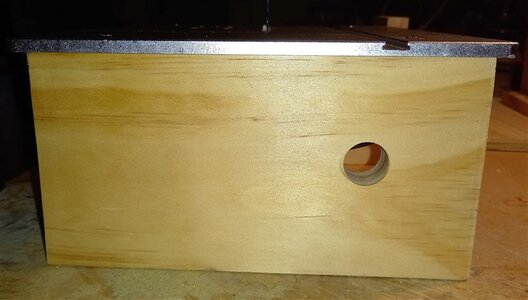
used a spade bit to drill for the on / off switch,

1062.jpg
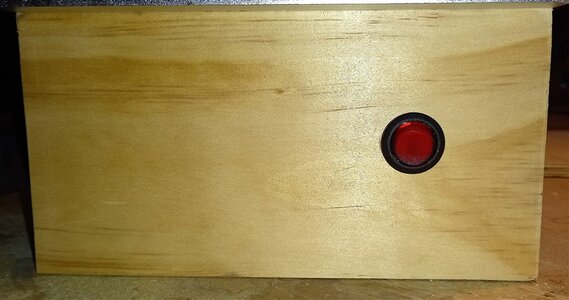
and the switch was a nice tight fit,

1063.jpg
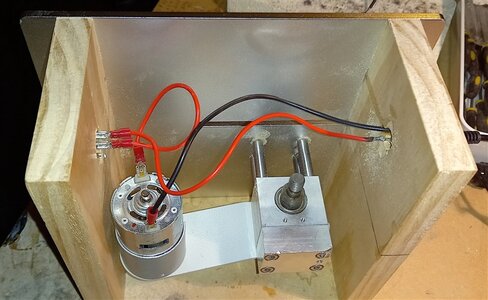
General view of the electrics and the power supply socket at the back of the box, I made the unit so that it would lift off the box base with all the wiring so has not too have to disconnect anything,

1064.jpg
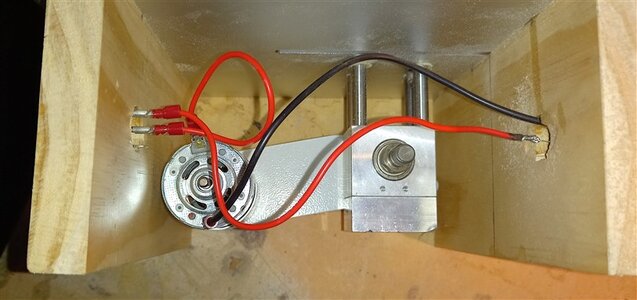
another view of the same,

best regards John,
 
1065.jpg
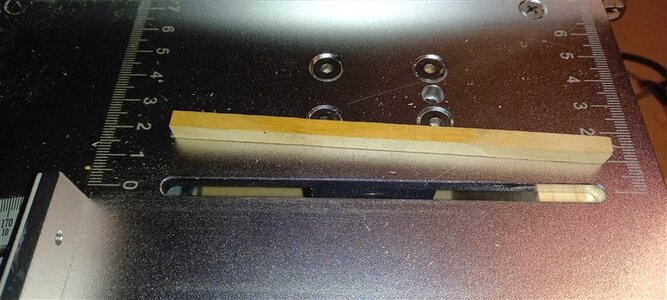
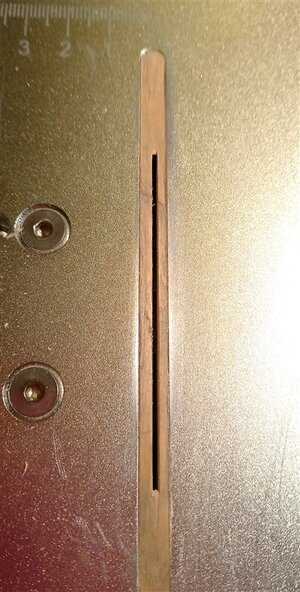
The slot for the saw was a bit on the wide side so i cut a strip of hard wood to length and a tight fit sideways,

1066.jpg
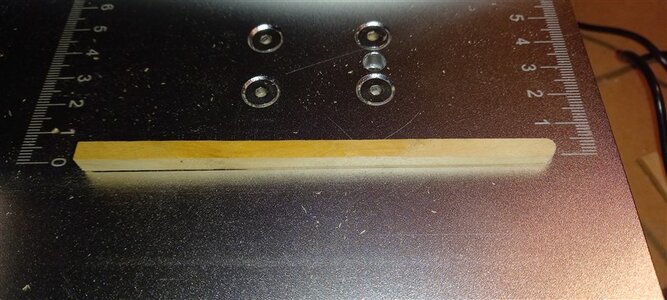
Rounded off the ends,

1067.jpg
applied some CA super glue and quickly tapped it into place making sure it was level with the table,

1068.jpg
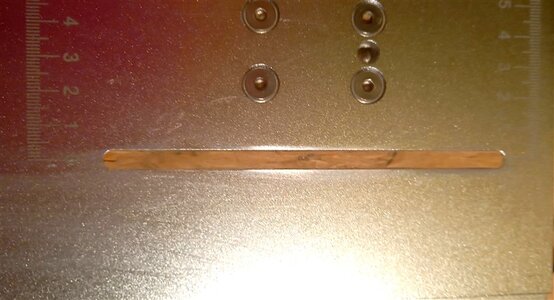
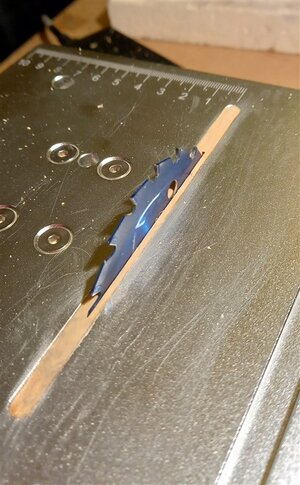
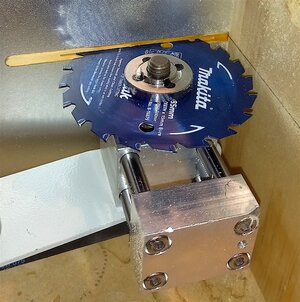
Then i switched the saw on and raised the saw through the timber infil,

1069.jpg
The result was a clean slot, just right for cutting thin slices of timber,

1070.jpg
and a view from under the table, all in all I'm very pleased with the saw, it runs quietly but is powerful enough to do the job,

best regards john,

.
 
Last edited:
1074.jpg
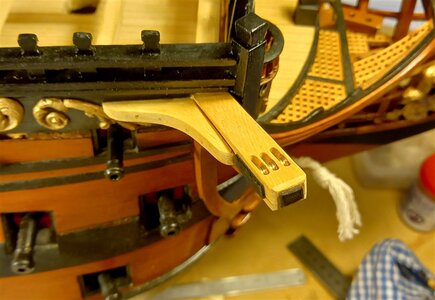
Now Ive moved back to the bow area to make and fix the cat heads, the beam for the cat head and the side supporting knee,

1075.jpg
with the knee sitting in place i am adjusting the side knee,

1076.jpg
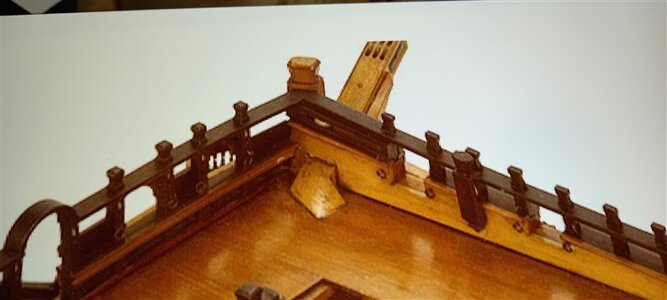
a photo of one of the original models showing how the beam comes inboard and then is angled to go down under the Focsle deck beams,


1077.jpg
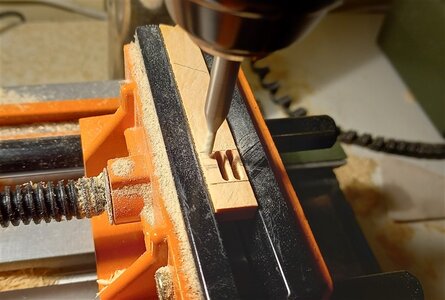
milling the slots for the pulleys,

1078.jpg
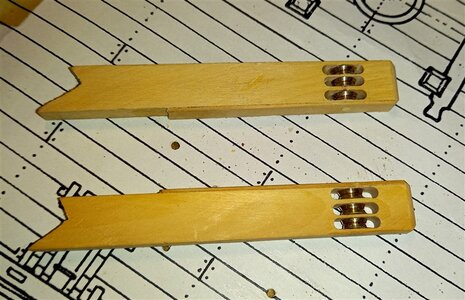
and the finished beams, I had to attach a small sliver of wood to one side of the beams as they would have been too narrow, once varnished they shouldn't show,
For the pulleys I drilled out the centre holes to 1.8 mm and slid them onto a bolt, then I chucked them in a hobby drill and using a small round file I reshaped the V shape of the pulley wheels to a U shape,


1079.jpg
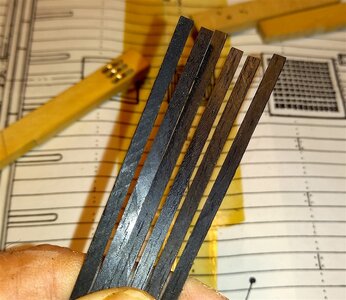
With my new mini saw I cut some ebony into 1mm thick planks, I am really pleased with the new saw, it is very quiet but powerfull.
.
 
1091.jpg
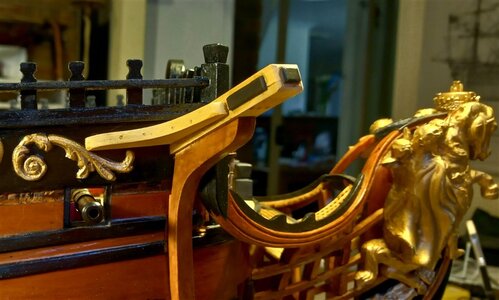
Before varnishing

1092.jpg
and a view from under

1093.jpg
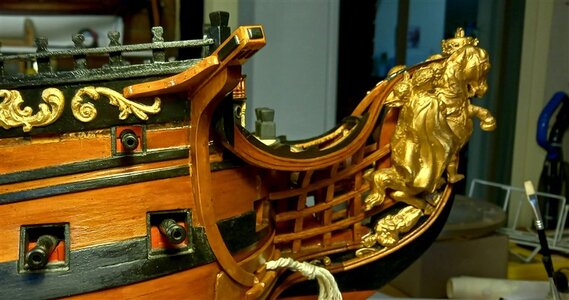
and after one coat of varnish,

1094.jpg
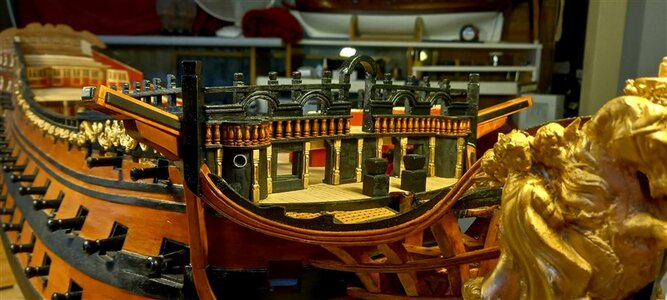
view across the beak head,

1095.jpg
next job was fixing the cat tails in place, I had already cut the notch in place,

1096.jpg
and checking for fit,


1097.jpg
both tails in place, I dowelled the front part of the tail and at the rear i I glued a wedge in place between the tail and the cross beam, when i plank the deck i will adjust and contour the beams as necessary,


1098.jpg
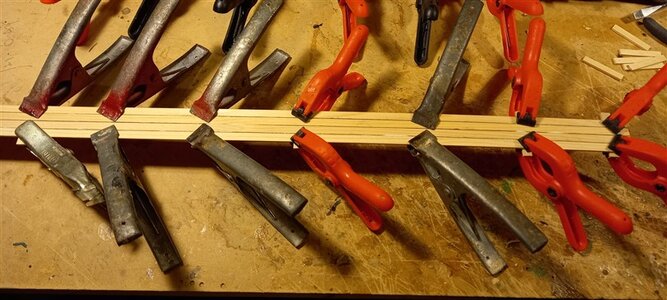
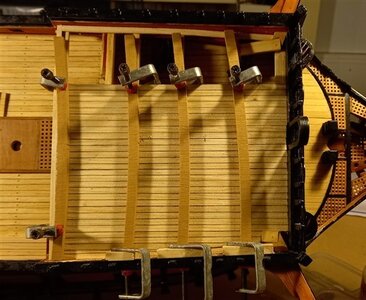
Making the gangways between the focsle and quarter deck, I glued four planks together ans also glued supporting pieces across them on the underside,

1099.jpg
This is a view of the topside of the gangways, I dont think they would have been caulked buy I ran a black texture down them anyway just to highlite tht they were separate planks,

1100.jpg
and finally I gave all the deck and fittings a coat of clear flat varnish,

Thank you for looking in,

best regards John,

.
 
Very good work and very good progress - the catheads are great my friend
and a nice chair you have - maybe a little bit too red, but sitting on it, you will not see the colour ;)
One possibility is sitting higher, but maybe it could be also a solution to bring the model in a lower position
I bought one of these small bike-lifts caused by a tip from @archjofo
Or build one ;)
 
Coming along nicely John
Fantastic pictures and neat work
I agree with Tobias. In my town we say "Sjoan gedoan jong" (you did a good job)
Very good work and very good progress - the catheads are great my friend
and a nice chair you have - maybe a little bit too red, but sitting on it, you will not see the colour ;)
One possibility is sitting higher, but maybe it could be also a solution to bring the model in a lower position
I bought one of these small bike-lifts caused by a tip from @archjofo

Or build one ;)
Always a treat to see your posts John! Wonderful work!
Thank you guys for all the support and the comments and likes, they are very much appreciated,
Best regards John,
 
1101.jpg
I've started planking the after deck, nothing fancy, just straight planks,

1102.jpg
another view from the front,

1103.jpg
and both the after decks planked,

1104.jpg
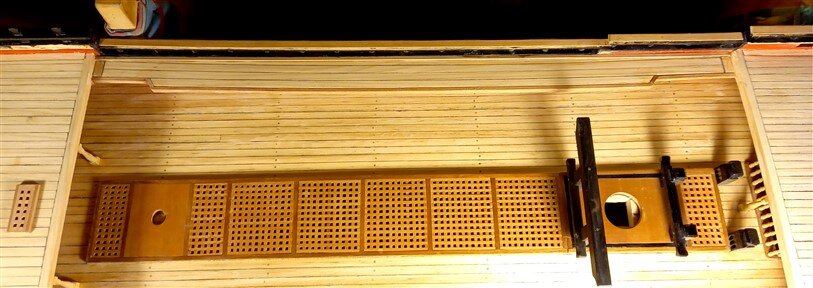
and with the gratings added, next up is the fo'c'sle deck,


thanks for looking in,

best regards john.
 
1105.jpg
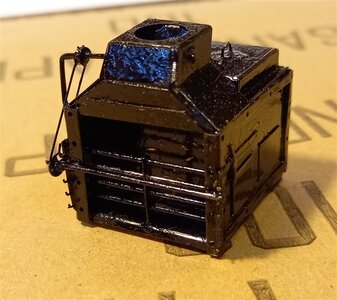
I painted the stove black, was too shiny so gave it a coat of matt varnish, not that anyone will see it, LOL,

1106.jpg
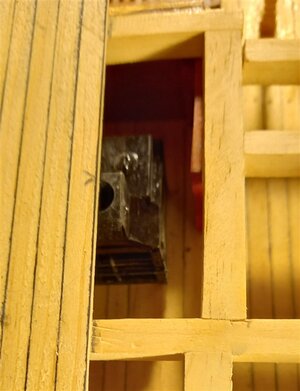
and a view of the stove under the planks, the little V pencil mark is where the upper part of the stove flue will sit,

1107.jpg
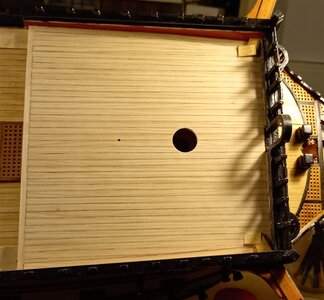
nearly finished,

1108.jpg
and the finished deck,

1109.jpg
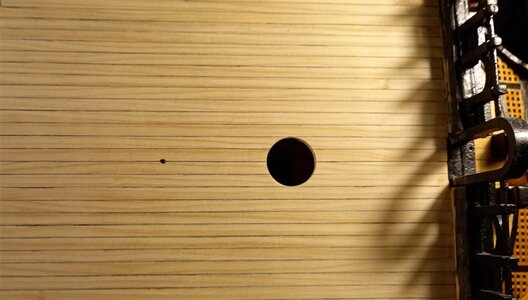
close up view,


best regards john.
,
 
1110.jpg
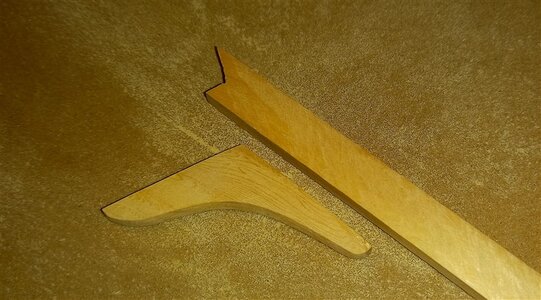
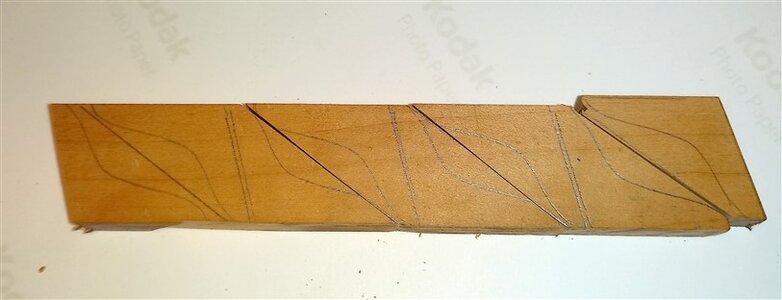
Time to attach the gangways, these are the knee's to support the gangways, I made a template and drew it onto some wood,

1111.jpg
then I cut the wood into sections,

1112.jpg
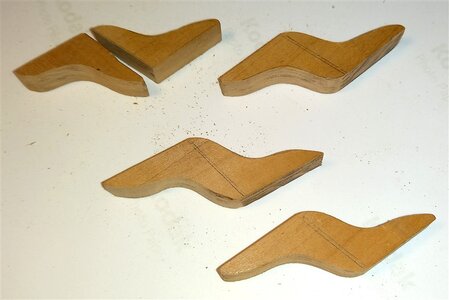
then shaped the knee's, then cut them into separate pieces, as per the top one's,


1113.jpg
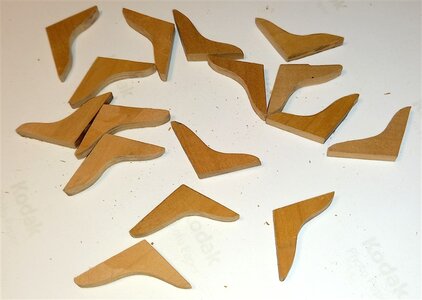
these knee's i cut out of wood that was thick enough to cut in half so I ended up with sixteen knee's,

best regards John,
.
 
1114.jpg
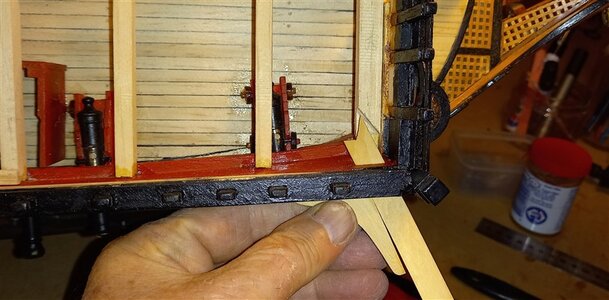
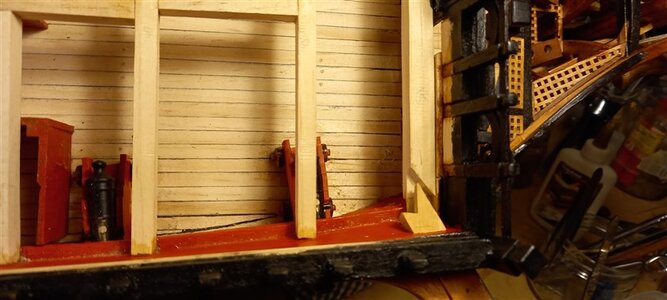
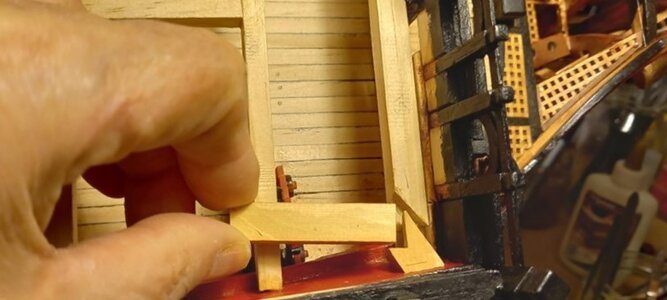
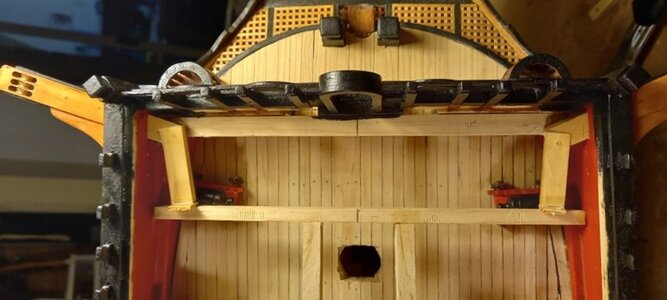
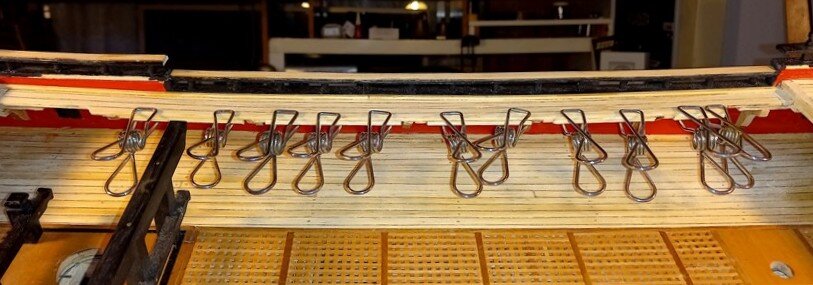
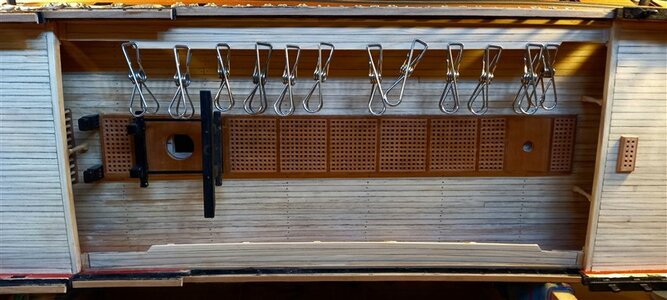
I glued a small piece of wood at each end of the gangways, actually I glued the wood under the deck beams at each end so the gangway's would be able to sit on them, I then adjusted the gangways length wise for height and used CA Super glue to hold them in position while I glued the knee's in place underneath, I also glued a supporting plank along the outside edges of the gangways to hold the iron stanchions that will go there,


1115.jpg
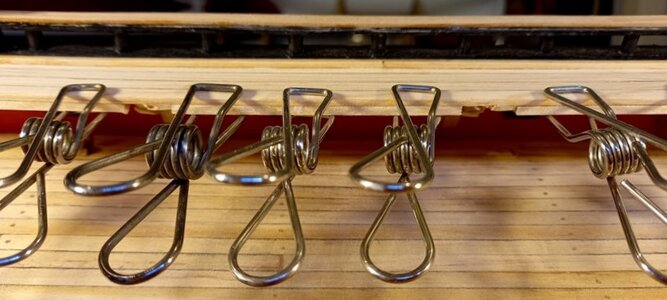
close up view, these are fantastic little clamps that my Daughter in law gave me,


1116.jpg
and a view looking down on the deck,

1117.jpg
and the finished gangway complete with edging strip,

thanks for looking in,

best regards John,

.
 
Back
Top