Re: Royal William 1/48 scale

John

Your new milling machine looks great. Can you supply the model of the milling machine.
 
Aussie048 said:
John

Your new milling machine looks great. Can you supply the model of the milling machine.


G'day Geoff, here is the numbers, Proxxon BFW 40/E 20165, KT 150 20150, 20000, it comes in three separate units, or you can buy it as a package of the three units together, I was lucky enough to buy mine off ebay when Pay Pal were doing a special if you bought with Pay Pal, I got mine for AUD $728 including postage from Germany, I believe in Australia they are approx AUD $ 1030 plus postage.

Hope this helps you, if you want to know more just ask,

best regards John.
 
Hello John,very nice job ,I have enjoyed rigging the cannon carriages on my AVS ,although there were only six,took me a week to get them right.
 
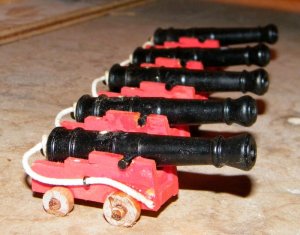
Thank you Mike and Zoly for your comments, I have now attached all the gun deck cannon,


167.jpg
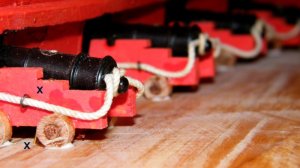
After rigging several cannon with the breeching ropes, my back was killing me from having to bend over the ship to to attach the ropes, I viewed the cannon through the transom ports and realized that I could only see the last cannons breeching rope connected to the side of the hull, so I glued all the rest of the breeching ropes as in this pic, made life a lot easier.

168.jpg
To secure the cannon in place I lightly rubbed the the cannon wheels on some sand paper to flatten them a bit, and also sand papered where the cannon would sit, I then placed some strong PVA on the cannon wheels and put them in position, I had already drilled some holes down through the sides of the carriages and through these I hammered brass pins down into the deck, just to the right of the top X you can see the pin head and just to the right of the lower X you can see the pin going through into the deck, I did this on each side of the carriage.

169.jpg
Port side cannon in place.
171.jpg
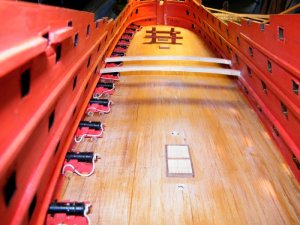
Looking aft over the riding bitts, some of the cannon are a bit scattered as they have not been fixed in place yet.

173.jpg
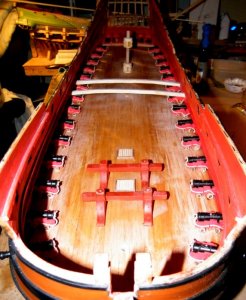
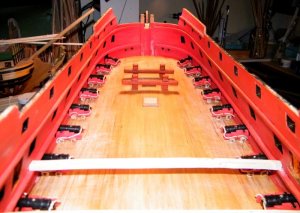
All 28 gun deck cannon in plqace.


174.jpg
Another view

170.jpg
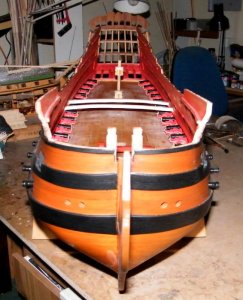
and looking aft, I have now to finish the pumps gratings and hatches.
 
Last edited:
Thank you Brian for the encouragement,

I have now started to add the chain pumps.


175.jpg
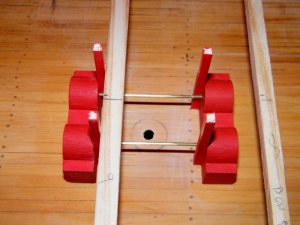
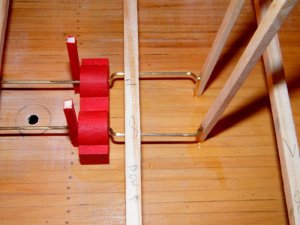
the two sets of chain pumps with the connecting rods


176.jpg
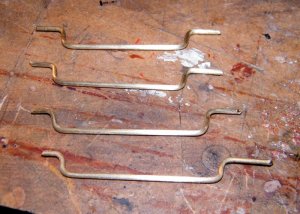
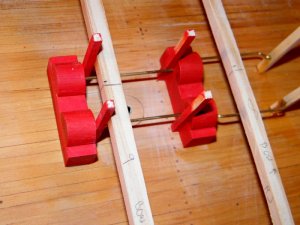
The outer pump handles I bent these to shape with a set of pliers


177.jpg
The forward outer handles in place


178.jpg
another view


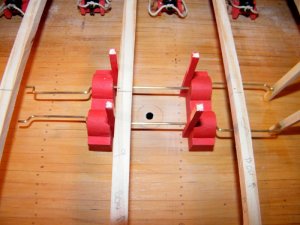
180.jpg
and both sets of handle in place, still have to put in place the rear support stanchions for the handles as well as some reinforcing beams to tie them all in together. You can see the fore and aft handles have been offset from each other, like bicycle pedals.
 
Last edited:
183.jpg
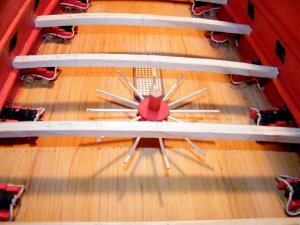
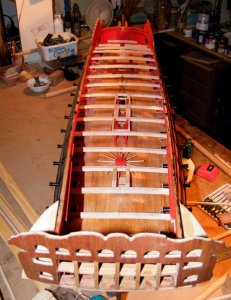
Pumps and lower deck capstan and all the deck beams from midships to the transom in place

184.jpg
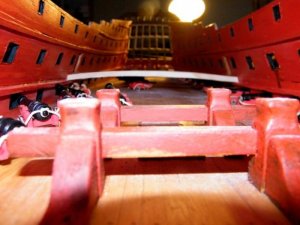
looking aft from the pumps

185.jpg
view forward from the transom

187.jpg
before I attach the forward beams I will have to make the messenger rope and the anchor cables.
 
Last edited:
188.jpg
Capstan fixed on the lower deck


189.jpg
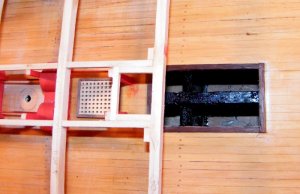
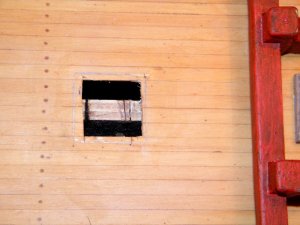
Cutting out the hatch for the cable tier


190.jpg
another view


191.jpg
I've removed this grating as I want to bring the eletric cables up through it and will reglue it back after.


192.jpg
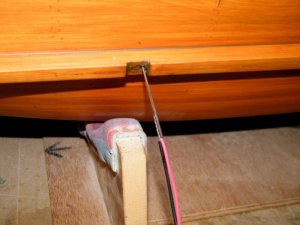
I had previously drilled a hole up through the keel for the cables, I pushed a brass wire up through the keel, then I soldered the wires to it and pulled them up through onto the gundeck


193.jpg
The wires will go up along the centre support and out and along the deck beams.


194.jpg
I drilled two holes through the second beam and down into the deck, through which I glued two dowells to act as guides for the messenger rope.
 
Last edited:
195.jpg
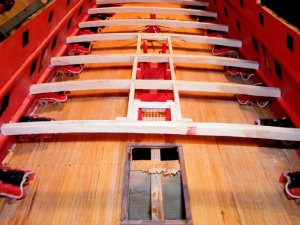
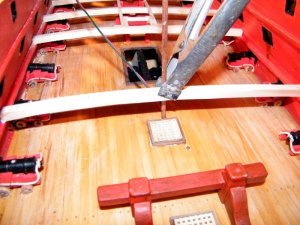
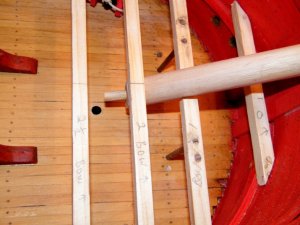
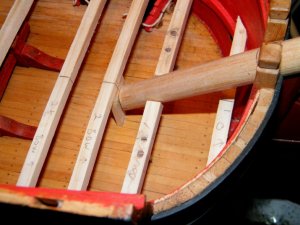
I decided I would have enough room for attaching the messenger and anchor cables, even with all the lower deck beams in place so I went ahead and attached them, this pic shows me figuring out how to fix the end of the bow sprit in place


196.jpg
and how I fixed it, the sprit is not glued and can still be removed.


198.jpg
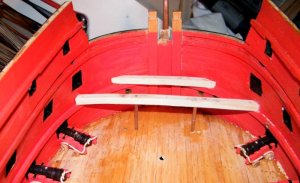
And a view from the transom of all the beams in place.
 
Last edited:
What a beautiful project John. You are ship building on an industrial scale. I have admired the Euromodel RW for years but yours is outstanding. In the kit it is a pitty the carvings are from white metall castings. Your approuch with the horses is a excellent solution. Thumbs up for this one.

Regs Maarten
 
Maarten said:
What a beautiful project John. You are ship building on an industrial scale. I have admired the Euromodel RW for years but yours is outstanding. In the kit it is a pitty the carvings are from white metall castings. Your approuch with the horses is a excellent solution. Thumbs up for this one.

Regs Maarten


Couldn't agree more Maarten. Well said!
Havagooday to all
Greg
 
Last edited by a moderator:
Hello John

Great job you are doing on your Royal William. I sure do like all of that very fine detail that you seemingly to be adding so so very easy. Your Cannons and carriages are top notch, great job on your Chain Pumps and also on the Capstan, WELL DONE.

My Admiral [Bernadette ] and I wish you and your Family a Very Merry Christmas and an Even Better and Happier New Year to Come. ENJOY.

Regards Lawrence
 
G'day Lawrence, thank you so much for the Christmas Greetings, and the nice comments.

Maureen and I would like to wish you and Bernadette and your family, a Merry Christmas and a Healthy Happy Prosperous New Year,


best regards John.
 
Estimado,
1. he visto tu avance en las fotografías y creo que he aprendido bastante, estoy en mis primeros proyectos con las manos con las cuadernas con una sección de Blanford, y me ha dado cuenta de que no siempre hay que estar tan ajustado a la realidad, a nivel de Escala es factible improvisar ciertas cosas que parezcan reales pero no lo son tanto, mi gran dolor de cabeza, la bomba de cadena, pensó en cadenas, ductos, cucharas y engranajes, pero me dio cuenta de que eso todo lo comprendía y que la verdad solo el exterior es lo que se ve, luego puedo simplificar mi trabajo pareciendo y no funcionando, lo importante es que este. Buen trabajo te felicito.

Dear,
1. I've seen your progress in the photographs and I think I've learned a lot, I'm in my first projects with my hands with the frames with a section of Blanford, and I've realized that you do not always have to be so adjusted to reality , at Scale level it is feasible to improvise certain things that seem real but they are not so much, my big headache, the chain pump, thought about chains, pipelines, spoons and gears, but I realized that everything I understood and that the truth is only the outside is what you see, then I can simplify my work by looking and not working, the important thing is that this. Good job, I congratulate you.
 
Back
Top