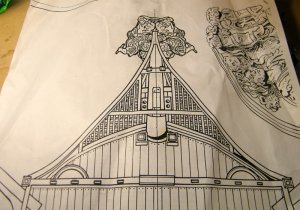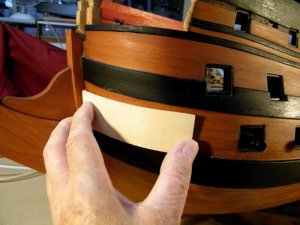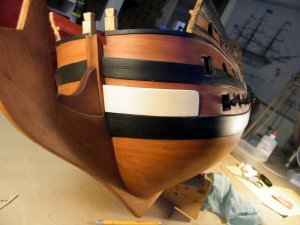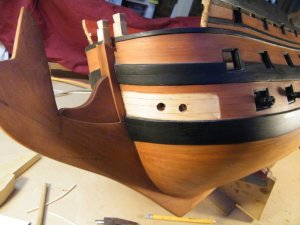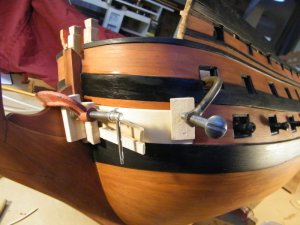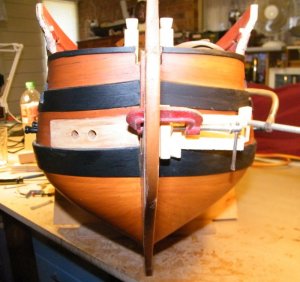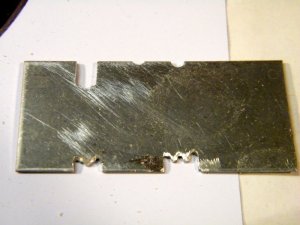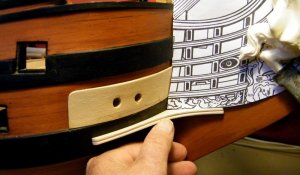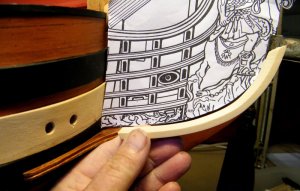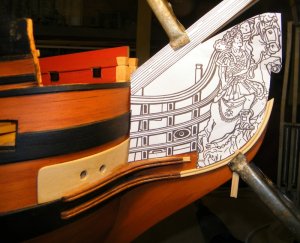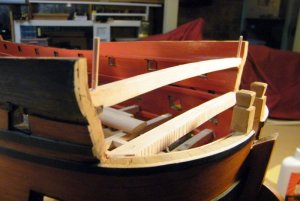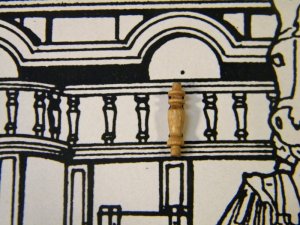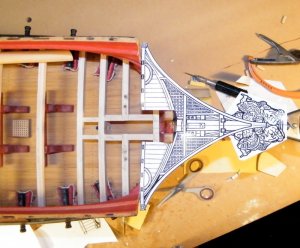
Just to check every thing was OK, I printed and cut out part of the plan looking down on the head rails, and
everything looks OK, but I suspect that the main head rails should be further apart as on the original models
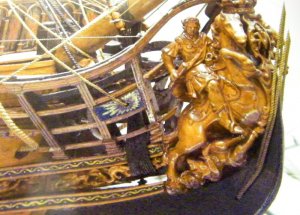
that what they show, I will post a pic of one of the original models showing this area,
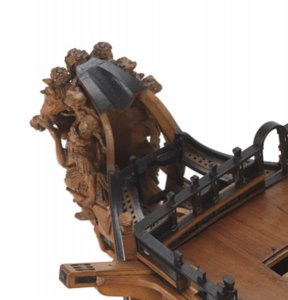
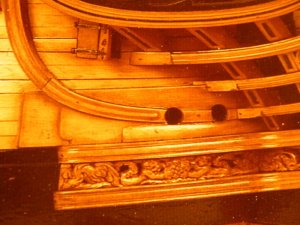
This pic shows a strip of grating either side and also more gratings on a lower level,
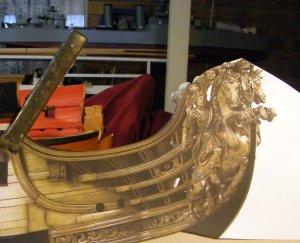
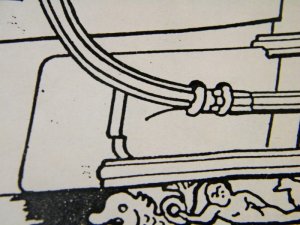
I was thinking on how to take the shape of the top rail off of the drawings, when I noticed one of the photo's
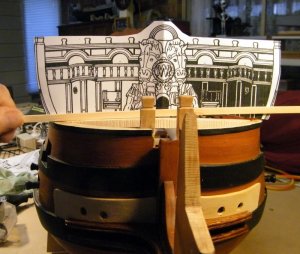
I had printed off looked exactly what I needed, so I enlarged the photo with the printer till it was what I needed
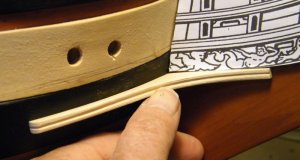
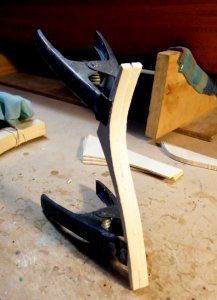
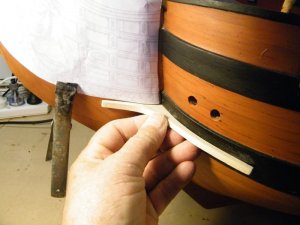
and it worked out quite pleasing, this is the pic clamped over the model exactly where it will go, I was happy with
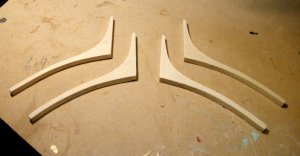
it so I used the top of the rail to mark the shape on a piece of wood thick enough to cut four rails from, I only
needed two but a couple extra in case something went wrong,
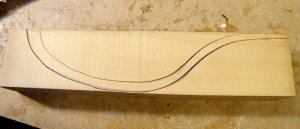
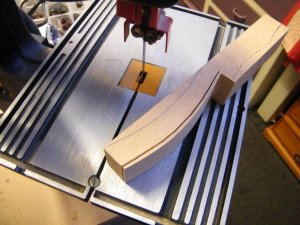
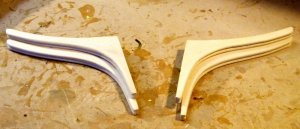
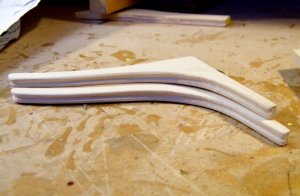
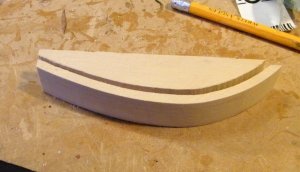
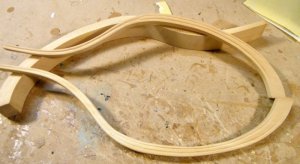
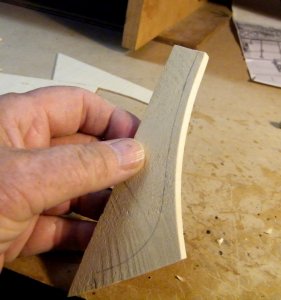
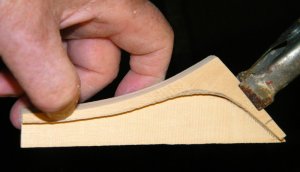
The block after cutting out the shape, I cut the top piece first, and then I cut the rail from the pic and used the
bottom line of the rail to mark the lower edge of the rail, any questions just ask,
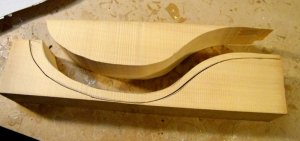
the top part moved away ,
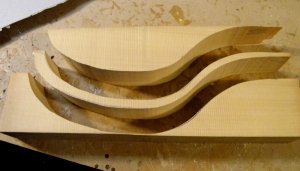
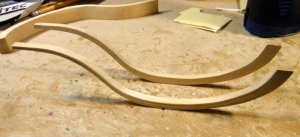
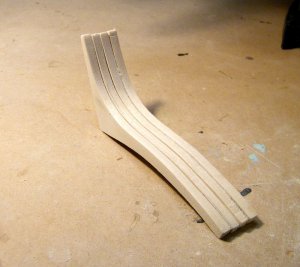
and now also the bottom part, I then sanded the middle part till I was happy with the shape, I then cut two strips,
off and finish sanded them with fine paper,
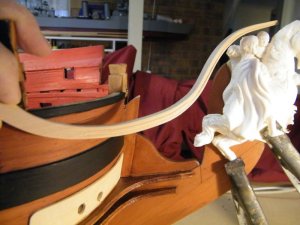
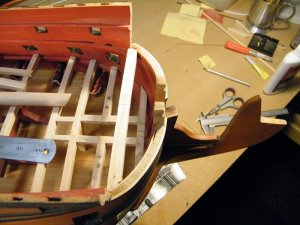
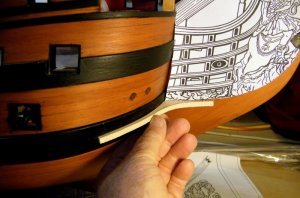
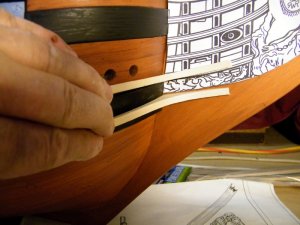
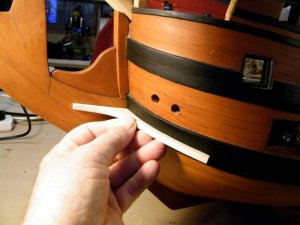
The starboard strip held loosely in placeshowing approx where it will sit,
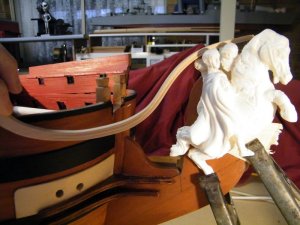
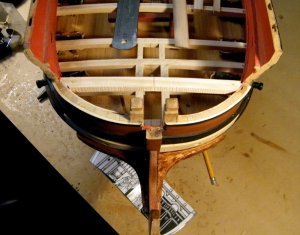
and another shot showing it sitting a little bit lower than the one above, I will decide later on which position I will
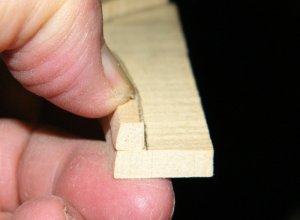
use, you can also see that I have started cutting the moulding into the rail, this has yet to be finalised,
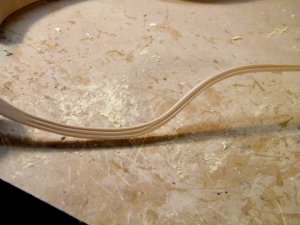
another view,
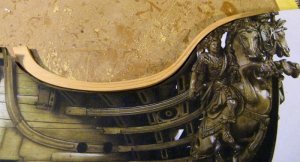
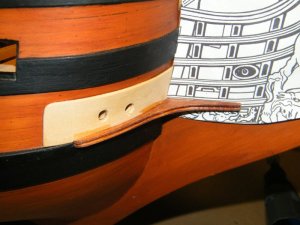
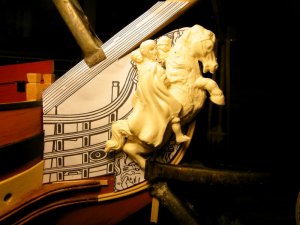
and this just shows the rail sitting on the photo that was used as a template, the cherubs are sitting behind
the rail, but when it is installed the rail will go behind the two cherubs,
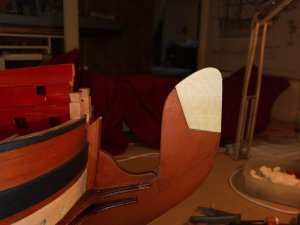
This is the fill in piece for the top of the stem, this is not yet glued, the idea is to assemble both sides of the
figure head to it then slide it into place when the time comes, thank you for looking in on my build,
best regards John,
.


 You might be in the Poopwith her, if you keep this up.
