-

Win a Free Custom Engraved Brass Coin!!!
As a way to introduce our brass coins to the community, we will raffle off a free coin during the month of August. Follow link ABOVE for instructions for entering.
-

PRE-ORDER SHIPS IN SCALE TODAY!
The beloved Ships in Scale Magazine is back and charting a new course for 2026!
Discover new skills, new techniques, and new inspirations in every issue.
NOTE THAT OUR FIRST ISSUE WILL BE JAN/FEB 2026
You are using an out of date browser. It may not display this or other websites correctly.
You should upgrade or use an alternative browser.
You should upgrade or use an alternative browser.
Re: Royal William 1/48 scale
- Thread starter neptune
- Start date
- Watchers 56
-
- Tags
- royal william
G'day John
You can use this part of the spindle and it should be quite easy
View attachment 70343
Just chop of the top of it and it should fit ok.
G'day Greg, there is a rail that goes across the top of the stanchions so I will just drill holes of the right diameter into it and glue them in place, But thank you for the thought,
Best regards John,
- Joined
- Jul 22, 2017
- Messages
- 331
- Points
- 268

Hello John,View attachment 70336
Well that's both the main head rails cut out and had the mouldings cut in to them, nothing too fancy,
View attachment 70337
another view
View attachment 70338
Before I can attach the head rails I need to install the beak head bulkhead, this shows it glued and dowelled in position,
View attachment 70339
another view from head on,
View attachment 70340
I photo copied and cut out the part of the plan for the bulkhead and then held it in place just to check all will be OK,
the planking of the forecastle deck had to come flush with the top of the lowest moulding which is the moulding
just above the gun ports,
View attachment 70341
So this is the beam installed 2mm below where the moulding will come to,
View attachment 70342
For the little spindles that go across the bulkhead, I have approx 200 of these little walnut spindles, with a bit of
work I think they will be OK,
once again thank you for all your comments and likes,
best regards John.
.
Everything looks fabulous thus far. In regards to the 200 spindles, did you make them yourself or was it one of your wonderful acquisitional skills? If so, where did you get them?
Ray
Hello John,
Everything looks fabulous thus far. In regards to the 200 spindles, did you make them yourself or was it one of your wonderful acquisitional skills? If so, where did you get them?
Ray
G'day Ray, I've sent you a PM,
best regards John.
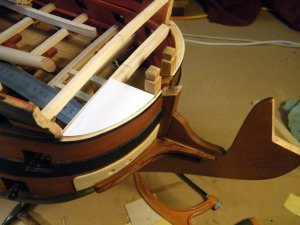
Next job was the beak head deck, I started off by making templates,
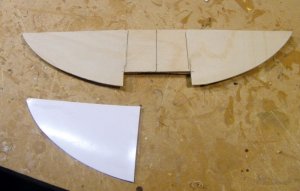
The three templates glued together,
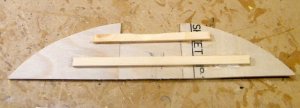
shows the under side with some reinforcing,
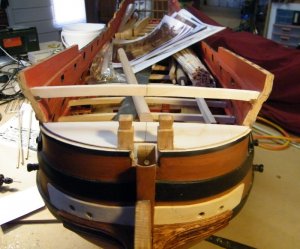
testing for fit,
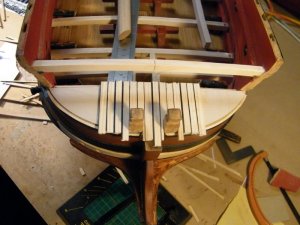
Starting to plank, I decided to plank over the template as it was only .6mm ply, and also it would be easier to trim
back to the template,
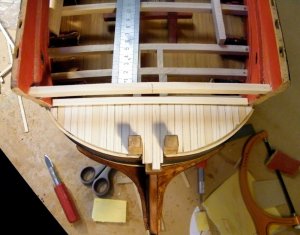
The deck after sanding and trimming back to the edge of the template, the deck is now glued in place, just have
to trim around where the bowsprit will go, doing it this way has left a nice clear area for the trim to go around
the planking,
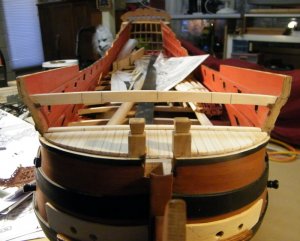
I am now marking where the gun ports will go, I will let in upright timbers to form the sides of the gun ports,
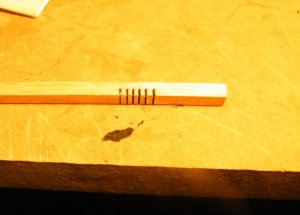
After marking for the joint I decided to cut them with a saw, I make a few cuts and then break out the wood with
a small chisel,
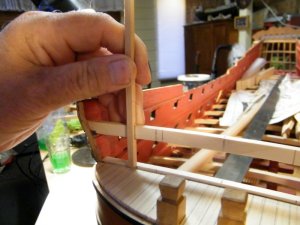
Marking the upper beam,
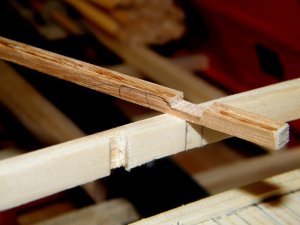
Both the cuts for the joint,
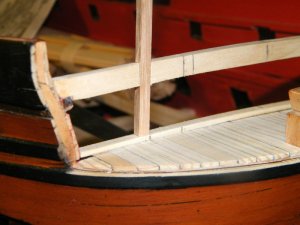
And the upright in place, it is not yet glued as I have to trim it to size and cut the knights head on the top,
.
Hi John,
I'm overwhelmed looking at the speed and exquisite craftsmanship that you are sharing with us. Bravo.
I'm overwhelmed looking at the speed and exquisite craftsmanship that you are sharing with us. Bravo.
John,
Truly remarkable. The joints are tightly fitted and there are no visible gaps. Will the knight heads be carved in or do you already have a surprise waiting for us?
Ray
G'day Ray, no surprises, they will be cut exactly like the pair that you can see at the very front,
best regards John.
Hi John,
I'm overwhelmed looking at the speed and exquisite craftsmanship that you are sharing with us. Bravo.
G'day Jim, as for speed, at the moment I have a bit of time on my hands as the temps out here are up in the lower 40c's, so we are staying indoors with the aircon going full blast, should be dropping down to 26c on Saturday, as for the Exquisite Craftsmanship, I think a lot of it is pure fluke,


 ,
,best regards John,
Never underestimate the power within you, because you may be the only person in the entire universe to solve a specific problemI think a lot of it is pure fluke,,
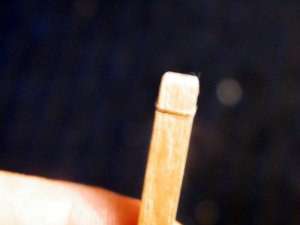
To make the knights heads or timber heads, I run the piece over the saw blade and make four shallow cuts around
the top of the timber,
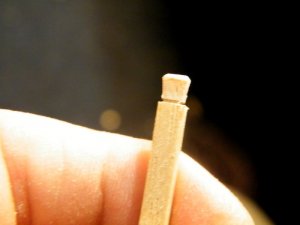
Then using a sharp craft knife i cut the downward angle onto the timber piece then finish it lightly with fine sand
paper,
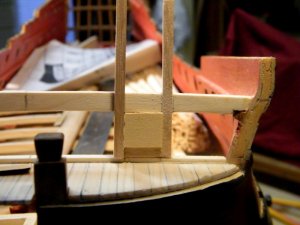
after gluing one of the uprights in position i cut a square of wood to the gun port size, and then marked the
position second timber,
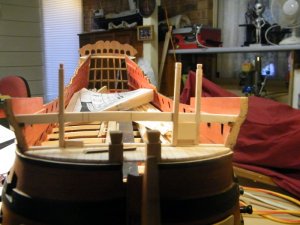
another view,
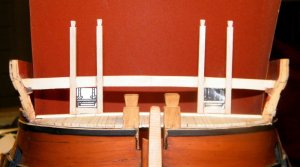
a view of the four timber stanchions glued in place, with the two gun port lid patterns sitting in the openings, there will be four more stanchions to attach yet,
thank you for looking,
best regards John.
.
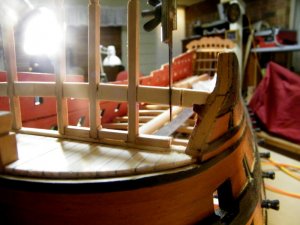
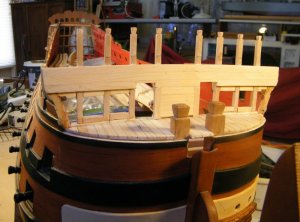
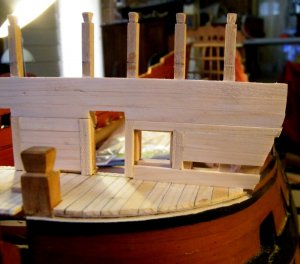
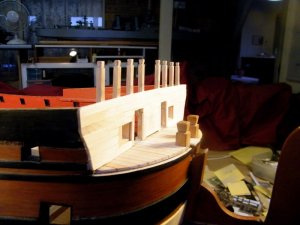
Just a few pics of fixing the rest of the bulkhead stanchions, this one shows me cutting the last joint,
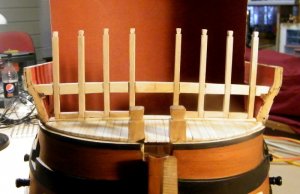
all the stanchions now glued in place, a couple of the joints need a bit of filling, but all this bulkhead will be planked over,
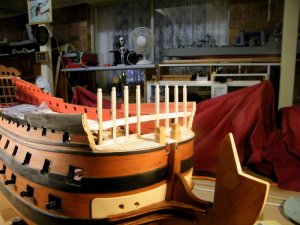
anoter view,
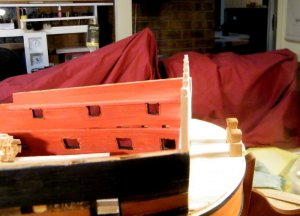
They are all in a nice straight line,
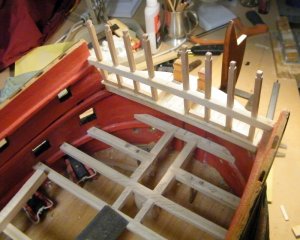
inboard view,
.
Hey John,
The stanchions are looking great (all your ducks in a row). Looking forward to more of your progress.
Ray
Thank you Ray, just got to make sure I keep my big arms out of the way, thanks for looking in,
best regards John.
Great work again John. Already some ornaments in mind for this bulkhead?
Great work again John. Already some ornaments in mind for this bulkhead?
G'day Maarten, this bulkhead was rather plain, painted black with some wood mouldings, it has the two round houses with mouldings acroos the top,
best regards John,
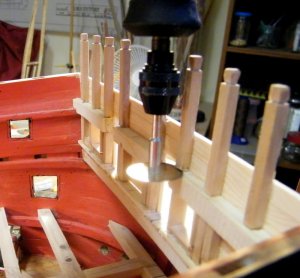
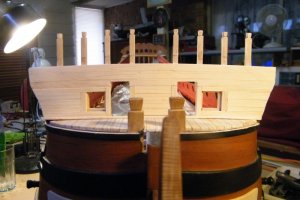
Well I didn't like the spacing of the timber heads, I wanted them to look more like the original model, so it was
out with the Dremel and the circular saw blade and I cut through the bases the four inside timber heads
and then gently pried them off of the planking, luckily they all came off OK,
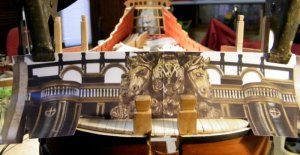
This shows the arrangement on the original model, the other four timber heads were in not too bad a position
so I left them as they were,
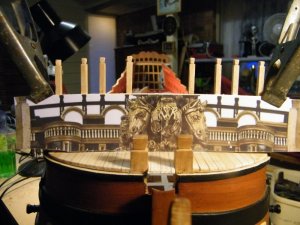
All glued back in place,
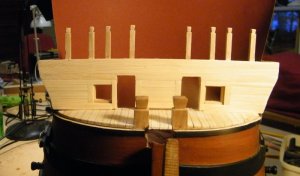
and without the pic, the main reason I moved them is that there is an arch that goes in the middle of them and
leaving them the way they were it would have been a tight fit,
.
- Joined
- Jul 22, 2017
- Messages
- 331
- Points
- 268

Hey Buddy,
Nice recovery!!! I also wanted to ask what type of timber you are using for your build? As I was looking at the planking of the bulkhead above, I could not help but think it was pine. Mind you, I use pine for my builds as I see nothing wrong with it. I respect people that go out of their way to buy exotics but being the average Joe that I am, pine is great (especially if you take it out of the trash heap and find a better use for it).
Ray
Nice recovery!!!
Ray


