Re: Royal William 1/48 scale

I'm secretly a bit jealous. A bit too much is known about the ship I am building so I find I am constrained trying to build an accurate model. Having the Vasa in a museum is a blessing and a curse...

G'day Paul, I originally bought the Euro model plans and Euro Model castings and I intended to build her at 1/72 scale and use the ready made castings, but when the castings arrived I really didn't like them there was lots of problems with them, for instance the figure head comes in two pieces and one side was twice as thick as the other and lots of the other castings were really chunky so I returned the castings and decided to build her at 1/48 scale so I enlrged the plans to 1/48 and used what ever I could for all the figures etc, I've had some fun building her,

best regards John,
 
721.jpg
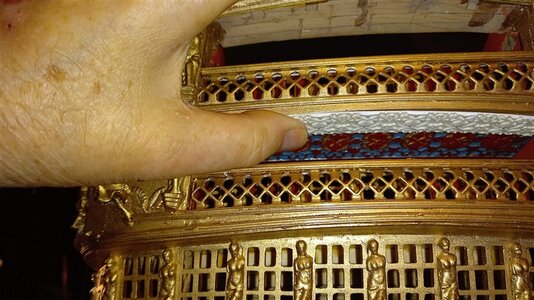
The ceiling panel after painting,


722.jpg
and glued in place, I have to add an extra panel to cover the beam above the rail,


723.jpg
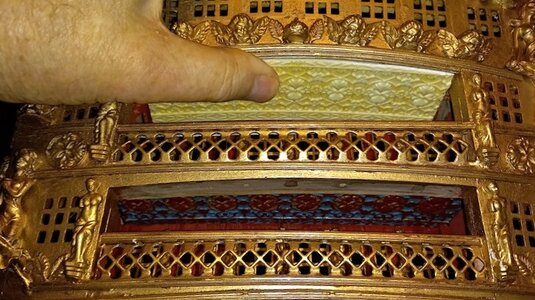
this is what i mean,

724.jpg
With the upper panel i will be able to cover the ceiling with just the one panel,


725.jpg
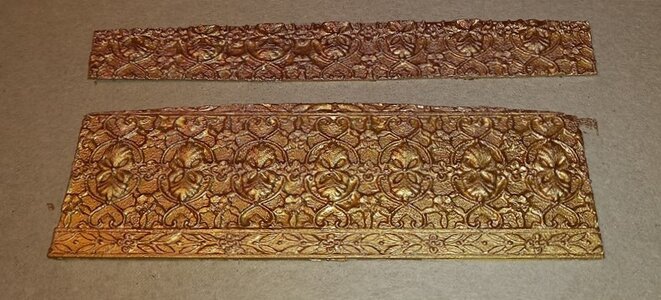
both panels with the coat of gilding,

726.jpg


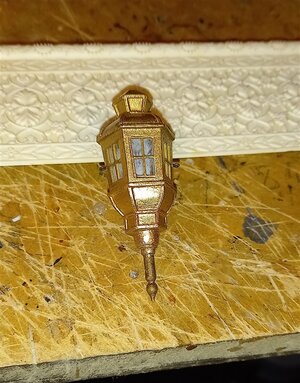
I have to make three of the these stern Lanthorns, this one was made by a friend of mine but he rejected it as he used CA glue and the glue fogged up the glass,

best regards John,
 
Last edited:
727.jpg
That's the quarter gallery rails glued in place, still have to attach the rails to the top,


728.jpg
and a close up view,


730.jpg
another angle,


731.jpg
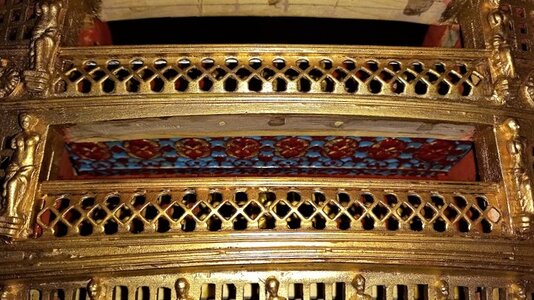
a look into the top gallery before the ceiling is fixed in place,

732.jpg
and both the ceilings glued in place,


733.jpg
and a close up view,


best regards John,
 
734.jpg
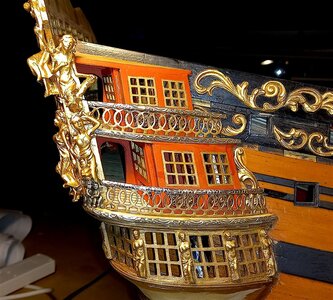
I switched back to the RW to do a little bit more on her, this is how I left her waiting for the cappings for the rails,

739.jpg
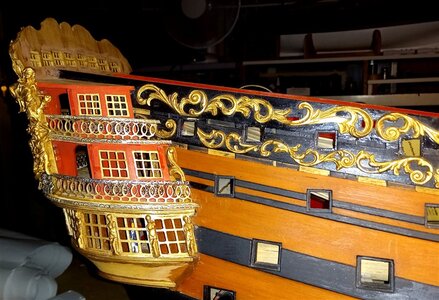
and with the cappings in place, still have to be gilded yet,


735.jpg
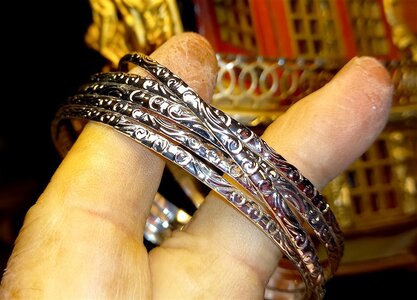
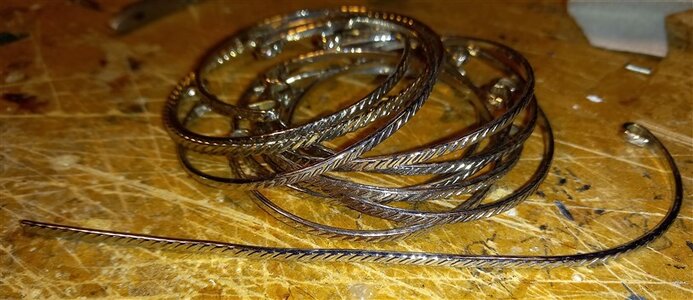
This is what i used for the cappings, bracelets,
736.jpg
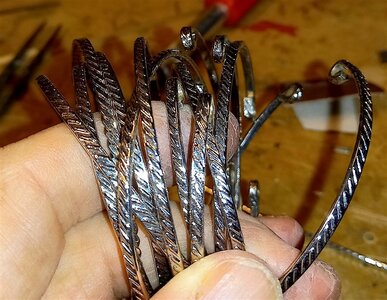
and some more of a different design, I buy these at the charity shop for approx $2 dollars a dozen, I was lucky with
these and the next ones as they were all the same design,


737.jpg
I just cut them and straighten them out as above,

738.jpg
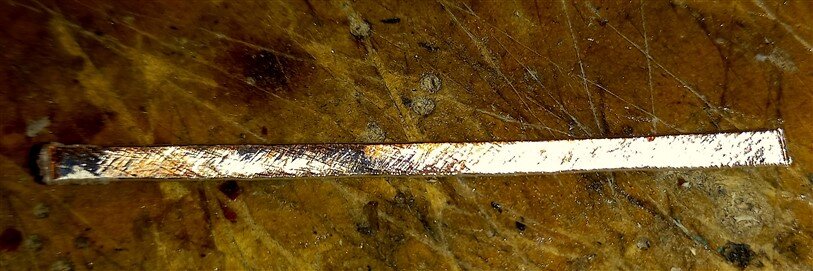
after straightening them I file the back of them so as to get a good scratched surface for the CA glue to attach,
it turned out that when i filed the back of these it showed the the base metal was copper,

740.jpg
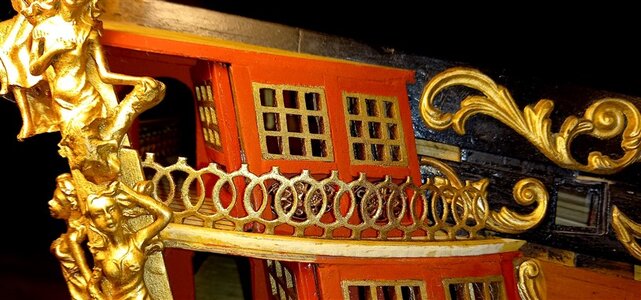
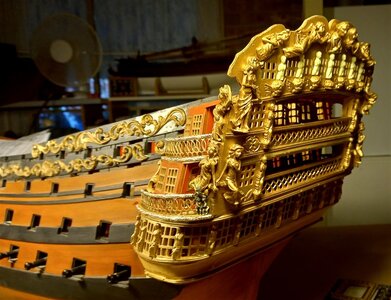
General view,

741.jpg
I then added a few more figures to the top of the transom,

742.jpg
Once these have been blended in a bit I will finish them with the gilding,


thanks for looking in,

best regards john.

.
 
Last edited:
View attachment 324301
I switched back to the RW to do a little bit more on her, this is how I left her waiting for the cappings for the rails,

View attachment 324302
and with the cappings in place, still have to be gilded yet,


View attachment 324303
This is what i used for the cappings, bracelets,
View attachment 324304
and some more of a different design, I buy these at the charity shop for approx $2 dollars a dozen, I was lucky with
these and the next ones as they were all the same design,


View attachment 324305
I just cut them and straighten them out as above,

View attachment 324306
after straightening them I file the back of them so as to get a good scratched surface for the CA glue to attach,
it turned out that when i filed the back of these it showed the the base metal was copper,

View attachment 324307
General view,

View attachment 324308
I then added a few more figures to the top of the transom,

View attachment 324309
Once these have been blended in a bit I will finish them with the gilding,


thanks for looking in,

best regards john.

.
Your inventiveness is amazing John, great resalt.

Cheers,
Stephen.
 
Hi John,

She is really becoming a beautifull lady.
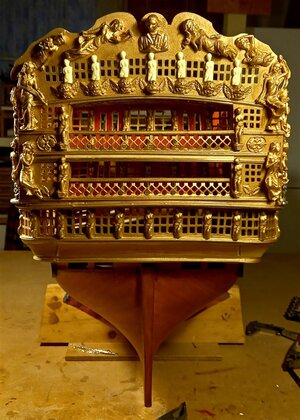
One remark I would add some framing around the stern gallery windows, this would give much more contrast to the stern.
View attachment 324374
G'day Maarten, yes I agree with you, when i first fitted the windows they looked OK with the light coloured frames against the dark coloured transom, but after i had gilded the transom the windows just seemed to disappear, they just blended in with the transom, I'm looking at other options, i dont think that i can remake and fix small frames over the ones you pointed out to me, I'll explain what i would like to do after i have posted this update,

best regards john,
 
746.jpg
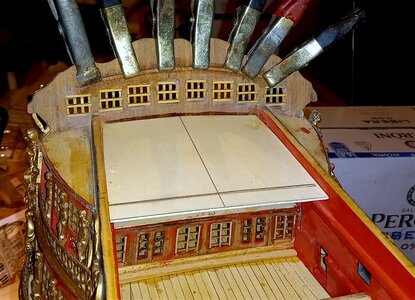
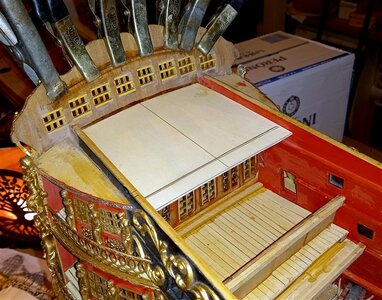
Started working on the Poop deck cabin, I've got the sub floor in and the curved roof surport at the back,


747.jpg
and another view,


749.jpg
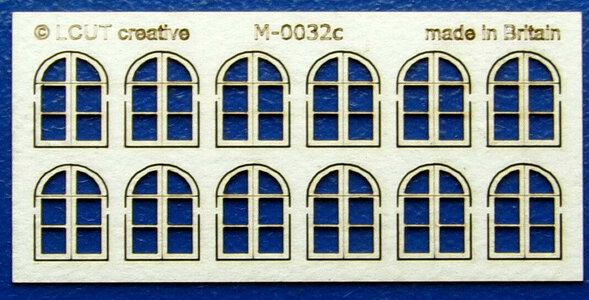
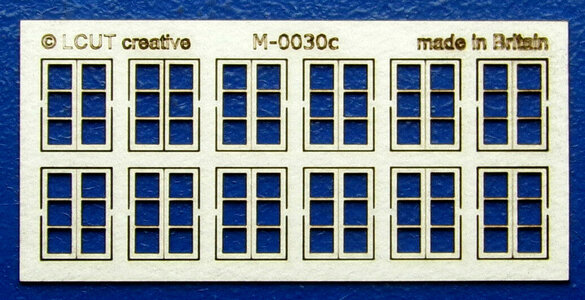
Now regarding the Transom windows and also the all the windows that go on the deck partitions, I found these on Etsy, both sets are 12mm wide X 16mm high, ( 1/2' x 3/4" ), I have bought a few sets of them and I am going to use them on the deck partitions, but i am also thinking about cutting out some of the transom square windows and fitting the curved top ones in place of them, just got to work out if I am gonna cause more damage than is worth the change, fingers crossed,

748.jpg
if I had know about these I would have used them from the start, ah well hind sight is a good thing,

best regards John.
 
751.jpg
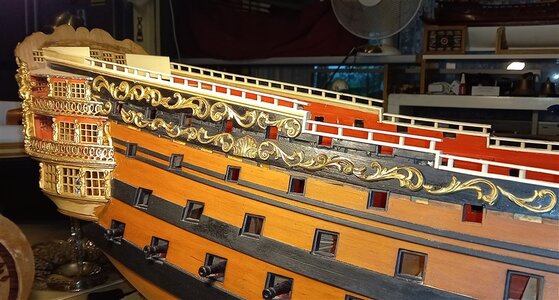
I managed to do a bit more on the Royal William, done most of the top rails, i did cheat and used 4mm dowell
instead of making them a square tapered shape,

752.jpg
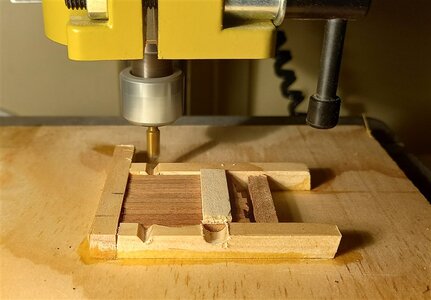
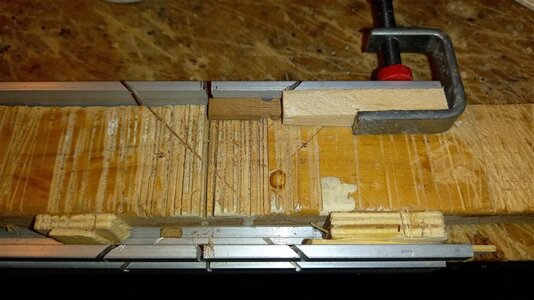
However on the fo'c'sle rails i did make them according to the plans, i made up a small holding jig and milled a
groove across the pieces on both sides,
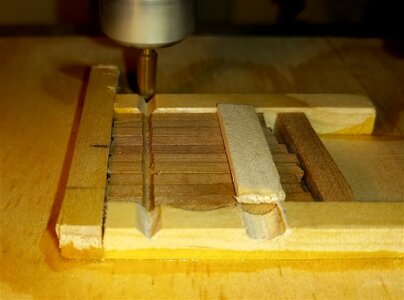
753.jpg
which I then rounded out with a small file, I didn't have a bit of the correct shape,

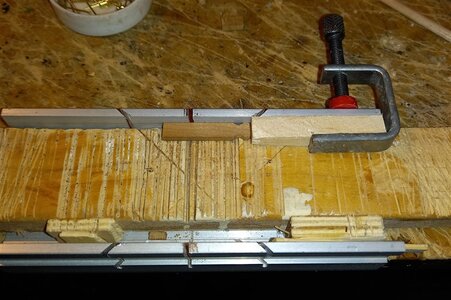
755.jpg
this is how I cut them all to the same length,


756.jpg


thanks for looking in,

best regards john,
 
750.jpg
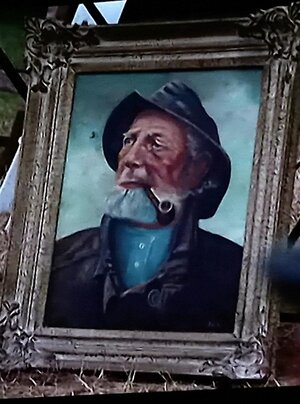
Whilst searching online for something i came across a Portrait of our Illustrious member Heirich,

757.jpg
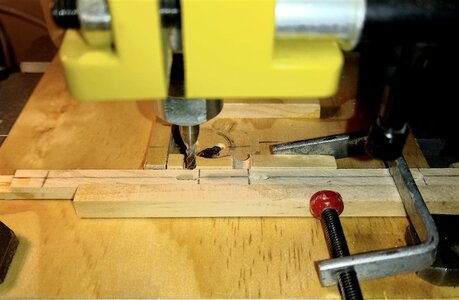
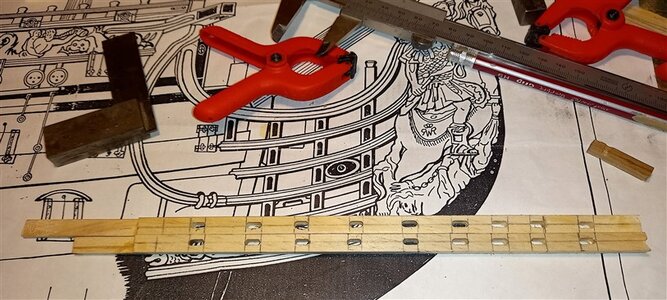
Next was making the rails for the timber heads, I tack glued the upper and lower rails together and after marking
the positions for the timber heads I milled out the slots that they will fit in,

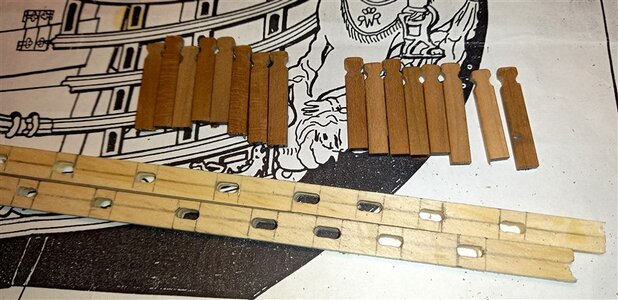
758.jpg
one side done, just transferring the marks to the other piece,

759.jpg
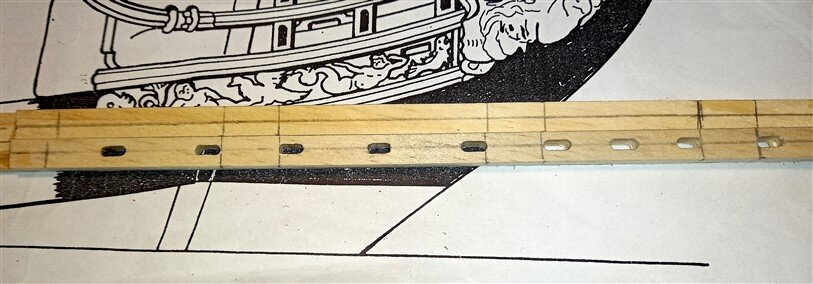
both pieces done,

760.jpg
and the finished timber heads with the rails,

761.jpg
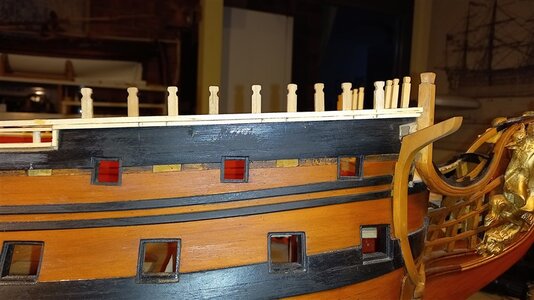
I have glued the bottom rail in place and i am just test fitting the timber heads,

762.jpg
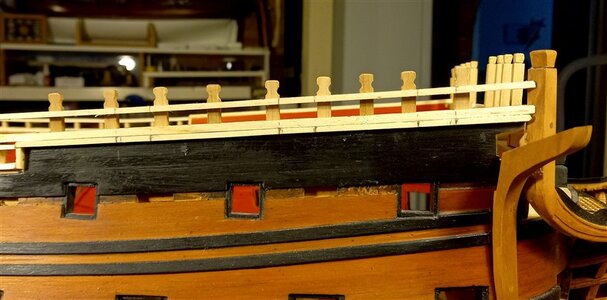
Before gluing anything I test fitted the top rail slipping it over the timber heads and everything seems to fit OK,
so i will go ahead and glue them up,

best regards john,
 
Back
Top