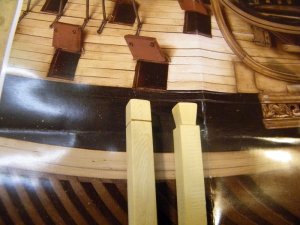
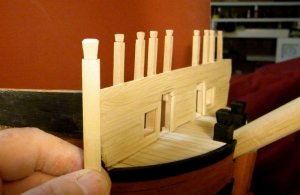
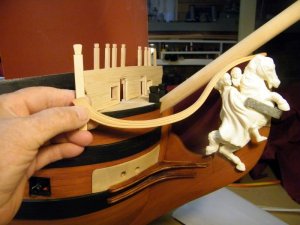
G'day mate, all the hull planking is Huon Pine and the wales are Tasmanian Myrtle but the deck planking and the planking on the front bulkhead is ordinary Pine, The timber heads are Beech,
-

Win a Free Custom Engraved Brass Coin!!!
As a way to introduce our brass coins to the community, we will raffle off a free coin during the month of August. Follow link ABOVE for instructions for entering.
-

PRE-ORDER SHIPS IN SCALE TODAY!
The beloved Ships in Scale Magazine is back and charting a new course for 2026!
Discover new skills, new techniques, and new inspirations in every issue.
NOTE THAT OUR FIRST ISSUE WILL BE JAN/FEB 2026
You are using an out of date browser. It may not display this or other websites correctly.
You should upgrade or use an alternative browser.
You should upgrade or use an alternative browser.
Re: Royal William 1/48 scale
- Thread starter neptune
- Start date
- Watchers 56
-
- Tags
- royal william
Very interesting work - but with the movement of the timber heads, the door-openings are not fitting any more - will you move them also?
Hi John
Happy new year.
Your workmanship is just outstanding.
Denis.
Thank you Denis, and a Very Happy New Year to you as well, hope you are feeling better soon,
best regards John.
Very interesting work - but with the movement of the timber heads, the door-openings are not fitting any more - will you move them also?
G'day Uwe, no they will be staying where they are, apparently the top timber heads must have been timbers that were added to the top of the lower framing, ( or built in with a different spacing ) to the timbers that held the gun ports and the doors otherwise they would have gone down through the ports and the doors,
Great progress! Keep on going i keep following!
G'day Pat, thanks for looking in and also the encouragement,
best regards John.
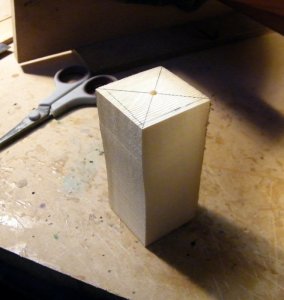
starting to make the round houses for the beak head bulk head, this is a piece of Huon Pine, beautiful
wood to work, I marked the centre for the revolving steady to sit in,
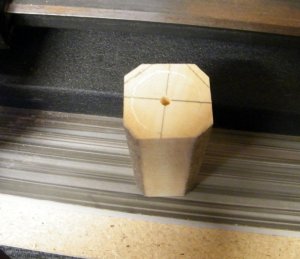
i also cut the corners off so there would be less wood to remove, you can see the diameter scribed on the end,
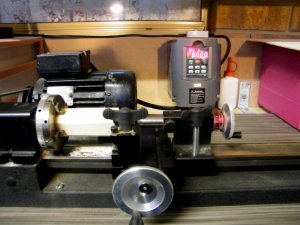
The wood chucked and ready for turning, its a Sherline Lathe but I run it off a larger motor with a variable speed
control which you can see in the background,
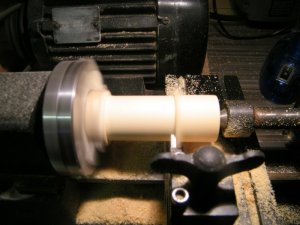
Turning down to size,
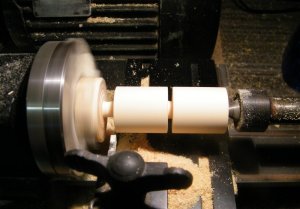
I turned two pieces so as to have a spare one just in case,
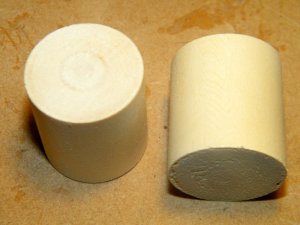
The two cut off,
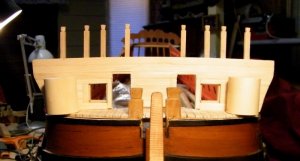
Just showing where they will sit, they have to be cut in half and bases made etc, I'm waiting for a set of Artensania
Latina scrapers to arrive to make the mouldings for the trims,
.
Very interesting work - but with the movement of the timber heads, the door-openings are not fitting any more - will you move them also?
G'day Uwe, I managed to download and crop a couple of pics that confirm what I was saying about the top timber heads, see pics below,
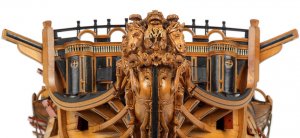
This first one shows the timber heads above the gun port and you can see that if the third one in was brought down
it would go straight through the gun port,
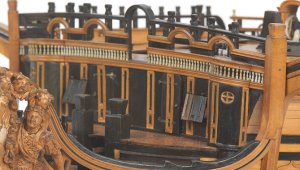
and this angle shot shows the same with the doors,
best regards John.
.
I’m late to this party, but I’m here now! Excellent work, John! First rate!
You are right - it is more railing posts which do not have to follow the doors etc. , so they can be installed independent - many thanks for the details!
I’m late to this party, but I’m here now! Excellent work, John! First rate!
G'day Dave thank you for the nice comments and welcome to my build, I hope you enjoy it,
best regards John.
Last edited:
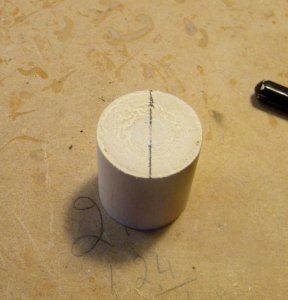
Time to mark and cut the round houses, shows it marked through the middle,
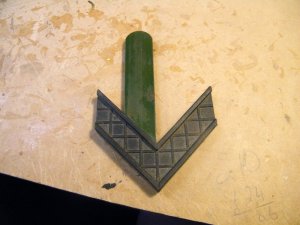
this is the handy little tool I used,
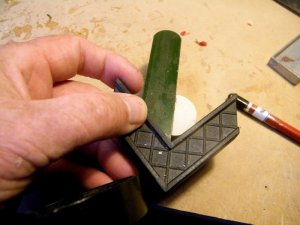
you just position the dowell snugly down into the V shape of the square and draw your line, if you want to find
the center just turn the dowell round and mark another line and you have the center,
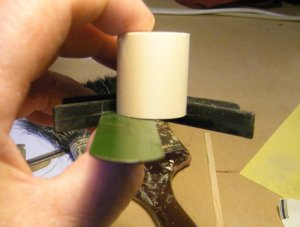
this just shows how the square holds the dowell,
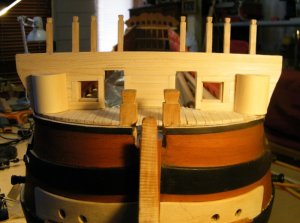
the round houses after they have been cut in half, they will not be glued for awhile yet,
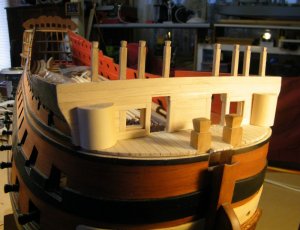
another view,
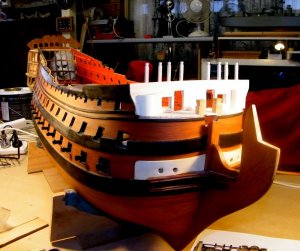
and a full length view,
.
Last edited:
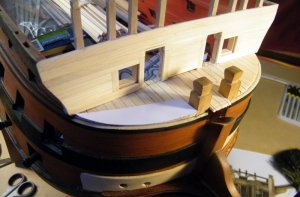
now its time to add the capping plank around the front of the prow, I just used the pattern that I had used for the
planks,
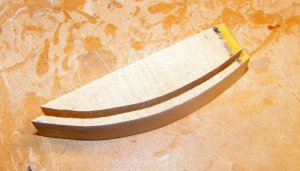
after marking and cutting, I did it this way so there would be no strain on it, as no way clamps could
hold it in place while it dried,
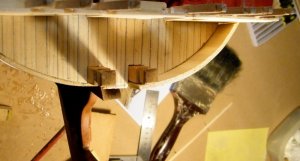
checking for fit before cutting the strips off,
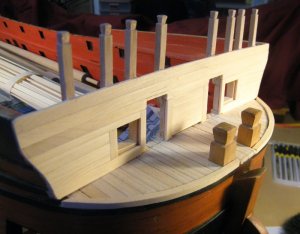
the strips cut off and just sitting in position, they will be sanded and painted before gluing in place,
.
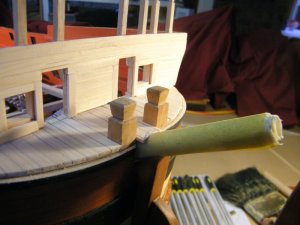
But before I could add these strips I needed tocut and sand for the bowsprit, I marked on the planks and then
rolled some sandpaper up into a tight roll and sanded and test fit the bow sprit,
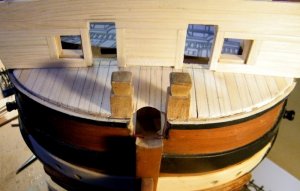
and just kept doing this until the bow sprit fit,
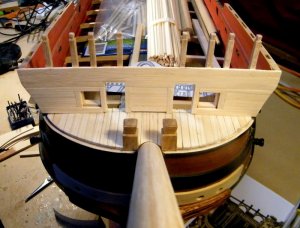
Bow sprit in place,
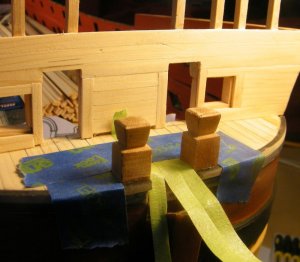
next up was masking the Knights heads for painting, I also painted along the top of the wood strips, just going
over and down the back of them slightly to make sure of a nice black line around the plank edges,
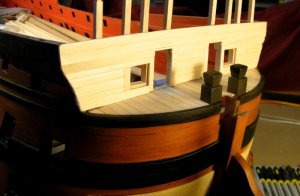
After the masking tape has been removed and the strips added, sanded and painted,
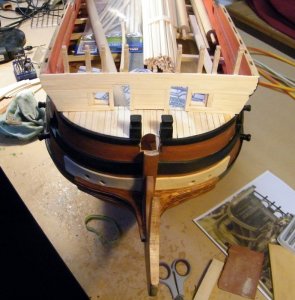
view looking down,
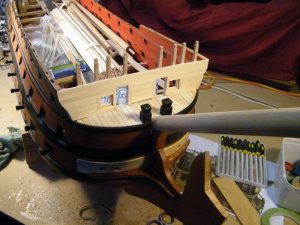
and a couple with the bow sprit in place, but not yet glued,
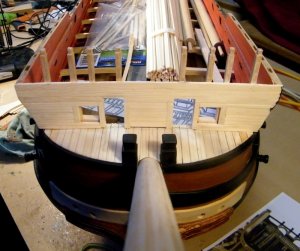
.
The horse and rail looks great John.
Thank you all for the comments and the likes,
best regards John.
best regards John.


