- Joined
- Dec 14, 2021
- Messages
- 349
- Points
- 238

 |
As a way to introduce our brass coins to the community, we will raffle off a free coin during the month of August. Follow link ABOVE for instructions for entering. |
 |
 |
The beloved Ships in Scale Magazine is back and charting a new course for 2026! Discover new skills, new techniques, and new inspirations in every issue. NOTE THAT OUR FIRST ISSUE WILL BE JAN/FEB 2026 |
 |

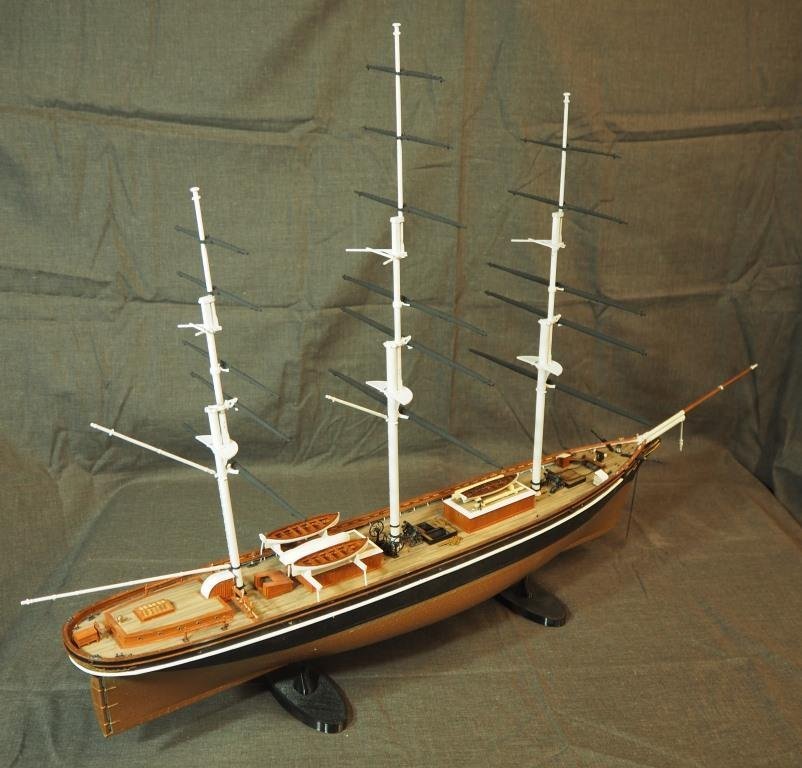
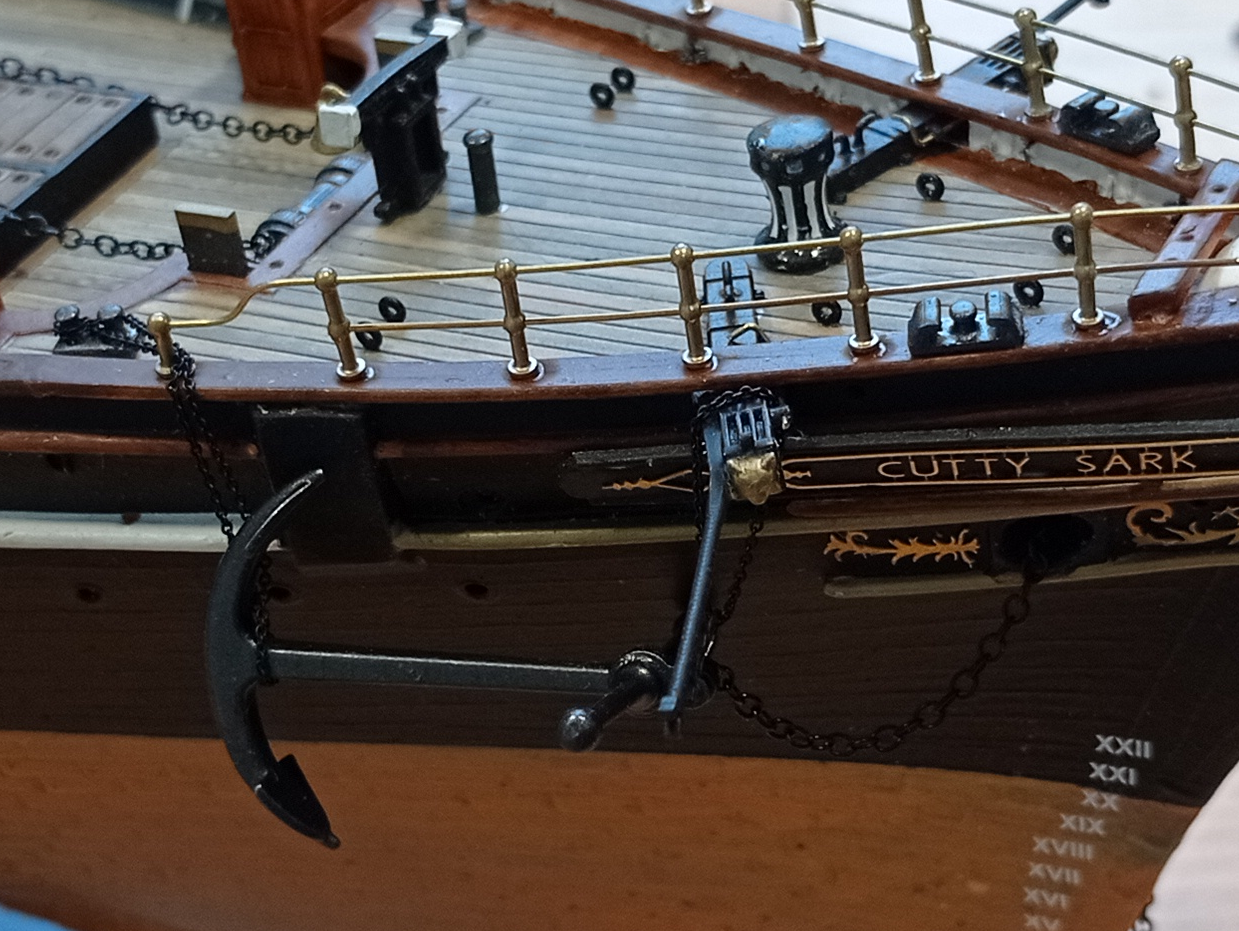
Hallo @Kevin the LubberA while back I posted a log on the Heller HMS Victory I was working on, which I then parked in order to make the Revell Cutty Sark 1:96. The idea was to take a break from Vicrtory and work on something easier, preferably building more or less straight out of the box and being done and dusted in maybe 3 - 6 months. Well, it hasn't turned out quite that way and in the following posts I'll try to give a summary of what I've done and where I'm now at.


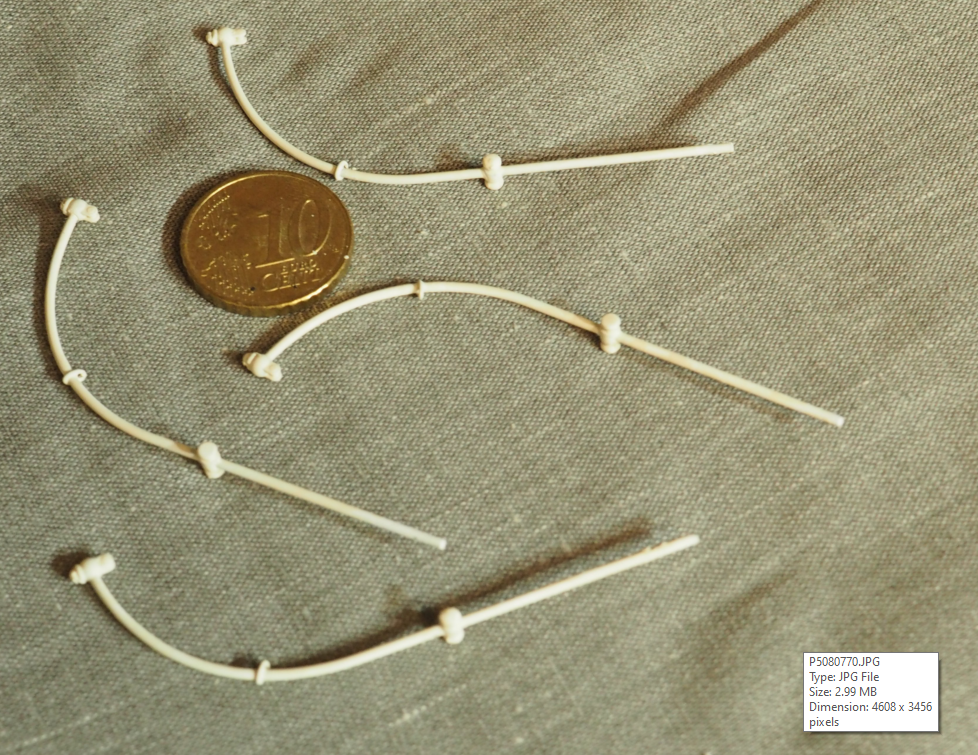
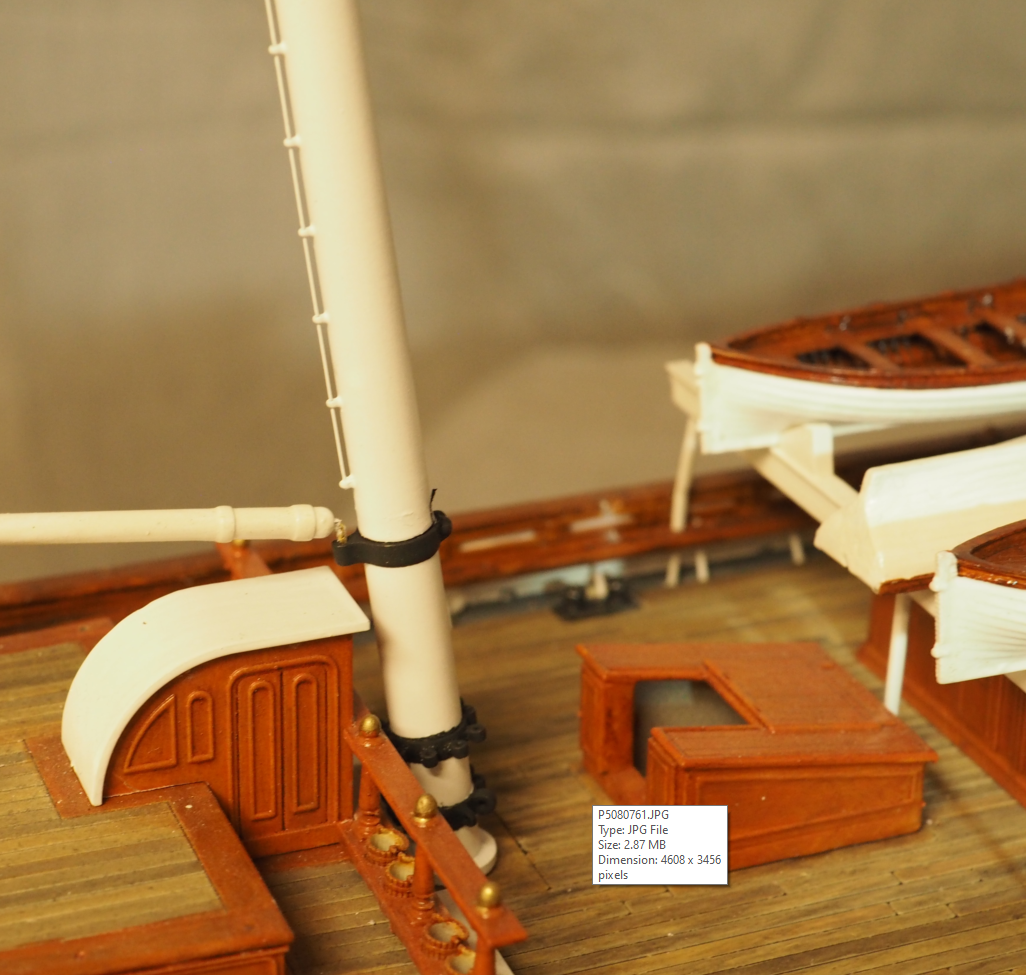
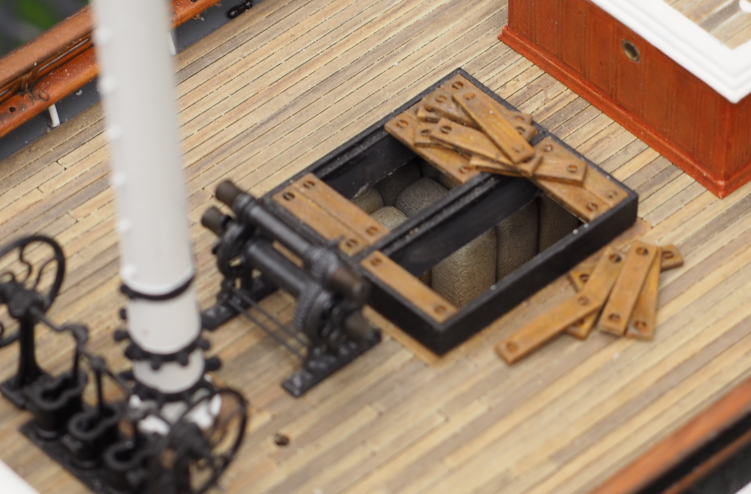
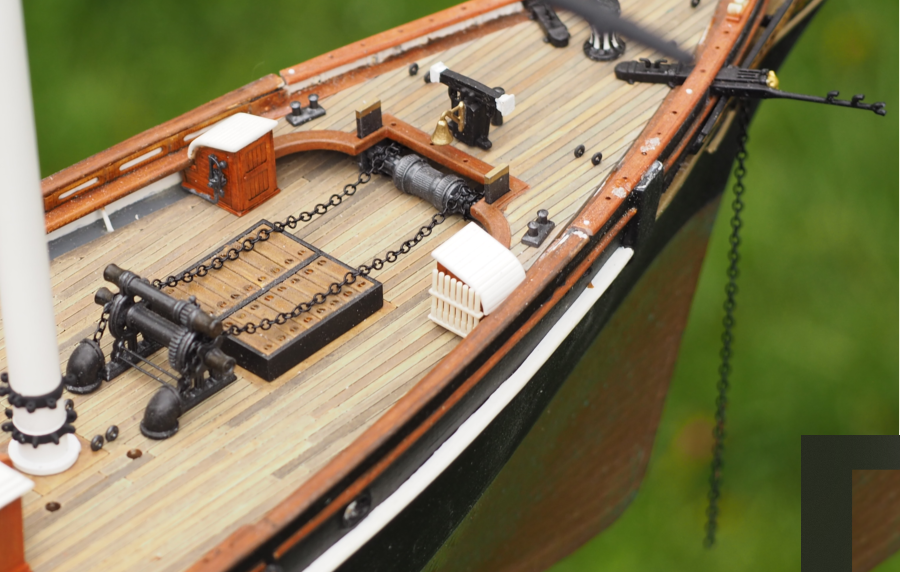
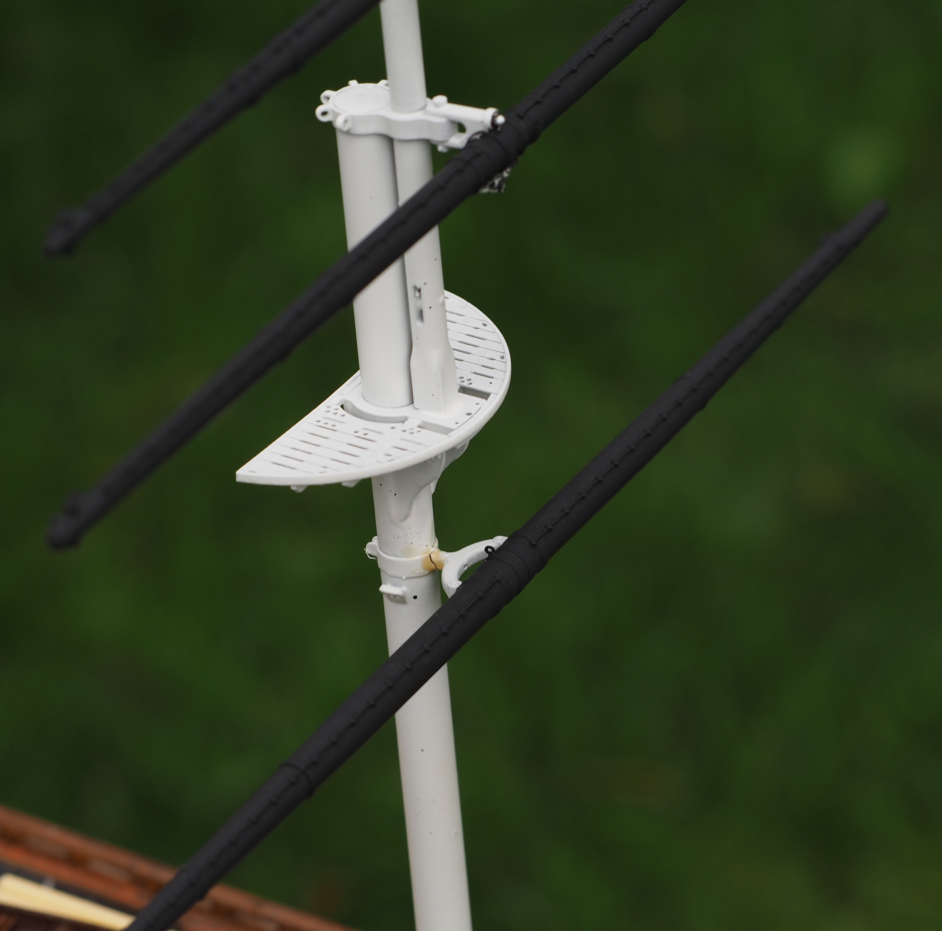
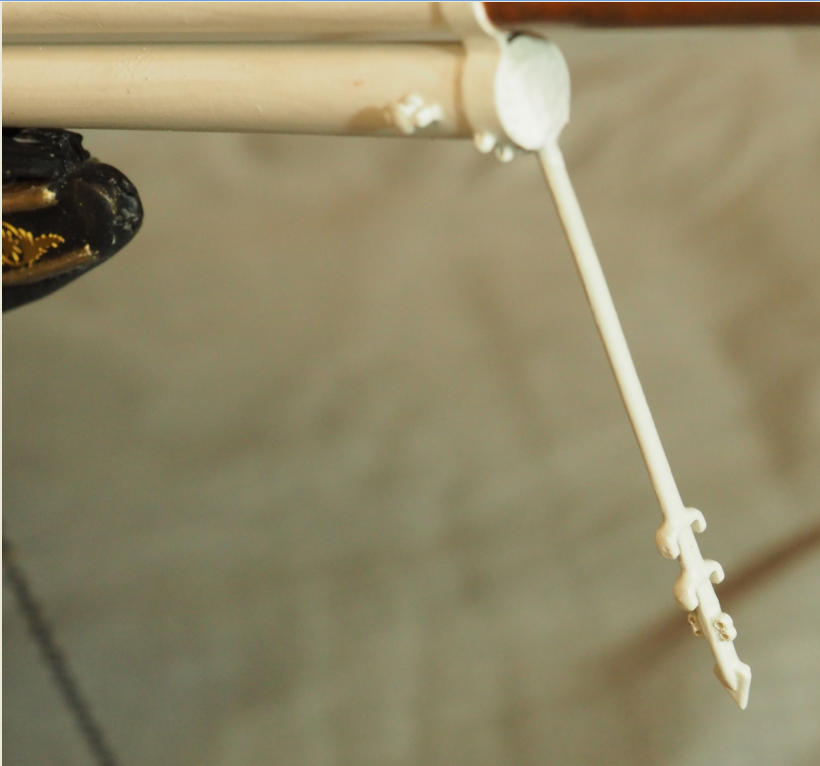
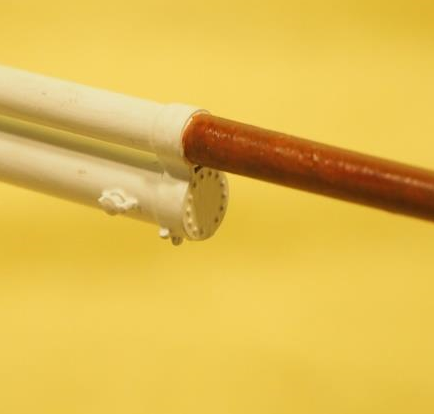


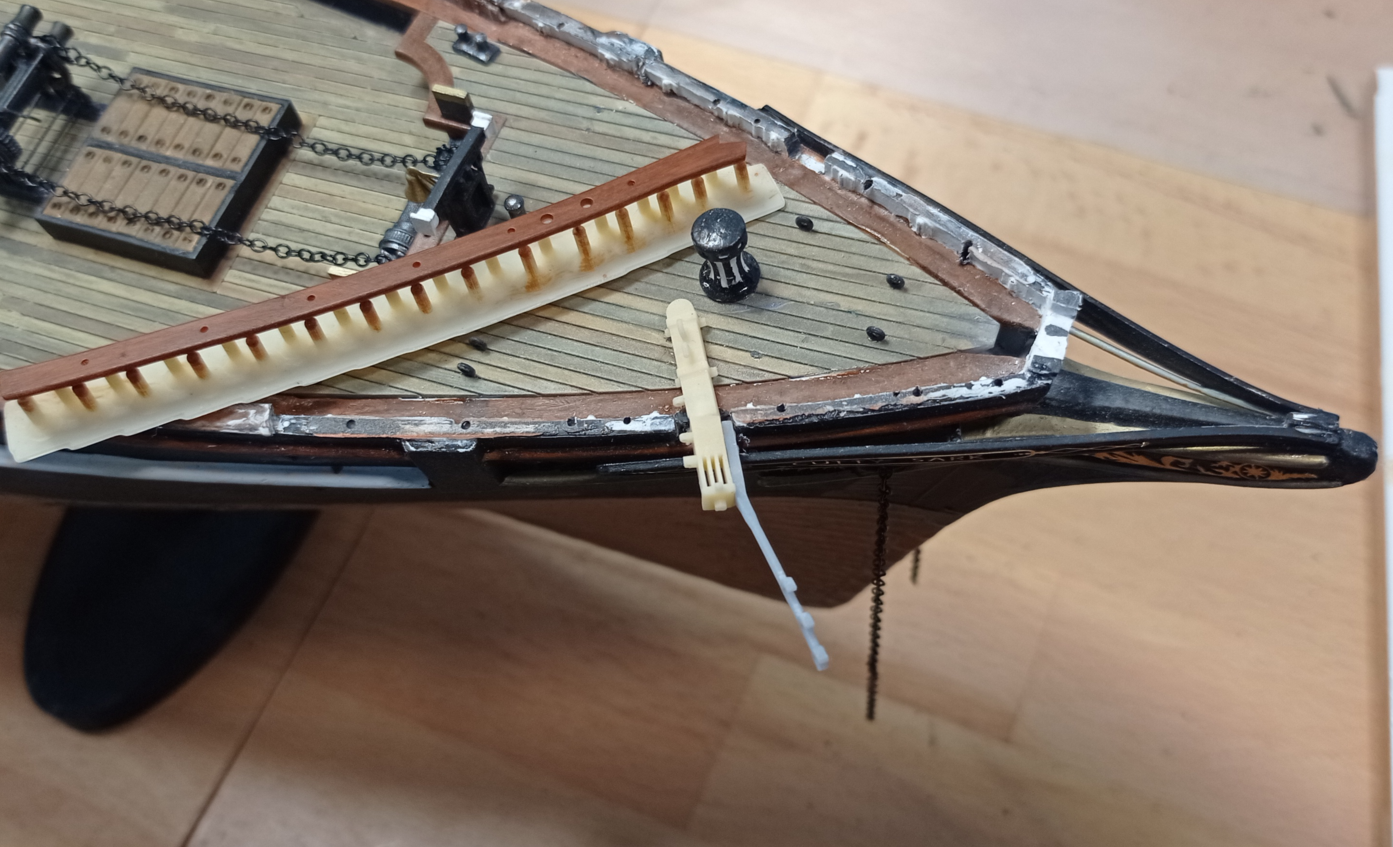
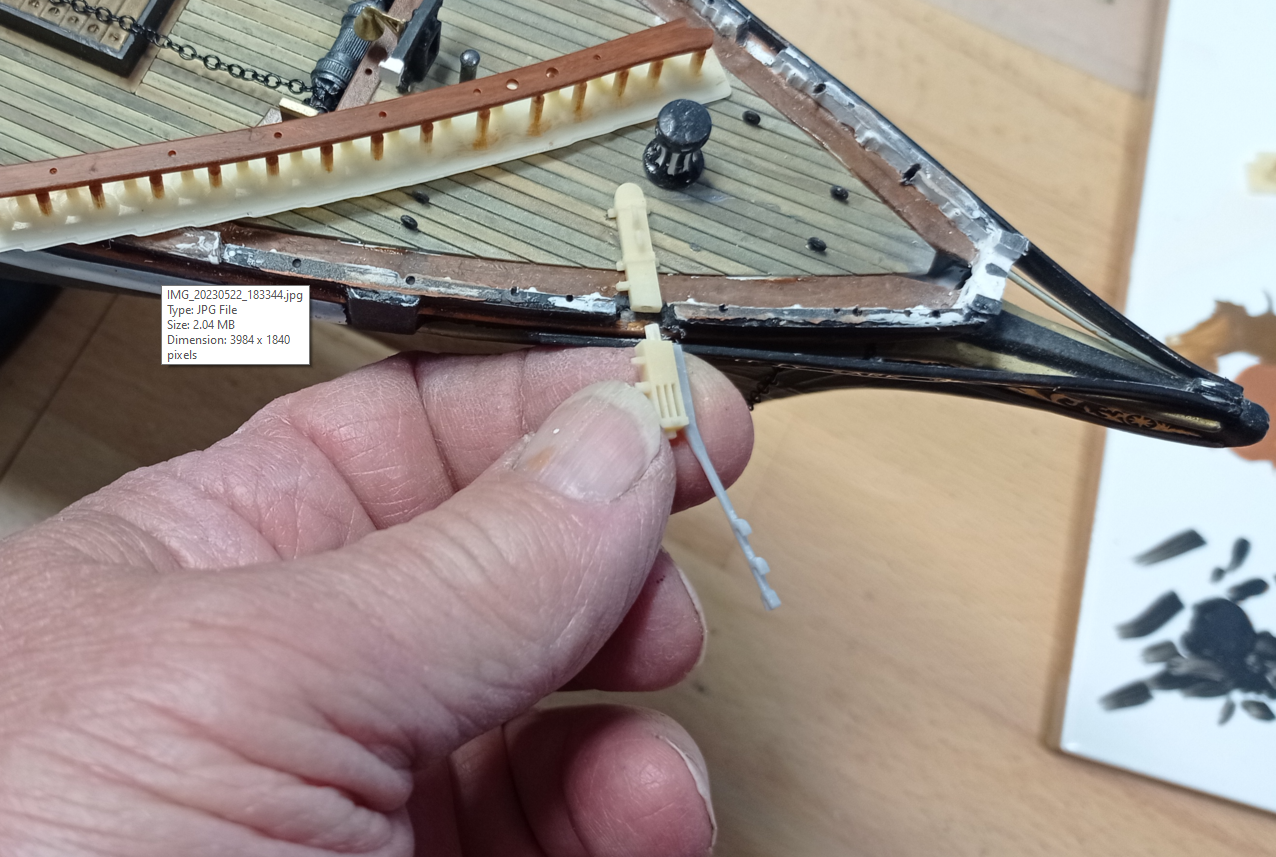
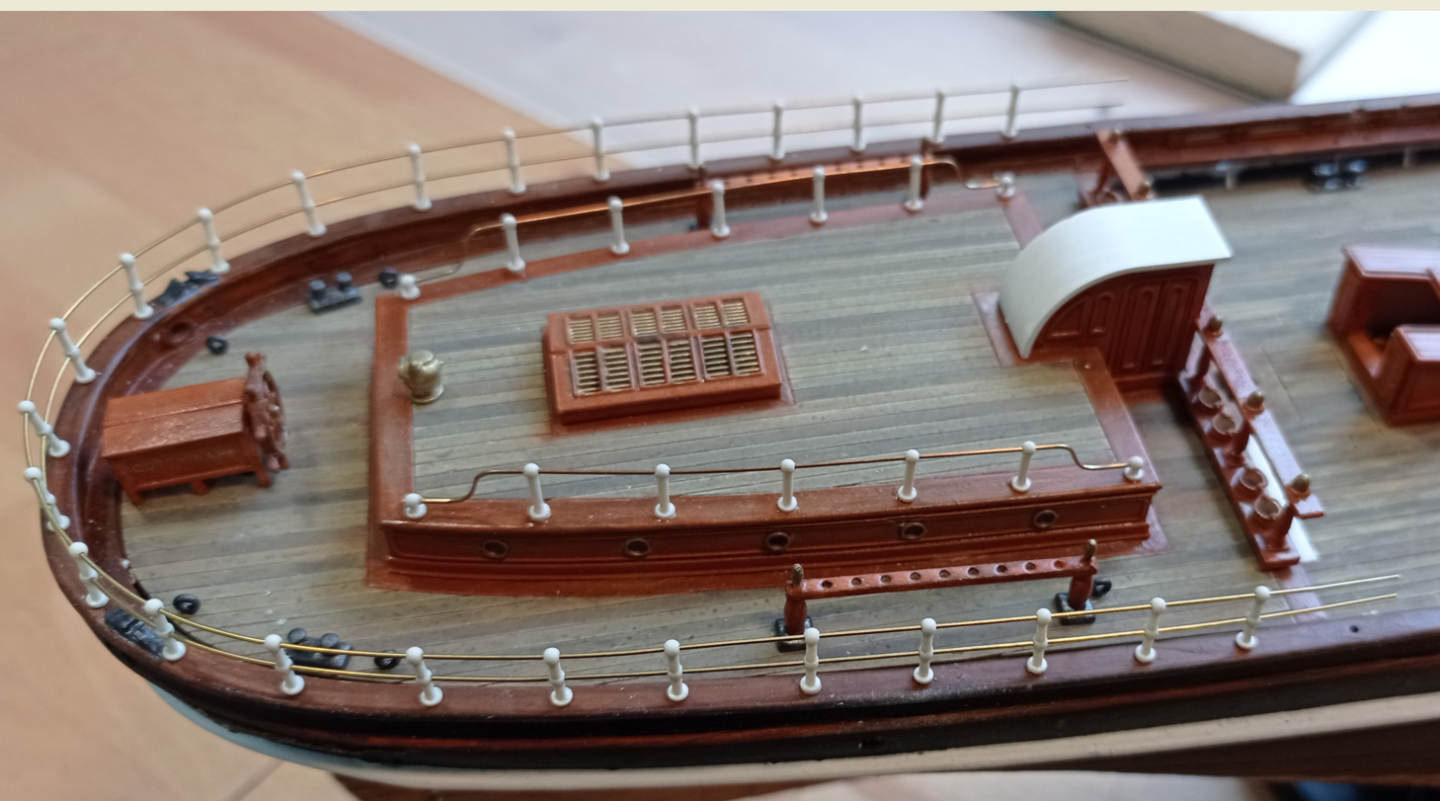
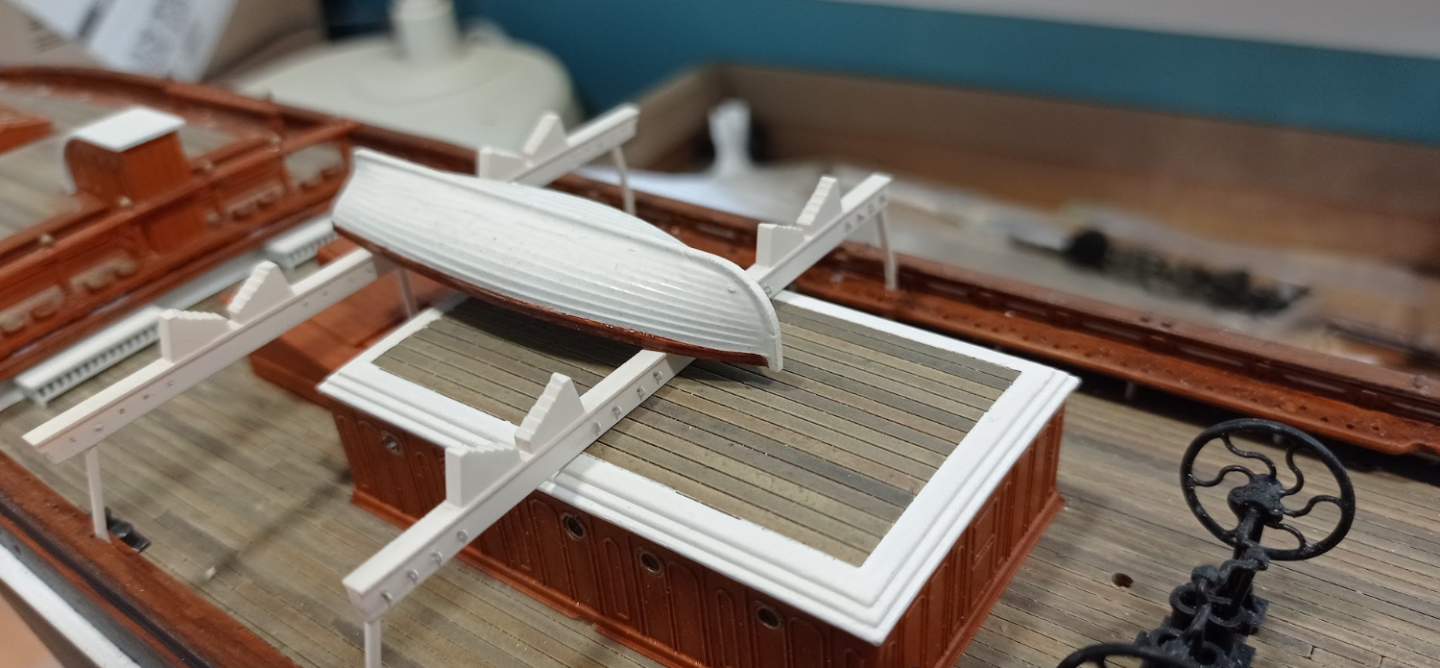
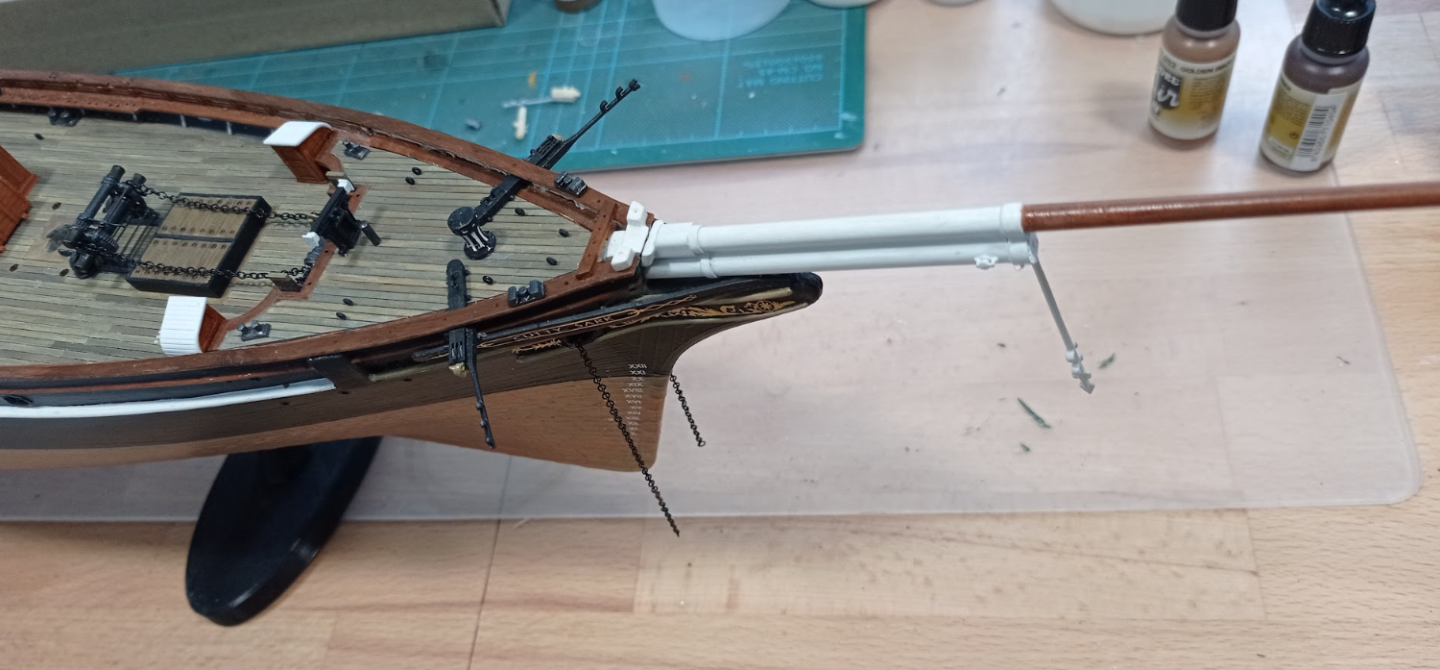


PC or MAC? "SLA"??? "FDM"?? Can I do what you are doing on a Crealty Slicer 3D printer? I really would like to learn how to do this but have no clue as to where to start. Suggestions/advice would be most helpful and greatly appreciated.Hi Jim, apologies for not explaining the tech at the outset. Here’s a brief trot through 3D as used by me.
I do all my design work using Fusion360. This is not very different to traditional pencil and paper component design, except f360 enables you to turn the digital drawings into (virtual) 3D parts. I occasionally use other software such as Meshmixer if I need to sculpt something but this is rare. Turning objects from the virtual to real requires converting them into a printable format, commonly called an .STL file.
I have both resin (SLA) and filament (FDM) printing gear and use this according to whichever I think is best suited to the task. Resin printing basically uses a laser to cure tiny layers of liquid resin; filament fuses thin layers of melted plastic together. Most people start out buying an FDM printer as it’s cheap, clean and fun. Resin has a slightly unwarranted reputation for being more expensive, smelly, messy and hazardous.
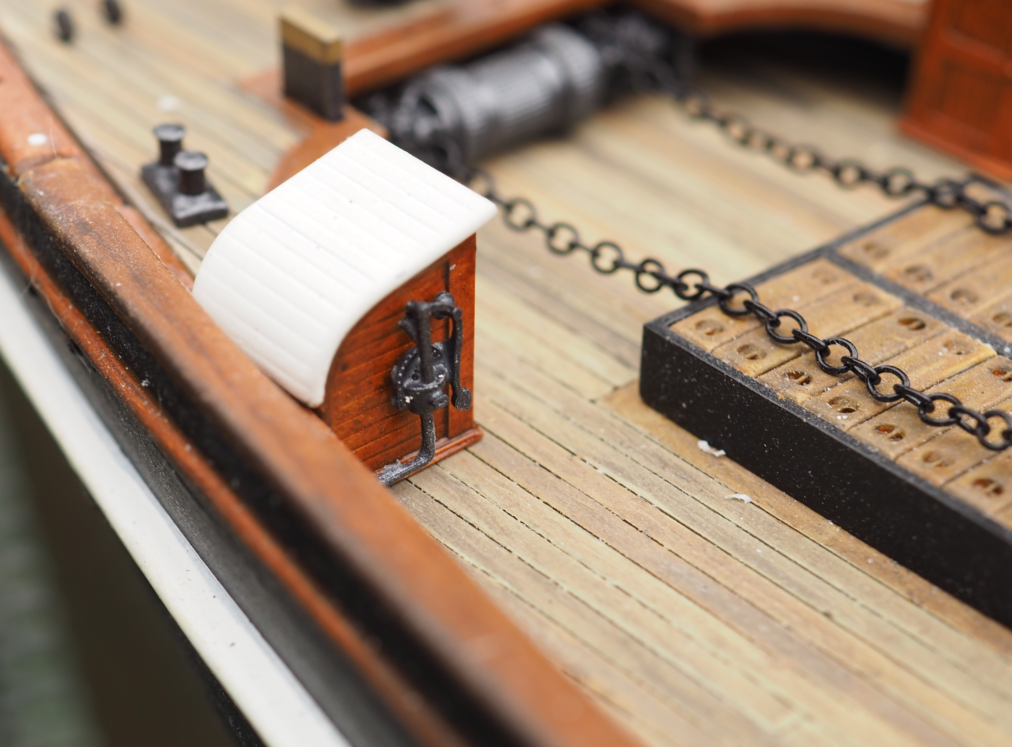
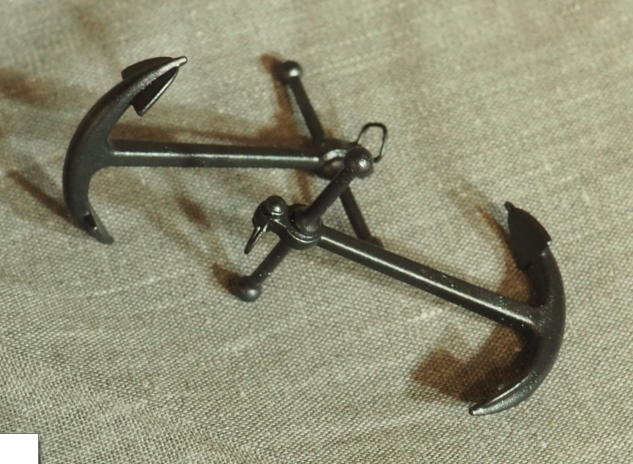
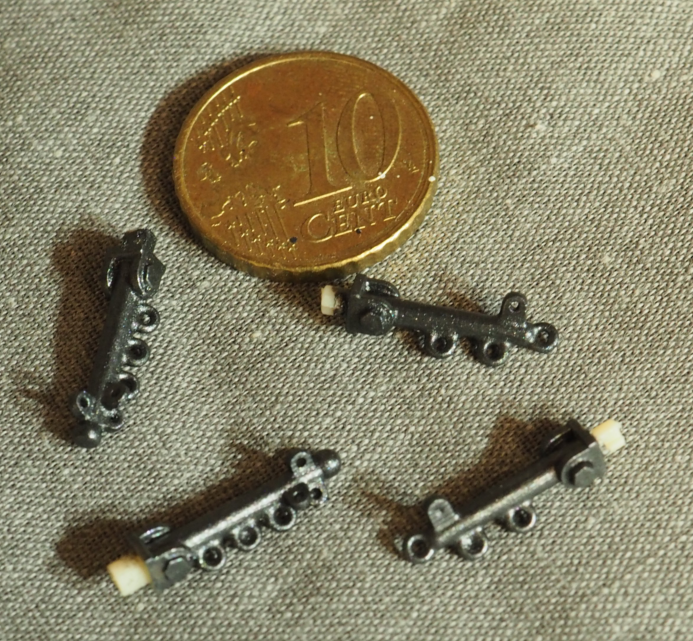
As a very general rule, my default is resin, as this gives the best finish and is much better for detail. All the deck furniture including the cabins is printed in resin. I am still experimenting with resins, in a quest for the ideal, and these days I mostly use my own blend of Elegoo ABS-Like and Syratech Fast at a ratio of 50:50.
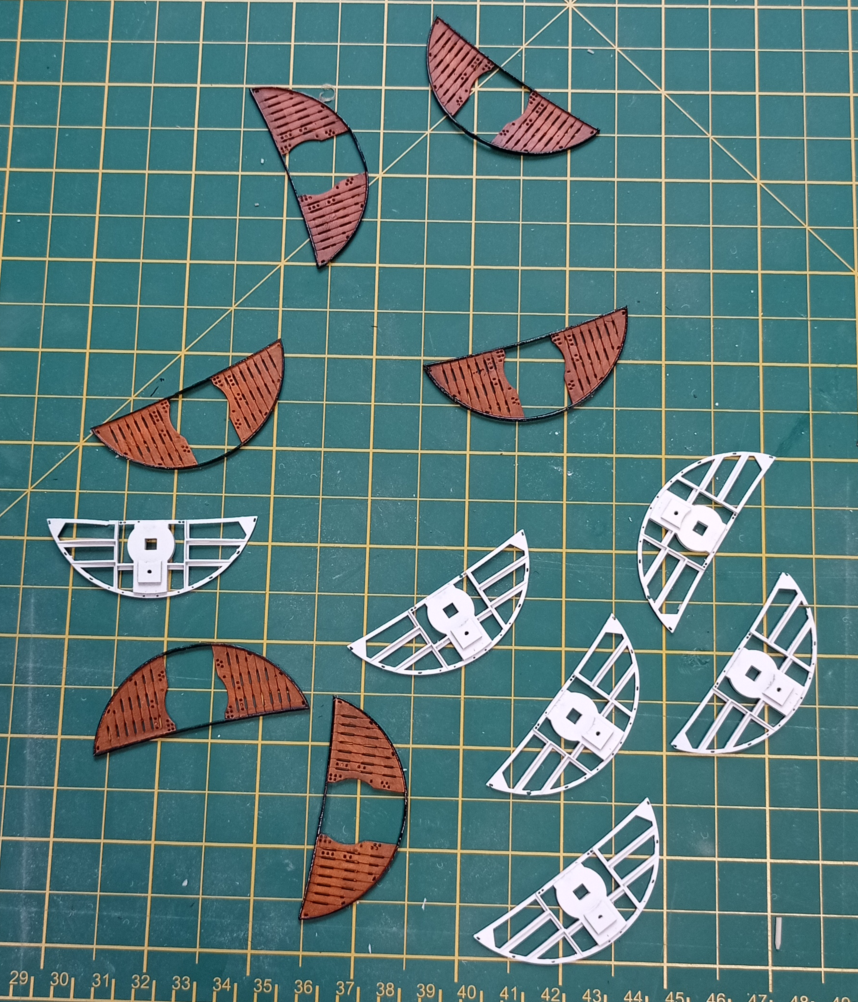
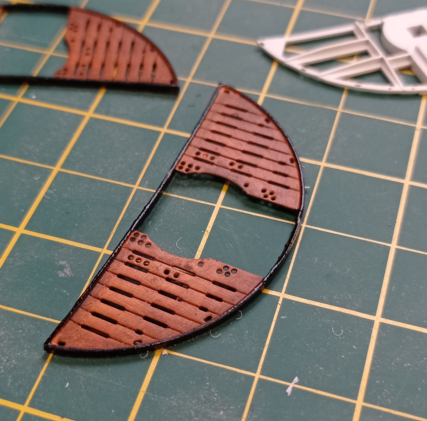
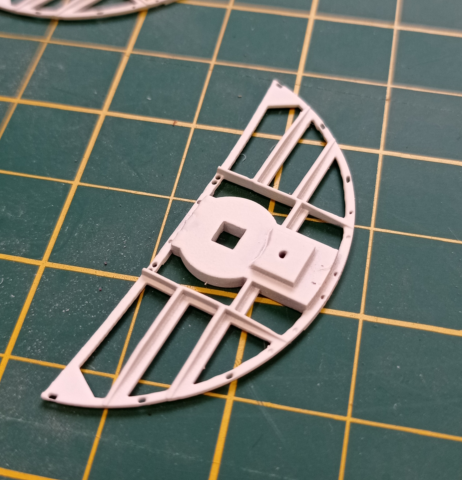
However, resin tends to be brittle and lacking in some other material properties. Filament can be much better in this respect and I tend to turn to it when I’m making parts, tools or equipment for the home and garden, or anywhere that I can compromise on finish or detail. For this model all three decks were printed using FDM. There are loads of different filaments available for FDM, such as ABS, PETG, Nylon, PLA. Each has slightly different properties and requirements. For instance you can smooth the surface of ABS post-printing with acetone, making it very popular with people who make war gaming miniatures, but it needs to be printed at a particularly high temperature and I’ve never got on with it so far. The ‘standard’ material is PLA, this can be printed at lower temperatures, comfortably within the capability of the typical hobby printer, but it’s a fairly rigid material. I prefer PETG, which is halfway between PLA and ABS; it’s also easy to print, but has the flexibility of ABS, however it has to be sanded by hand if you want a fine finish.
I hope that’s shed a little light on the basic 3D tech.
I wold agree. Saw the ship in 1975 after having built in the Revel kit my early 20s. Don't have it any more as it did not survive three moves.Your build so far is nothing short of incredible. So much attention lavished on a plastic kit really raises it up. Keep at it!
Where do you live? If you could possibly visit Cutty Sark in Greenwich, you'd be blown away. I literally shed tears when I first laid eyes on her, having built that same kit as a pre-teen. Nothing like your build of course, but it hooked me on sailing ships.

I use PC but PC/MAC, no difference. You're just going to need processing power to use CAD. However, rather than get into long and complicated explanations about the different printing methods, can I signpost you to here all3dp.com. This was my go-to site back when I was trying to figure it all out. Most of my work is done using resin printing (SLA) and you won't be able to get the same quality using the Creality Ender, (FDM), excellent though it is. That's simply a function of the different technologies. In simplistic terms, SLA can nowadays lay down layers 1/8th the thickness of the thinniest layers practically possible in FDM. I'd also point you in the direction of TinkerCAD, it's a great entry point for CAD design - and that represents 99% of what you're seeing in my log.PC or MAC? "SLA"??? "FDM"?? Can I do what you are doing on a Crealty Slicer 3D printer? I really would like to learn how to do this but have no clue as to where to start. Suggestions/advice would be most helpful and greatly appreciated.


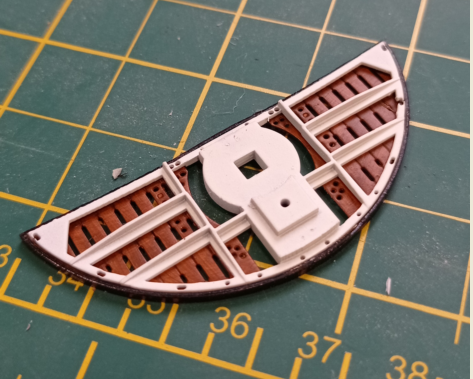
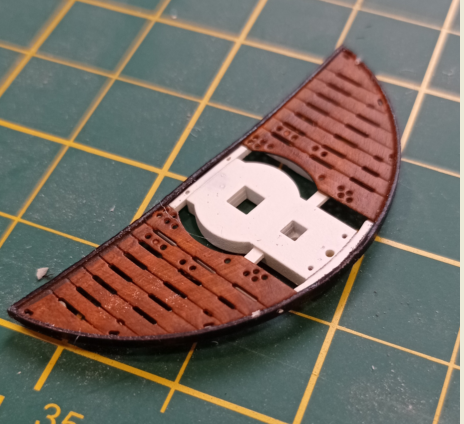
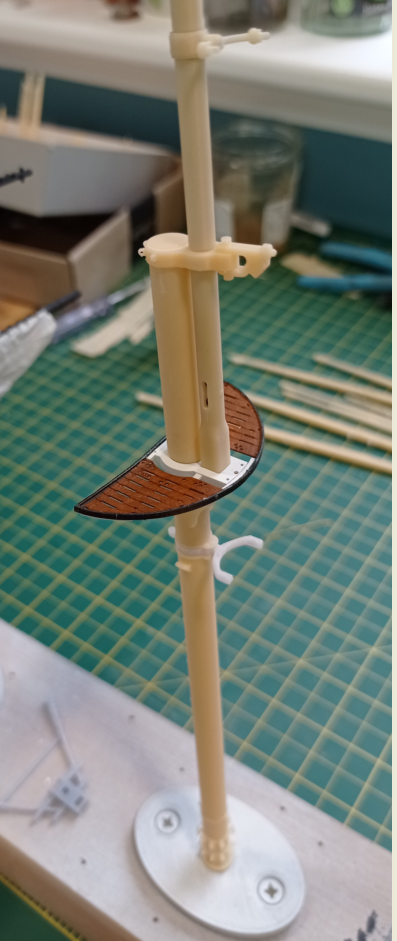
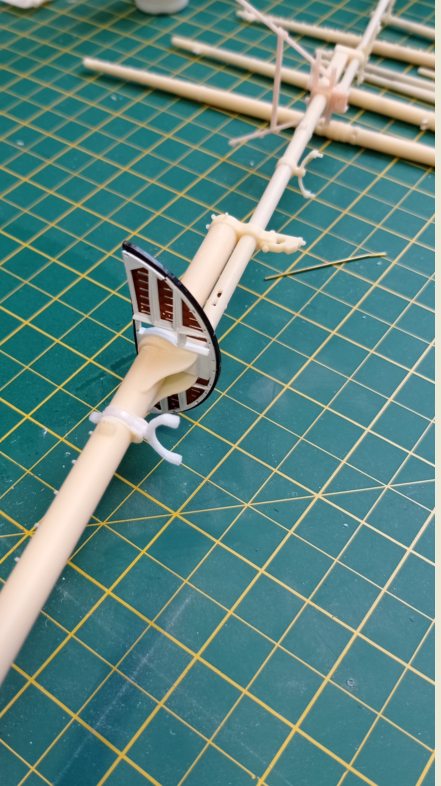


I still haven’t even got to first base with blender and probably need to do an online course. I do everything in f360 and very occasionally a bit of basic sculpting in Meshmixer.I now do both resin and FDM, and clunk along in Blender

