Ro-marin Happy Hunter Tug-1/50-Multifunction RC

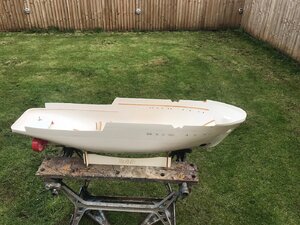
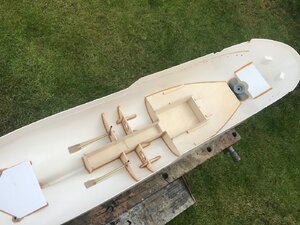
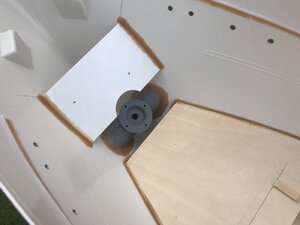
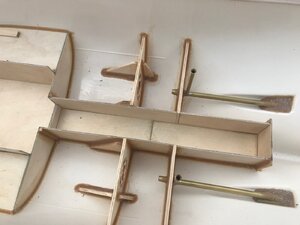
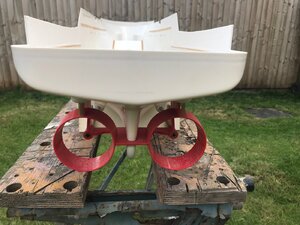
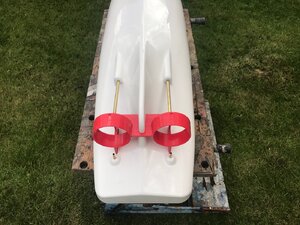
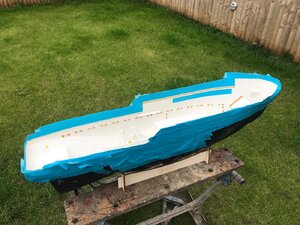
Ok then as promised some pics of where I was up to this morning.

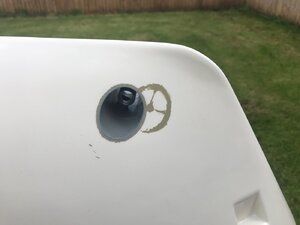
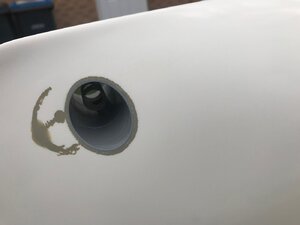
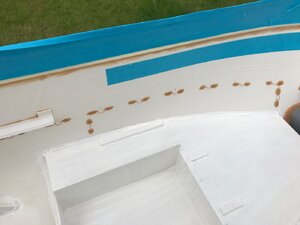
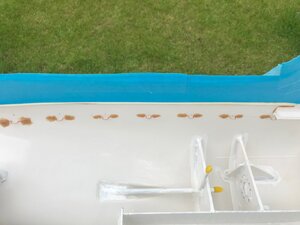
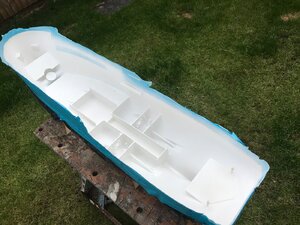
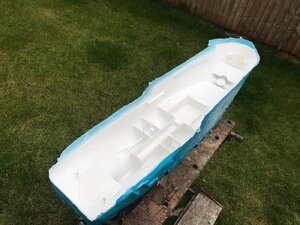
The Shafts and Kort nozzles are in as is the basic internal structure and Portholes.The only kit supplied part inside the hull is the motor mount plate and that is modified.Looking at other builds the kit battery position if too far forward resulting in a bow down stance even in the catalogue pics.I have moved the main battery aft 40mm necessitating the fabrication of a new mount.Also the tray for the 6v batteries is my addition to shift more weight aft and give greater capacity for the receiver and auxiliary function supply.The brown stuff is the Stabilit Express 2 part Acrylic glue.Tried others but still maintain this is the best for ABS plastic.

Kind Regards

Nigel

HH26.jpgHH27.jpgHH28.jpgHH29.jpgHH30.jpgHH31.jpgHH32.jpgHH33.jpg
 
Hi Brian

Yes, they say a change is as good as a rest.I have several other projects not on the Forum,maybe I should post them when working on them.Saint Philippe is a huge project which I will take short breaks from to avoid burning out.This is one of the projects I always wanted to do as a teenager, but my finances and possibly experience were not up to it.The bonus is that these projects do not take 1000's of hours so convenient to work on in between.

Kind Regards

Nigel
 
Hi Nigel,
Looks like fairly rapid progress to me.
That's one big shopping list, looking forward to seeing this project progress.
Mounts look great, did you do a "tank" test to work out positions?
I didn't know that "Deans" plugs were linked to Deans Marine, learn something every day.
I agree that neat wiring is a good thing, apart from anything else it is easier to fault find.
Cheers,
Stephen.
 
Hi Steve

Yes I did a tank test in the bath after fitting the main drive battery 40mm further aft to the plans.She was still high at the stern hence the two 6v batteries between the shafts.I feel more ballast will still be needed at the stern.I cannot move the main drive battery any further aft as it will foul the mount for the tow release and crane drives.I have already relieved this mount as far as is possible.

Kind Regards

Nigel
 
A little progress.I have fitted loops to take the wiring cable ties.These are simply bent copper wire glued to the hull with Stabilit.I have now sprayed the inside with primer (I applied two coats by brush first to the absorbent timber)then white Toplac yacht enamel.This resulted in a very grainy finish.I feel the paint solids were not fine enough for the 0.5mm tip in my spray gun.I have now given the inside one further coat using a brush.
This will be left to thoroughly dry and then I can commence fitting some of the hardware and electronics.

Kind Regards

Nigel

HH30.JPGHH31.JPGHH32.jpgIMG_1711.jpgIMG_1712.jpg
 
Hi All

Apologies for not being around much of late.A combination of release from lockdown,busy at work and glorious weather mean little time on the computer.The time left over is being spent building.Good news is I have found my Ebony prow for Saint Philippe so no remake required.

Back to Happy Hunter.
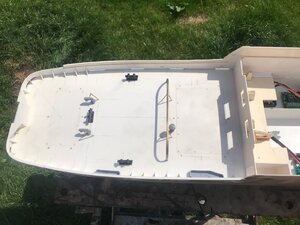
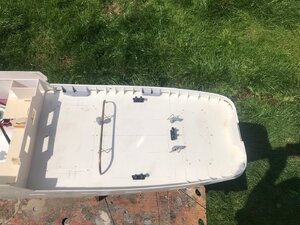
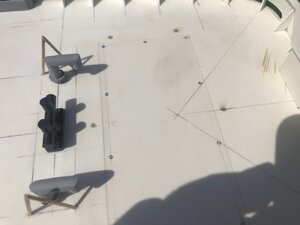
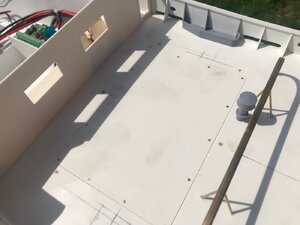
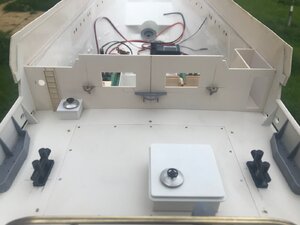
I have built and installed the aft deck after fitting the rudder servo.You have not missed much there but I will cover the more complex electronics later as they are installed.Everything is as kit instructions so far apart from the retention of the rear hatches.These have clear plastic swivel latches as per the kit.I have filled the holes and drilled and countersunk the deck sections to take M1 A2 countersunk stainless bolts to hold them in place.Nuts have been glued under the deck to take the bolts.
The Brass hawse bar is made from the supplied elliptical brass tube, which was first annealed before bending around a wooden former.This runs through the deck and is bonded with a fillet of Stabilit express on the underside.The legs are soft soldered to the bar(too much heat to silver solder in situ).The other legs run to another brass bar that spans the bulwarks.This can only be fitted once I have completed the bulwarks(port side still work in progress).

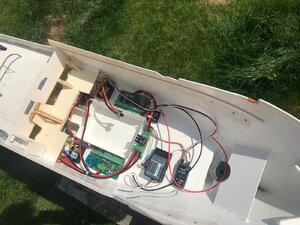
The main electrical components are in place as are the drive motors, the smaller units held by special double sided foam tape for shock protection.The power feed cabling for the batteries has been added but this is as far as I can go for now.The plywood assembly is a removable mounting for the crane motors and tow release mechanism.This requires more work before painting then fitting of the hardware.

Kind Regards

Nigel

PS Yes next job is to cut the grassROTF

IMG_1719.jpgIMG_1720.jpgIMG_1721.jpgIMG_1722.jpgIMG_1723.jpg
 
Hi Nigel,
No apologies needed in my opinion, life gets in the way of hobby time, especially those of us who still work (sometimes at the moment).
Your electrical instillation is looking very neat and tidy excellent job.
The rest of your build is looking great as well.
Cheers,
Stephen.
 
Thanks Stephen

There are a few wayward cables in the pics as they can't be routed until further items are fitted.I hope the only trailing wires will be for the Batteries.I have left plenty of spare to make it easier to split the connector plugs to connect the charger.I plan that the aft deck hatches only need removing for maintenance or repair.Main access will solely by lifting the Superstructure off.

Kind Regards

Nigel
 
No problem credit where it is due Nigel,
Are your aft deck hatches going to be splash proof?
Cheers,
Stephen.
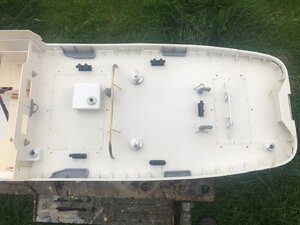
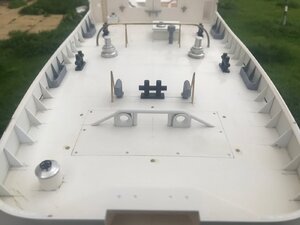
Stephen,the trick is to smear Petroleum Jelly around the inner lip before clamping into place.This will prevent water ingress from splashing on deck.If you wish to sail in extreme conditions tape over the hatch edges as per the video in my link

Kind Regards

Nigel

 
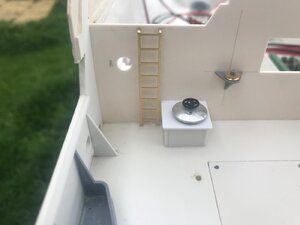
With the port side Bulwark bracing complete I have started to add further detail to the work deck.This,so far is almost stock kit.The exception is the turned Aluminium parts.I first part built this model over twenty years ago, but she got badly damaged when I was going through a messy divorce.For whatever reason I kept the uninstalled fittings.The current kit now comes with these details in cast resin so these have been substituted for the original Robbe parts.

For whatever reason the porthole laser cut in the bulkhead is out of position, this lines up with the porthole in a door yet to be fitted.This,thankfully will allow me to elongate the hole and it will be covered by the door.

I have ordered the LEDs and resistors for the lighting(the kit comes with mini bulbs which I plan to replace) and paint for the model.The aft deck, bulwarks,bulkhead and stairwell will be painted before fitting the next deck.The majority of the aft deck section and bulwarks is all light grey which makes for minimal masking.

I have further details to add but some will be fitted after painting due to accessibility with the airbrush and spray gun.Some of these details will be a small departure from stock kit.

Kind Regards

Nigel

PS still got to cut the grass but it has barely stopped raining since I took the last pics:rolleyes:

IMG_1724.jpgIMG_1725.jpgIMG_1726.jpgIMG_1727.jpg
 
Hi Steve

No I still had the Aluminium parts from the kit I bought back in 1990ish.They are original Robbe parts that I never got as far as fitting.I also have a few other bits in a little box.The original lifebelts I have are also superior to what is supplied in the new kit being more rounded in section.

Kind Regards

Nigel
 
Back
Top