Ro-marin Happy Hunter Tug-1/50-Multifunction RC

I don't envy you Nigel, masking all those ports, going around all those reinforcing gussets. Redface

Cheers,
Stephen.
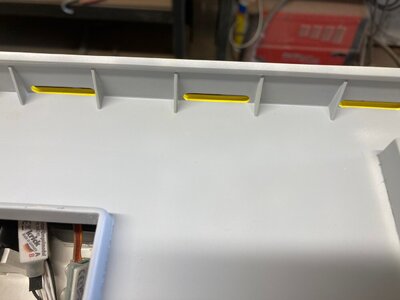
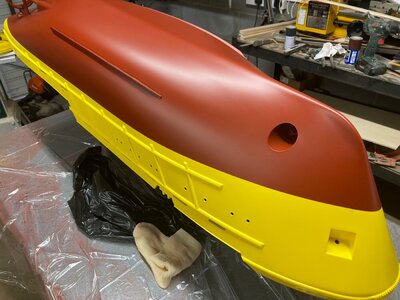
Tell me about it, started Monday before I went to work, going to carry on at the weekend when I am fresh and may take two or three stints as it is such a horrible job.Fortunately the inside of the bulwarks and decks are both grey.It is " simply" a case of getting a clean lines between the grey on the inside and yellow on the outside in the freeing ports.Several hours masking for half an hour spraying primer and topcoat.

Kind Regards

Nigel
Yep all in the prep, but necessary if you want a good job.

Cheers,
Stephen.
 
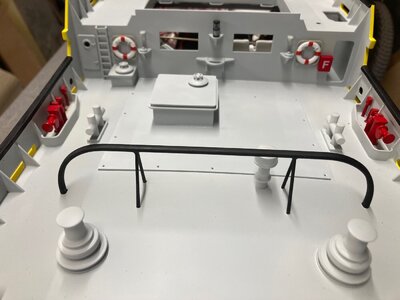
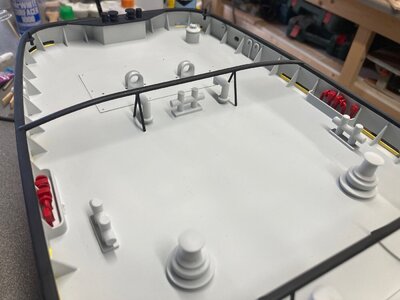
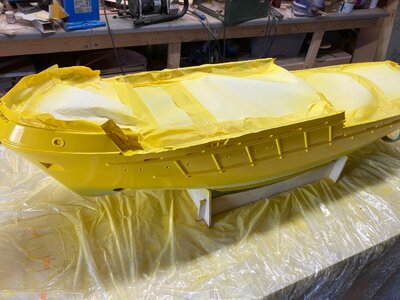
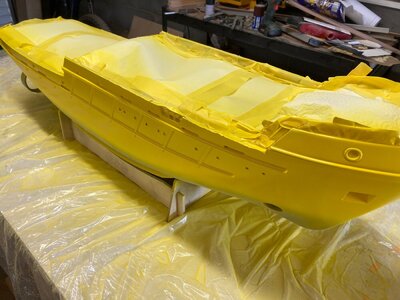
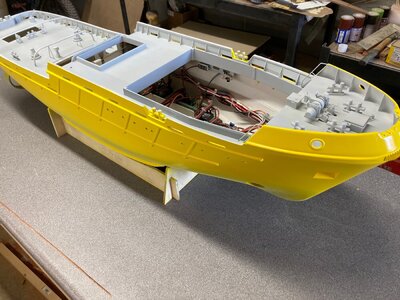
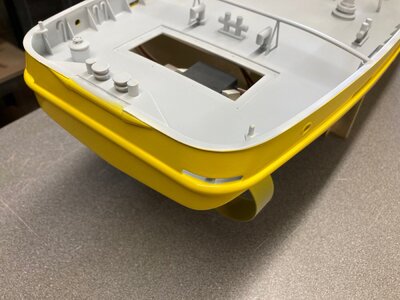
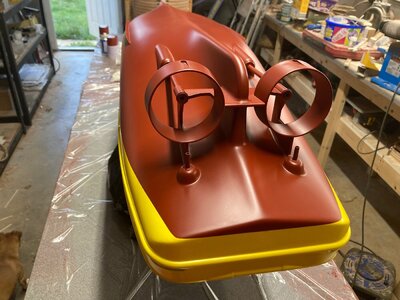
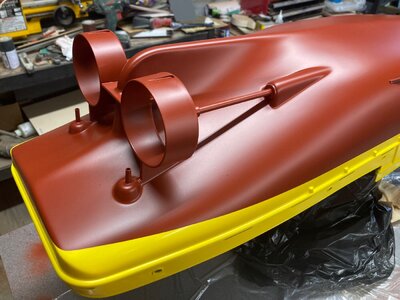
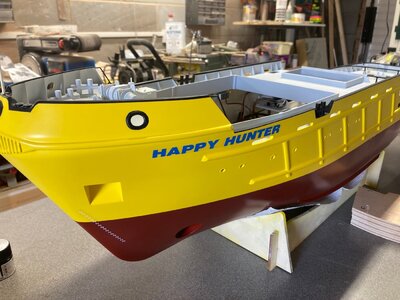
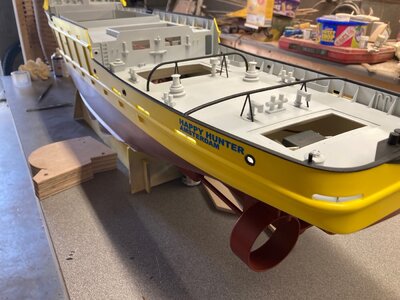
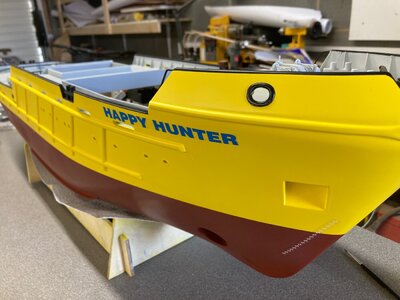
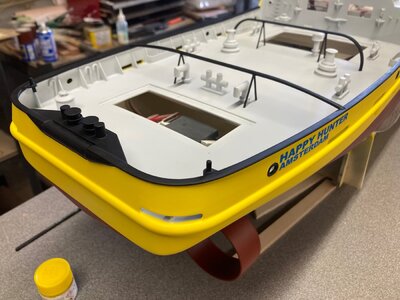
Well after what seems like years of masking,I finally sprayed the yellow,MR hobby no 4 out of a rattle can, well three actually.After a couple of hours I demasked and was pleased with the outcome around the freeing ports.The Bulwark cap rail including the bollards sat on top will be brush painted black along with some other details later.

The yellow is gloss which will make life easier with the kit decals and once these are on, the whole lot will be hit with flat clear.

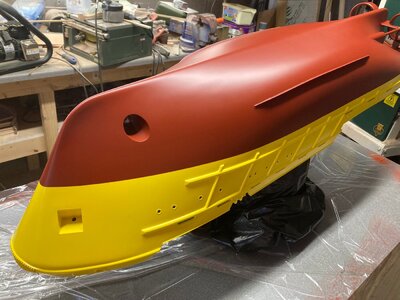
Next weekends job ( giving the paint time to harden) is to mark the waterline, flip the model upside down and paint the red antifouling.

Kind Regards

Nigel

IMG_0389.jpgIMG_0390.jpgIMG_0391.jpgIMG_0392.jpgIMG_0393.jpgIMG_0394.jpg
 
Hello Nigel,

I only recently came across your Happy Hunter log. You are doing such a great job and that paintwork is superb. I have always had a keen interest in RC builds so I’ll follow along as you continue your build.

I built a Maine lobster boat a very long time ago and kitted it out for RC. The speed controller was a rheostat (yes, that old!), power supplied from a big clunky dry cell battery pack and the necessary servos for rudder control etc. Very basic RC in the early 80’s but it was a personal triumph that it actually went ahead and astern, with an erratic turning circle, but it turned ROTF. I can see from your log how the equipment has certainly changed over the years. More complex but so much more operational fun.

It’s good to see a few RC builds on SOS, espcially such high quality workmanship as yours.
 
Thankyou Roger

The radio gear on this build actually first came out in the 80's and was horrendously expensive when first released.It was a collaboration between Futaba and Robbe and is currently discontinued.It and the one produced by Graupner (collaboration with JR) were the only expandable boat specific radios in mass production.Now both are gone, yes they were old tech, but were an easyish option for many working functions.
The one positive is that I had my transmitter upgraded by Ripmax( also gone now) to 2.4GHZ so I can use a current Futaba receiver. Only issue is that the decoders are currently not available so I would have to move these between models.

Kind Regards

Nigel
 
Hi Maarten

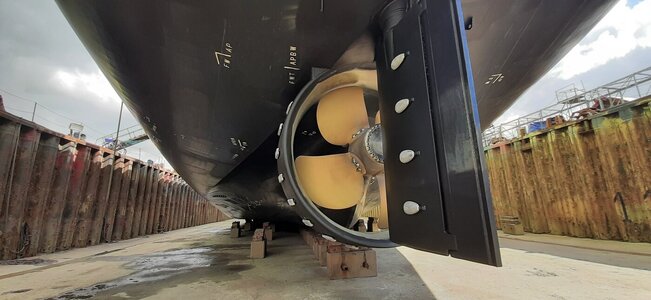
I have been thinking about adding Anodes to the Kort,rudders and bilge keels.This would be best guess as to where these were on the vessel as launched.Quite a few pics online of her when she became Smit Hunter,mostly in dry dock after the fire when she became a total loss.

Kind Regards

Nigel
 
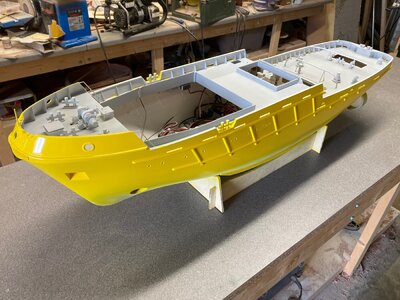
The black detail painting has been carried out via brush which has taken ages due to my hands not being as steady as they used to be.Decals have been added and the whole lot covered in flat varnish.

Next job is to paint the rudders and allow the whole lot to harden before installing the props, shafts and bow thruster.

Kind Regards

Nigel

IMG_0414.jpgIMG_0415.jpgIMG_0416.jpgIMG_0417.jpg
 
The black detail painting has been carried out via brush which has taken ages due to my hands not being as steady as they used to be.Decals have been added and the whole lot covered in flat varnish.

Next job is to paint the rudders and allow the whole lot to harden before installing the props, shafts and bow thruster.

Kind Regards

Nigel

View attachment 318951View attachment 318952View attachment 318953View attachment 318954
Couldn't agree more with Paul and Roger, beautiful work Nigel.

Cheers,
Stephen.
 
Well a bit of a landmark moment although not that much to show.

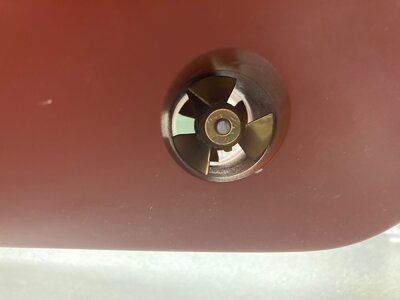
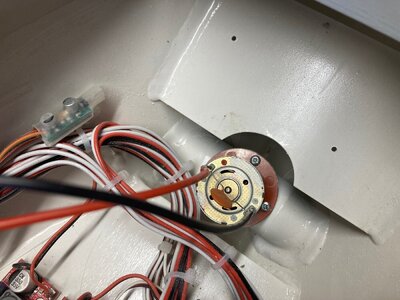
This weekend I have installed the props and shafts (with stuffing grease) and the bow thruster.The props are aftermarket Raboesch rather expensive but look much better than the black nylon originals.I had to trim the outer edge of the blades to clear the inside of the kort nozzles, tried one in the lathe but it was too sketchy for my liking so used the disc sander.

Then came the bath trial.No leaks:):):):) however I have ordered two servo reversers as a couple of things are going the wrong way:rolleyes:No servo reverse on the old Futaba F14 but it is simply a case of just plugging the reversers in line from the receiver.

One thing though, even at light throttle, this thing has serious pulling power, there is a video of the same model towing a guy in a rowing boat, I can believe that now.

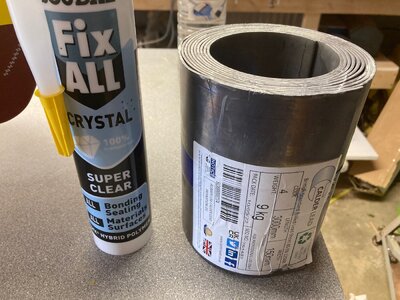
More ballast required, even with 4 batteries, the bow is 10mm high and the stern probably 25mm! Just got back from the DIY shop with a roll of lead flashing and clear silicon to address the issue.

Work continues on painting detail items and fitting as I go.Still a good few left to fit and the hatches still need a little more work.

Kind Regards

Nigel
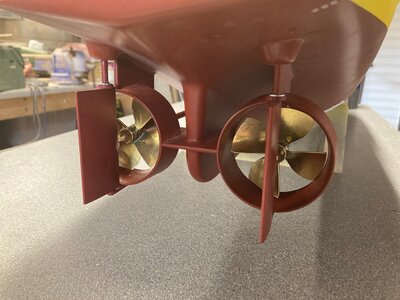
IMG_0433.jpgIMG_0434.jpgIMG_0435.jpgIMG_0436.jpgIMG_0437.jpgIMG_0438.jpg
 
Back
Top