J.J., I'm curious, where do you purchase the thin sheets of styrene? Thanks, Magic Mike
-

Win a Free Custom Engraved Brass Coin!!!
As a way to introduce our brass coins to the community, we will raffle off a free coin during the month of August. Follow link ABOVE for instructions for entering.
-

PRE-ORDER SHIPS IN SCALE TODAY!
The beloved Ships in Scale Magazine is back and charting a new course for 2026!
Discover new skills, new techniques, and new inspirations in every issue.
NOTE THAT OUR FIRST ISSUE WILL BE JAN/FEB 2026
You are using an out of date browser. It may not display this or other websites correctly.
You should upgrade or use an alternative browser.
You should upgrade or use an alternative browser.
Round Table class Minesweeping Trawler 1942/45 Scale 1:48Built from the Calder Craft kit Sir Kay [COMPLETED BUILD]
- Thread starter Jack Jäger
- Start date
- Watchers 16
I'm late to the party, may I join.
Your work on the styrene doors & hinges is remarkable. It looks as if it were a 3d print or real.
Your work on the styrene doors & hinges is remarkable. It looks as if it were a 3d print or real.
- Joined
- Aug 14, 2018
- Messages
- 829
- Points
- 403

Hi Magic Mike.J.J., I'm curious, where do you purchase the thin sheets of styrene? Thanks, Magic Mike
I originally got some from Cornwall Model Boats but then found a faster/cheaper supply from 4D Model Shop Ltd, The Arches, 120 Leman Street, London, E1 8EU, England, UK. ( www.modelshop.co.uk ) who have a great range including tread plate, tile, paving etc.. But I guess they are in the wrong part of the world for you MM, that is regards to postage, which seems to be getting way out of hand price wise of recent. Their site is worth a look anyway.
Hope this helps anyway.
Cheers JJ..
Thanks J.J. I'll check out their website! Regards, Magic Mike
- Joined
- Aug 14, 2018
- Messages
- 829
- Points
- 403

Thanks for saying Will, it is nice to have you look in, the doors that come with the kit are all cast white metal and take an age to prepare. I am a bit out of my comfort zone with this build and now having to quickly learn about different adhesives I wouldn't normally use. Eg. what to use to get white metal parts to stick to styrene ? I have been using two-pack epoxy, but it is messy and wasteful.I'm late to the party, may I join.
Your work on the styrene doors & hinges is remarkable. It looks as if it were a 3d print or real.
Cheers JJ..
Couple of things come to mine for attaching metal to plastic.
1st: the plastic must be ridged and flex and the metal will pop off.
2nd: Most superglue (CYANOACRYLATE) and as it tacks almost instantly it can be removed with acetone (nail polish remover) but will also dissolve the styrene.
Hope this helps
1st: the plastic must be ridged and flex and the metal will pop off.
2nd: Most superglue (CYANOACRYLATE) and as it tacks almost instantly it can be removed with acetone (nail polish remover) but will also dissolve the styrene.
Hope this helps
Mike I get my styrene from:
Evergreen Scale Models
The have a huge selection of sheets, rods, tubes sq and round, plus many shapes.
Evergreen Scale Models
The have a huge selection of sheets, rods, tubes sq and round, plus many shapes.
- Joined
- Aug 14, 2018
- Messages
- 829
- Points
- 403

Merry Christmas folks.
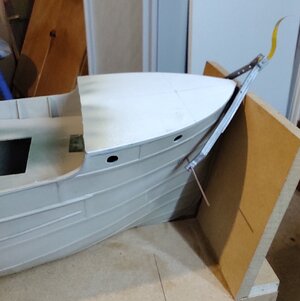
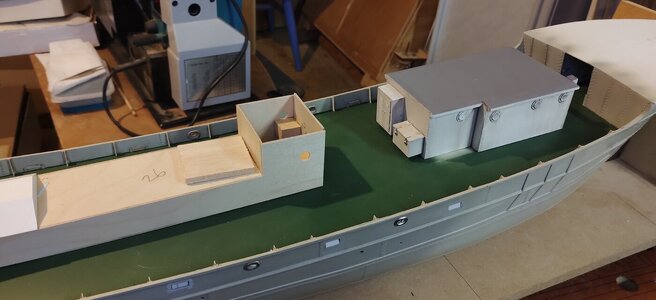
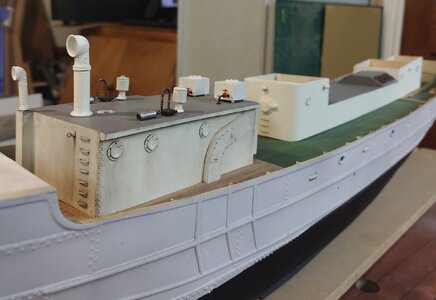
I am beginning to believe, more than is usual, this build is the sort that nothing is complete until all is complete. I decided not to use the printed deck that came with the kit,(lot's of reasons), and will, instead, make my own, but to do that I need to finalise the positions of the super structures but I cannot permanently attach them until I paint the hull and I can't do that 'till I drill some exit holes for exhausts etc.. Well you get the idea, so I building little mini kits and then ,hopefully, add them all in the final stage.
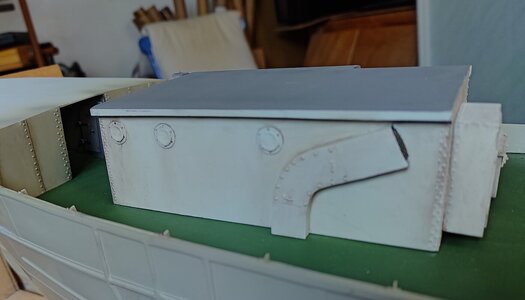
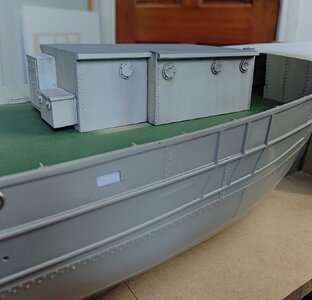
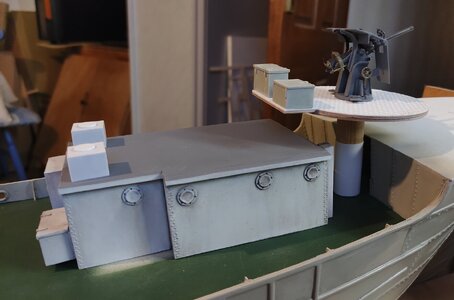
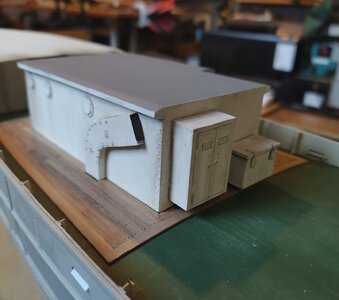
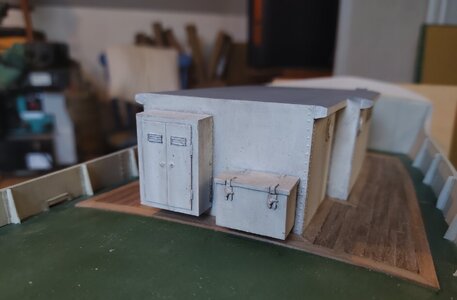
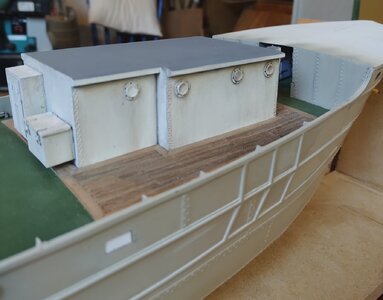
I started with the generator house, not a particularly elegant building but probably the razon de guerra of this small ship. This 'portacabin' like add on contains the huge electric generator used to counter magnetic mines and a compressor that drives the kango hammer that is used to imitate in the 'minds' of acoustic mines the screw sound of larger ships.
I decided to add a bit of grime to this boat as shown in the pic's. but doubt if I will weather her to the extent of rust running down her hull, in a model this large I don't think you need it. Some model I have seen with blotches of orange all over just don't look right to me so I will try to avoid them.
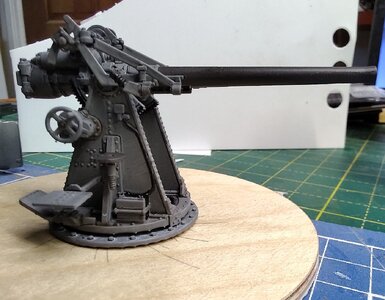
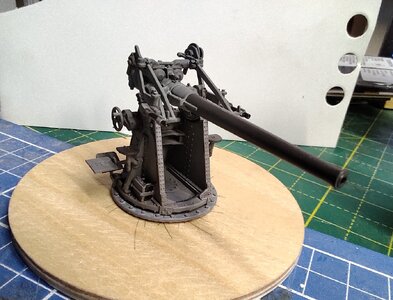
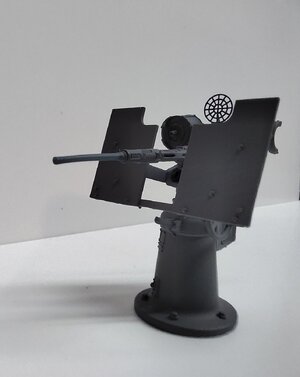
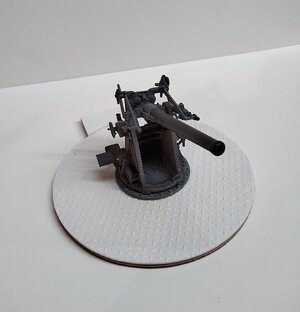
I think I said earlier that the 20mm Oerlikon gun that came with the kit in white metal was so distorted that it could not be used this I have replaced with a 3D printed one, that along with the 12 pounder,( although perhaps not the one in the pic's), and have to admit that they knock the white metal ones into a cocked hat!
Next I will add the wooden deck and if the spirit moves me finish the 'riveting of the hull.
Love the 3d guns they are always such an improvement over plastic or white metal. I know what you mean can't do this until that is done can't do that until this is done. That's the story of bashing a kit good luck you're doing a great job.
I decided to add a bit of grime to this boat as shown in the pic's. but doubt if I will weather her to the extent of rust running down her hull, in a model this large I don't think you need it. Some model I have seen with blotches of orange all over just don't look right to me so I will try to avoid them.
I agree 100%. I have never added rust to any of my ships. A fairly clean paint job with a little grime says "I'm a working ship," but not due for a refit or dry dock. Great job on the model, I am enjoying your progress reports.
Jim
I agree 100%. I have never added rust to any of my ships. A fairly clean paint job with a little grime says "I'm a working ship," but not due for a refit or dry dock. Great job on the model, I am enjoying your progress reports.
Jim
I to agree that too much grim, rust, salt stains on models takes away from the individual details. I've used a very diluted grey/black paint and just was the details for a bit of high lighting. Many suppliers have washes already to use if you're not comfortable making your own.
Happy New Year Jim, Jack and Will! Thanks for your input and ideas! Magic Mike
- Joined
- Aug 14, 2018
- Messages
- 829
- Points
- 403

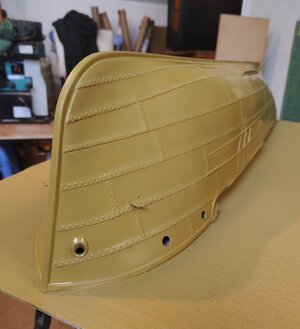
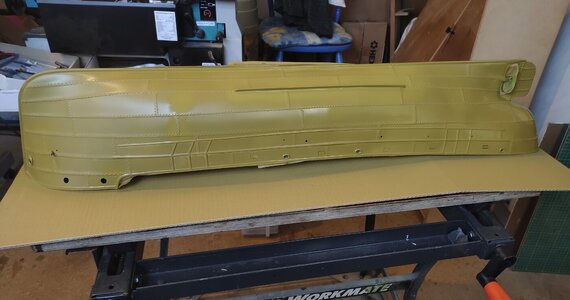
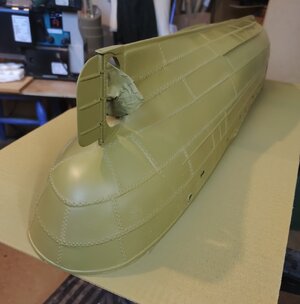
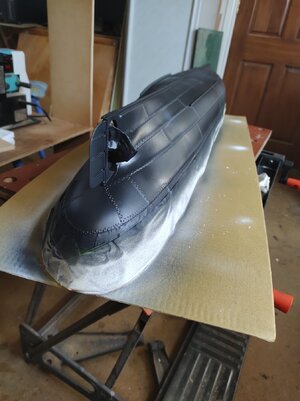
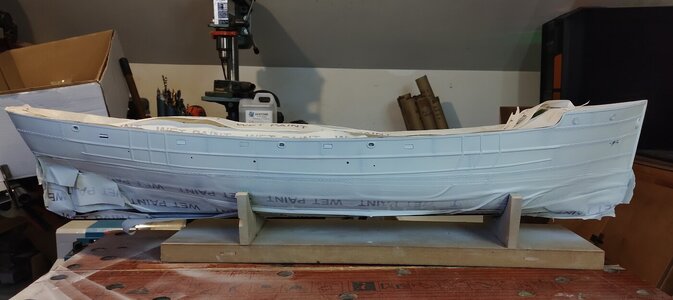
I had the bad feeling that I was wasting my time adding a zillion 'rivets' to the hull but after a coat of primer/surfacer I now think they look quite nice and it was worth doing. The rivets scale up to about two inches and this would be quite large for a trawler but hopefully with many more coats of paint to come they will blend in.
I used a polyurethane primer/surfacer in the hope getting good adhesion to the GRP, light grey primer from Vallejo came back off too easy.
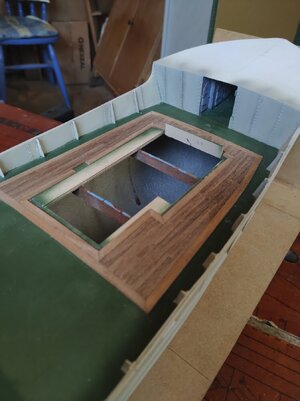
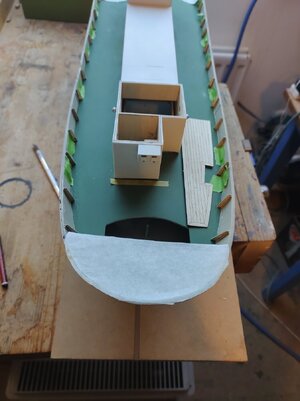
Before tackling the hull I added the wooded deck around the deckhouse/generator building, although I will wait until I get the second strip of decking at the stern installed before I finish both together.
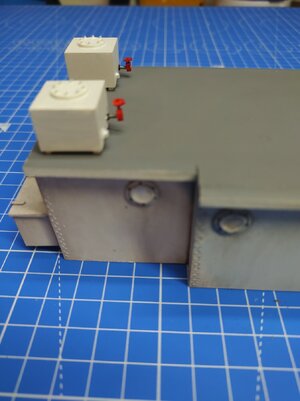
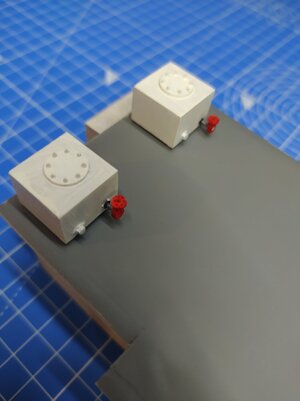
As usual I have been making some of the small fittings to be added at a later date. The plans say that the two box shaped units at the back of the generator roof are ready use lockers, but I cannot see why they would be sited there and suggest that are fuel tanks for the generator and compressor. They scal up to a capacity of about 100 gallons so if that is indeed what they are it's a lot of weight on the roof, interesting.
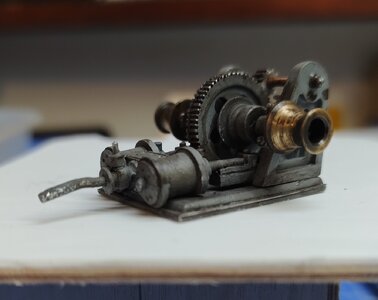
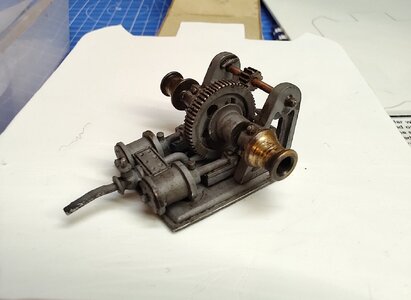
They still have to be weathered unlike the steam anchor winch, built from the kits white metal parts, although like most things it can only be finished when in situ.
I expect I will be doing a lot of 'off piste' mini builds for the next week or so as I continue to spray the hull.
Cheers JJ..
Not sure how I was missing this build... Awesome work as always!
Jack, I love the steam anchor winch, very cool! Magic Mike
- Joined
- Aug 14, 2018
- Messages
- 829
- Points
- 403

Thanks Paul, thought I would try something a bit different. Helps keep the interest levels up.Not sure how I was missing this build... Awesome work as always!
All the best JJ..
- Joined
- Aug 14, 2018
- Messages
- 829
- Points
- 403

Hi, Magic Mike, yea some of the white metal casting in the kit are really good but others are so badly cast they cannot be used. The winch looks great though.Jack, I love the steam anchor winch, very cool! Magic Mike
Cheers JJ..
- Joined
- Aug 14, 2018
- Messages
- 829
- Points
- 403

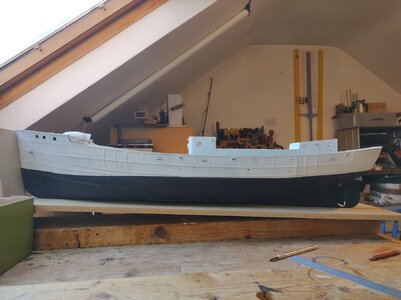
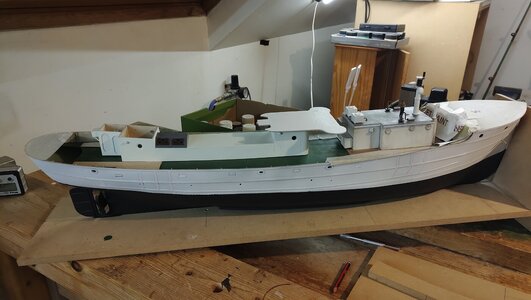
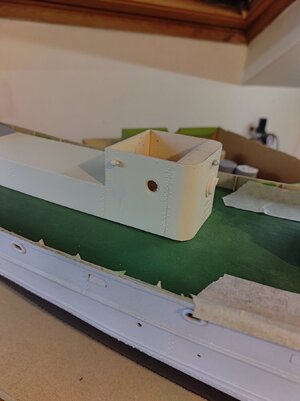
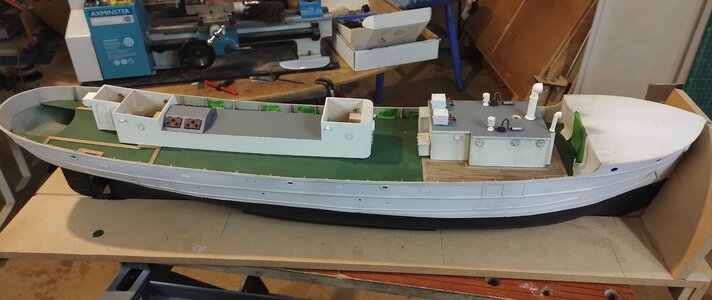
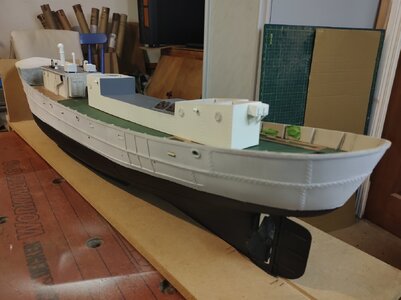
Hi Folks, been quite busy this last week or so but managed to get a bit further on regardless, although still bits and pieces while I continue to paint the exterior of the hull and that is progressing nicely. The main superstructure has been 'plated and riveted' and given a first coat of 'Western approaches white' paint, I have also finalised this structures position thus letting me start to lay the wooden deck at the stern.
Most of the rest of my time I have been finishing some details on top of the generator cabin.
All but two of the eight 'knights' where painted home fleet grey,(all eight served out the war in home waters) the two exceptions where Sir Kay T241 and Sir Lamorak T242. These two where painted as per Western Approaches (late) camouflage i.e.. off white, pastel green and pastel blue, and this combination is what I shall try for. As for the anti-fouling-: uncertainty! I have been reading a lot about ww2 Navy anti-fouling paints and although red iron oxide copper based AF was becoming more popular by 1943, (particularly in small ships), it still remained that out of the three major RN paint suppliers only one (International Paints), even offered a red oxide based AF. by 1943.. The other two only supplied either dark grey or black mercury base AF;s. So thinking of the overall scheme I have gone with a very dark grey. Mind you someone at the Admiralty must have been having a laugh prescribing white paint for a coal burning steam engine boat, I am sure the crew blessed his name everyday.
Some photographs.
Next I shall tackle that height of 1970's modelling technology, the vacuum formed funnel!
Good morning Jack. Quality work. Cheers GrantHi Folks, been quite busy this last week or so but managed to get a bit further on regardless, although still bits and pieces while I continue to paint the exterior of the hull and that is progressing nicely. The main superstructure has been 'plated and riveted' and given a first coat of 'Western approaches white' paint, I have also finalised this structures position thus letting me start to lay the wooden deck at the stern.
Most of the rest of my time I have been finishing some details on top of the generator cabin.
All but two of the eight 'knights' where painted home fleet grey,(all eight served out the war in home waters) the two exceptions where Sir Kay T241 and Sir Lamorak T242. These two where painted as per Western Approaches (late) camouflage i.e.. off white, pastel green and pastel blue, and this combination is what I shall try for. As for the anti-fouling-: uncertainty! I have been reading a lot about ww2 Navy anti-fouling paints and although red iron oxide copper based AF was becoming more popular by 1943, (particularly in small ships), it still remained that out of the three major RN paint suppliers only one (International Paints), even offered a red oxide based AF. by 1943.. The other two only supplied either dark grey or black mercury base AF;s. So thinking of the overall scheme I have gone with a very dark grey. Mind you someone at the Admiralty must have been having a laugh prescribing white paint for a coal burning steam engine boat, I am sure the crew blessed his name everyday.
Some photographs.
View attachment 420581View attachment 420582View attachment 420583View attachment 420584View attachment 420585View attachment 420586View attachment 420587View attachment 420588Next I shall tackle that height of 1970's modelling technology, the vacuum formed funnel!
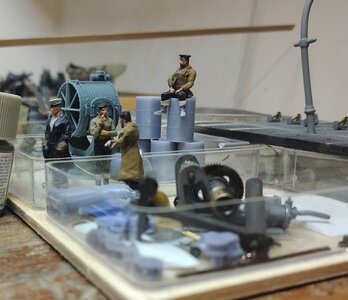
Meanwhile some of the crew wait patiently to add machinery and equipment.
View attachment 420590
- Joined
- Aug 14, 2018
- Messages
- 829
- Points
- 403

Well things are still a bit disconnected and I am still unable to work on the main deck until I have finished painting the outside of the hull and waited until it is safe to handle. For the hull I am using I am using western approaches white paint made by an Italian company and sold under the name of 'Lifecolor '. It is a water thinable acrylic and although easy to use it has a very slow 'tail' to it's drying characteristics, although dust free in about half an hour you can still mark it the next day and this has slowed things up a bit. But I am nearly there now.
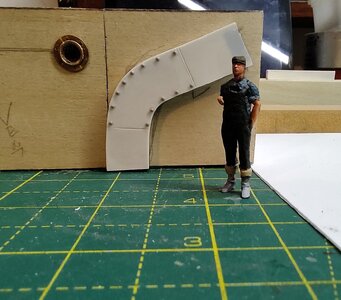
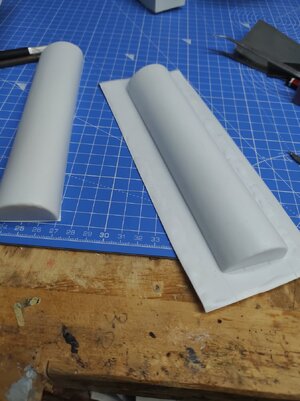
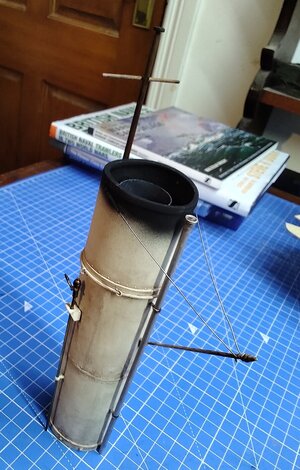
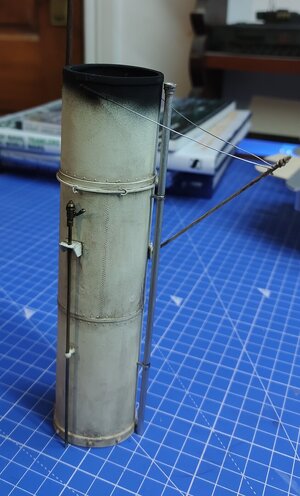
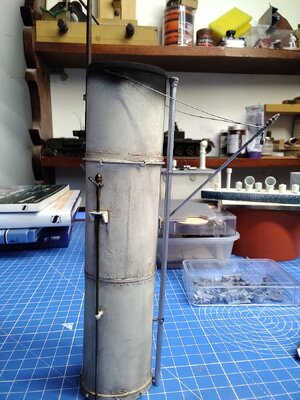
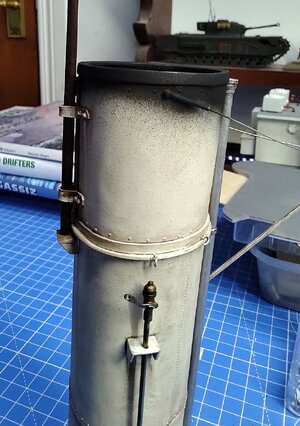
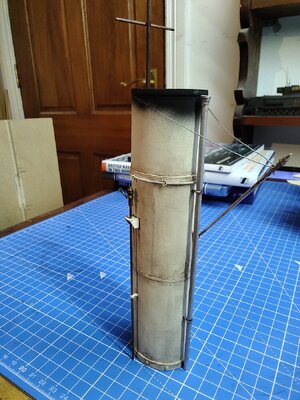
While waiting I set about trying to make something of the funnel and Caldercraft's equivalent of a bisected toilet roll centre the two halves formed from vacuum shaped styrene. Having cut them out and glued them together I threw them in the bin. Then using their dimensions I made a wooden former and 'plated' it with thin sheets of styrene adding some fake rivets and bands. The next question was just how dirty did a white painted funnel get on a coal burning steam ship? Very I think and contemporary photographs show that. So I had a go at ageing mine, not sure I am happy yet but will wait until I finish the boiler room section before I decide.
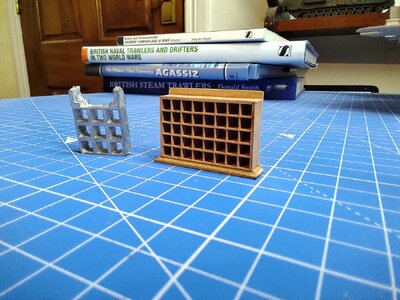
As well as the funnel I have been making some other parts to be added when I get working on the hull again. The highlight I suppose was the replacement of the ships flag locker. Caldercraft produced something that looked like a mini waffle maker out of white metal, so I replaced it with one I made from half millimetre pear, yet to paint it though.
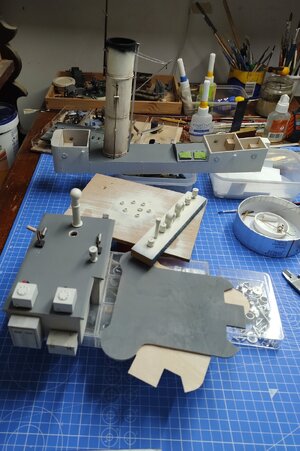
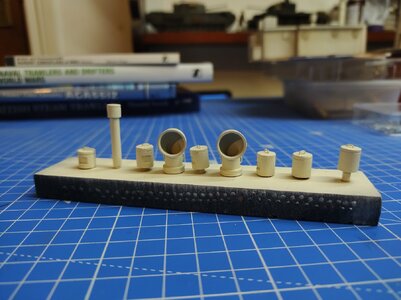
Also made a few other bits and pieces, as you see they are gathering up. Lets hope the hull dries and I can get back to fitting them.
Cheers JJ..


