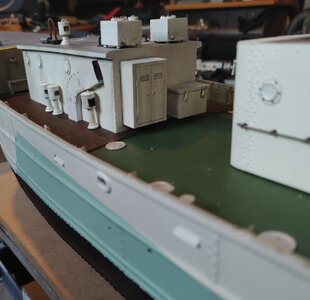
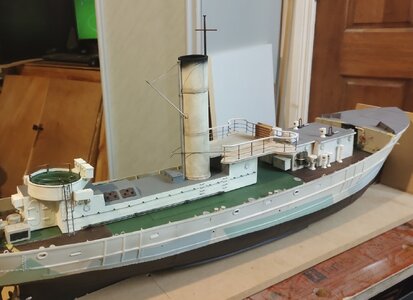
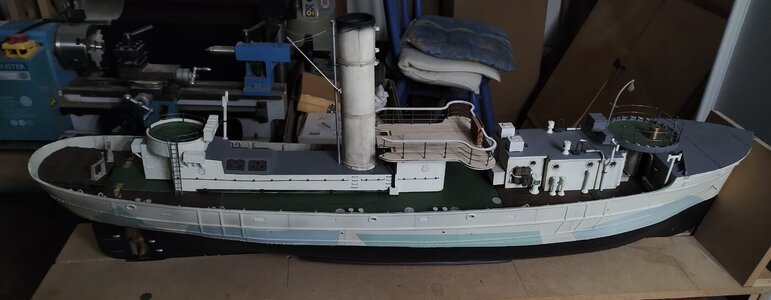
Round Table class Minesweeping Trawler 1942/45 Scale 1:48Built from the Calder Craft kit Sir Kay [COMPLETED BUILD]

Roll out the Band(stand)

dc thrower.png
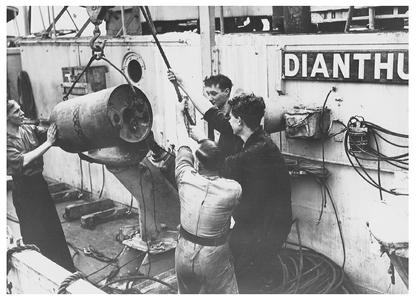
Off all the photos I have looked at this my favourite, it was not taken on a trawler but a similar sized corvette, HMS Dianthus. As the name suggests she was a flower class and a famous sub. killing one at that. On one memorable day she accounted for three kills, one by herself and two others with her sister escorts. In killing her solo her skipper (Lieutenant Commander Bridgman RNR),had to ram U379 five times and in the process wiping out her asdic dome and holing her bow. Not exactly like the movies! She was five days out of Liverpool and along whit her crew of 90 she had 130+ survivors she had collected, including the U-boat crew. Anything that could be moved to the stern was in order to keep the breach above the water line. A sad footnote was that Bridgman, recognised for his success was promoted and given a frigate ( HMS Itchen). One his first convoy Itchen was torpedoed all hands lost. War.
Back to the pic., two things, first look at the state of the deck! A true fighting ship, no show pony, the trawlers where the same. Secondly look at the age of the crew, where we ever so young? Boys killing boys. War.

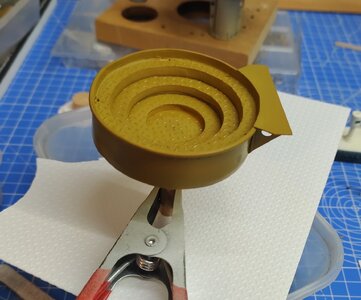
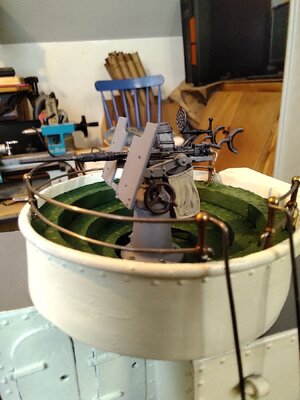
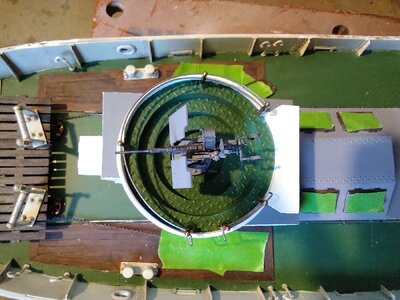
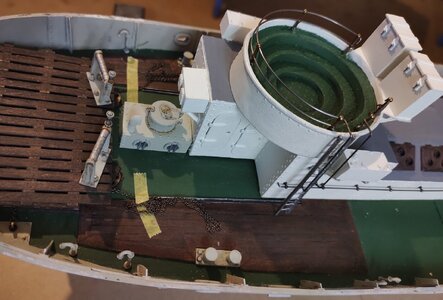
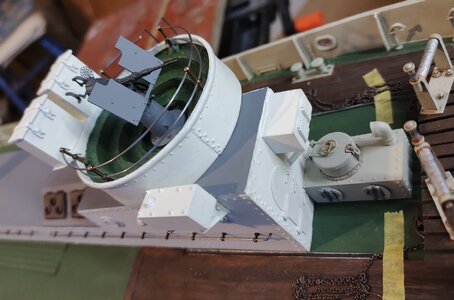
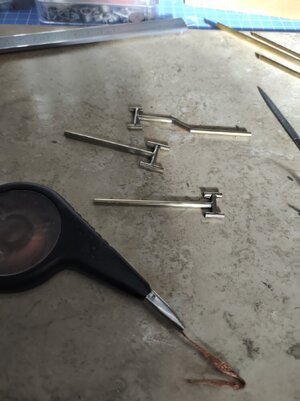
Any way back to the round table and along with those much needed little details I have spent my time making the 20mm Oerlikon band stand and no easy job was it. The kit supplied parts in 1mm ply I tried and better tried but it just was not strong enough so to the bin. In the end I setteled for 3mm ply covered in styrene. I give myself 6/10

.IMG_20240207_232120.jpgIMG_20240208_160005.jpgIMG_20240209_095626.jpgIMG_20240210_143726.jpgIMG_20240210_143754.jpgIMG_20240210_143846.jpg
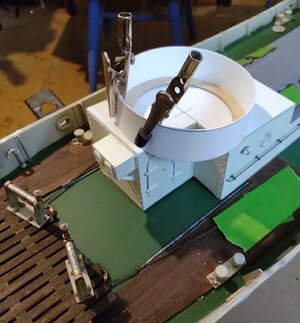
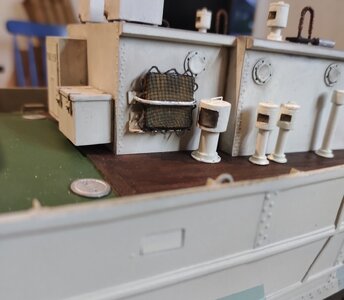
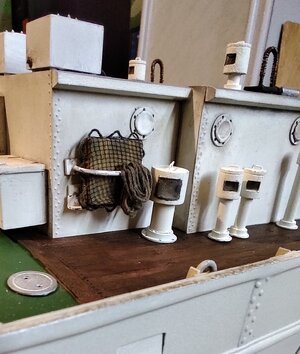
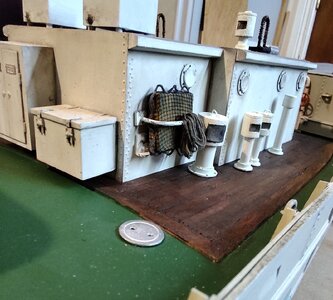
In between times I added more bits and bobs. the highlight probably the 'Denton raft' The John Lambert plans called it a spanner raft and that threw ne a curve ball as I at first thought it was some sort of tool box (I know), Caldercraft plans ignored it. Basically the raft consists of a four foot square thin wooden box covered in canvas and some times what looks like fish new and sometimes grab ropes, I gave mine both and good luck if you end up mid Atlantic on one of these.

IMG_20240209_144857.jpgIMG_20240210_082650.jpgIMG_20240210_084823.jpgIMG_20240210_200812.jpgIMG_20240210_202350.jpgIMG_20240210_202504.jpg
Well nose back to the grindstone.
Cheers JJ..​
 
Dear Jack - this is the kind of posting I simply LOVE! Looking at that picture raises a few points of interest. You are absolutely right when you refer to how young they are. About boys killing boys in war, I have a theory. With age and maturity come an increased sense of conscience and a consequential increase in responsibility. Here I am not talking about mercenaries or war hardened soldiers, but of those young men who are usually the ones being conscripted. Had they been older, they may simply not have been as "efficient".

As to the model - most modelers would have had a hell of a difficult time putting together the Oerlikon and raft at that scale - even if it had been part of a kit. To think that you conceived those from scratch is beyond me. I can only admire.
Heinrich I agree, I do not believe that even as late as the nineteen forties these boys /young men betrayed a callousness or 'don't give a dam attitude that might be seen today, rather more a strong degree patriotism mixed with adventure. I remember my father telling me how excited he was to volunteer for the navy, ( there was no conscription in NI ) and contrast this with the stories told by my maternal grandfather and great uncle who both where pre war Royal Navy (along with another brother who died aboard HMS Thetis before the start of ww2) and had an idea what they where in for. Thankfully they survived. But I look at those boys loading the depth charge thrower and think of my father at eighteen. As for the model its great fun to let your imagination take over.

My best JJ..
Jack, you are so right when you mention what is essentially "moral obligation". I was born at a time just prior to South Africa entering a state of war and by the time I left school, two years' compulsory military service was something we all had to deal with. And like you said, apart from it being law, patriotism, nationalistic pride, or loyalty to the government and country, most were united in the belief that a "good cause" was being served.
 
The bandstand rolls on.
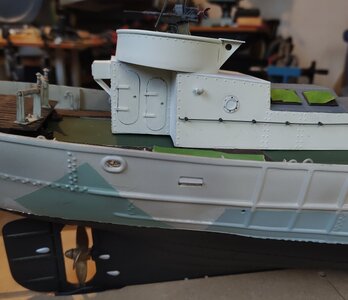
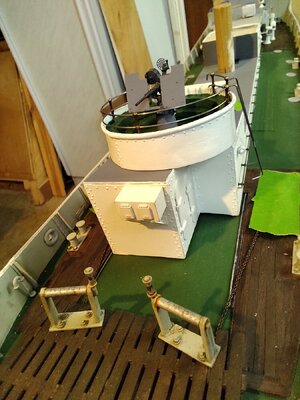
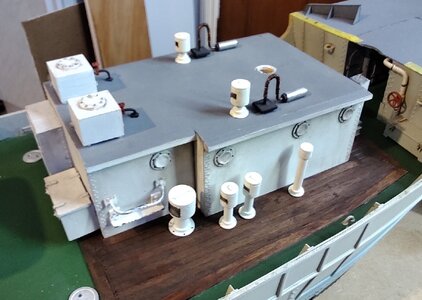
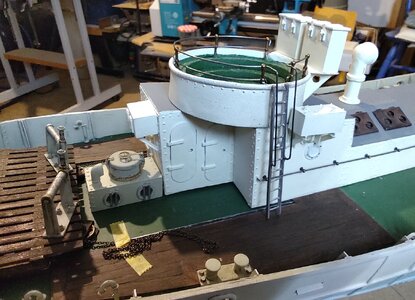
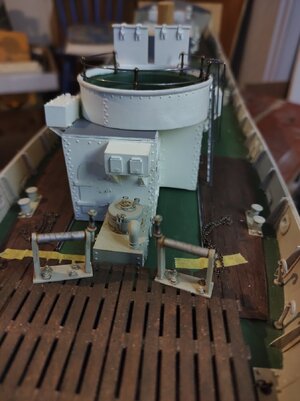
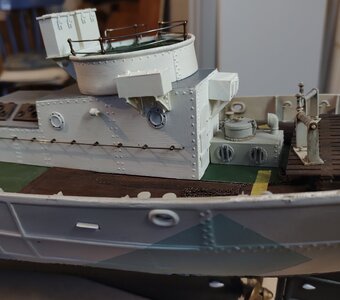
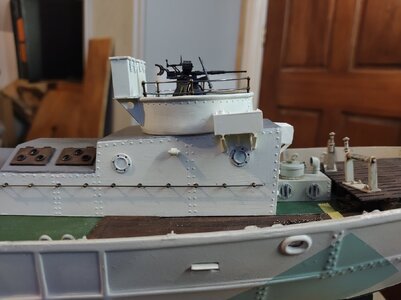
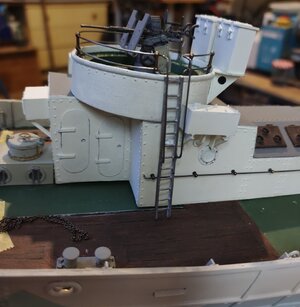
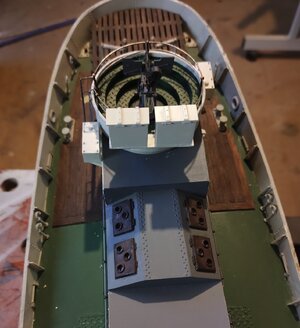
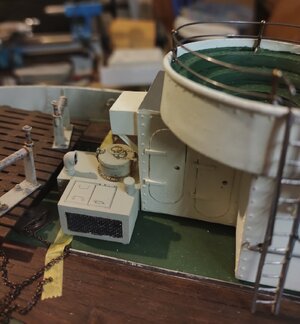
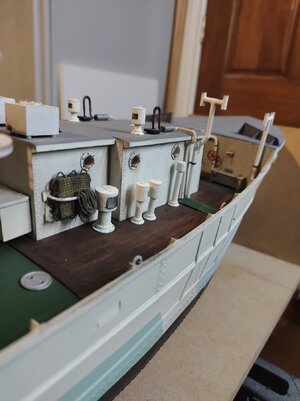
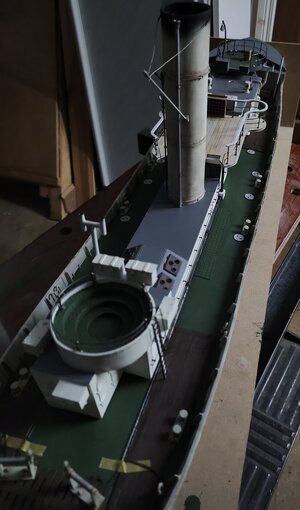
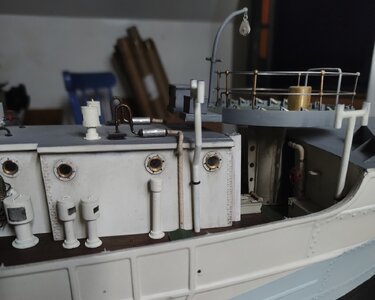
Just a quick update on the Oerlikon bandstand, I have just about finished it (apart from painting). The whole thing is still just sitting on top of the galley and like most units cannot be fixed until all around is also finished. To that end I have made and added the two 50 gallon water tanks that supply the galley and petty officers washroom and sit either side of the bandstand. The other interesting feature, again not mentioned in the Caldercraft plans is the protrusion of the P.O.'s cabin on top of which is welded one of the four escape hatches that are dotted around the ship. There was just enough room to squeeze it in between the casing and the steering gear.
It seems strange that although, all the 'Round Table class' trawlers (8) where built for the RN they where built as fishing trawlers then converted for military use with the gun platforms etc. added after completion,(not a lot of joined up thinking there then,). Everything has a 'bolt on' feel about it and different structures add, probably when someone thought them a good idea. This shows in all the photographs, every one of the class sits very deep in the water due to the extra weight of equipment carried, for example Sir Kay had a nominal displacement of 440 tons yet fully equipped weighed in at 785 tons and even at that she could not use her side bunkers and had to dump her anti-submarine depth charge capability! Little wonder they where kept to home waters.

Here are some photographs of my progress, the most difficult part of all was to attach the steel rail to the white metal ladder,(drilled and epoxy in the end).


IMG_20240214_074033.jpgIMG_20240214_074325.jpgIMG_20240214_080422.jpgIMG_20240214_080448.jpgIMG_20240214_080503.jpgIMG_20240214_080537.jpgIMG_20240214_080630.jpgIMG_20240214_081011.jpgIMG_20240214_081026.jpgIMG_20240214_081124.jpgIMG_20240214_082418.jpg

A lot of filling and painting still to do.
Cheers JJ..
 
Very good work - all these small details - well executed :cool:
 
Hi Folks,
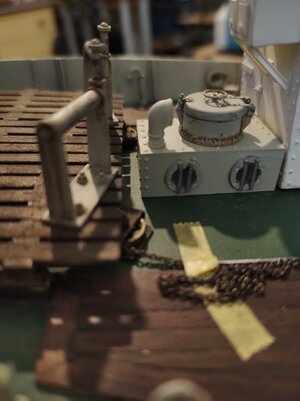
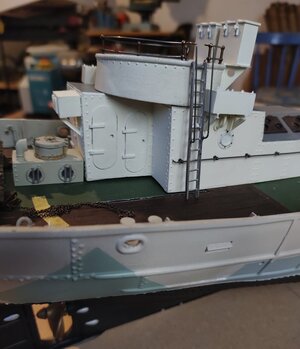
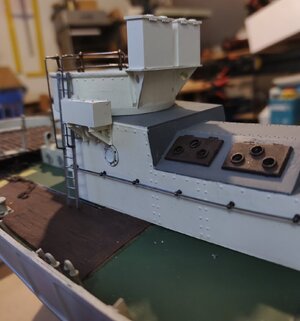
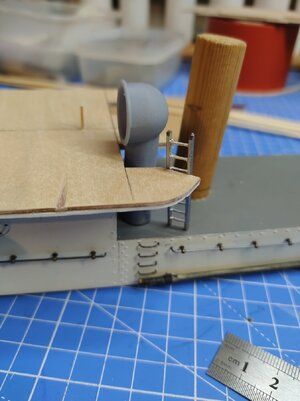
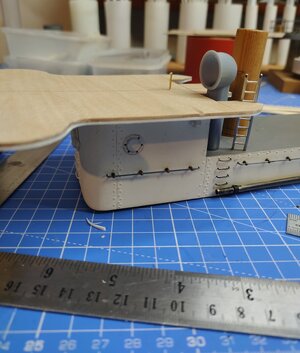
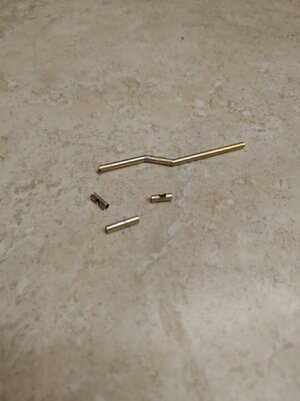
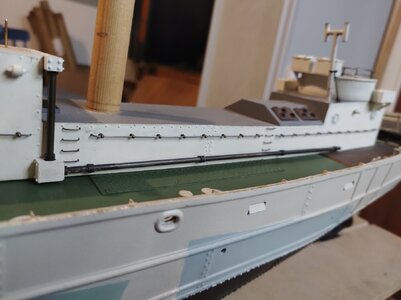
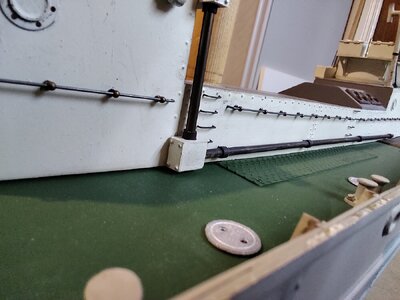
Plenty of metal work the last few days. Firstly I made an attached to the casing the steering chains pipe, the kit uses a 3mm dowel but since I want to show the chains exiting the pipe I changed the dowel in favour of a thin walled 3mm brass pipe. Along with the pipe I added four permanent ladders 'welded' to the side of the casing. You can see both in this pic..

IMG_20240219_201818.jpg

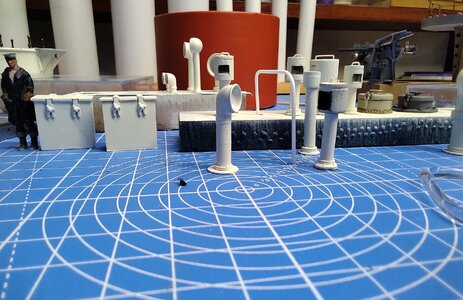
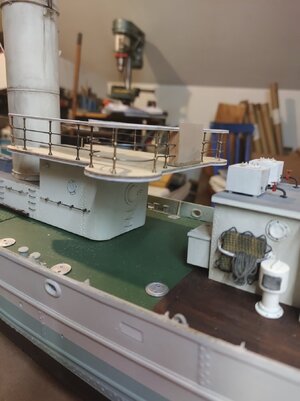
Other small details have been added including a meat and vegetable locker, the petty officer's cabin and escape hatch, a dozen or so swan neck ventilators two fifty gal. fresh and salt water tanks sitting either side of the bandstand and an equipment locker on the casing just behind the funnel. The bandstand's RU lockers, although made to the size shown on the Caldercraft plans looked far to big so I cut them down a bit.
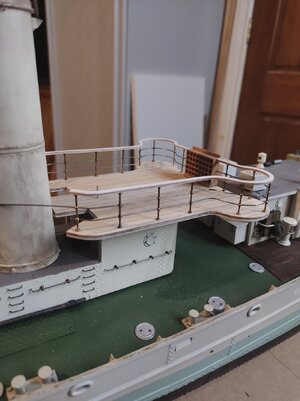
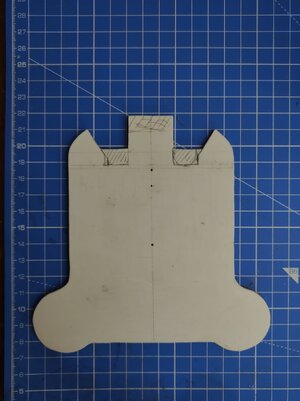
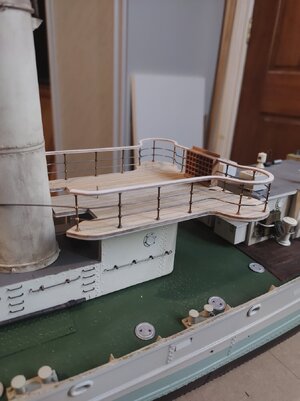
Then it was on to the extended bridge. This I had to remake as my original was the wrong shape with no room for both ladder and boiler room ventilators. Foolishly I built the first using kit parts and not checking the plans.
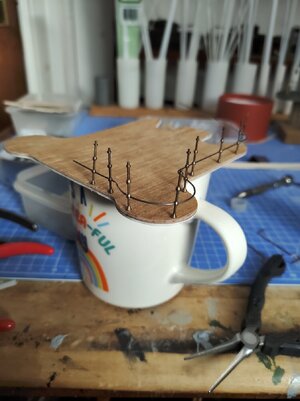
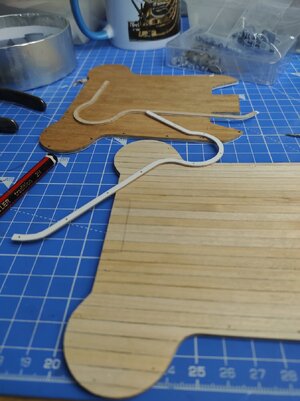
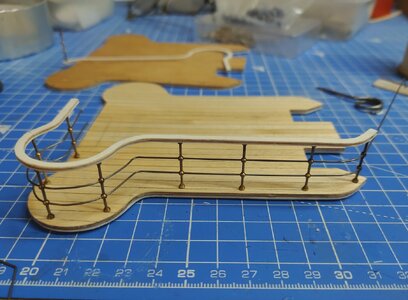
As I suspected it would, the bridge rails and capping turned out to be a very delicate job and to my way of thinking the 1mm ply that the rail cap was made of was far too fragile to drill and then hold the stanchions firmly. So both got a covering of 0.5mm styrene then drilled, ready to use. The flag locker I made a while back fitted nicely between the two sides. Don't know yet whether to make some signal flags or leave the pigeon holes empty Still a lot to do before I get to dirty wash the decking and spray with matt lacquer.
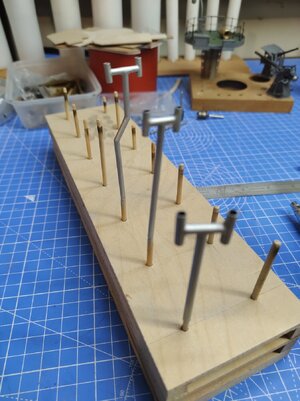
Some pics.

IMG_20240217_114947.jpgIMG_20240218_064512.jpgIMG_20240218_064523.jpgIMG_20240219_091835.jpgIMG_20240219_141031.jpgIMG_20240219_165314.jpgIMG_20240219_201818.jpgIMG_20240219_201837.jpgIMG_20240219_201855.jpgIMG_20240219_201920.jpgIMG_20240219_202114.jpg

Wheel house next, that should be fun. JJ..​


Hi Folks,
Plenty of metal work the last few days. Firstly I made an attached to the casing the steering chains pipe, the kit uses a 3mm dowel but since I want to show the chains exiting the pipe I changed the dowel in favour of a thin walled 3mm brass pipe. Along with the pipe I added four permanent ladders 'welded' to the side of the casing. You can see both in this pic..

Other small details have been added including a meat and vegetable locker, the petty officer's cabin and escape hatch, a dozen or so swan neck ventilators two fifty gal. fresh and salt water tanks sitting either side of the bandstand and an equipment locker on the casing just behind the funnel. The bandstand's RU lockers, although made to the size shown on the Caldercraft plans looked far to big so I cut them down a bit.
Then it was on to the extended bridge. This I had to remake as my original was the wrong shape with no room for both ladder and boiler room ventilators. Foolishly I built the first using kit parts and not checking the plans.
As I suspected it would, the bridge rails and capping turned out to be a very delicate job and to my way of thinking the 1mm ply that the rail cap was made of was far too fragile to drill and then hold the stanchions firmly. So both got a covering of 0.5mm styrene then drilled, ready to use. The flag locker I made a while back fitted nicely between the two sides. Don't know yet whether to make some signal flags or leave the pigeon holes empty Still a lot to do before I get to dirty wash the decking and spray with matt lacquer.

Nice tiny details, such as the ladders and railing Jack.
Regards, Peter
 
Hi Folks,
Plenty of metal work the last few days. Firstly I made an attached to the casing the steering chains pipe, the kit uses a 3mm dowel but since I want to show the chains exiting the pipe I changed the dowel in favour of a thin walled 3mm brass pipe. Along with the pipe I added four permanent ladders 'welded' to the side of the casing. You can see both in this pic..


Other small details have been added including a meat and vegetable locker, the petty officer's cabin and escape hatch, a dozen or so swan neck ventilators two fifty gal. fresh and salt water tanks sitting either side of the bandstand and an equipment locker on the casing just behind the funnel. The bandstand's RU lockers, although made to the size shown on the Caldercraft plans looked far to big so I cut them down a bit.
Then it was on to the extended bridge. This I had to remake as my original was the wrong shape with no room for both ladder and boiler room ventilators. Foolishly I built the first using kit parts and not checking the plans.
As I suspected it would, the bridge rails and capping turned out to be a very delicate job and to my way of thinking the 1mm ply that the rail cap was made of was far too fragile to drill and then hold the stanchions firmly. So both got a covering of 0.5mm styrene then drilled, ready to use. The flag locker I made a while back fitted nicely between the two sides. Don't know yet whether to make some signal flags or leave the pigeon holes empty Still a lot to do before I get to dirty wash the decking and spray with matt lacquer.

Good morning Jack. Stunning. Luckily the railings are precut. Imagine making those bends…. ;) . Cheers Grant
 
Hi Grant,
Yea, even with the reinforcement the wooden capping was difficult to handle. As for the metal rails they are made from a sort of sprung steel, 0.7mm, that came with the kit and is very awkward to work with but I think looks really nice, contrasting with the brass stanchions, and is worth all the trouble it takes to bend it and hold in the correct position. Have to work out how to represent the canvas covering yet. My thoughts so far is to use the same silkspan tissue as I sometimes make sails from.
The nice thing is since the ship was built just over eighty years ago there are a few photographs of her type around to help with the details. Not many photos of 17th century Xebecs to help you !
 
I love the detailing on your mine sweeping trawler Jack
Thanks Peter I really appreciate your comment, this is the first 'modern' ship I have built, (no sails), and I was not to sure how I would get on, or what to add or leave out. But it is a nice change if only just this once.

All the best Jack.
 
'Smoken'
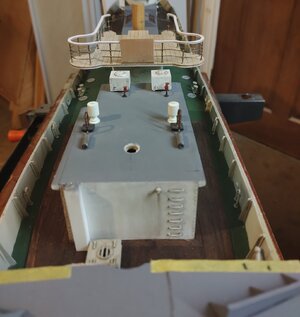
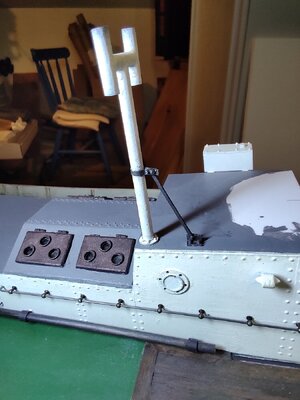
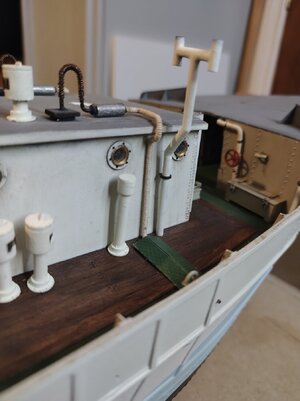
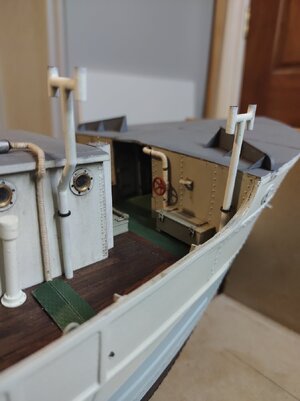
Hi folks, been a few days of mainly metal work. Sir Kay has three chimneys, one for the galley and the other two in the forward accommodation under the generator house,( you would get a good nights sleep there. not!). They are all different diameters, I made them from thin walled brass tube 2.8mm, 3.00mm and 3.20mm. Having only one temperature solder it was quite a challenge to solder all the joints at once.

IMG_20240221_093230.jpgIMG_20240222_110520.jpgIMG_20240222_203343.jpg
It was hard to judge their colour from the overexposed photographs I had showing them. At first I painted them flat silver but later decided that they where most likely WA white.

IMG_20240226_201153.jpgIMG_20240226_201159.jpgIMG_20240226_201211.jpg
I have also finished off the steering chain tubes and their sheve boxes, this means I can now permanently fix the engine room casing and think about the capping rails.

IMG_20240226_212841.jpgIMG_20240226_212900.jpgIMG_20240226_222037.jpg
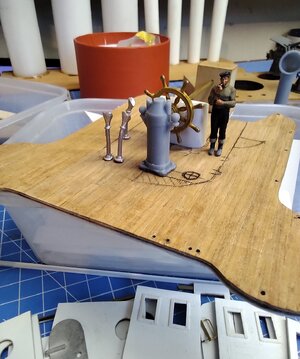
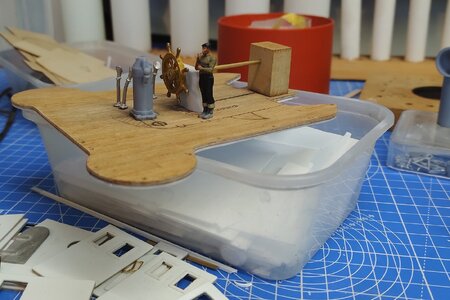
I have made a start on the wheel house, playing about with the interior, using the discarded bridge deck to plan things out.

IMG_20240227_160444.jpgIMG_20240227_160455.jpg
On reflection I think I will move the binnacle to the flying bridge and only have compass and telegraph in the wheel house. Here are a couple of pics. of the overall progress.

IMG_20240226_230029.jpgIMG_20240226_230202.jpgIMG_20240226_230315.jpg

Well three! Cheers JJ..


Wow, what a build. I just LOVE the exhaust exiting on the roof of (is it the generator house?) next to the smokestack/chimney. The details are just beautifully presented.
 
Wow, what a build. I just LOVE the exhaust exiting on the roof of (is it the generator house?) next to the smokestack/chimney. The details are just beautifully presented.
Hi Heinrich,
Yes, the exhausts that you see are on top of the generator house. Inside are two 54 kw generators and perhaps a large compressor of the type used to run the hammers that dig up the roads. I say perhaps because I cannot find out any information about how the noise that replicates the sound of an oncoming ship is generated except some references to a 'Kango hammer' and I cannot believe it would be an electric powered hammer used under water. If you look at the photo of Sir Kay on page one you will see, what to me, looks more like a flexible tube traveling from mid-ships to the arm of the acoustic bucket. I could be wrong the Lambert plans claim that this is a back hauler, but I doubt that one would have been needed. The electric generators are to power the 'LL' cables that trail out 500 metres behind the ship imitating the magnetic field created by a large ship. Mine sweeping crew ; good job if you cant get anything safer, such as Kamikaze pilot!

Cheers JJ..
 
That is a fascinating deduction, Jack and it certainly seems to be an entirely plausible one. You really research your build topics thoroughly - I love it!
 
Back
Top