First post:
The keel,
The most important part of my build.
The keel is the first piece of glueing and some sawdustig that I did on this kit. This was weeks and weeks, if not months and months ago, because I have to scan the kit's keel into my Mac so could do the preparation for the alterations, that I'm planning to do.
These steps, we all know, but maybe, I might help someone who is new to model building.
Who knows I might have an idea or so, that will help the more advanced shipwrights we have here.

The first step in joining the keel together to try to dry mount them together.
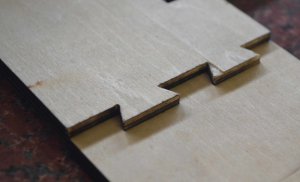
They were slightly too tight, so I got put my favourite sanding plank, my wife's nail sander, and put it to good use.
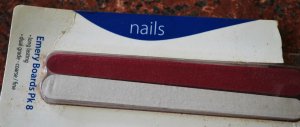
Slowly I progress, taking a few swipes of the sanding stick and try to dry mount them again.
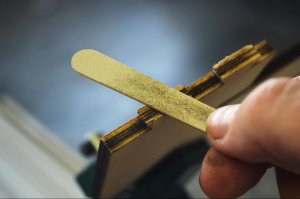
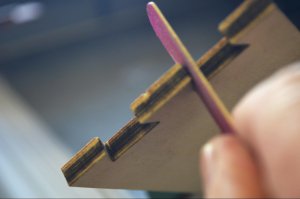
I was carefull to keep the angles the same, by only doing very light passes. I didn't care if this section took me a lot longer, all I wanted was to get it right without taking too much of the plywood.
NIK
I Think it took my 4 or 5 attempts to get a good fit. As my father always said,
time has no cost, if you are enjoying yourself doing what you love
I put a straight edge under the keel to check if it was level.
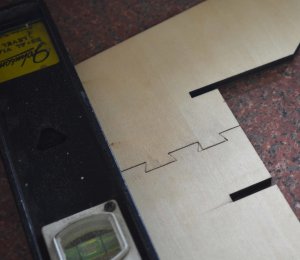
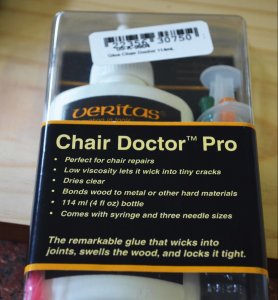
Then I used '
CHAIR DOCTOR PRO' (
Thank you Janos for posting this glue in one of your logs) to glue the two pieces together when it was dry mounted. I must say this glue is brilliant, it was sucked into the tiny spaces between the join and I believe that the glue 'swells' up the wood slightly to get a extremely strong join.
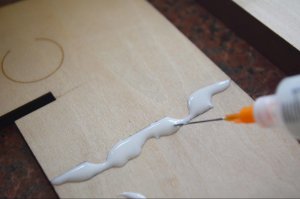
I place some non stick oven paper over the join and clamped them together with 2 external pieces of wood to make it stay draught.
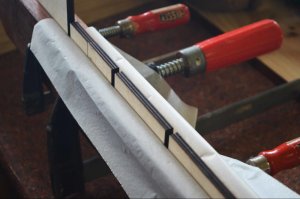
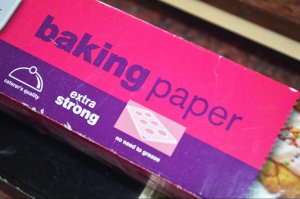
After the glue was dry and out of the clamps, I checked it for straighteners by running my eye down the length of the keel. It was straight as an arrow.
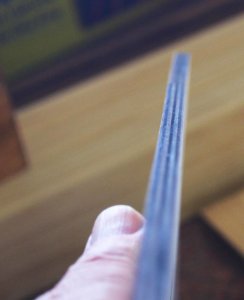
I repeated this process again for the other end and when it was completed I again, but this time the whole keel, was place in clamps for a day or so.
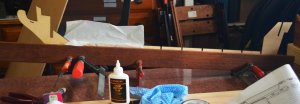
Now all I have to do now is to scan the keel into my Mac.

Havagooday and thanks for watching
Greg


