The Stand Part 1
G'day all
I would assume that this build would take me at least 5 to 6 years to complete, so the week or so that I'm working on this multi purpose stand will not be wasted.
Many of you may already know that I have Parkinson's Disease, I'm very slow, and it makes me very frustrated, because I can't work as fast as I could before PD. So I will warn you all, this build is going to be slow. Having PD will NOT beat me, and I have and always find a way to counteract the shaking in my right hand, by 'Thinking Out of The Square'. but as I have said before, I'm very slow.
Having PD is the main reason why I'm going through this trouble to construct this stand. The only time the Royal Caroline model will be off this stand is when it will be finally placed into the display case. My motto is 'better be safe than sorry'.
The design
The way I have designed this stand, is to have a swing platform that will hold the model via the keel using 12mm Hight Tensile Bolts. The same bolts will be used to attached the finished model in the display case.
This swinging base, can rotated to work on the model upside down or at 45 degrees sections. This will help me a lot in the progress of the build.
I don't trust myself to handle this large model without doing some minor or major damage to it,
if I did not have this stand.
NOTE: I will be using this swing base to help me balance the weight difference from the port and starboard sides when the merbau forms are added. (
See previous post).
The base.
The first thing you will notice about the wood that I used, has old screw holes. All the timber that was used in this stand (
and also the extra forms used in the model) are being recycled from an old step that I made for my late father, so he could step down on a large platform.
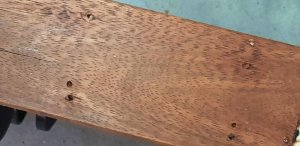
45mm and 75mm screws were used to join the pine timber to the merbau timbers side. A 5mm deep slot was cut inside and around the four sides to place the 7mm thick plywood base. This formed a a shelf under the model, so I'll be using it, to hold all of my gadgets and tools while I'll be working on the model.
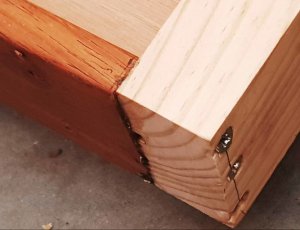 Below is the shelf that was slotted in the 4 sides by 5mm
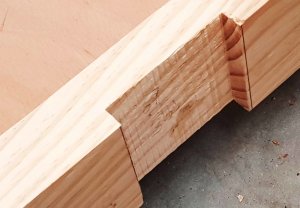
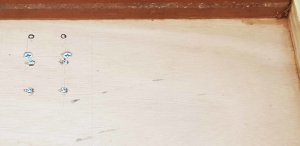 A rebate was cut in the middle of each small sides to hold the vertical post
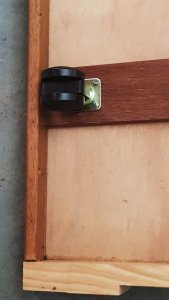
Under the shelf, three timbers were used to help hold the base and straighten it all the pieces together. On the two merbau stenghterners was placed the four casters.
The post
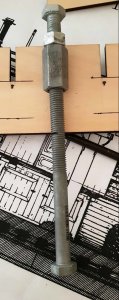
The two vertical post has each have a swinging arms, which I mentioned earlier. On the base of these swinging arms will be placed the bar that will have the 2 anchor bolts will be connected to the keel. The massive nuts will be incorporated into the keel and the the bolts will be removable.
The locking mechanism that I was planning to use didn't work as I have planned.
MY FIRST BOO-BOO IN THE BUILD! What I was planning was to file a 'V' shape on both of the protruding spacers.
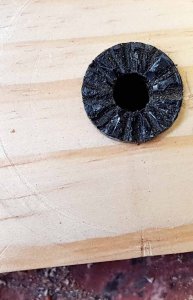
In theory the 'v' sections on both the vertical and swing arm. should be intertwine to each side to hold the model at different angles.
It worked, but it wasn't strong enough to hold any weight. So I decided to but a bolt through the outer vertical post and be anchored to holes in the swinging arms. A piece of merbau timber was placed on each of these arms for the '
wear and tear' that would invariably occur, with constant use. This is far superior than just using pine!
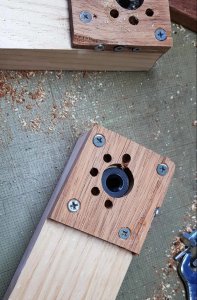
These brass bolts are screwed into the vertical post using the hidden nuts and the end of the bolts will go into the holes in the swinging arms.
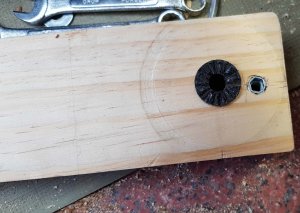 Post on left shows the brass bolt extending out. while the post on the right has the bolt protruding in the swining arm
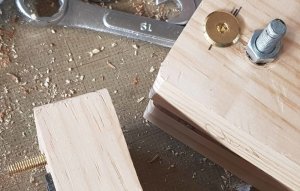 The nut on the vertical post

This worked at last, but, alas, I was out by about 3
degrees.as you can see in the next photo.
My second boo-boo. There will be more boo-boos to come, I assure you of that!
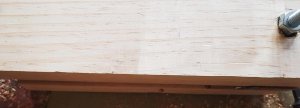
I have to work out what I can do about this problem...... hmmmm think, think, think
See
part two: The Conclusion of the Stand Build.
Thanks for watching and happymodeling to all.
Greg
