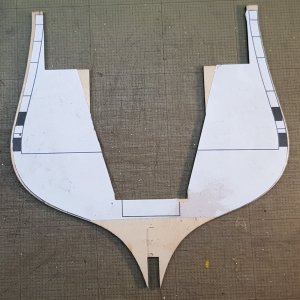
The Keel Stands
This will be in inner 'guts' and strength of the keel stands.
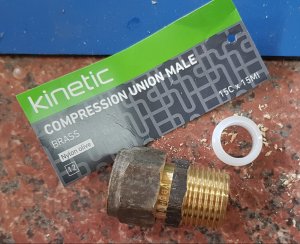
You will notice that the core is a
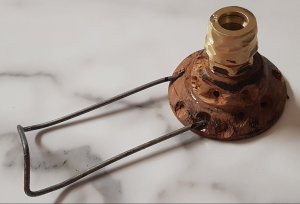
brass water pipe connector, the internal hole in this connector is 12mm and the bolts fits 'snuggling' inside. These brass fitting is screwed into the merbau round base.
The discs are 10mm x 64mm diameter and the base is 16mm x 44 diameter for the upper neck where the brace fitting will be attached.
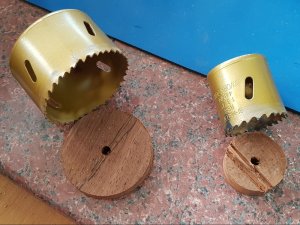
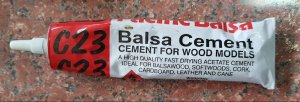
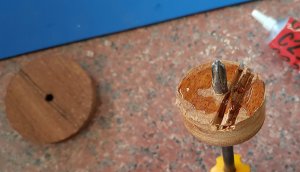
The next step was to glue the 2 pieces of merbau together. The choice glue for spread and strength was balsa glue.
Before glueing the two pieces together, a Philips Head screw driver were place into the hole so both of them will be in-lined.
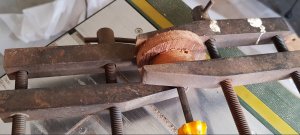
The discs were then clamped for half an hour for a extra strong bond. Normally the glue is bonded enough, after 5 minutes.
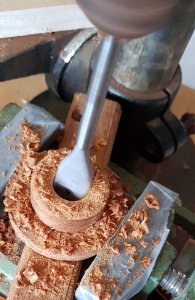
A 18mm auger bit was used to drill the hole in both the merbau discs.
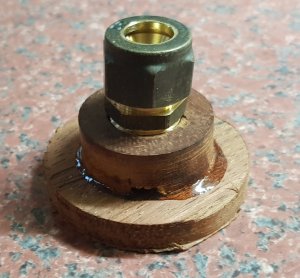
The discs were tapped and the brass support were screwed into the merbau base.
For extra strength, an epoxy glue was used to permanently join the brass in place and the epoxy glue was placed along the edges of the two merbau pieces.
The edges of the disc was sanded to a rough angle.
This would be easier to do before the brass support was glued in, but alas, it's was my boo-boo!
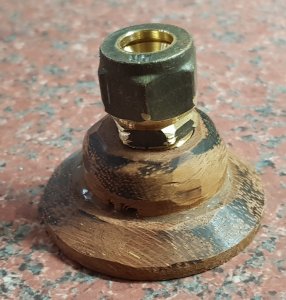
The next step was to removed the octagonal sides
of the brass support. This was a simple process by using a bench grinder.
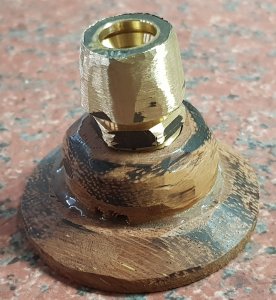
For extra support for the clay, slots were ground into the edges of the brass so the clay will bind into each of the crevices.
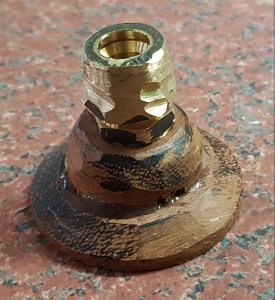
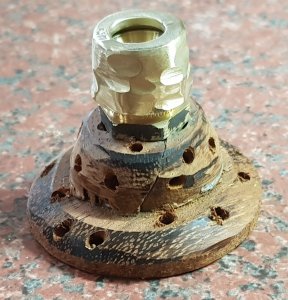
The final step was to make the merbau base rougher so the
clay will have something to cling to. Also on one of the stands there will be an extension for the carved name plate stand. A old wire cloths hanger was used as a support for the clay.
The clay was placed and molded over the stands.
I used an air dried clay over the over type because.........
I was afraid the brass could crack the outer clay shell If it was placed on an oven.
I have used this air-dried clay before and the results were quite good. The clay can be carved to get a finer detail after the drying process has been completed. The only drawback is that it's not structurally strong, but the brass will be the inner strength, and I'm not worried.
I hope that you can all are what I was trying to obtain in these 'sculptures'. If you can't,
it supposed to be a coral reef display. 
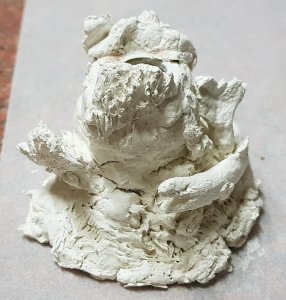
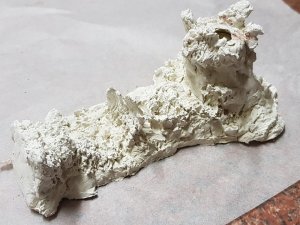
This photo shows a 15mm timber which represents the keel and the carved name plate in a rough position.
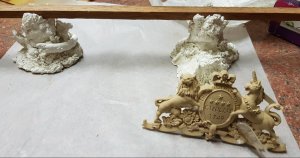
This is where I would
like some
In-put from you all!
I was planning to sprayed the whole keel stands black and then I painted gold over the black to get (hopfully) an aged gold look.
But I was thinking today.....
..........I might paint the reef scheme in their natural colours.
This way the coral, sand, rocks and the eel will be quite colourful.
Also the what should I do with the name
CARVING. Gold or paint it with different colours?
What do you all think, of these ideas of finishing: gold effect or colours of the reef?
Hmmmm I don't know which would look the best.
So PLEASE help me!
Thanks for watching and happymodeling to all.
Greg


