The ship's boat
I decided to start on the ship's boat to get my hands into something very quick..
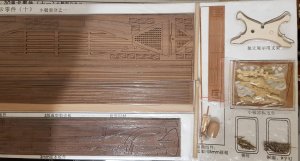
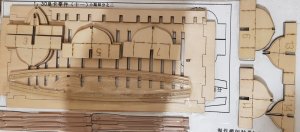 the two boards where all the boats materials can be found
After reading John's log on this boat, I knew it was going to be quite difficult.
The first step was to assemble the plug's base board. This was very simple and after getting it all level and the strength support square I put The Chair doctor glue on the dry fit.
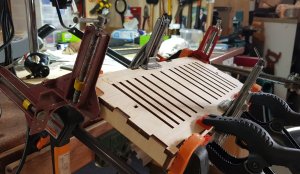
Then I noticed that it was slightly bulging on the short ends, using a large clasp fixed the problem.
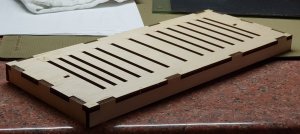 the plug's base board after removing the clamps the following day
Trimming the beveled edges wasn't that hard, the first bulkhead was trimmed by using a scaple. This was time consuming and the result wasn't that good.
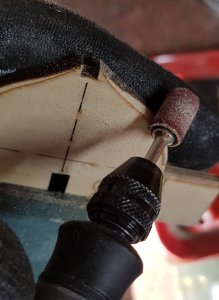
I tried to use the small drum sander on my dremel at speed number 5. It was fast enough to grind away the ply, and was at the speed where it was very easy to control.
Using my finger at the back of the bulkhead to stop the sander digging down, I guided the hand tool to the front of the the laser line.
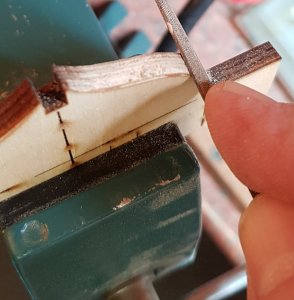
Then using a half round/flat file, a flat surface was attained very easily.
Placing all the bulkheads into the base to check fit, my next step was to mount all the bulkheads on the centre spine before placing it finally on the plug's base board.
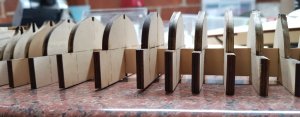
Checking to see if the all the bulkheads with the spine attached layed flat on my workbench, I found out some were higher. After some minor sanding of the bulkheads joins, the 2nd result showed all the bulkheads were flat on my bench.
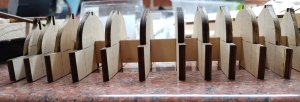
Now came the hardest part of the plug build. Assembling them on the base board.
Bulkhead 5 and 6 has to have some minor, adjustments made.and they were all on the board.
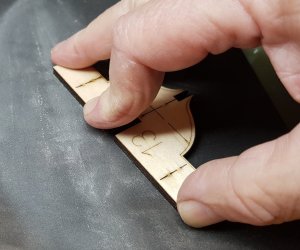
When all the bulkheads were attached to the base, turning over to see if the joins were all uniformed, told me I was close.
Checking the keel's fit was a quite simple matter. Using the keel itself and slinging it from one bulkhead to the next, quickly showed I was off by some degree.
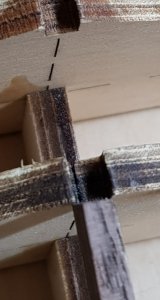
Using my gentle persuader, I tapped the bulkhead down on the port or starboard side to align each of them so the keel can slide easily.
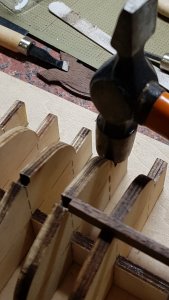
By looking down the keel's bulkhead slots showed a straight line.
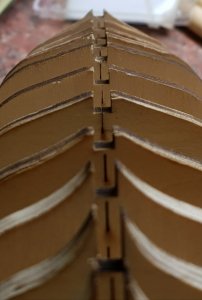
To make sure the bulkheads wouldn't move even by a minute amount, I dabbed same craft PVA glue on each bulkheads to hold it.
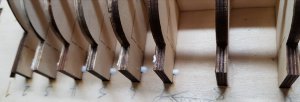
Then removing any excess glue so the glue wouldn't make it more permanent that I wanted. I thought it was almost done.
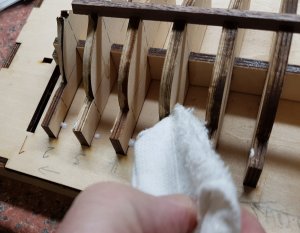
Now came a very difficult and a
'will I, or wouldn't I' monment. Bulkhead 1 don't fit coreectly. I decided to lift it up to be better inclined with the other bulkheads and the bow keel post.
I dug away very carefully the base of the bulkhead to allow for the planks. Bulkhead 1 is very fragile and great care must be observe to clean away the excess wood.
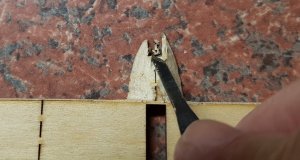
The result wasn't as beautiful, as I hoped, but it will do. I just don't want to expire my luck anymore.
A dab of Chair Doctor Glue on the joins will help hold it in place.
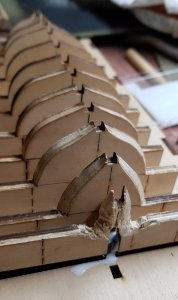
My next job will be attacking the keel.
I'm planning to do some major alterations from the kit's instructions.
More information will follow in days to come.
Thanks for watching and happymodeling.
Greg


