-

Win a Free Custom Engraved Brass Coin!!!
As a way to introduce our brass coins to the community, we will raffle off a free coin during the month of August. Follow link ABOVE for instructions for entering.
-

PRE-ORDER SHIPS IN SCALE TODAY!
The beloved Ships in Scale Magazine is back and charting a new course for 2026!
Discover new skills, new techniques, and new inspirations in every issue.
NOTE THAT OUR FIRST ISSUE WILL BE JAN/FEB 2026
You are using an out of date browser. It may not display this or other websites correctly.
You should upgrade or use an alternative browser.
You should upgrade or use an alternative browser.
ROYAL CAROLINE 1:30 by Zhl my version, by Peglegreg
- Thread starter Peglegreg
- Start date
- Watchers 31
-
- Tags
- royal caroline zhl
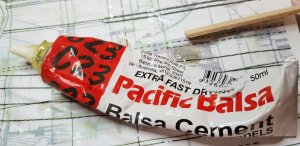
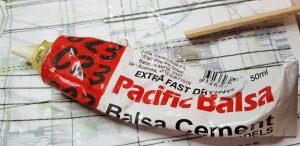
What is that kind of glue? Looking for it here in Holland but cant find it.
G'day Pat
Try to go to a hobbie store for model planes. They should have it there or something very similar.
Happymodeling mate
Greg
Hi will follow with interest)))
G'day SergeyHi will follow with interest)))
Welcome aboard and I hope that you will like your stay on this very long voyage.
Happy modeling
Greg
Дюйм Сергій
Ласкаво просимо на борт, і я сподіваюся, що вам сподобається ваше перебування на цьому дуже довгому подорожі.
Щасливе моделювання
Грег
Judt for information regarding this glue.
I done a test and it held quite good, but under more stress, it FAILED.
The timber which is used, I think it a hard form of oak or some other light colour timber must be too hard for this glue to adheae to. As said before I tried walnut and it was ok with that. Don't know what's going on.
I have to use CA after all or a new form of quicker drying PVA that I have. More experiments!
Greg
Preparation of
The Ship's Boat's
Keel and Transom
This part of the progress took a lot longer than I thought.The Ship's Boat's
Keel and Transom
Preparation of the transom wasn't hard, but time consuming. When I was going through the Chinese video of the build for the second, no the third time, I was looking for the instructions of that to go with the transom piece.
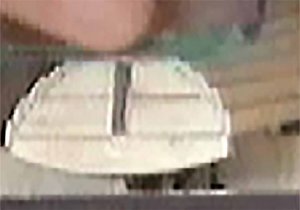
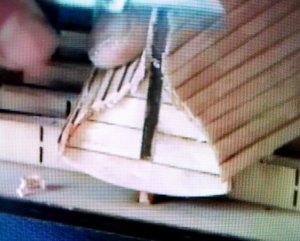
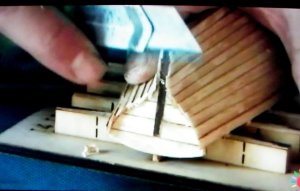
this is a screen shot of the video that I found.
I noticed in the VIDEO that the transom had notches grooved into the sides for the clinker planking. There were no written or verbal instruction about this anywhere.
I spent hours using Google Translate, to translate the spoken Chinese on the video and also translating the Chinese captions. If there was some instructions, I could not find it.
So, after that I put on the veneer trimming to the walnut transom, I decided to put a veneer around the side of the transom to help making the grooves finish. (This will have to done after I get the planking bent to the final shape in stages.)
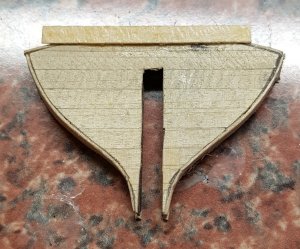
I didn't like the look of the veneer trim butting up to the veneer planks.
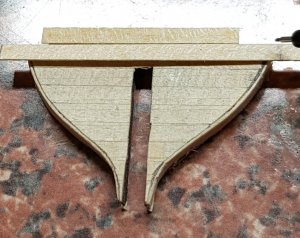
So I placed another layer of veneer so it will go to outer edge.
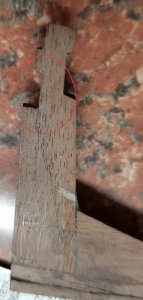
The transom didn't fit correctly on the stern post, so I cut a grove to rebate the outer face of the transom so it would be flush to the stent post. Then I decided to veneer the inside. A vertical veneer was place on the inside, just in case it was visible.
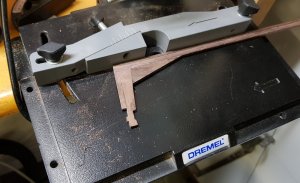
Now the keel was my next hurdle. I put the keel on my dremel router table at the correct placement, which was 2mm from the base of the keel, and cut a 0.7mm groove on both sides.
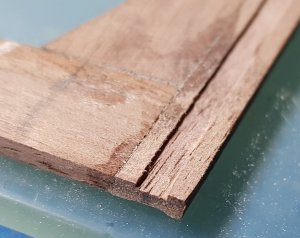
This grove would allow the first plank to be inserted into it.
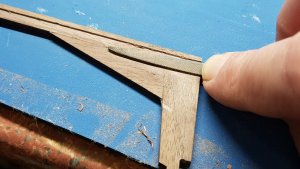
The dead wood area was carve out as a taper so it would be flushed to the transom and down to 0.7 mm to the bottom of the grove.
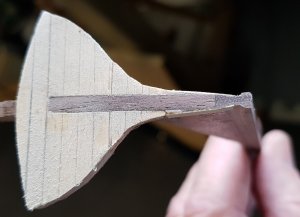
After placing the transom on the stern keel post there was a non continuous curve from the transom to the post. Two pieces of veneer was stagged and after sanding the veneer was place so the is now a smooth curve.
This might be a waste of time because there will be notches grooved into the stern post to allow for the clinker planks. It's there, just in case it is going to be used.
A minor disaster!
As I was very carefully putting the assembled keel on the plug, the bow broke off. It was weakened by the grove. I knew it was delicate, so that us why I was trying to be careful.I removed the keel and using C.A. glue it was mended, just like new. But un-known to me, the distance between to two keel post was shorter, only by a very small fraction. This resulted another brake. Damm it! was the words that come out of my mouth at the second breakage. Not really, but it was a phrase of very colorful language and it's not nice to write it down. LOL.
This time, it was mended on the plug. After cleaning up up the joins1, it's hardly noticable.
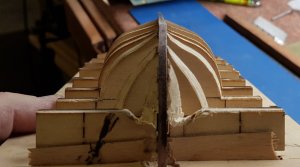
Looking down the keel show it is perfectly straight.
I have to remember to be ultra careful in removing the frames around that break.
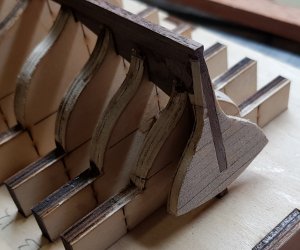
Now my next step will be to prepare all the planks and to bend them into shape. This will be in my next log.
Thanks for watching and happymodeling to all.
Greg
G'day Greg, I been through the video twice and the pics and I cannot see any notches in the transom piece, how far into and which video was it,
best regards John.
best regards John.
G'day Greg, I been through the video twice and the pics and I cannot see any notches in the transom piece, how far into and which video was it,
best regards John.
It was at the end of the first. When he is singing the end of the planks..
Happymodeling mate
Greg
Yes, that's is what I was referring to. How did you get a good quality pic?Do you mean these ones, These are just the planks overlapping each other and the stern
they arn't notched into the transom,
View attachment 46043
View attachment 46044
If these no notches in the transom, I'm going to show it. I think it looks neater?
Gteg
Yes, that's is what I was referring to. How did you get a good quality pic?
If I told you that I would have to tell everyone, I used a camera,
Good to see al this sawdust Greg.
My video isn't that clean as well.
It wouldn't work play on the main programme, so I have to intsall another.
It wouldn't work play on the main programme, so I have to intsall another.
If it is clinker built planking, I think that the stern bulkhead should be prepared to fit the clinker planks....
Thanks for your vote mate. Will do.If it is clinker built planking, I think that the stern bulkhead should be prepared to fit the clinker planks....
Havagoodweekend
Greg
A small update
Not much to report, except that my second experiment work brilliantly. This glue is PVA, but it dries very quick and when fully queried, its unbreakable and water resistant.After only about 5 min of not moving around the cohesion is quite strong.
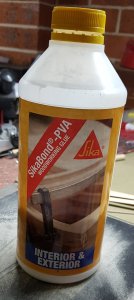
I've been working on the preparation of the clinker boards. Each board has to be thinned down at the bow and stern, so the thickness would be too great when they over lap each other.
The video instruction say to scrap each end with a blade as like a planner.. this was quite difficult and sanding down was quite dangerous in the normal manor.
What was my conclusion was to glue two types of sandpaper to the front and back of a glass place mat.
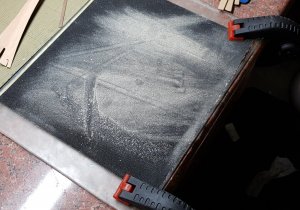
Then using the plank as a file, I gently sandal them down.
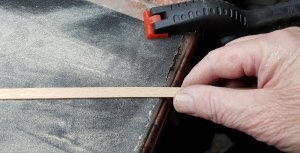
This is a very slow job to do, as you have to stop and check constantly.
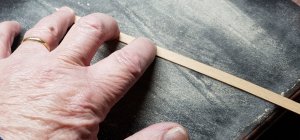
I use my fingers by pressing down hard to sand away the areas that was needed.
More to come...
Happymodeling
Greg
Last edited:
Hi Greg,
Good solution, ps do you still have finger prints left? Otherwise no travelling to the USA for the time being.
Good solution, ps do you still have finger prints left? Otherwise no travelling to the USA for the time being.


