• LUCZORAMA SHIPWRECK SCAVENGER HUNT GIVEAWAY. 4 Weeks of Fun • 1 Legendary Prize ((OcCre’s Fram Ship)) • Global Crew Welcome!
    **VIEW THREAD HERE**

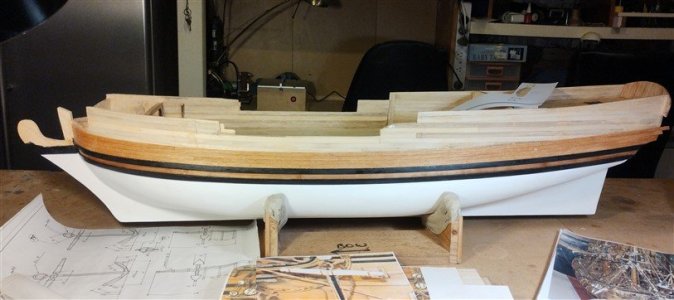
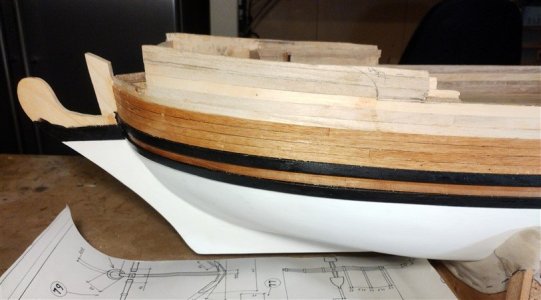
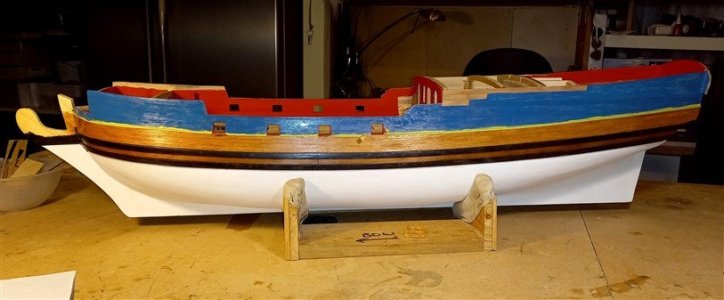
Royal Caroline Box wood edition 1/30 scale modified to fit carvings, build by neptune,

John.. your launch turned out we.ll . I did mine before I started the RC..presently have one side of the RC planked..plan to do below Wales in off white or similar. Decks are planked and opened up two areas below deck ..added faux ribs
no pics yet ???, looking forward to seeing some,

best regards John.
 
Hi John,

Great work. What happened to the small frame build kit of the chaloupe? Guess this would be with the kit?
 
Hi John,

Great work. What happened to the small frame build kit of the chaloupe? Guess this would be with the kit?

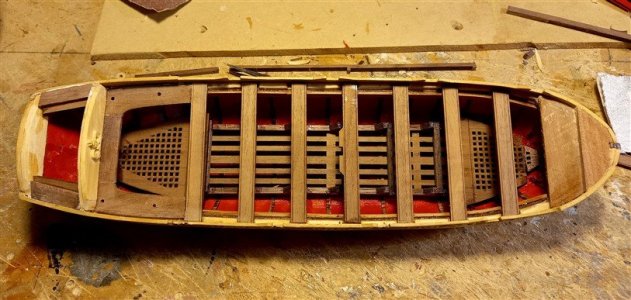
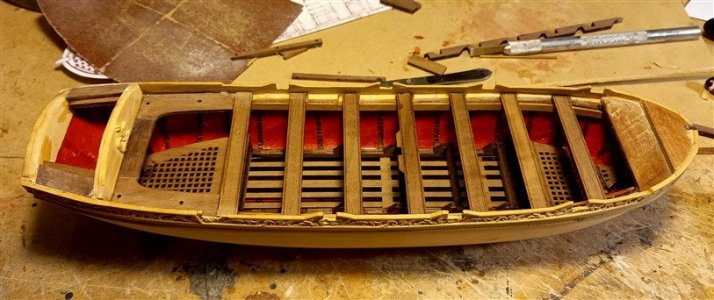
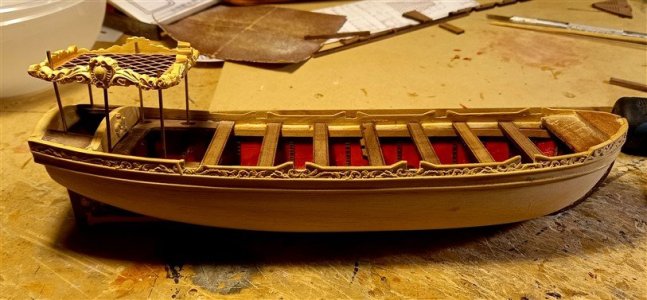
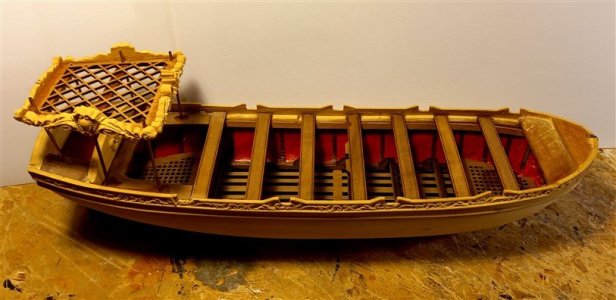
Thank you Maarten, I must have gotten some glue between the planks and the frame's on the jig, and I couldn't manage to get the planked shell away from the jig frames, all I managed to save was the keel with the stem and stern posts, so I decided to carve this one from the plan's in The Anatomy of the Royal Caroline, so the Hull is carved and then I've used all the other pieces that came with the boat that is in the kit, however I had to make a few changes because the plan of the boat in the Anatomy book is slightly different to the one in the kit, both boats are the same length but the one in the book has a wider more bluff bow and is also slightly wider along the length and at the stern, I suppose it has a shape more like a Launch, however with a few small adjustments everything seems to be working out okay.

So I also think that this shows that the Chinese didn't just copy all the plans from the Anatomy book.

Anyways I've had a great time carving out the Hull and fitting her out.

Once again thank you all for the comments and the likes,

Best regards John,
 
Last edited:
Thank you Maarten, I must have gotten some glue between the planks and the frame's on the jig, and I couldn't manage to get the planked shell away from the jig frames, all I managed to save was the keel with the stem and stern posts, so I decided to carve this one from the plan's in The Anatomy of the Royal Caroline, so the Hull is carved and then I've used all the other pieces that came with the boat that is in the kit, however I had to make a few changes because the plan of the boat in the Anatomy book is slightly different to the one in the kit, both boats are the same length but the one in the book has a wider more bluff bow and is also slightly wider along the length and at the stern, I suppose it has a shape more like a Launch, however with a few small adjustments everything seems to be working out okay.

So I also think that this shows that the Chinese didn't just copy all the plans from the Anatomy book.

Anyways I've had a great time carving out the Hull and fitting her out.

Once again thank you all for the comments and the likes,

Best regards John,
And the result is certainly wonderful
 
John..RC looking great..I have the hull planked..made a waterline jig and plan to paint off white from waterline below.. I noticed my the Anatomy book version shows the keel area painted white as well..the ZHL shows the natural wood for keel, rudder and stem..any thoughts on this? I will get my daughter to help me post with assistance from Zoly and Donnies posts.. I ended up sealing the planking below waterline with water based Minwax poly, sanded between coats. then a water based acrylic for white, in thin layers..good so far.. I was lucky to buy three boxes of holly, pearwood and boxwood ( maybe Costello not buxus) gotta check Dave's posts again..first box arrived today full of 2x4.1x4.24 of boxwood and pear.. the box weighed 23.3 pounds! I have two more coming with holly and pear ..all wood was milled /planed and lovely..
 
130.jpg
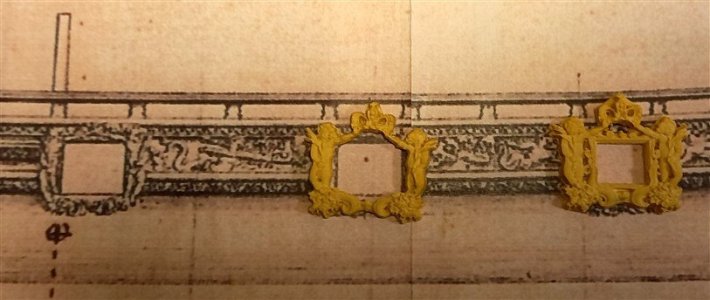
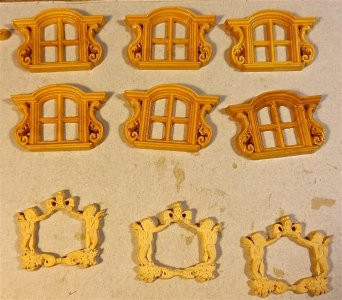
Ive started to clean up the Box wood carvings for the gun port surrounds, the one at the far right is what is supplied in the kit, the one at the far left is of the actual draught and as you can see they are shown to be different from the ones supplied, so i decided to take out the middle frame on the supplied carvings which is shown in the middle and use these,

131.jpg
and how they will sit on the model,

132.jpg
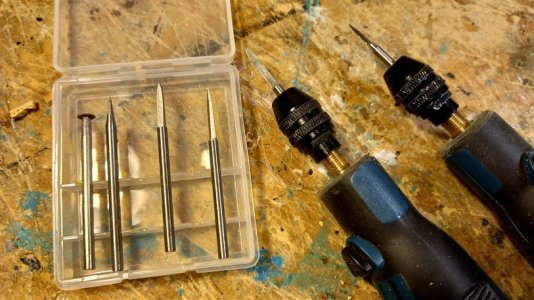
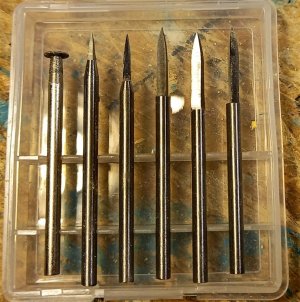
these are the carving bits that I used to remove the excess Box wood,

133.jpg
close up view, these only cost approx AUD 5,

best regards john.
 
Last edited:
135.jpg

Using the Drawings for the Carved decorations i established where all the carvings had to go, I started with the decorations that overlapped the front of the cabin where the boarding steps are located, once I was happy with these I worked forward using the drawings and the carvings to establish the position for the gun ports and then cut out the gun ports,

137.jpg
this shows the reworked gun port carving where it will eventually be fixed,

136.jpg
going back along the hull towards the stern,

138.jpg
everything seems to be fitting in OK,

thanks for looking in,

best regards John,
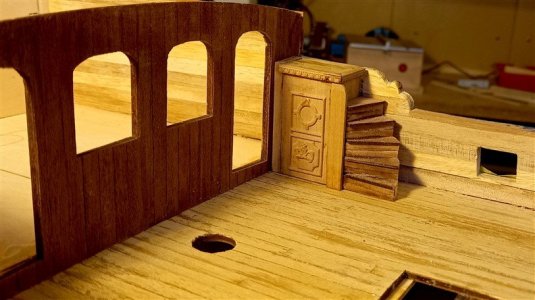
 
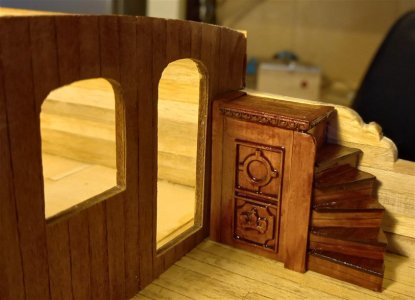
139.jpg
I made up the units that go at the corners of the Cabin front,


140.jpg
these are Pear wood so I varnished them with a light walnut to contrast with the box wood and the red paint work,

141.jpg
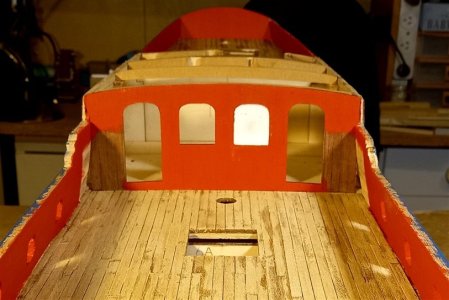
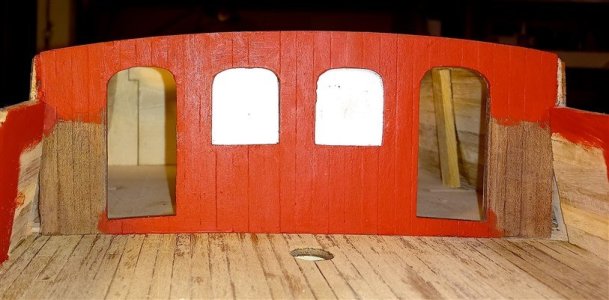
I painted all the interior bulwarks red and also the front of the Cabin, I have cut and I am testing for fit one of the cabin windows, it still has its protective covers on it,

142.jpg
and a close up, both windows done, next up will be the doors,

143.jpg
also i have painted the outside of the hull,

best regards John,
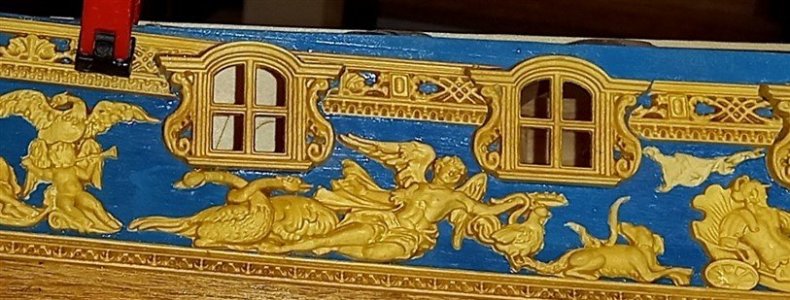
.
 
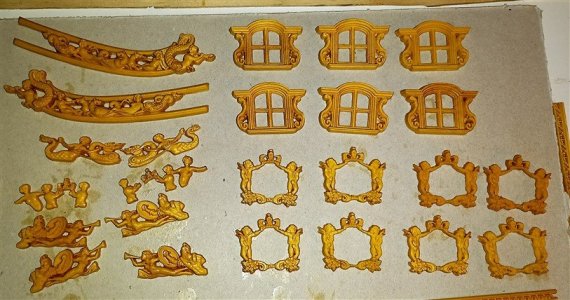
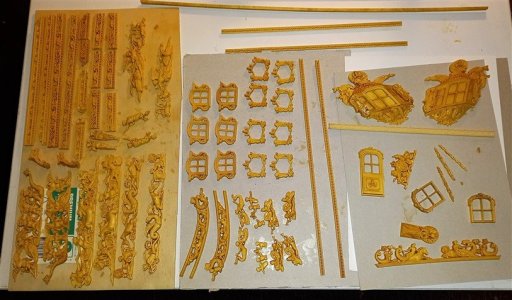
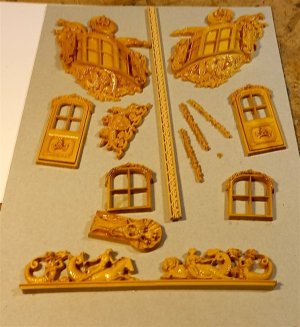
Thats all the carvings have been cleaned up and any excess Box Wood removed, for example around the carvings there were small tags to be removed and also the holes had to be enlarged and cleaned out, I then gave them all a good rub over with a small soft nail brush to get rid of any debris that may have been left, then I gave them all two coats of a good oil based clear varnish which helped bring out the nice yellow of the box wood,


144.jpg

145.jpg

146.jpg

147.jpg
the strip in the middle has to be steam bent so I will varnish it after bending to shape,


149.jpg
this pic shows the difference between the raw Box Wood, gun port surrounds bottom of pic and the cabin windows above which have had two coats of the varnish,

best regards john,
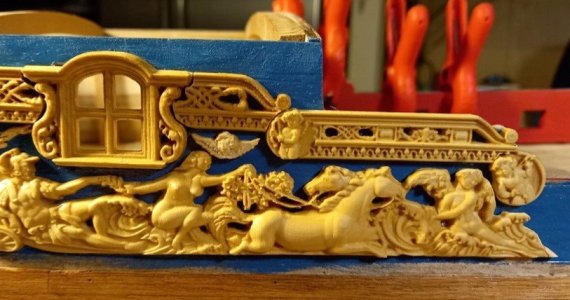
 
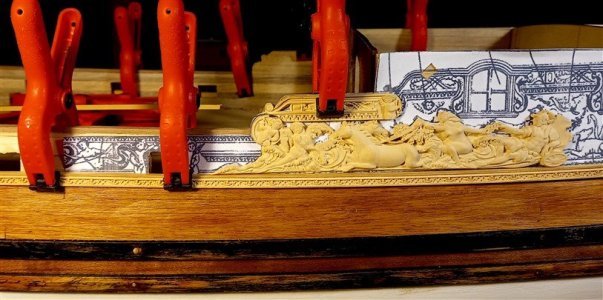
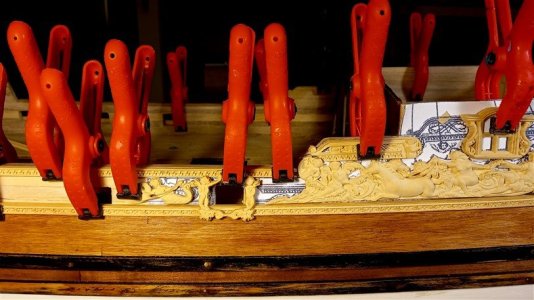
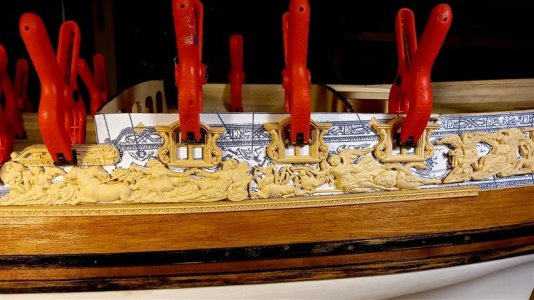
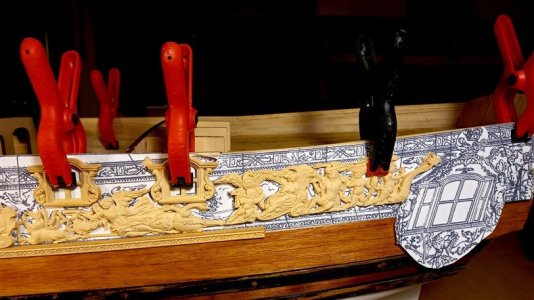
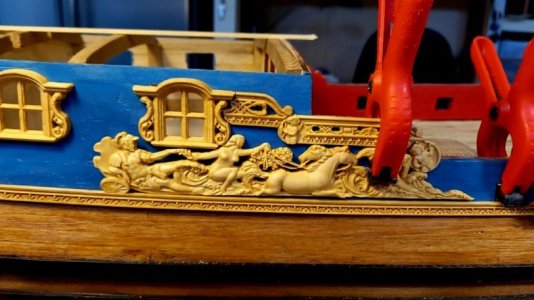
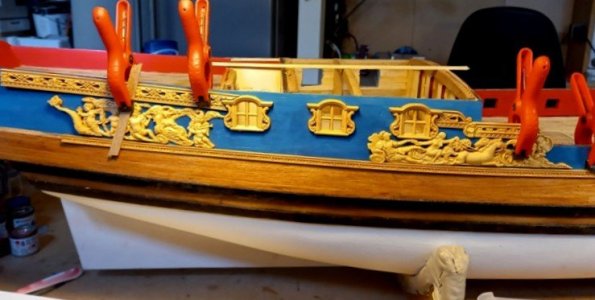
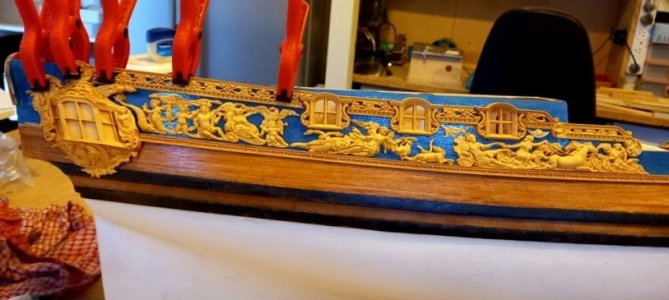
A few pics showing the layout of the carvings on the starboard side, I'd like to give a big thank you to Maarten for his explanation on the positioning of the carvings and the applying of the second planking from the top of the wales to the first carved rail that runs the length of the ship, the extra height of the second planking, ( that is keeping all the planking at the same height from the Bow to the Stern certainly makes a big difference to the overall appearance of the ship, )


150.jpg
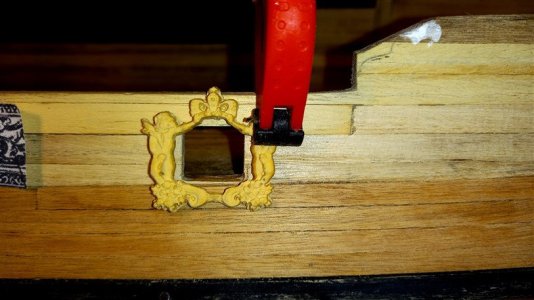
I worked out the position of the windows and attached them first, the lower carved rail is only clamped in place has i have to remove part of the top of the rail to enable the channels to fit, also notice the piece of carving that is at the front, it should'nt be there according to the draught, so i removed it before gluing the rail in place later on,
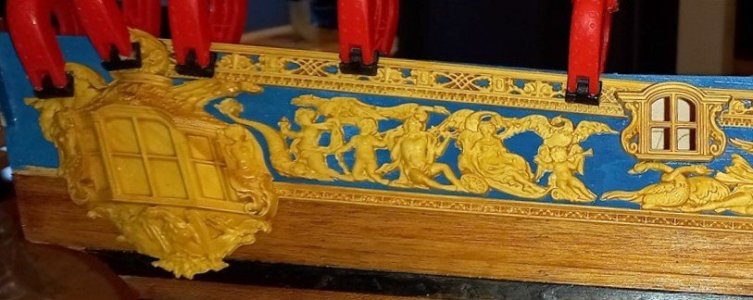
151.jpg
I tried to keep the windows separated by the same amount, with having extended the keel this was no problem,

152.jpg
the after cabin window is just clamped in place for now,

153.jpg
ans three close up views,

154.jpg


155.jpg

thanks for looking in,

best regards John.
 
Last edited:
Back
Top