Royal James sloop

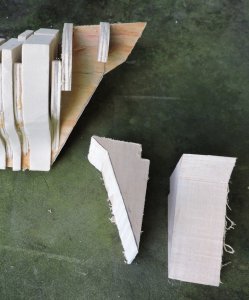
I cut a set of stern blocks out of Basswood and not the sign board because the Basswood is a little harder and takes more effort to shape. If I used sign board it only take the slightest slip to make a big mistake.
a17.jpg
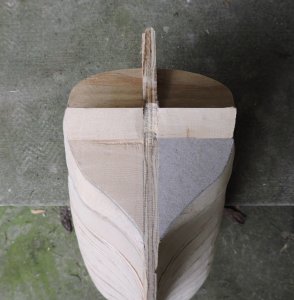
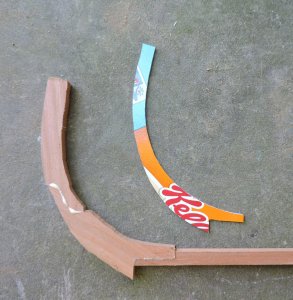
Sterns are tricky because that is where all the curves of the hull come to a meeting point and keeping everything level, square and the same on both sides. Personally I work from the bottom up because if your starting level all the upper works which set on the lower section will also be level. That straight line at the transom actually has a curve to it. I am making it straight and level as a nothing more that a reference point. I can measure down to where the lower transom meets the hull planking. On the right is a cardboard template that is the final shape of the stern taken from the plans. I flip this template from side to side to make sure both sides of the hull end up the same.
a27.jpg


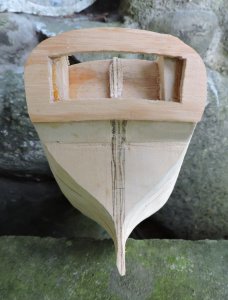
another little modification to the original I cut off the profile piece at the last bulkhead, it was in the way of the new window setup. Plus depending on that narrow point of contact between the stern piece and the edge of the profile piece was not all that great a reference point, it was more of a pivot point. I added side blocks. The hole cut into the stern or should I sat "hacked" in is bigger than the windows. The final windows and frames will be build separate and placed into the hole when I plank the stern.
a29.jpg
 
At the bow I cut 2 square blocks of Basswood for the same reason I used Basswood at the stern.
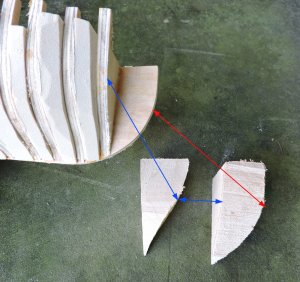
first cut is to trace and cut the shape of the profile piece (red arrow) then trace and cut the shape of the first bulkhead


a16.jpg

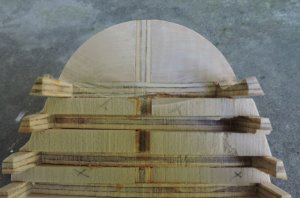
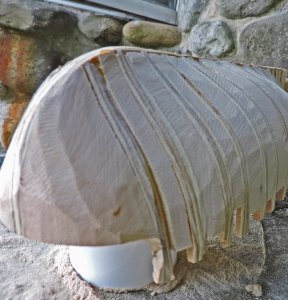
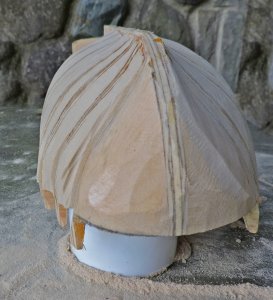
My third reference shape is the shape of the bow looking down at it. From these three references top view, shape from the front (1st bulkhead shape) and from the side (profile piece) I can now shape the bow.

a18.jpg
 
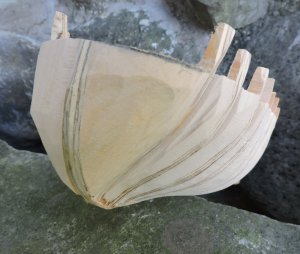
where the bulkhead shape and the profile shape meet it forms an edge which you can see to the left, it is a hard straight edge and that is what you want to shape down so these two different shapes blend into one another. To the right you can see starting where these to shapes met you work outward.

shaping the hull depends on skill of the builder there is no sure fire way just feeling and looking at the bow to get it all just right.

a22.jpg


I do rely on my three references and you can see I am staying clear of the top, I do not want to disturb that nice curves shape, I want to work up to it.

a24.jpg


a bow has a "run" and that is the hollow shape where the stem and keel meet. You can see it taking shape. This is why I only roughed out the hull in the beginning because the run starts at the bow and flows along the bottom and into the first two bulkheads. That is also why the first frames or bulkheads have a sharp bevel.

a23.jpg


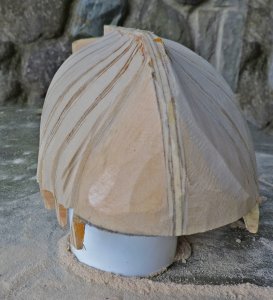
the forward bulkhead are flowing into one another and the shadow line on the right is the first bulkhead bevel line so now all I need to do is roll that shape into the center profile piece and the bow will shape itself.

a24.jpg
 
finally I have the core hull notice at the stern I chopped out that center profile piece and used side blocks

a28.jpg

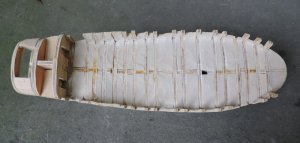
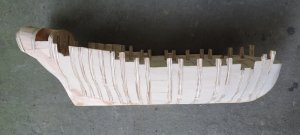
I just about have the final hull shape except for the bulwarks. I have learned from past builds putting in the gun ports and bulwarks at this stage proved to be a disaster. The bulwarks are the weakest part of the hull and will get damaged during the lower hull planking process.
I use stiff rubber bands to hold the plank in place and they will crush in the thin bulwarks. My plan is to plank the hull first up to the wales then do the upper works.

a30.jpg
 
Dave: I suspect you’ll lay a strip narrower than the keel before fitting the keel in place. A “manufactured” rabbet. Am I correct?


that is correct Dave
I noticed on great lake schooner wrecks there was no rabbit cut into the side of the keel. What the builder did was to place a timber on the top of the keel forming a T shape and that served as a rabbit for the planking. This gave me the idea of the built in rabbit rather than the cut in rabbit.
 
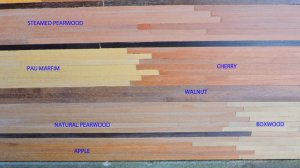
looking at the first picture I posted the Royal James looks blue I doubt the ship was painted blue but it is dark I do not think pirates painted their ship bright colors if at all. So hum? I thought of Cherry washed with a solution of vinegar and steel wool which will turn the wood a grayish bluish weathered color. See the wood topic on turning wood black. Pau Marfim and boxwood seems to bright maybe Walnut

PLANKING.jpg
 
ok break time is over back to work

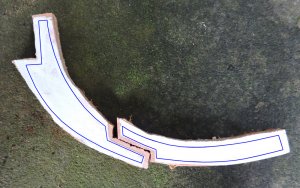
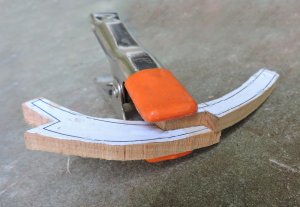
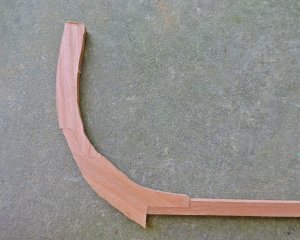
time to build the keel and stem so first I traced and made patterns for the stem pieces then roughly cut the out. They are not quite the same as on the plans it is my version of the stem pieces.


keel1.jpg


Rather than cut the pieces to their final shape then fit them together I am going to cut and fit the joinery first. Doing it this way gives me extra material all around the pieces so if I have to make adjustments to the joinery I am not distorting the final shape of the stem.

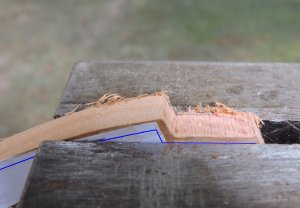
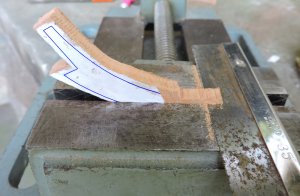
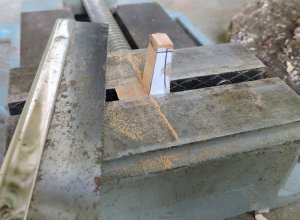
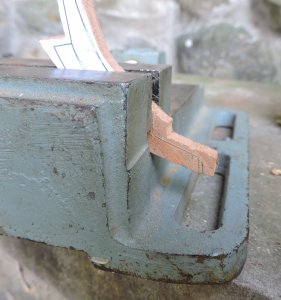
you can use an end mill chucked up in a drill press with a machine vice OR do it all by hand. Cutting joinery by hand all you need is a knife, a razor saw and a vice. I start by clamping the piece in the vice lined up with the line.

keel2.jpg

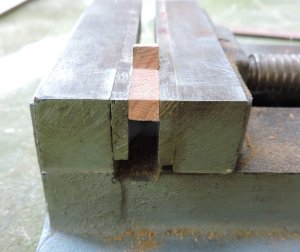
by holding the razor saw flat on the vice I make the first cut, a new sharp saw will make a smooth flat cut. sometimes I will pass a file over the surface just to remove any waves in the cut.

keel3.jpg

and the second cut

keel4.jpg

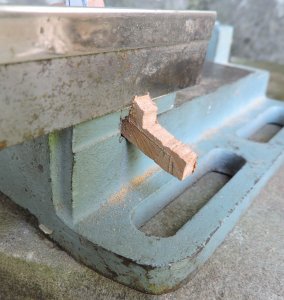
using a vice I can get clean flat and square cuts


keel5.jpg
 
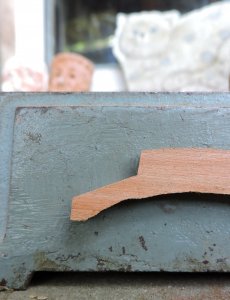
here are the cuts on the first piece. They do not have to match you pattern perfectly because it is the first part of the joinery. As long as they are square and flat your good to go.

keel6.jpg

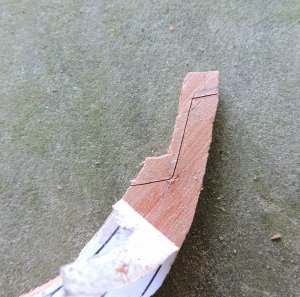
The trick to good joinery is matching the second part to the first so I clamped the first piece to the second piece

keel7.jpg

the cut along the edge giving me a sharp line to cut to

keel8.jpg

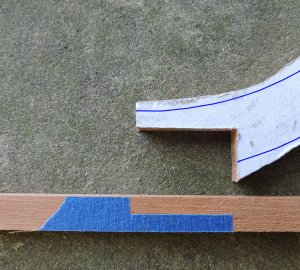
one disadvantage to cutting the line is your committed to hitting that line exactly there is no adjustments. Another method I use is with masking tape I still cut along the edge of the joint but very lightly so I just cut the tape and not into the wood.

keel8A.jpg
 
the wood for the stem and keel is Plum it is a hard wood and takes a beautiful finish. It is also just a tad darker than the natural pearwood I will be using for the hull planking
 
satisfied with the fit I will use Titebond II wood glue and just squeeze the pieces together making sure the pattern fits. I will leave the parts set until the glue firms up a bit. WHY? tell you later

keel12.jpg

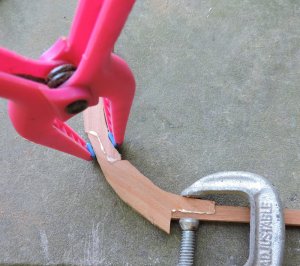
When the glue has firmed up I will pinch the pieces together NOT clamp them
keel13.jpg
 
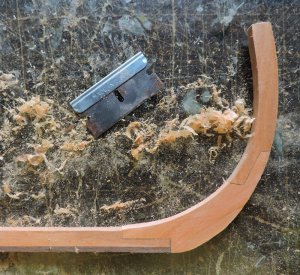
I do not sand the parts I scrape them with a razor blade this gives me a very smooth surface. Now the reason I let the glue set up a little is so I do not squeeze it out between the pieces. This will create a very fine hairline at the joint and it shows off your work. Once a finish is put on the wood it will darken up the wood and the joinery will be just barley visible. Right now you are looking micro close with bare wood.

keel14.jpg
 
Back
Top