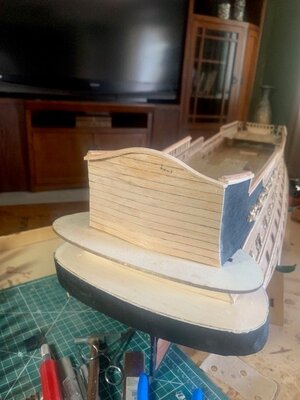
San Felipe 1690 from ZHL

Good morning everyone.

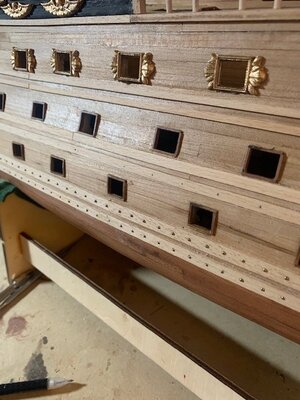
What a build!! I finished the rub rails (bulwarks, wall battens?). I took my time and I think they are fine. Next will be to build a template and either put in actual nails or make another attempt at tree nailing.

Now that these are in place I turned my attention to drilling the holes for the upper cannon ports. I want to make sure that I get these right so I decide to tack together a cannon to double check the height of the holes.

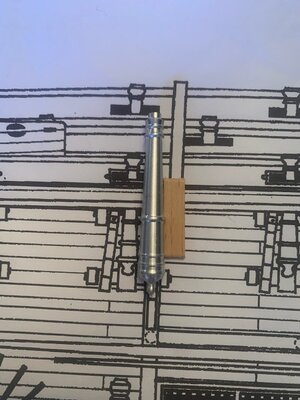
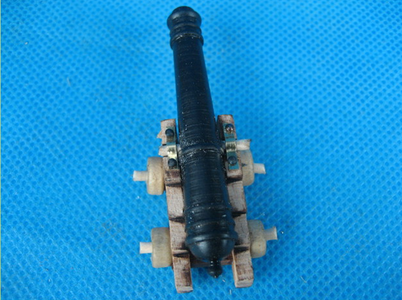
What the heck???? The cannons are huge compared to the chassis. Have a look at the two pictures below. I took a picture of the cannon sitting on it's chassis and a picture of the cannon against the "supposedly" 1 to 1 upper deck layout:
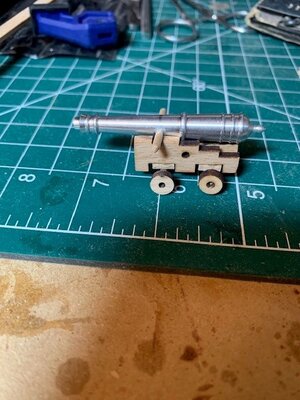
02-26-2024 Cannon pic.jpg
 
oops. I hit post too soon. Here is the other pic: Clearly something is out of whack!

02-26-2024 Actual Cannon vs the 1 to 1 instructions.jpg


I wrote a letter to ZHL to ask them to send the properly sized cannon when I decided to have a look at the instructions and have a look at a couple other ZHL San Felipe's to confirm.

Here is what I found: Turns out that this is what is supposed to be here. OK.... I guess. They are definitely going to stick out the side of the boat.

02-26-2024 Cannon pic from instructions .png


building the actual cannon is still a couple months away. My goodness.

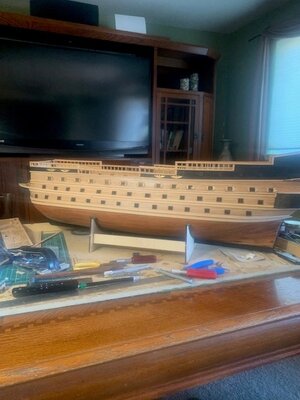
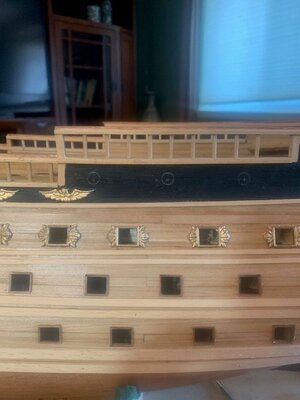
Here are a couple pics of the boat:

02-26-2024 Picture of the Rub Rails and current situation.jpg02-26-2024 Location of the upper cannon ports.jpg
 
oops. I hit post too soon. Here is the other pic: Clearly something is out of whack!

View attachment 430917


I wrote a letter to ZHL to ask them to send the properly sized cannon when I decided to have a look at the instructions and have a look at a couple other ZHL San Felipe's to confirm.

Here is what I found: Turns out that this is what is supposed to be here. OK.... I guess. They are definitely going to stick out the side of the boat.

View attachment 430918


building the actual cannon is still a couple months away. My goodness.

Here are a couple pics of the boat:

View attachment 430919View attachment 430920
WELL DONE MATE. Gun ports are absolutly well done
 
Kurt, you had better success with google translate they I did. Pretty accurate.

Last night I was chatting with one of my China based staff. She was stumped. Here is my conversation below, it's a bit of a crackup.

alisa 5:59 PM
good evening
I'm good
how are you

Scott S 5:59 PM
I'm good
did you see that email for translation ?

alisa 6:00 PM
yes
6:00
who can translation

Scott S 6:00 PM
can you or someone translate for me
6:00
do you know what it says

alisa 6:02 PM
that sounds Architectural terminology

Scott S 6:03 PM
its a type of wood.
I need to know what its used for
can you send to someone that might know

alisa 6:03 PM
build house maybe

Scott S 6:03 PM
its for a model boat that i am working on

alisa 6:04 PM
yes

Scott S 6:04 PM
I can figure out most everything

alisa 6:04 PM
like build boat

Scott S 6:04 PM
but I am unsure about these. I think I know what to use them for but I'd like some conformation

alisa 6:05 PM
ok


At this point I shifted back to regular work. Alisa and a couple others just could not figure it out as they weren't familiar with the terms. I'll stick to Kurts google translator. For that matter I'll try it again.

Have a great day everyone. What an adventure.
A bit late to the conversation, but if you have an Android phone, consider downloading and using an app called Google Lens. Using the camera on your phone, anything text you point at using the camera will have the English language translation superimposed over the foreign language text. I use it for shopping in non-English supermarkets, and for menus and such when travelling to foreign countries. I think it would suit your needs with the Chinese language instructions and information provided with your kit.
 
A bit late to the conversation, but if you have an Android phone, consider downloading and using an app called Google Lens. Using the camera on your phone, anything text you point at using the camera will have the English language translation superimposed over the foreign language text. I use it for shopping in non-English supermarkets, and for menus and such when travelling to foreign countries. I think it would suit your needs with the Chinese language instructions and information provided with your kit.
Dood! You spoiled the mystery! Geez! :rolleyes:

Now I’m out of a job…
 
Dood! You spoiled the mystery! Geez! :rolleyes:

Now I’m out of a job…
Oops! Sorry about that.... :)

Joking aside, I've been surprised by some of the subtle differences between the provided English instructions and the native Italian with some of my Corel kits. And don't get me started on the Artesania Latina "thread", when they're actually talking about brass wire or rods. lol
 
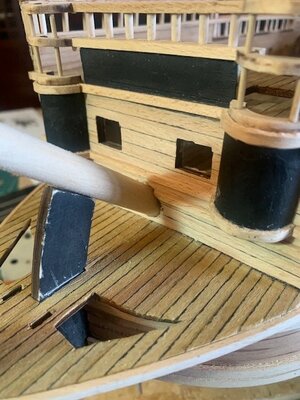
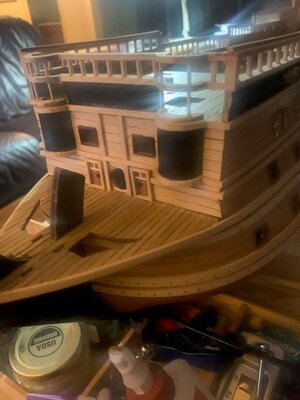
I'm back. Frustration caused me to push the model away for a couple weeks. Time to continue work. I focused on two areas. I knocked out some of the stern section and double checked the bowsprit. Had to dig out some of the area where the the rod goes into the boat. It was easy enough to just modify the rod to fit.
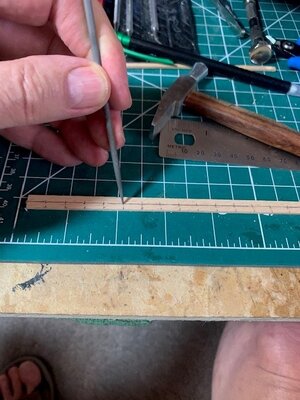
The next task that I took on was to put nails into the rub rails. I was originally going to tree nail this but my first attempt was such a fantastic failure that I decided to just put in nails. I built myself a template and 600 nails later I finished. Looks pretty good. Although I got one hell of a back ache in the process.

To change things up I'll start working on deck items. Grates etc...

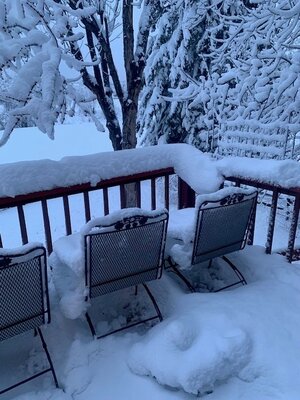
BTW - we got a crazy big snow storm here in the front range. Heavy heavy snow. Lots of tree branches broken and even a few trees completely toppled.

I am looking forward to playing around on the deck.

Have a great day.

03-17-2024 Nailing the rub rails Pict one template.jpg03-17-2024 Nailing the rub rails pic 2 using the template.jpg03-17-2024 Nailing on the starboard side..jpg03-17-2024 Stern pic 1.jpg03-17-2024 Stern with doors..jpg03-17-2024 Little bit of weather here in colorado.jpg
 
The progress looks great. Thoroughly enjoying watching your build progress... at least when the weather is crappy, we can still work on our builds to ease the pain.
 
Last edited:
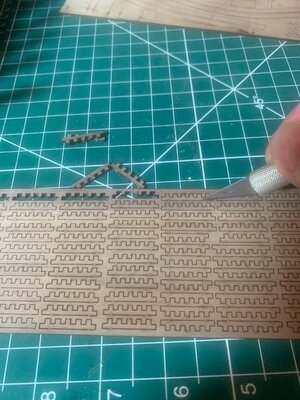
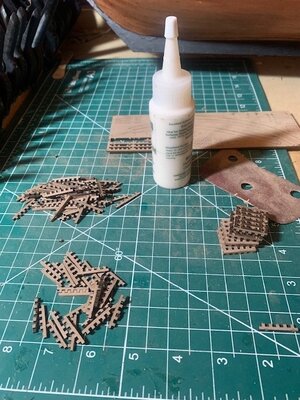
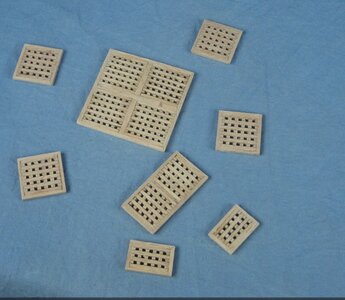
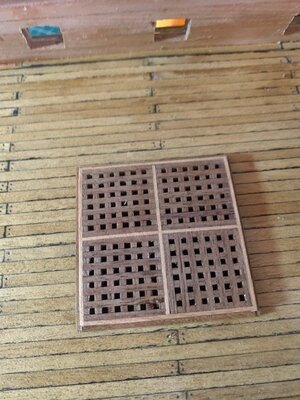
Ok folks. I decided to work in the deck for a bit. Started last night cutting out all of the grate components. It took a while for sure, but they went together without much trouble. (for a change!!!) This evening I'll finalize the trim and maybe even glue some of them to the deck. After that I'll start on the belay pin structures.

For the belay pin structures, this model does not include sails. So, I need to count the additional amount of rigging and figure out a way to add the additional belay pins. hmmmmm.

I'll get back to y'all with what I come up with. Might need some help here.

A couple pics of the grate construction below.

03-25-2024 Working on Grates.jpg03-25-2024 Working on Grates pic 2.jpg
 
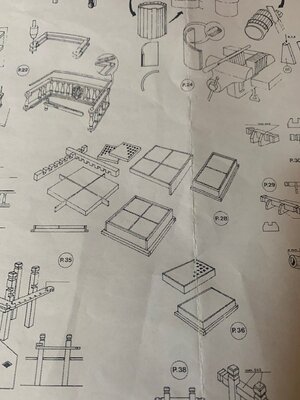
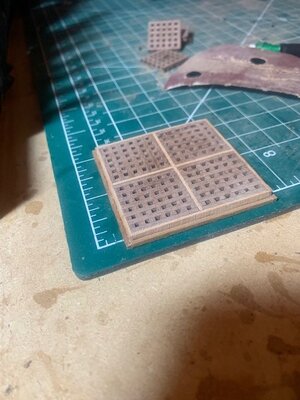
Got the internal part of the grates done. Like I said, easy enough. Now it's time to put on the trim and get them mounted on the deck. Soooo. Let's have a look at the instructions. Oh dear! Pretty sketchy. I found the diagram (sort of) on one of the paper instructions then I checked the picture to see what that heck these are supposed to actually look like. I think it's time to be creative and chuck the instructions. Just wonderful....

See below
03-26-2024 grates pic 4.jpg03-26-2024 grates pic 3.jpg
 
Got the internal part of the grates done. Like I said, easy enough. Now it's time to put on the trim and get them mounted on the deck. Soooo. Let's have a look at the instructions. Oh dear! Pretty sketchy. I found the diagram (sort of) on one of the paper instructions then I checked the picture to see what that heck these are supposed to actually look like. I think it's time to be creative and chuck the instructions. Just wonderful....

See below
View attachment 437706View attachment 437705
Good afternoon Scott. Yep, kit instructions….a necessary evil and then we abandon them at a point. Never get most manufacturers who just never seem to get these right. Cheers Grant
 
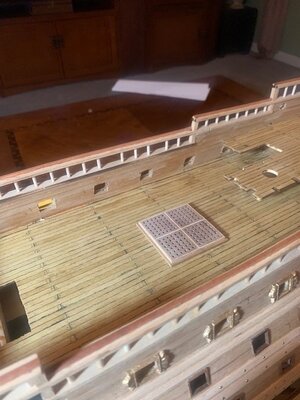
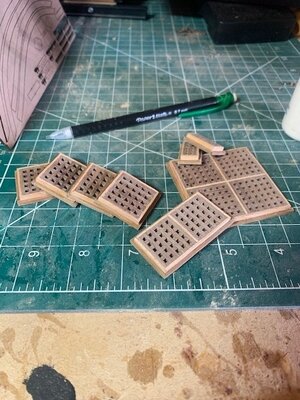
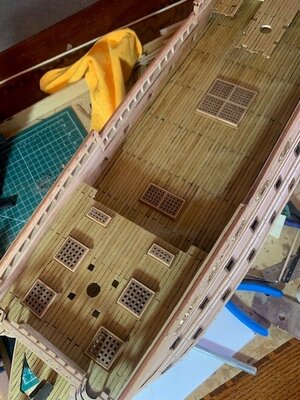
Where is what I came up with. I found a 1x5mm strip of pear and a 1X2 strip of walnut that I had left over from the Montanes. Looks ok (although I miss aligned one of the panels - arg!) I like it so I'll do this for the remaining grates over the next day or two. Something that worked out for a change.

Here are a couple of pics.

03-28-2024 Grate completed Pic 1.jpg03-28-2024 First Grate on the boat.jpg
 
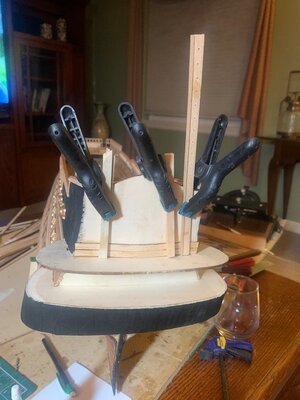
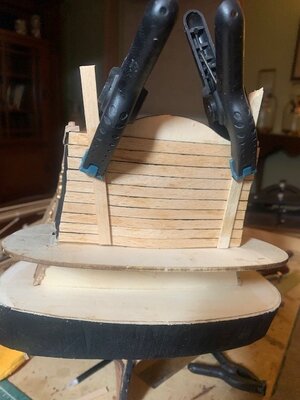
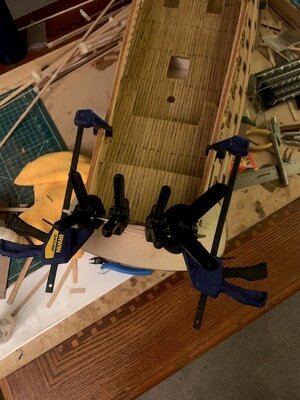
ok - now that the grates are done, I am going to turn my focus to the stern and officers' quarters. This is going to be a big project! After reviewing the instructions and pictures and a couple of videos I have a plan. Going to approach this in bite sized steps, with step one to plank the back side and get it painted. To attach the veneer, I decided to use the type of glue that will not warp the veneer. The problem with it is that it dries very slowly. It's kind of oily for that matter. I figured out that I could hold it in place by clamping a piece of wood against the plywood. Worked well.

For the lower section I will use the oily glue in the middle and tack down the edges with good ol super glue.

I am the 1st mate of the Rocky Mountain Shipwrights club. This weekend we have a booth at the National Model Train show hosted at the National Western Complex. Yep - Model Train show. We'll be displaying a few completed boats and have a couple of us actually working on things as a demo. We did this a couple years ago and we were surprised at how many people stopped by. The challenge is keeping little fingers off the displays. I'll use the super glue there because it's almost like being outside so I don't think the glue will knock me on my butt like it normally does.

Below are a couple of pictures.

04-04-2024 Starting the Stern.jpg04-04-2024 Stern planks.jpg04-04-2024 holding the top planks.jpg04-04-2024 Stern planks compete.jpg
 
Where is what I came up with. I found a 1x5mm strip of pear and a 1X2 strip of walnut that I had left over from the Montanes. Looks ok (although I miss aligned one of the panels - arg!) I like it so I'll do this for the remaining grates over the next day or two. Something that worked out for a change.

Here are a couple of pics.

View attachment 437997View attachment 437996
Your grates look awesome Scott.
 
ok - now that the grates are done, I am going to turn my focus to the stern and officers' quarters. This is going to be a big project! After reviewing the instructions and pictures and a couple of videos I have a plan. Going to approach this in bite sized steps, with step one to plank the back side and get it painted. To attach the veneer, I decided to use the type of glue that will not warp the veneer. The problem with it is that it dries very slowly. It's kind of oily for that matter. I figured out that I could hold it in place by clamping a piece of wood against the plywood. Worked well.

For the lower section I will use the oily glue in the middle and tack down the edges with good ol super glue.

I am the 1st mate of the Rocky Mountain Shipwrights club. This weekend we have a booth at the National Model Train show hosted at the National Western Complex. Yep - Model Train show. We'll be displaying a few completed boats and have a couple of us actually working on things as a demo. We did this a couple years ago and we were surprised at how many people stopped by. The challenge is keeping little fingers off the displays. I'll use the super glue there because it's almost like being outside so I don't think the glue will knock me on my butt like it normally does.

Below are a couple of pictures.

View attachment 439919View attachment 439921View attachment 439918View attachment 439920
Can’t wait to hear how you knocked the socks off of the railroad show attendees
 
I do have the English instructions if you would like them

Hi GregW
From Perth Western Australia Just opened Rhl san Filipe after a number of years I am used to Artesania Latina instructions French German English NOT the Chinese that I received. I have made 3 Endeavours with Double planking as per instructions . Is the 1 in50 Double or Single -there seems to be some confusion? Would it be possible to get a set of English instructions from you? Much appreciated Graeme
Sorry mate , only just saw this message. If you send me your email address via private message I'll send the instructions to you
 
Back
Top