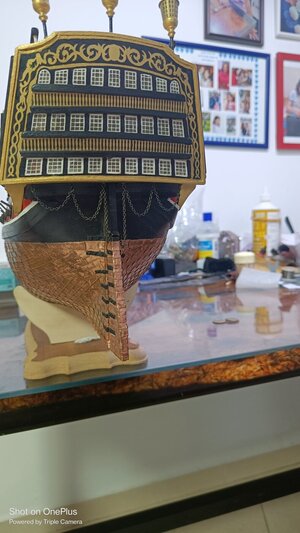
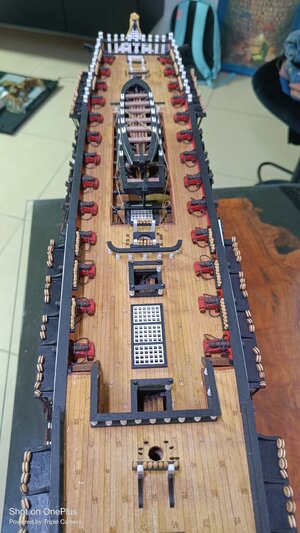
Santísima Trinidad by OCCRE [COMPLETED BUILD]

Did you say this is your second wood ship build? Is you’ve jumped into the deep end of the pool. I am impressed with your skill and with all that you have done. Please, keep your pictures coming.
 
I'm amazed! Beautiful work! Can't wait to see more progress!

Fabulous job, keep up the great work.
hello.tres belle maquette.beau travaille.

a+
Did you say this is your second wood ship build? Is you’ve jumped into the deep end of the pool. I am impressed with your skill and with all that you have done. Please, keep your pictures coming.

Thank you very you allbfir your kind words

Andromeda ,yes it is my second build.
I had other plans for learning how to build wooden ships , but this opportunity came up so i jumped to the deep water .

Cheers
 
Welcome onboard. Looks like you are making great progress Guy and the copper plated hull looks great. Will watch you build with interest.
 
Hello everyone .
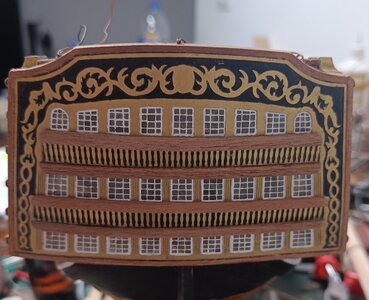
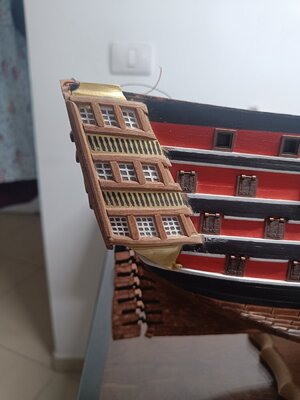
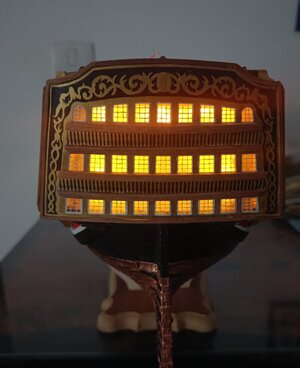
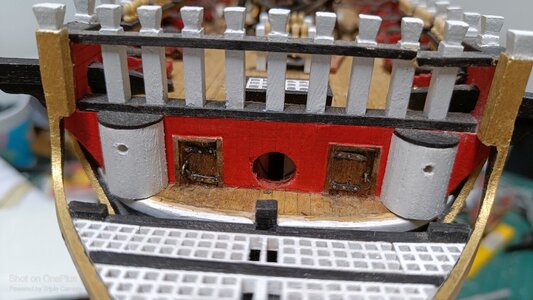
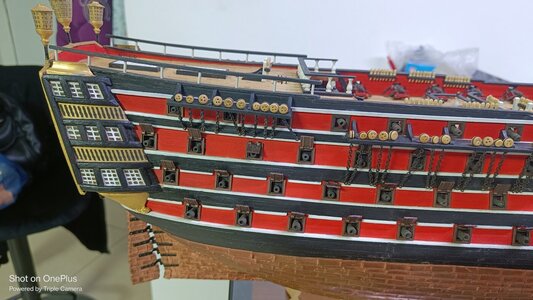
So After 3 weeks of building the officer gallery it's almost done .
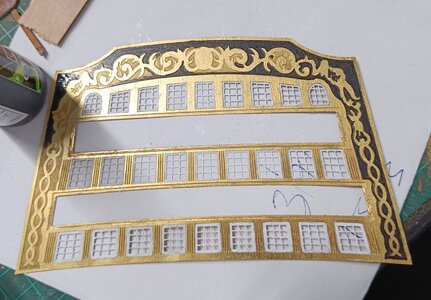
There's alit difference between the instructions and the actual build. while the instructions are showing old version of the ship with metal cast parts,the newer version of the ship all the parts are made from PE.
I took some ideas from other builds, and some improvisations.

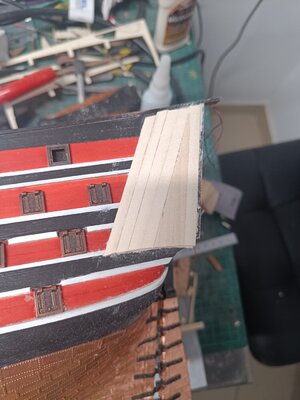
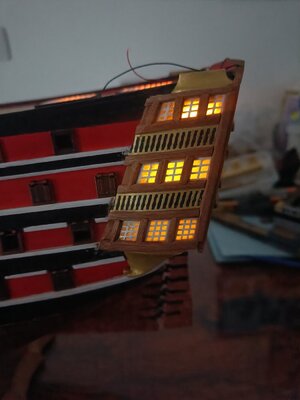
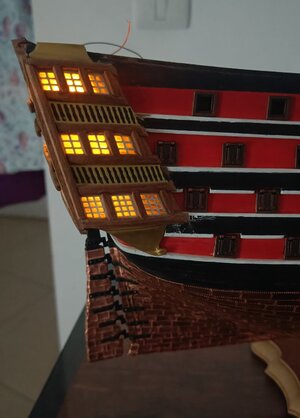
For the leds upgrade, hole in the hull need to be opened so after i marked the location of the side of gallery i made the hole.
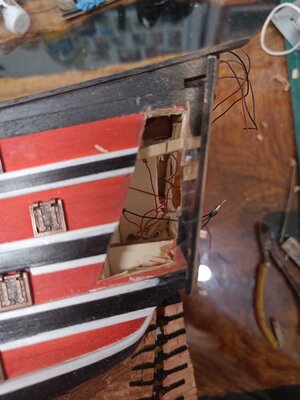
IMG20230526110704.jpg

And closing it up and trimming the excess.
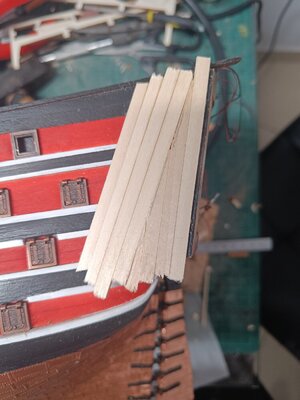
IMG_20230618_082542.jpg
IMG20230526203210.jpg

After some wet fitting i marked the windows locations and open holes again for the leds .
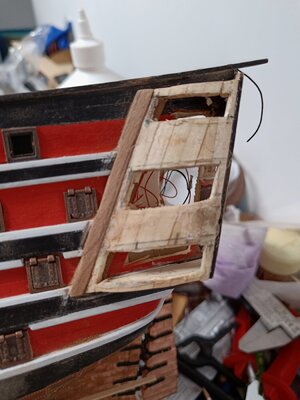
IMG20230530223301.jpg

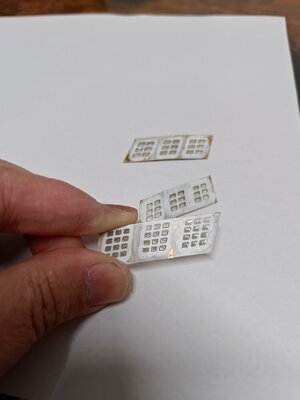
The windows parts that made from the PE came with thin clear fillment on the windows,with every tuch they torn from the windows ,so i cleard all the fillment from the windows painted them with white and filld the windows again with old TESTORS clear parts cement & windows maker
I got great results of semi clear windows.IMG20230527163505.jpg

And attaching all the parts together.
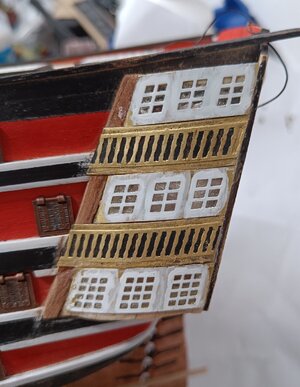
IMG_20230531_191453.jpg

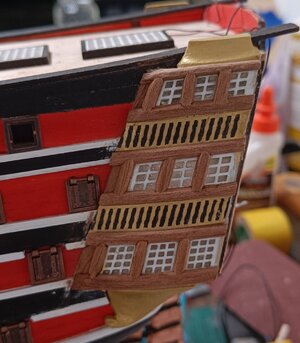
Occre's downgraded parts don't look very impressive and unfortunately I don't have the time for scratch build the entire gallery so, small upgrade of my own with ideas from other builds made the job done. Looking already beter.
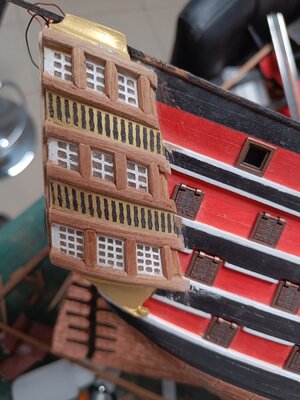
IMG20230607225050.jpg
IMG_20230610_110459.jpg

Working on the rear part was somewhat tedious withe the lack of proper instructions and illustration with the new part, so i used the same solution that John Aliprantis used ,but i less satisfied with this solution and considering to make some adjustments with the part.
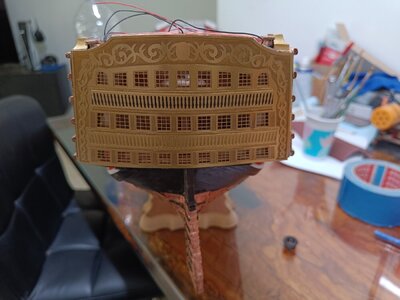
IMG20230610140525.jpg
IMG_20230610_212457.jpg
IMG_20230614_232859.jpg

And for the conclusion of the gallery build for now
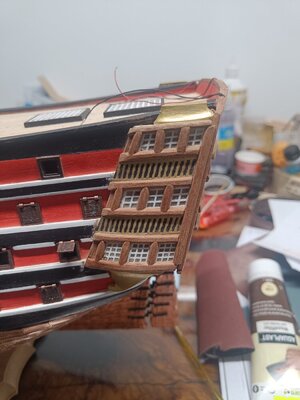
IMG20230617211706.jpg
IMG20230617211809.jpgIMG20230617212004.jpg
IMG_20230618_083009.jpg
IMG_20230618_082806.jpg

Later on i will paint the rest of the gallery and make the corrections if i will decide to make so.
But for now i will continue with other stuff to rest from this phase of the build.

Cheers and have great week
Guy
 
Helo everyone,
After long absence due to sort schedule withe the build and lots of time consuming to the Hull building phase
and August summer vacation, I finally finished the all the Hull build.

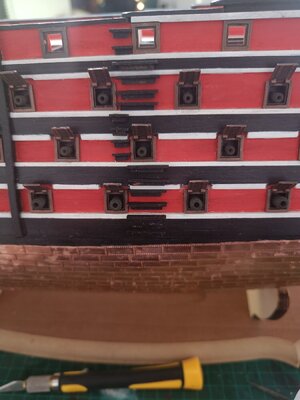
So... After ending the gallery build i started with the cannons.
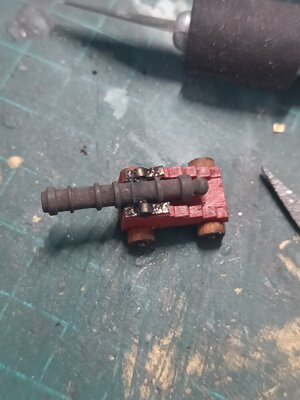
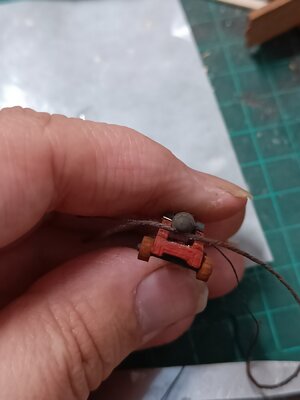
The carriage first
IMG20230617222332.jpg

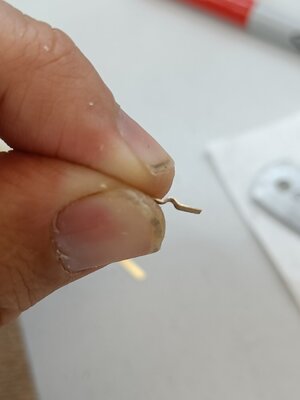
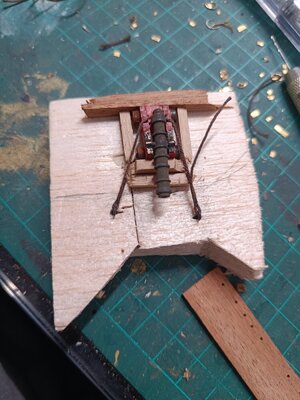
Simple jig for cannon hinges cover
IMG20230705142643.jpg

IMG20230705142848.jpg

IMG20230705143019.jpg

IMG20230705221223.jpg

The cannons rigging process also simple rigging .
IMG20230711203945.jpg

IMG20230711204125.jpg

IMG20230711204406.jpg

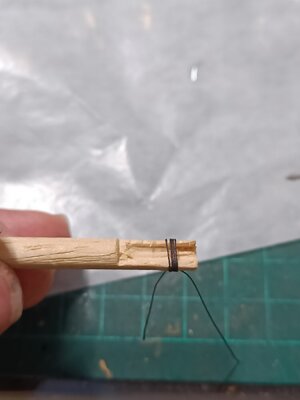
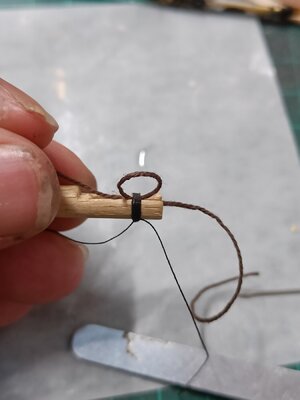
Another simple jig for the eyebolts knots
IMG20230712203637.jpg

And half of the cannons installed
IMG20230715232317.jpg

Next are the dummy cannons
From leftvto right:
Out of the box, after some sanding ,blackend and ready for install.
IMG20230624210741.jpg

The muzzle casting as
IMG20230625195635.jpg

And after drilling it to improve appearance .
IMG20230625195921.jpg

Yet another simple jig to drill the cannon pin placment
IMG20230626225239.jpgIMG20230626225326.jpg

The dummy cannons are installed
IMG20230701173600.jpg

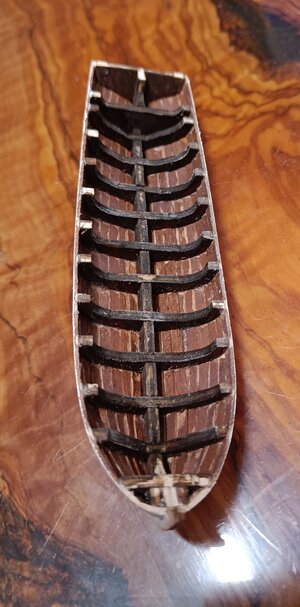
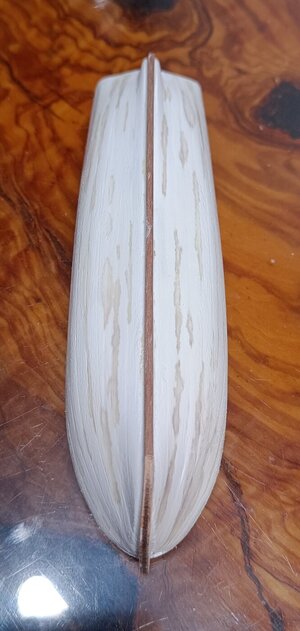
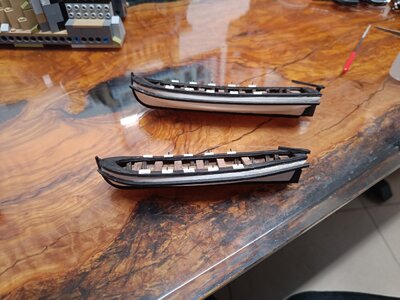
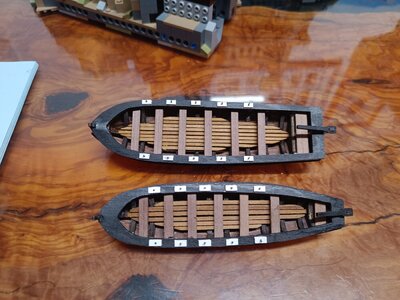
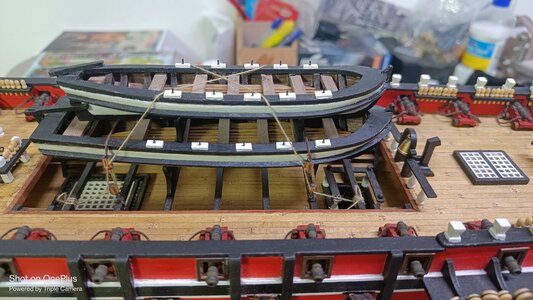
Next are the service boats , unfortunately i didn't took photos from the Hull build.
IMG_20230717_211444.jpg

IMG_20230717_211513.jpg

IMG20230722231039.jpg

IMG20230722231107.jpg

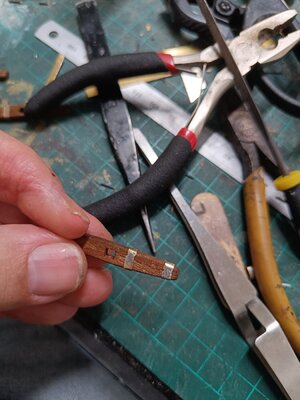
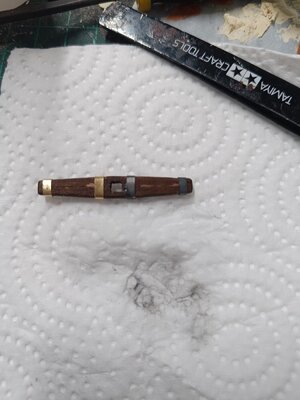
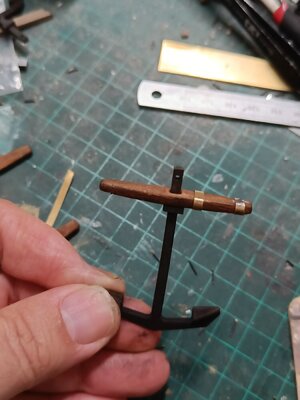
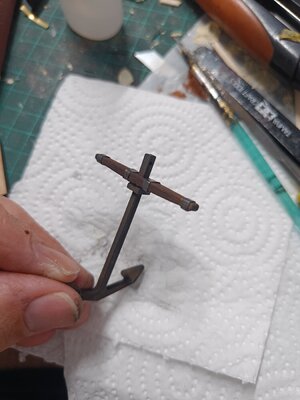
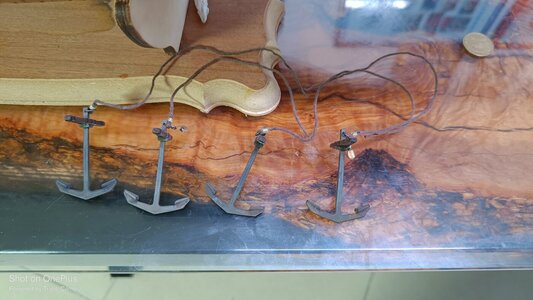
Next are the anchors i replace the metal stock that came with the kit by hand made ones made from walnut, and secured with blackened brass strips

IMG20230723174503.jpg

IMG20230724215736.jpg

IMG20230723175034.jpg

IMG20230724221413.jpg

IMG20230902222851.jpg

Tomorrow i will upload the rest of my progress.

Enjoy
Cheers
Guy
 
Helo everyone,
After long absence due to sort schedule withe the build and lots of time consuming to the Hull building phase
and August summer vacation, I finally finished the all the Hull build.

So... After ending the gallery build i started with the cannons.
The carriage first
View attachment 393063

Simple jig for cannon hinges cover
View attachment 393072

View attachment 393073

View attachment 393074

View attachment 393075

The cannons rigging process also simple rigging .
View attachment 393076

View attachment 393077

View attachment 393078

Another simple jig for the eyebolts knots
View attachment 393079

And half of the cannons installed
View attachment 393080

Next are the dummy cannons
From leftvto right:
Out of the box, after some sanding ,blackend and ready for install.
View attachment 393066

The muzzle casting as
View attachment 393067

And after drilling it to improve appearance .
View attachment 393068

Yet another simple jig to drill the cannon pin placment
View attachment 393069View attachment 393070

The dummy cannons are installed
View attachment 393071

Next are the service boats , unfortunately i didn't took photos from the Hull build.
View attachment 393081

View attachment 393082

View attachment 393083

View attachment 393084

Next are the anchors i replace the metal stock that came with the kit by hand made ones made from walnut, and secured with blackened brass strips

View attachment 393085

View attachment 393086

View attachment 393087

View attachment 393128

View attachment 393129

Tomorrow i will upload the rest of my progress.

Enjoy
Cheers
Guy
Dear Guy
you are doing wonderful work and the result is beautiful
 
Again so busy .
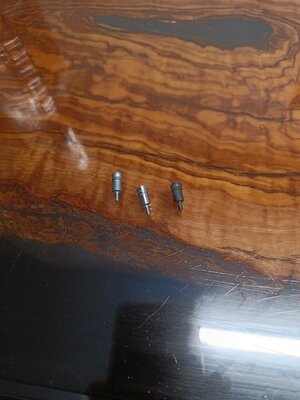
So the rest of my progress .

I installed the doors hinges
IMG20230828175502.jpg

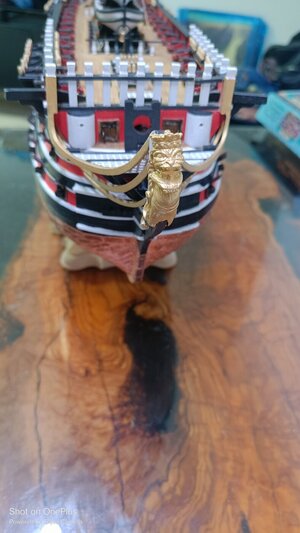
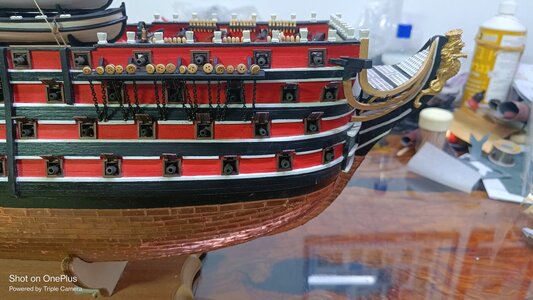
The head figure
IMG20230902222521.jpg

The service boats mountIMG20230902222540.jpg

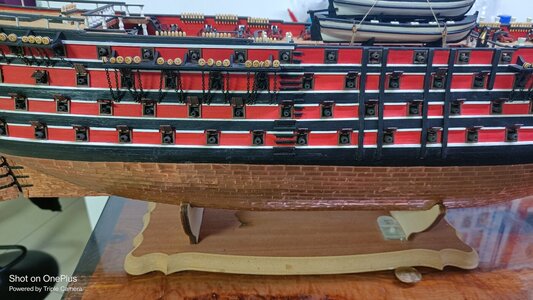
And the deadeyes installation
IMG20230902222534.jpgIMG20230902222551.jpgIMG20230902222547.jpg

Rudder chainIMG20230902222637_01.jpg

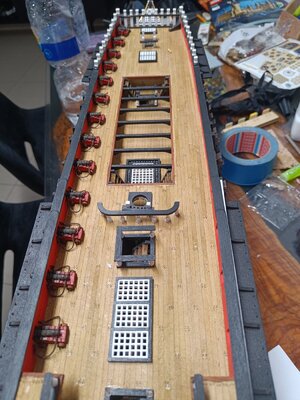
And the final photo all the deck viewIMG20230902222757.jpg

Thank you all for your kind words
and thank you for Keep following me
Guy
 
Back
Top