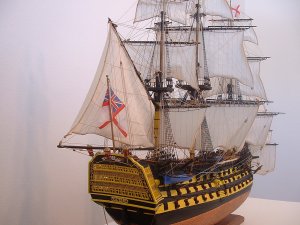
Santa Ana 1784 AL by PaulV

Long time between updates. Hot Aussie summer, & work gets in the way.
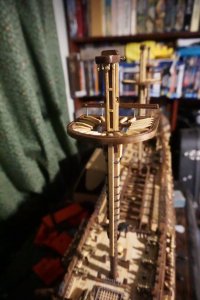
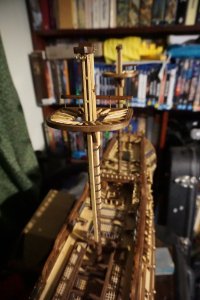
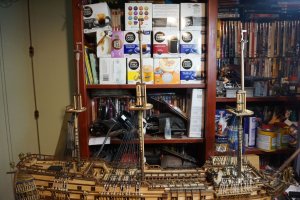
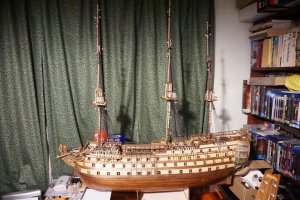
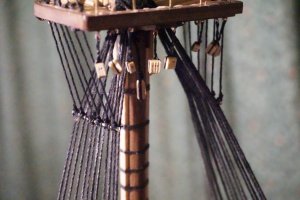
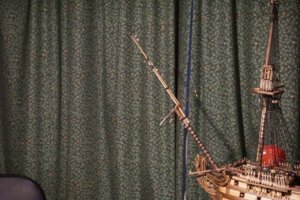
Lower masts now complete. No rigging added yet.

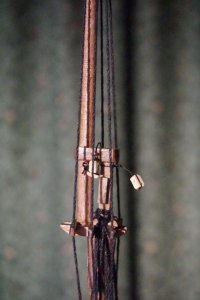
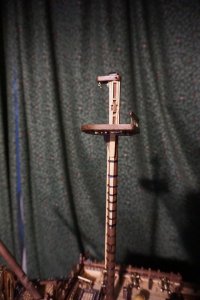
Mid & top masts underway.

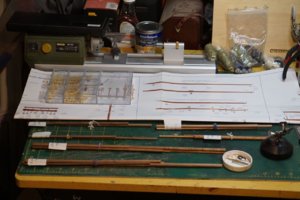
Once again AL make the building a lot more difficult than it is. They mix Main & Foremast ( called smaller main by them) parts & numbering. Luckily the 1:1 mast portions are accurate. ( But labeled Main & small Main). At least doing one makes the others easy to follow as they downscaled versions. ( Of good note wood quality is excellent.). The masts are not glued in full position in the hull yet
79438794397943679437
 
Great work,I have this kit and I am surprised we don't see more builds as it is a really nice product.I personally think she makes a nicer model than their Victory.

Kind Regards

Nigel
 
slowly but surely.
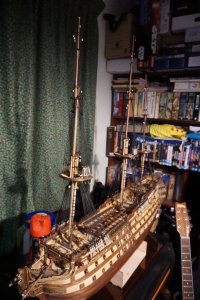
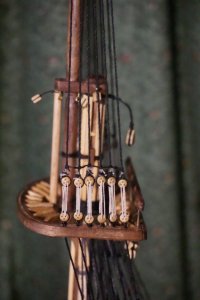
Masts now mostly complete
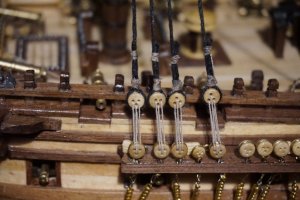
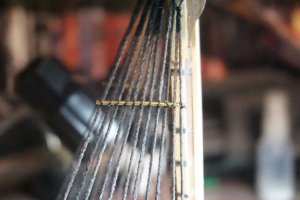
Lower shrouds commenced. Look like AL did not supply enough 5mm deadeyes. More on order.
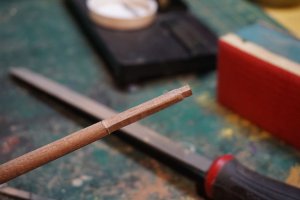
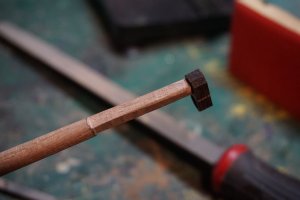
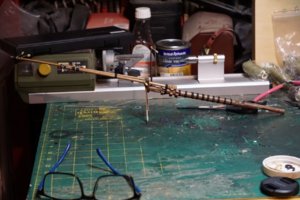
Shaping the lower masts. Tapered on proxxon db250 & hand squared with rasp. ( To lazy to use mill, and prefer hand tools for quick jobs.)
DSC03845.jpgDSC03843.jpg
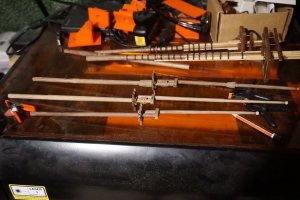
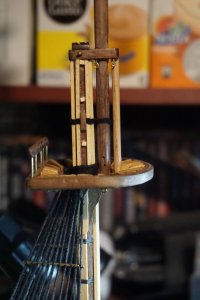
Upper masts in various stages or assembly
DSC03846.jpgDSC03847.jpg
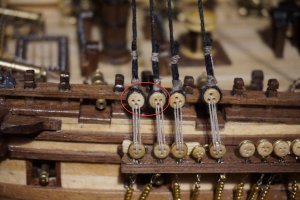
lower shrouds started for fore mast
DSC03851.jpg
and nearly completed
DSC03854.jpg
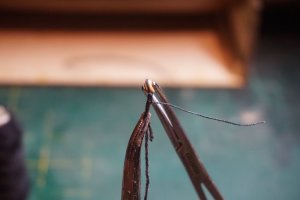
doing the old way with no template & hemostats.
DSC03855.jpg

I'll be back when the lower shrouds are done.
 
Another quick update:
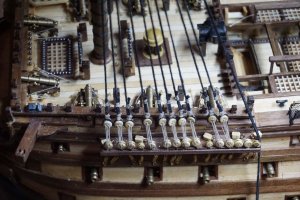
After 4 weeks, the lower shrouds are now installed and work had commenced on Level 2 foundations
The mid mast portions are completed and have been added to the lower.
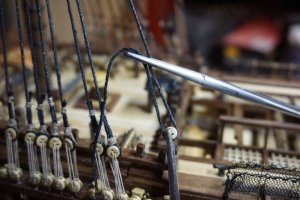
The mid lower dead eyes are being rigged at present ( 4 down 36 to go). ( The another 44 mid shrouds to be added.)
I suspect another month to complete that. With the cooler months arriving, rigging is now a relaxing pastime.
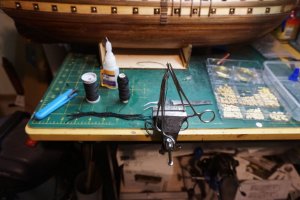
The riggers table is set
DSC03862.jpg

Tying the smaller dead eyes ( 4 down 40 to go)
DSC03863.jpg

Mid mast rigging completed & Stays added

DSC03864.jpg
Mid deadeye strop supports added
DSC03865.jpg
On to stage 2
DSC03866.jpg

See you in a few weeks with the next stage.
 
Really nice progress, Paul! ...and a nice stash of coffee, this will surely keep you productive for a while... :p
 
Jeeez you lot are busy, I'm back on page 7 of the active forum. ( 2 months since the last post)

I will update with photos, but as its just a rinse & repeat of the shrouds upwards.I wll only show the final work
All the masts are now done to the top. Final mast bock rigging has commenced.

The kit suggests completing the ratlines & stays at this point, but I i will go on to the ships boats ( 6 of them) first to clear my head and second to complete the last of the planking.

Then I will do the Yards & sail work,and add any decorative rope coils before its gets to messy.
Then but not least, Bowsprit & gun port lids etc.
That will leave me the final standing & running rigging to do and the prettying up . I think a least another 12 /18 months or more.

Unless of course the Alert becomes available. .... That will blow a hole in the timing and my status with the Admiralty.

2 years down nearly and 1.5 to go ?? Not bad for a $800 AL kit.

See you soon
 
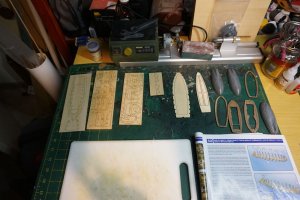
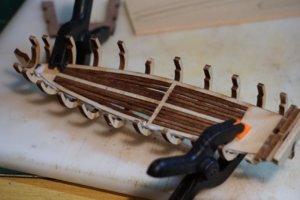
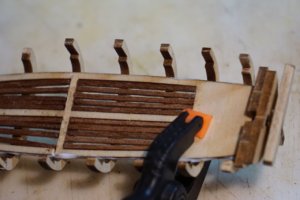
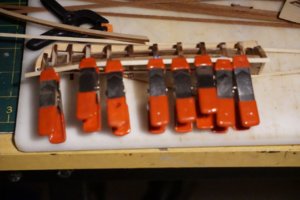
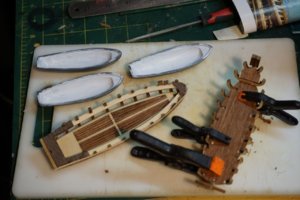
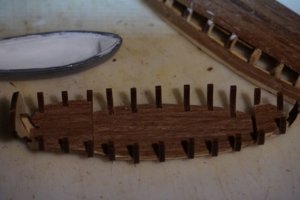
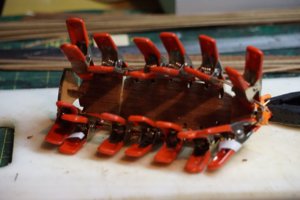
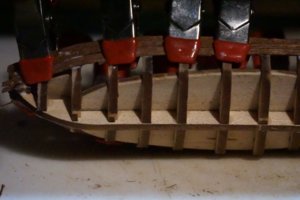
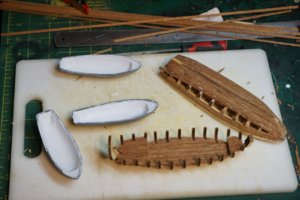
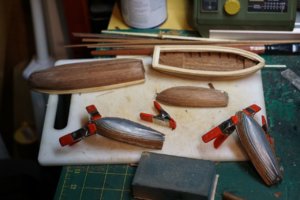
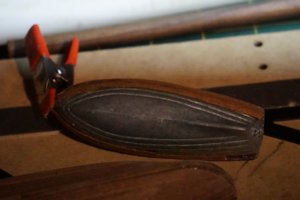
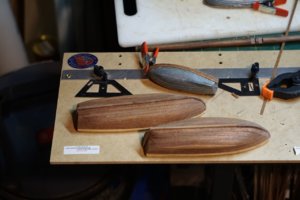
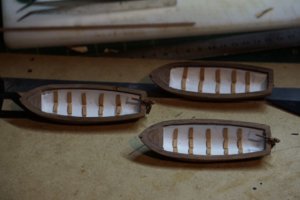
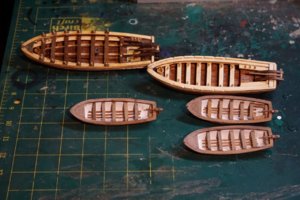
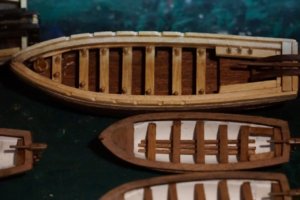
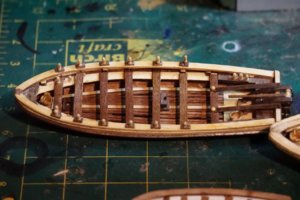
THe ships boats are now complected. They were a PIA to do. Very very fragile, very brittle plywood ribs. I can't remember how many time I broke the tops off.
The end result is great, but the effort was far more than needed. The instructions look great till you go further than the ribs and then its just add parts as per the finished photo. AL for some reasons spread the build across 30 odd pages of other processes. The photo were also as per the original kit, not the quality drip one they used to provide. Oh well , as they have now gone in to receivership, on on the shelf kits are all there is left. RIP another kit maker.

The captains boat ( a broken rib.)
DSC03880.jpgDSC03882.jpg DSC03884.jpg
The other boat. ( no name)
DSC03885.jpgDSC03890.jpgDSC03892.jpgDSC03894.jpg
Painting up the metal dingy & first planking
DSC03888.jpg
 
Hi all,

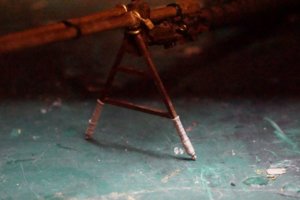
The bowsprit mast is now completed and ready for fitting. As in all the masts only the bare blocks have been added.
There is no additional rigging at this stage.
The shaping of the lower section was rather complex ( sorry no pic's) as the battery was flat in the camera.
The metal fittings used to connect the upper mast portions to each other was no the right size and require both filing of the part as well ans an adjustment to to the mast thickness.
I broke on part and had to make up a copy with some old brass wire I had laying around.

Here are some photos of the completed bowsprit and the placement within the hull.
If anyone asking YES the angle of the bowsprit is correct. its very steep on this kit
DSC03908.jpgDSC03909.jpgDSC03911.jpgDSC03912.jpg

And finally the yards sorted and ready to begin their marathon.
DSC03913.jpg


Back
Top