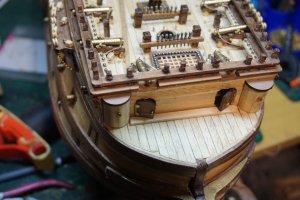
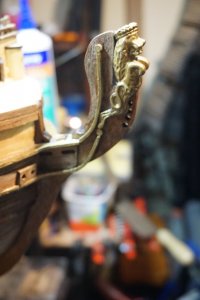
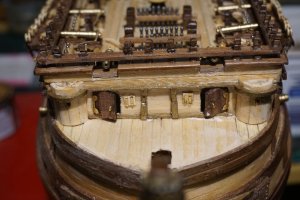
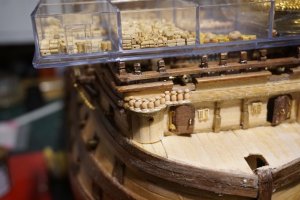
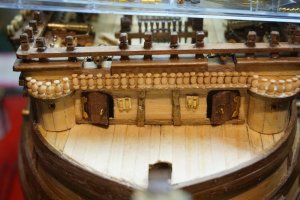
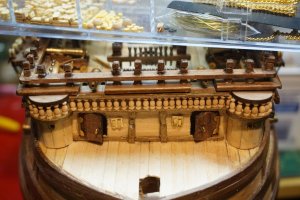
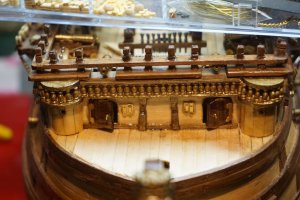
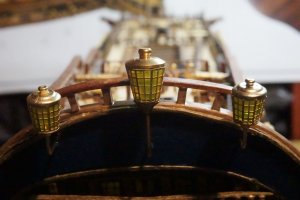
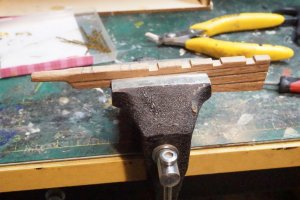
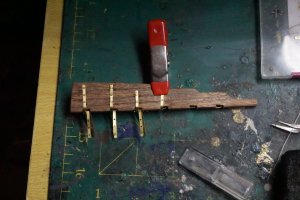
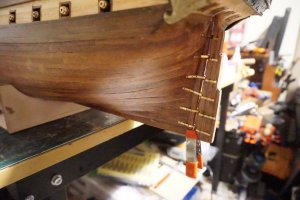
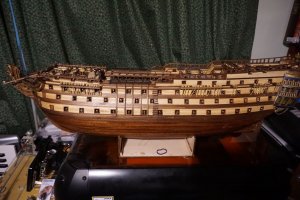
Beautiful build brother some fantastic detailed work
-

Win a Free Custom Engraved Brass Coin!!!
As a way to introduce our brass coins to the community, we will raffle off a free coin during the month of August. Follow link ABOVE for instructions for entering.
-

PRE-ORDER SHIPS IN SCALE TODAY!
The beloved Ships in Scale Magazine is back and charting a new course for 2026!
Discover new skills, new techniques, and new inspirations in every issue.
NOTE THAT OUR FIRST ISSUE WILL BE JAN/FEB 2026
You are using an out of date browser. It may not display this or other websites correctly.
You should upgrade or use an alternative browser.
You should upgrade or use an alternative browser.
Outstanding job she's coming together.
Tks all,
Been a while, summer, hot weather, gardening... and SHIP fatigue.
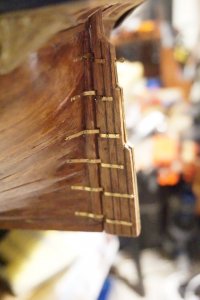
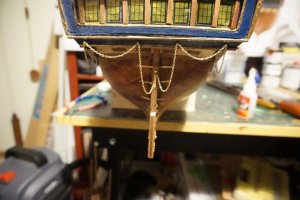
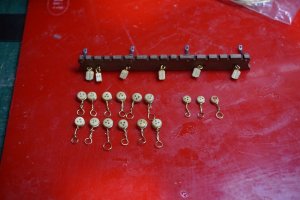
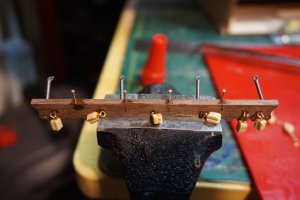
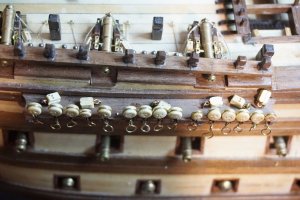
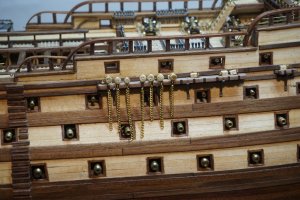
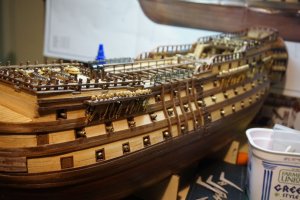
The process of completing the dead-eye & chain-whales has been slow. The 80 lower dead-eyes and AL process of twisted brass links is not a lot of fun and requires the right mind set. Mine ran away a the thought so It was a slow process.
The AL way was to create the dead-eye links & chain with brass wire. I had a go but it looked crap.( Love the Caldercraft / Amait sets but at over 100 of then it was expensive) So I ordered some 2.5mm beading chain from ebay ( $5 for 20m). Much better.
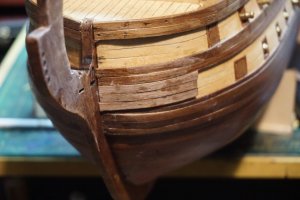
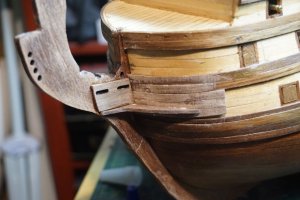
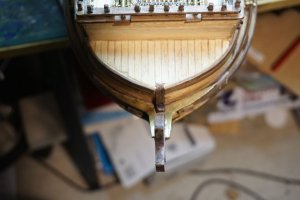
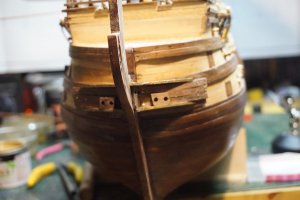
The eyes are now all done and the dolphins & bow strengthening has begun.
Hope to be back soon
Happy Modelling and have a great & model filled & safe new year
Been a while, summer, hot weather, gardening... and SHIP fatigue.
The process of completing the dead-eye & chain-whales has been slow. The 80 lower dead-eyes and AL process of twisted brass links is not a lot of fun and requires the right mind set. Mine ran away a the thought so It was a slow process.
The AL way was to create the dead-eye links & chain with brass wire. I had a go but it looked crap.( Love the Caldercraft / Amait sets but at over 100 of then it was expensive) So I ordered some 2.5mm beading chain from ebay ( $5 for 20m). Much better.
The eyes are now all done and the dolphins & bow strengthening has begun.


Hope to be back soon
Happy Modelling and have a great & model filled & safe new year
Hi Paul,
that's a huge model you have undertaken. Hope you have a special place for it in your home upon completion.
that's a huge model you have undertaken. Hope you have a special place for it in your home upon completion.
and requires the right mind set.
Interesting comment. I agree 100%. There’s something about rigging shrouds and dead eyes that really has to have a lot of focus.
Tks all, Brian no idea where its going to go, but thats a long way yet. I have a wall left in My study. Together with the Victory it should fit. ( HAH) If not I'll give it away. Hi Donnie, normally I love rigging, but I fell in to the Model doldrums for a bit. Still we battle on.
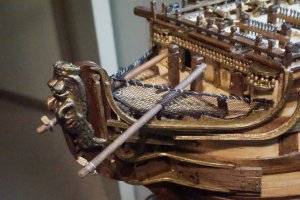
Building the bow structure, supports & Fancywork.
This was a major pain as there is no plan provided with the ship, only a final photo with incorrect part numbering. It was a build a bit, measure, build the next bit.
The bow fancy but [NEST) / WC is now complete. Next comes the bowsprit grating, netting and bits.
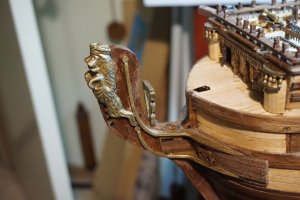
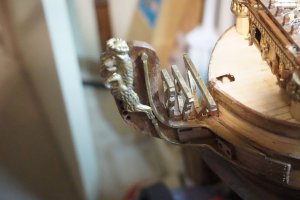
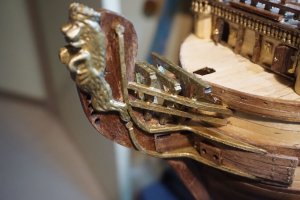
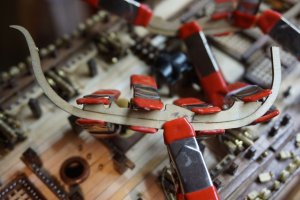
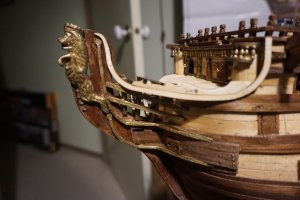
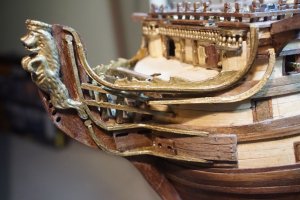
This was a major pain as there is no plan provided with the ship, only a final photo with incorrect part numbering. It was a build a bit, measure, build the next bit.
The bow fancy but [NEST) / WC is now complete. Next comes the bowsprit grating, netting and bits.


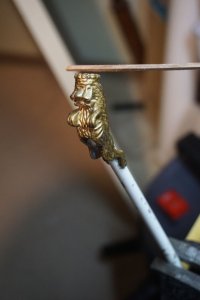
The head looks great, Paul! What do you use to paint (if this paint to begin with) for a figurehead?
Hi Jim The figurehead is cast British metal. I painted the figure and head with Strokes, White Knight Gold enamel paint ( sampler tim from local hardware store( Bunnings). I have since washed in a diluted flat black to highlight shadows.
Head greating, Bits, Rope & partial bow cleats drilled and pinned in place to bits prior to netting
Netting & final cut water decorations to be added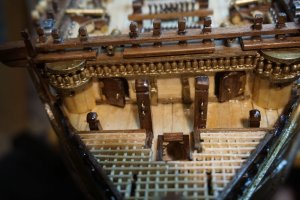
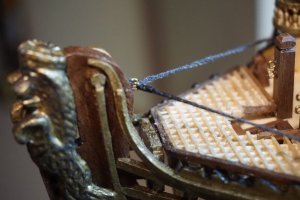
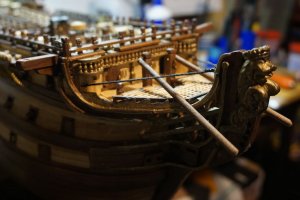
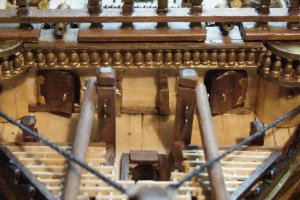
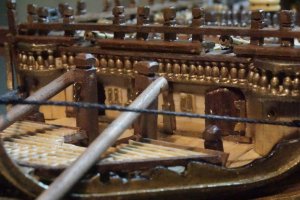
Head greating, Bits, Rope & partial bow cleats drilled and pinned in place to bits prior to netting
Netting & final cut water decorations to be added


Amazing work brother
[
The result is just great, and looks realistic!Hi Jim The figurehead is cast British metal. I painted the figure and head with Strokes, White Knight Gold enamel paint ( sampler tim from local hardware store( Bunnings). I have since washed in a diluted flat black to highlight shadows.
Hi Jim The figurehead is cast British metal. I painted the figure and head with Strokes, White Knight Gold enamel paint ( sampler tim from local hardware store( Bunnings). I have since washed in a diluted flat black to highlight shadows.
Looks great. I really like the wash. I was thinking about doing that on my Soleil Royal. I'll be testing a piece or two now.
cheers & thanks all
Good morning Paul, first of all congratulations for such a great work you are doing with this ship.
If you allow me, I would give you some information about her.
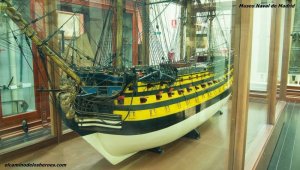
The chainplates were not siple "chains" but in some cases were very long links of iron (2 or 3) very easy to make with i.e. staples painted in black. Some other times (like in the Santa Ana) were iron bars fixed to the hull with massive bolts. This kind of chainplates can be made with hairpins.
If I'm not mistaken, the hinges of the rudder are installed upside down. The hinges in the hull are below the ones in the rudder, if not, in case of bad sea it could eventually fall down!
I hope it's not too late.
Jaime
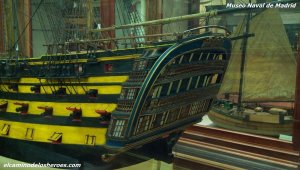
PD. Here you have a couple of pictures from the Madrid Naval Museum
Last edited:
Tks the AL kit is very different to model shown and a challenging build to say the least. Hmm to the rudder. Tks for noticing. I didn't. I'll revisit later.
Well to quote a famous film :" Here's where the fun begins...", NOT. It is mast & rigging time. As expected the the rigging details provided by the kit are sparse to say the lease. However I didn't expect them to to be this bad. The one to one scale drawings of the masts & yards are NOT one to one but a close approximation. I have decided to use them as a guide only.
The Plans ( pretend ones) together with the doco & losta ref to "Rigging Period Ships" will have to suffice. It is what it is, but if anyone decides to have a go a this kit , be prepared for some serious brain strain and patience provocation..
On with the platforms & main mast.
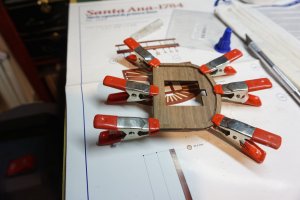
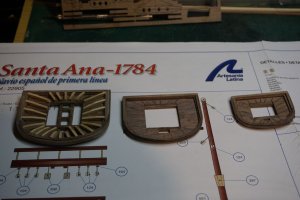
Starting the platforms ( lots of clamping)
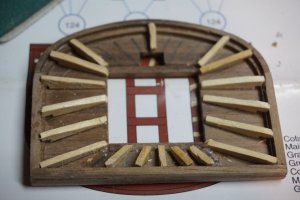
Adding foot supports
Crosstree added
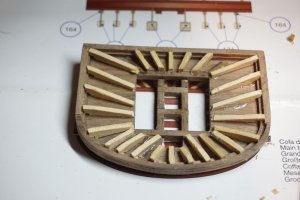
Insane 5 x 2 mm bending around the outside of the platform
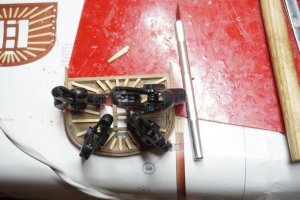
Mizzen & fore commenced
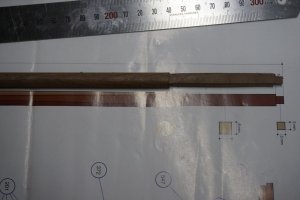
Main mast upper filed with rasp & measured with caliper. ( tool long a process to set up the mill)
Adding rails
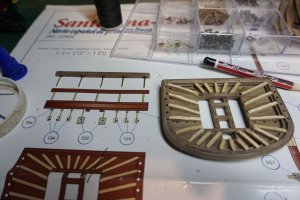
More insane bendind!!
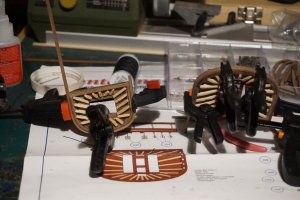
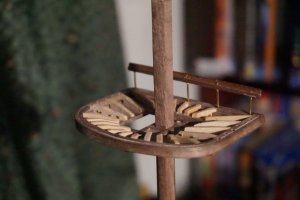
Main mast platform sitting on uncompleted mast.
At this point I ran out of eyelets. Another 400 ordered ( Large & small), Due Monday . There are lots to be added to the Masts & yards & AL do not supply enough in the kit. I will need at least 200 more. Its not a small few missing but heaps so no excuse.
I will NOT the this kit get the better of me.
 PoopPoopPoop {" wheres the beer!)
Cheers Paul
The Plans ( pretend ones) together with the doco & losta ref to "Rigging Period Ships" will have to suffice. It is what it is, but if anyone decides to have a go a this kit , be prepared for some serious brain strain and patience provocation..
On with the platforms & main mast.
Starting the platforms ( lots of clamping)

Adding foot supports

Crosstree added

Insane 5 x 2 mm bending around the outside of the platform

Mizzen & fore commenced

Main mast upper filed with rasp & measured with caliper. ( tool long a process to set up the mill)

Adding rails

More insane bendind!!

Main mast platform sitting on uncompleted mast.

At this point I ran out of eyelets. Another 400 ordered ( Large & small), Due Monday . There are lots to be added to the Masts & yards & AL do not supply enough in the kit. I will need at least 200 more. Its not a small few missing but heaps so no excuse.
I will NOT the this kit get the better of me.
Cheers Paul


