-

Win a Free Custom Engraved Brass Coin!!!
As a way to introduce our brass coins to the community, we will raffle off a free coin during the month of August. Follow link ABOVE for instructions for entering.
-

PRE-ORDER SHIPS IN SCALE TODAY!
The beloved Ships in Scale Magazine is back and charting a new course for 2026!
Discover new skills, new techniques, and new inspirations in every issue.
NOTE THAT OUR FIRST ISSUE WILL BE JAN/FEB 2026
You are using an out of date browser. It may not display this or other websites correctly.
You should upgrade or use an alternative browser.
You should upgrade or use an alternative browser.
Santa Maria - Mantua - scale 1:50 modified kit semi scratch and diorama
- Thread starter zoly99sask
- Start date
- Watchers 26
-
- Tags
- mantua santa maria
Z I agree...the walnut looks best
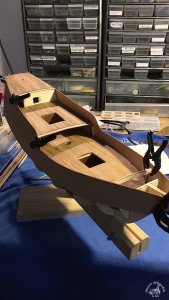
GemmaJF said:Looking good! I noticed you have built a box inside the planks for where deck fitting go, is this the approach people usually take?
Hi Gemma, I am not sure what you referring to exactly, can you pinpoint that out for me, please? Thanks.
Zoltan
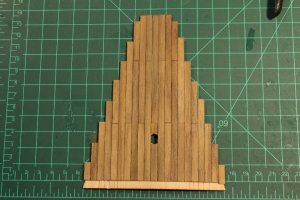
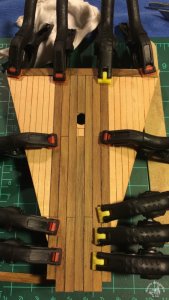
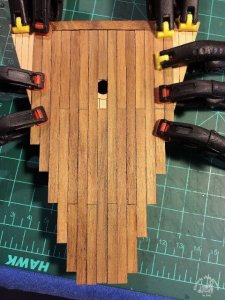
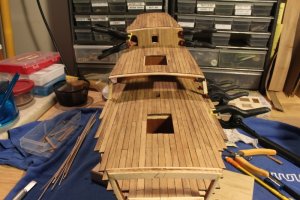
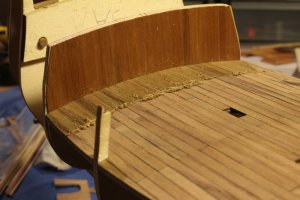
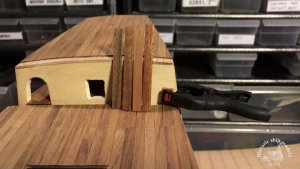
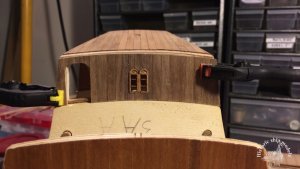
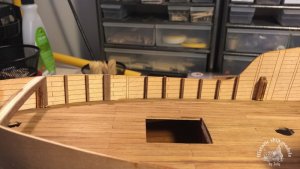
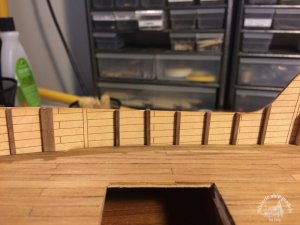
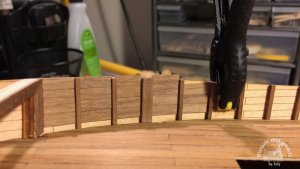
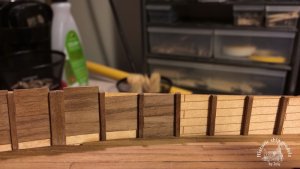
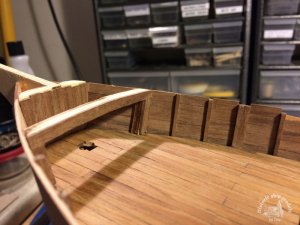
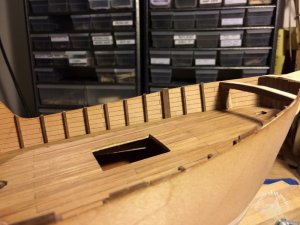
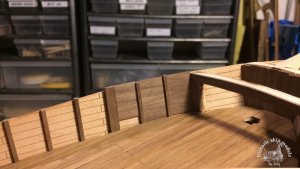
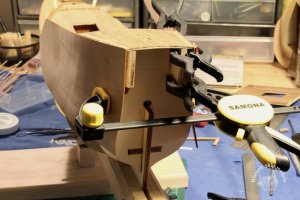
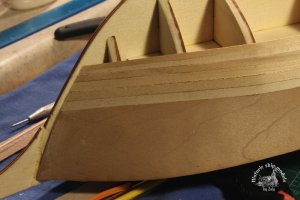
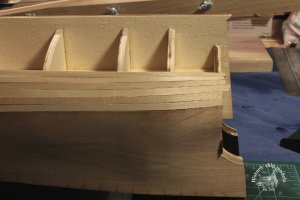
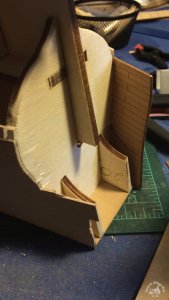
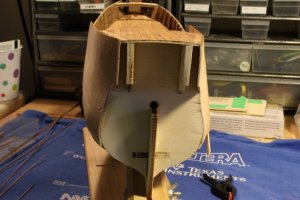
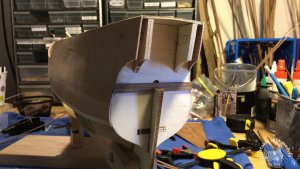
Quarterdeck bulkhead planking
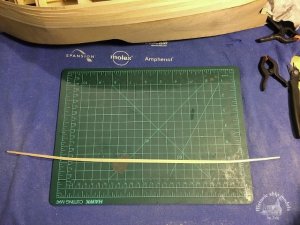
First I did some comparison what wood should I use, on the picture below from left to right, two types of walnut, pear, and mahogany and decided to go with the first walnut from the left.
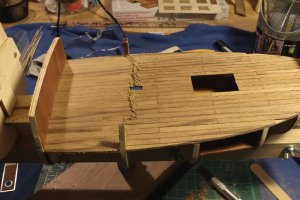
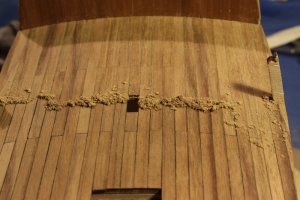
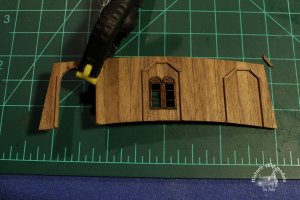
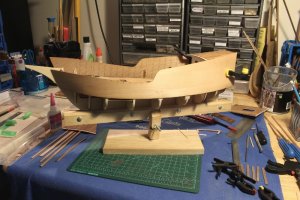
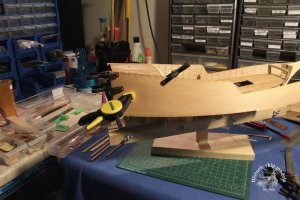
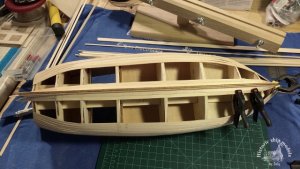
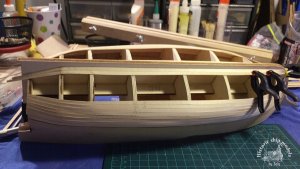
Planking followed
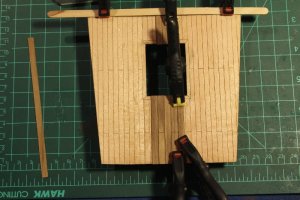
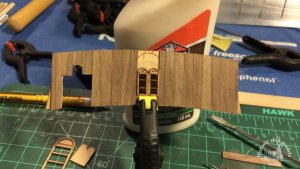
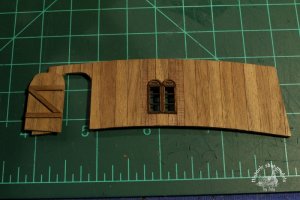
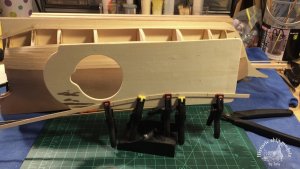
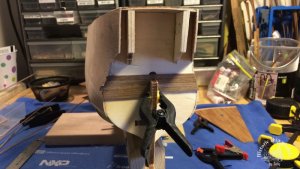
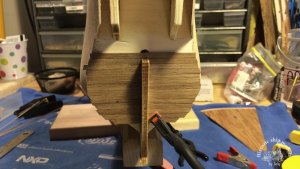
Planking the door
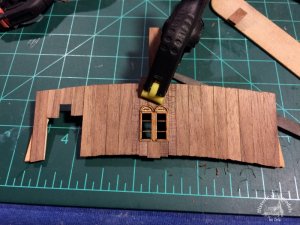
After trimming and sanding the edges I did a test fit
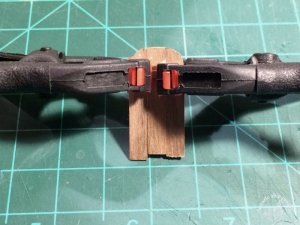
Adding mouldings for decorations
Zoltan
Last edited:
zoly99sask said:GemmaJF said:Looking good! I noticed you have built a box inside the planks for where deck fitting go, is this the approach people usually take?
Hi Gemma, I am not sure what you referring to exactly, can you pinpoint that out for me, please? Thanks.
Zoltan
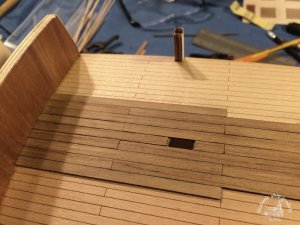
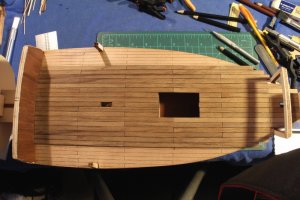
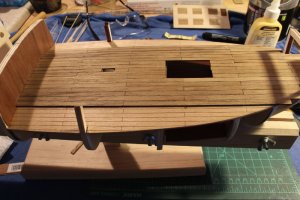
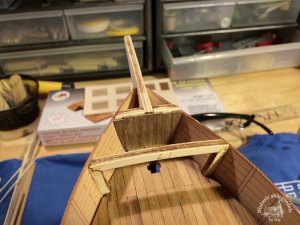
I figured it out now Zoltan, so not to worry! I thought in some pictures you had built a box around the holes in the deck where the grills go. Looking again not sure that you have. I think on my model I need to so the gratings sit a bit higher and not on the deck planks.
Ok,I know now,yes I will build a box,but not sure yet if I build a grating or some sort of doors,but on thing for sure ,stairs will be placed in there.
Zoltan
Zoltan
Hi Zoltan, I think Gemma is refering to the hatchway where grating would usually go as they have a raised edge.
Regards
Eric
Regards
Eric
eric61 said:Hi Zoltan, I think Gemma is refering to the hatchway where grating would usually go as they have a raised edge.
Regards
Eric
Exactly,I have two of those openings,I will frame them,just not decided yet what I place on the top.
Zoltan
Thanks to everyone for looking in and checking out my build log.
Zoltan
Zoltan
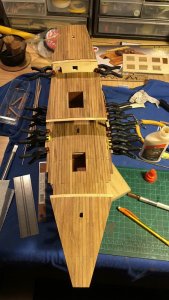
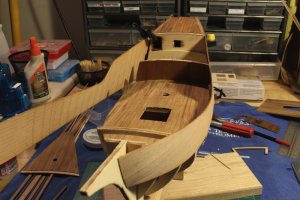
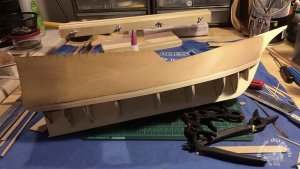
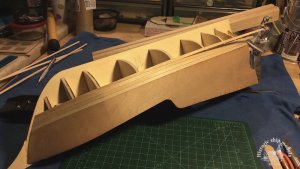
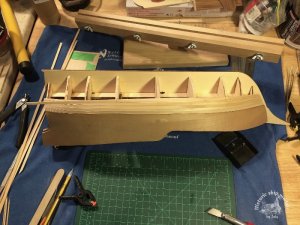
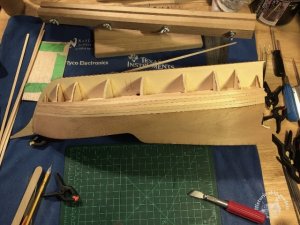
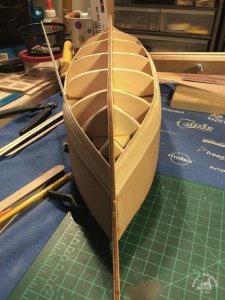
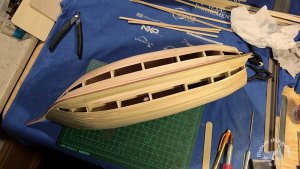
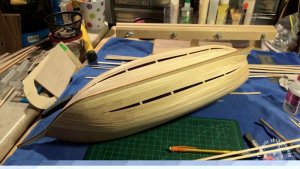
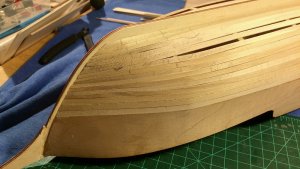
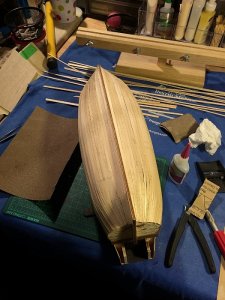
Looks like a fine job of first planking. I like the way Mantua kits all start the same.


