
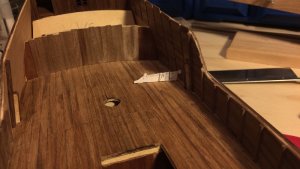
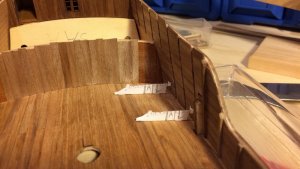
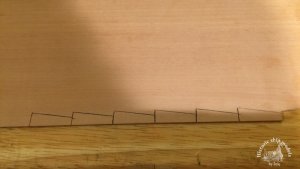
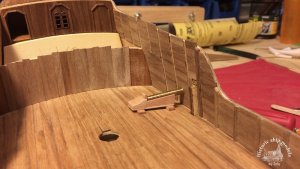
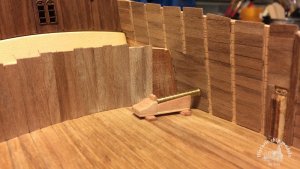
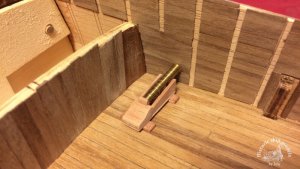
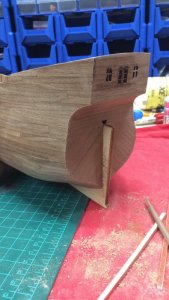
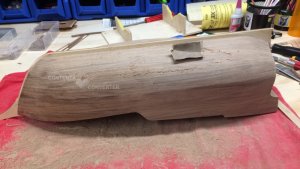
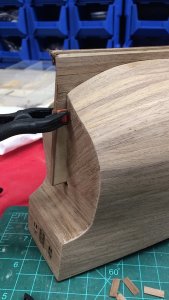
I re-planked the bulkhead below the quarterdeck to match the color with the inner bulwark planking.
.jpg")
.jpg")
Last edited:

 |
The beloved Ships in Scale Magazine is back and charting a new course for 2026! Discover new skills, new techniques, and new inspirations in every issue. NOTE THAT OUR NEXT ISSUE WILL BE July/August 2026 |
|
 |
As a way to introduce our brass coins to the community, we will raffle off a free coin during the month of August. Follow link ABOVE for instructions for entering. |
|
GemmaJF said:Workshop looks fab! Moving is always so difficult, but the up side is you can plan the workshop from the start and have it close to how you really want it.
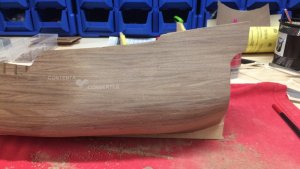
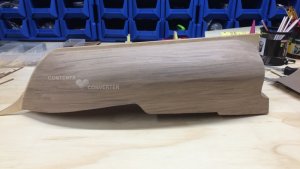
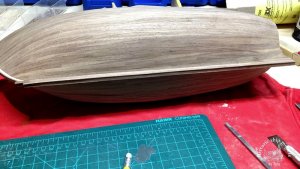
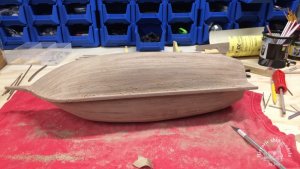
Planking is looking great!


.jpg")
.jpg")


.jpg")


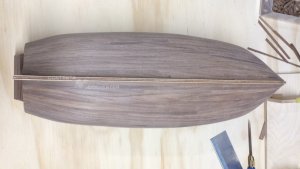
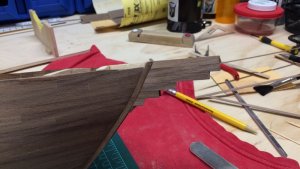
eric61 said:Hi Zoltan, I don't know if you have considered this: continue the planking on and around the false keel, it makes it look more realistic.
Regards
Eric
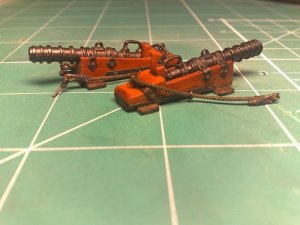
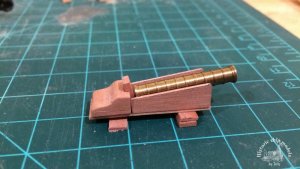
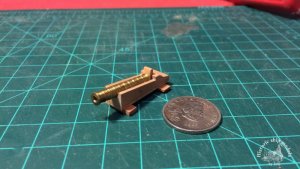
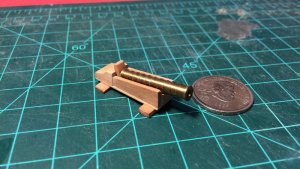
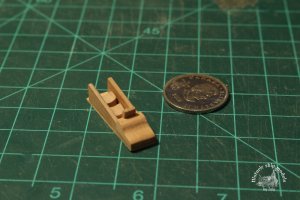
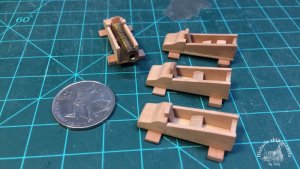
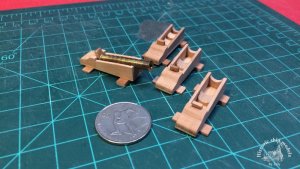
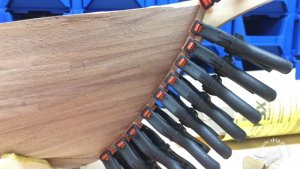
Donnie said:Cannons - Carriages....absolutely outstanding and perfect !!!
Donnie


.jpg")

.jpg")

.jpg")


.jpg")
.jpg")
.jpg")


.jpg")
.JPG")

