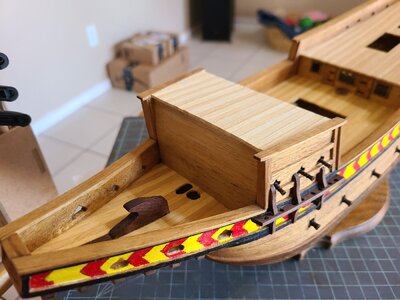
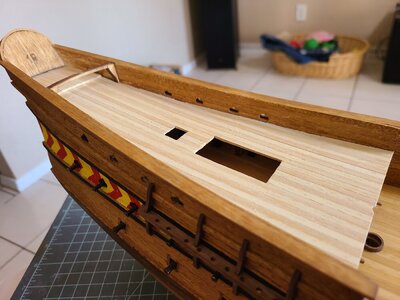
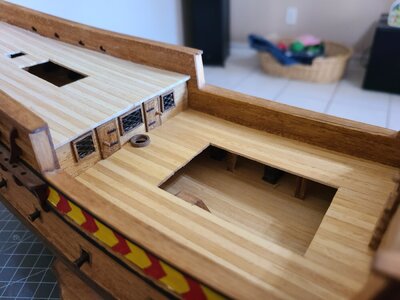
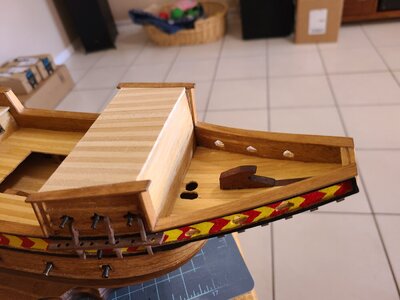
Santiago de Compostela-Disar Model 1:72

Had an unplanned break from most shipbuilding activity. The Admiral contracted Covid, then I caught it. We're mostly over it now.

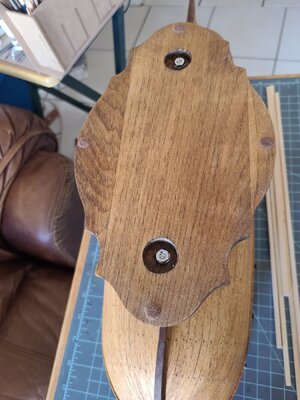
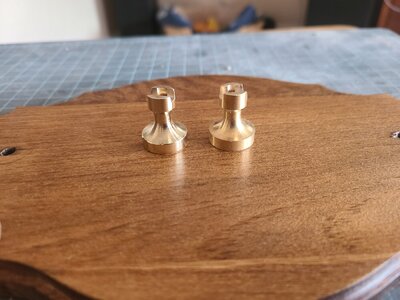
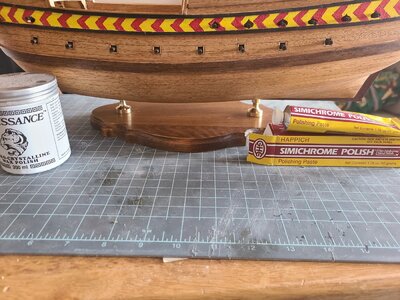
I did get a little bit accomplished. I've been working on the display base. Started with a pine base and applied 3 coats of Dark Walnut Danish Oil after sanding to 220#. Then applied a coat of Johnson's Paste Wax and buffed it out. Finally a coat of Renaissance Wax with a final buffing. Polished the brass with Simichrome followed by Renaissance Wax.
20220301_122129.jpg

20220301_133155.jpg

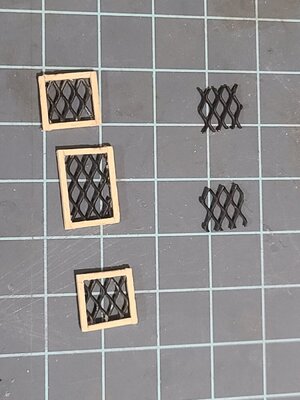
I also worked on the windows.
20220301_191500.jpg

The book calls for 20mm X 20mm and 20mm X 30mm. The doors are 10mm X 20mm. This makes the windows comically large. I made them 10mm X 10mm and 10mm X 15mm which fits what the pictures show. The measurements I list are of the window grating, the frames are actually larger.

Thank you for looking.
Glenn
 
Had an unplanned break from most shipbuilding activity. The Admiral contracted Covid, then I caught it. We're mostly over it now.

I did get a little bit accomplished. I've been working on the display base. Started with a pine base and applied 3 coats of Dark Walnut Danish Oil after sanding to 220#. Then applied a coat of Johnson's Paste Wax and buffed it out. Finally a coat of Renaissance Wax with a final buffing. Polished the brass with Simichrome followed by Renaissance Wax.

View attachment 294508

View attachment 294509

I also worked on the windows.
View attachment 294510

The book calls for 20mm X 20mm and 20mm X 30mm. The doors are 10mm X 20mm. This makes the windows comically large. I made them 10mm X 10mm and 10mm X 15mm which fits what the pictures show. The measurements I list are of the window grating, the frames are actually larger.

Thank you for looking.
Glenn
I love the stand. Did it come with the kit or did you create it?
 
Great work on the stand Glenn! Don't you just love Simichrome?ThumbsupI started using it when I restored my Bowman steamboat and now I will not use anything else!
 
Had an unplanned break from most shipbuilding activity. The Admiral contracted Covid, then I caught it. We're mostly over it now.

I did get a little bit accomplished. I've been working on the display base. Started with a pine base and applied 3 coats of Dark Walnut Danish Oil after sanding to 220#. Then applied a coat of Johnson's Paste Wax and buffed it out. Finally a coat of Renaissance Wax with a final buffing. Polished the brass with Simichrome followed by Renaissance Wax.

View attachment 294508

View attachment 294509

I also worked on the windows.
View attachment 294510

The book calls for 20mm X 20mm and 20mm X 30mm. The doors are 10mm X 20mm. This makes the windows comically large. I made them 10mm X 10mm and 10mm X 15mm which fits what the pictures show. The measurements I list are of the window grating, the frames are actually larger.

Thank you for looking.
Glenn
Good morning Glenn- I’m sounding like an echo now- love your stand. Super happy Covid didn’t hit you and the Admiral too hard and you are recovering. Cheers
 
Now that the Sea of Galilee boat is completed its back to this ship.

I REALLY need to remember to pick up my phone and snap some pics as I'm building.

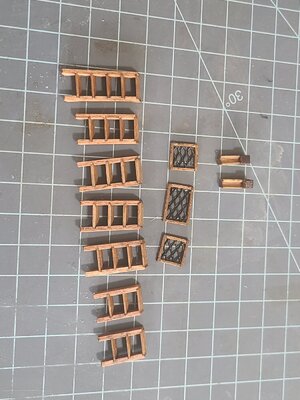
Here is a pic of completed ladders and windows awaiting installation.
20220304_170936.jpg

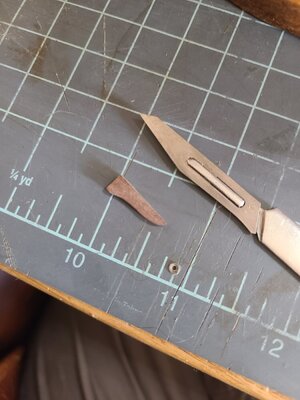
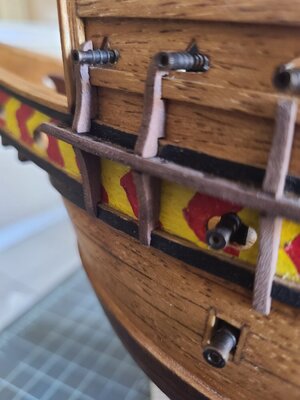
Chainplates and upper & lower supports (knees?) have been installed. Each support had to be individually marked and notched to fit. These are walnut, notches cut by hand with a scalpel.
20220611_143820.jpg

20220611_143656.jpg

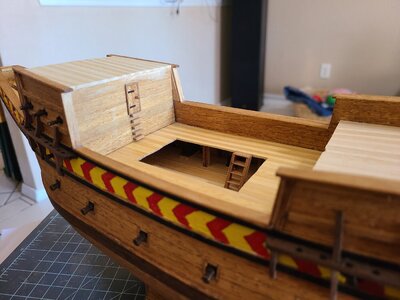
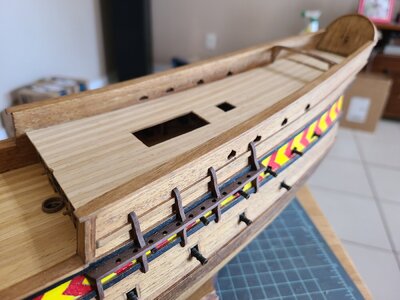
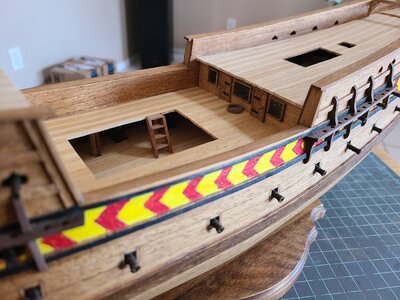
Bulkheads and decks have been added.
20220612_092532.jpg20220612_092518.jpg20220612_092511.jpg20220612_092454.jpg20220612_092443.jpg20220612_092440.jpg20220612_092435.jpg

This is the current state she is in. As can be seen some work was completed while waiting on glue or coats of Danish Oil to dry on the Galilee boat. I must note this ship is much easier to work on with the stand installed.

Glenn
 
A little off topic...

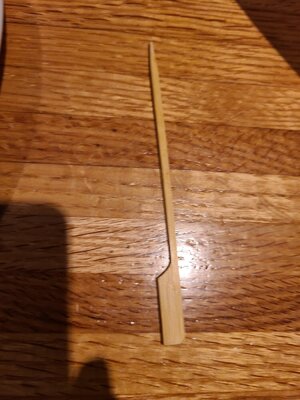
We went to a local restaurant the other day and I ordered a hamburger. This was stuck in it. After earing I picked it up looking at it thinking....

View attachment 316915


....thinking I need to find a 12 Step meeting for this addiction I have!
I still have that habit, I look at everything as source materials for the hobby. Before I find out about this actual design, I know how I will use it for. My wife said I am terrible... Am I really?
 
I still have that habit, I look at everything as source materials for the hobby. Before I find out about this actual design, I know how I will use it for. My wife said I am terrible... Am I really?
If ALL of us are crazy - can it be said that any of us is crazy?

Actually @Jimsky, now that you mention it - you might be... ROTF
 
X
Now that the Sea of Galilee boat is completed its back to this ship.

I REALLY need to remember to pick up my phone and snap some pics as I'm building.

Here is a pic of completed ladders and windows awaiting installation.
View attachment 313854

Chainplates and upper & lower supports (knees?) have been installed. Each support had to be individually marked and notched to fit. These are walnut, notches cut by hand with a scalpel.
View attachment 313855

View attachment 313856

Bulkheads and decks have been added.
View attachment 313857View attachment 313858View attachment 313859View attachment 313860View attachment 313861View attachment 313862View attachment 313863

This is the current state she is in. As can be seen some work was completed while waiting on glue or coats of Danish Oil to dry on the Galilee boat. I must note this ship is much easier to work on with the stand installed.

Glenn
You have done a fanstastic job. It is a beautiful model !! I believe this is one of the more accurate Spanish galleon model kit for the time peroid,

Quick question: Can you advise what is the actual length of the model "as is" (it is hard to guage as the kit demension normally is the overall measurement) ? Thank you.
 
I have been looking for my next build and came across your build log. Great detail and nice work! You have inspired me to build this ship. Thank you.
 
Hopefully we'll see an update on this again someday, it's looking great, and is also the most complete build log for a Disar kit I've been able to find, so kudos for sticking it out!

Between this model and the San Luis (waiting in my queue), they're some of the nicest looking Spanish Galleon kits for the money that I've found. It's interesting that Disar doesn't provide actual plans, but the instructions with photos have decent info for measurements and angles to build into a fine looking model. As Glenn has mentioned, the planking material could be better but these kits are pretty reasonably priced, so the prospect of spending a little extra to make life easier doesn't seem like a bad payoff.
 
Back
Top